1. Introduzione
This manual provides essential information for the safe and efficient use of your Beko DVS05020S freestanding dishwasher. Please read these instructions thoroughly before installation, first use, and maintenance to ensure optimal performance and to prevent damage. Keep this manual for future reference.
2. Informazioni sulla sicurezza
Per evitare lesioni o danni all'apparecchio, attenersi sempre alle seguenti linee guida di sicurezza:
- Prima dell'uso, assicurarsi che la lavastoviglie sia correttamente collegata a terra.
- Do not operate the dishwasher if the power cord is damaged. Contact qualified service personnel.
- Keep children away from the dishwasher, especially when it is operating or when the door is open. This model includes a child lock feature.
- Utilizzare solo detersivi e brillantanti specifici per lavastoviglie automatiche.
- Avoid opening the door during a wash cycle, as hot water and steam may escape.
- Sharp items should be loaded with their points down to prevent injury.
3. Prodotto finitoview
The Beko DVS05020S is a compact, freestanding dishwasher designed for efficient cleaning of up to 10 place settings. It features 5 wash programs and a durable stainless steel tub.
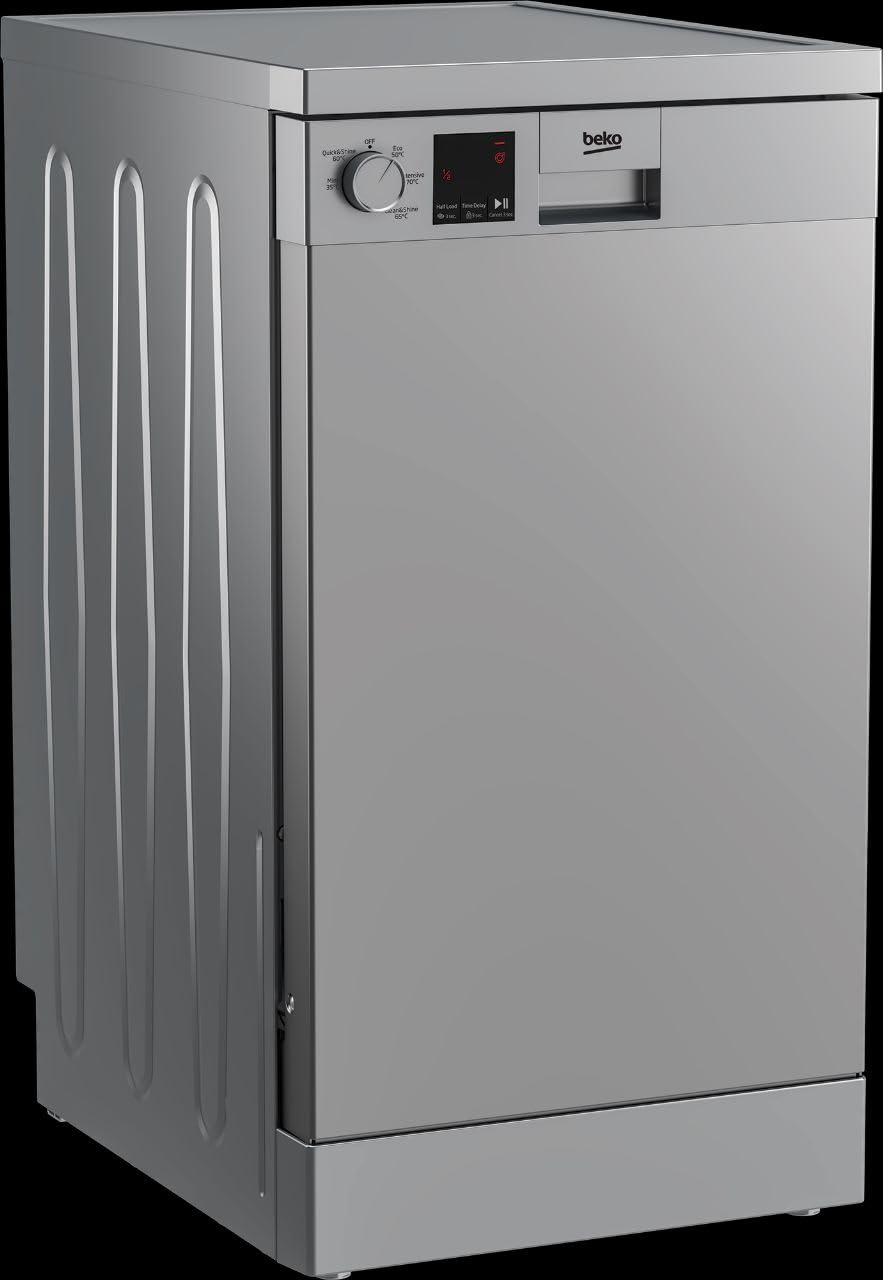
Figura 1: Davanti view of the Beko DVS05020S Freestanding Dishwasher. This image shows the silver exterior, the control panel with a rotary dial and LED display, and the integrated handle.
Caratteristiche principali:
- Capacità: 10 coperti
- Programmi: 5 wash programs (Eco 50°C, Intensive 70°C, Clean & Shine, Quick & Shine, Mini)
- Funzioni speciali: Flexible half load, Delay start option
- Sistema di asciugatura: Essiccazione statica
- Interno: Vasca in acciaio inox
- Sicurezza: Child lock, Water inlet safety system
- Dimensioni (AxLxP): Dimensioni: 85 x 44.8 x 60 cm
4. Configurazione e installazione
Una corretta installazione è fondamentale per le prestazioni e la sicurezza della lavastoviglie. Si raccomanda di affidare l'installazione a un tecnico qualificato.
4.1 Disimballaggio
- Rimuovere con cautela tutto il materiale di imballaggio.
- Inspect the dishwasher for any transport damage. Report any damage immediately to your retailer.
4.2 Posizionamento
- Posizionare la lavastoviglie su una superficie piana e stabile.
- Ensure there is adequate space for door opening and closing.
4.3 Collegamento idrico
- Connect the water inlet hose to a cold water supply tap. Ensure connections are tight to prevent leaks.
- Connect the drain hose to a suitable drain pipe or sink trap, ensuring it is securely fastened and allows for proper drainage.
4.4 Collegamento elettrico
- Plug the dishwasher into a grounded electrical outlet (240 Volts).
- Non utilizzare prolunghe o adattatori.
5. Istruzioni per l'uso
Per il funzionamento quotidiano della lavastoviglie, seguire questi passaggi.
5.1 Caricamento dei piatti
- Prima di caricare i piatti, raschiare via i residui di cibo più grandi.
- Posizionare gli oggetti più grandi nel cestello inferiore e quelli più piccoli, come bicchieri e tazze, nel cestello superiore.
- Assicurarsi che i piatti non ostruiscano i bracci irroratori.
- Load cutlery into the cutlery basket with handles down for most items, but sharp knives with points down for safety.
5.2 Aggiunta di detersivo e brillantante
- Riempire il contenitore del detersivo con la quantità adeguata di detersivo per lavastoviglie.
- Check the rinse aid dispenser and refill if necessary. Rinse aid helps with drying and prevents spots.
5.3 Selezione di un programma
Ruotare la manopola di selezione del programma per scegliere uno dei 5 programmi di lavaggio disponibili:
- Eco 50°C: Standard program for normally soiled daily dishes, offering energy and water efficiency.
- Intensivo 70°C: Per stoviglie, pentole e padelle molto sporche.
- Clean & Shine: Provides thorough cleaning and extra shine.
- Quick & Shine: A faster program for lightly soiled dishes.
- Mini: A very short program for very lightly soiled dishes that do not require drying.
5.4 Avviamento della lavastoviglie
- Chiudere bene lo sportello della lavastoviglie.
- Press the Start/Pause button. The LED display will show the remaining time.
- Per utilizzare il Mezzo carico function, press the dedicated button after selecting a program if you have fewer dishes.
- Per utilizzare il Partenza ritardata function, press the delay button to set the desired delay time before pressing Start.
6. Manutenzione
Una manutenzione regolare garantisce la longevità e l'efficienza della lavastoviglie.
6.1 Pulizia dei filtri
- The filter system should be cleaned regularly (e.g., once a week) to prevent blockages.
- Remove the coarse and fine filters at the bottom of the dishwasher.
- Rinse them under running water to remove any food debris.
- Reassemble the filters and place them back securely.
6.2 Pulizia dei bracci irroratori
- Controllare periodicamente che gli ugelli dei bracci irroratori non siano ostruiti.
- If blocked, remove the spray arms and clear the nozzles with a thin object like a toothpick.
6.3 Aggiunta di sale per lavastoviglie
- If your water is hard, the salt indicator light on the control panel will illuminate.
- Unscrew the cap of the salt dispenser located at the bottom of the dishwasher tub.
- Fill the dispenser with dishwasher salt using the provided funnel.
- Replace the cap tightly.
7. Risoluzione Dei Problemi
Prima di contattare l'assistenza, consultare questa sezione per problemi comuni e relative soluzioni.
| Problema | Possibile causa | Soluzione |
|---|---|---|
| La lavastoviglie non si avvia | Problema di alimentazione, sportello non chiuso correttamente, programma non selezionato | Controllare il collegamento elettrico, assicurarsi che lo sportello sia chiuso, selezionare un programma e premere Avvio. |
| I piatti non sono puliti | Incorrect loading, clogged spray arms, insufficient detergent, wrong program | Ricaricare correttamente i piatti, pulire i bracci irroratori e i filtri, aggiungere altro detersivo, selezionare un programma più intensivo. |
| Acqua rimasta nella vasca | Clogged filter, kinked drain hose, drain pump issue | Pulire i filtri, controllare che il tubo di scarico non sia piegato, contattare l'assistenza se la pompa è difettosa. |
| Macchie bianche sui piatti | Lack of rinse aid, hard water, too much detergent | Refill rinse aid, check salt level, reduce detergent amount. |
8. Specifiche
| Caratteristica | Dettaglio |
|---|---|
| Marca | Becco |
| Modello | DVS05020S |
| Tipo di installazione | Libera installazione |
| Capacità | 10 Coperti |
| Numero di programmi | 5 (Eco, Intensive, Clean & Shine, Quick & Shine, Mini) |
| Dimensioni (AxLxP) | Dimensioni: 85 cm x 44.8 cm x 60 cm |
| Colore | Argento |
| Tipo di controllo | Pulsante con manopola rotante |
| Tipo di visualizzazione | GUIDATO |
| Materiale interno | Acciaio inossidabile |
| Livello di rumore | 49 dB |
| Consumo di acqua per ciclo | 11.9 litri |
| Consumo energetico per ciclo | 0.7 kWh |
| Voltage | 240 Volt |
| Caratteristiche speciali | Half Load, Delay Start, Child Lock |
| Prodotto in | Tacchino |
9. Garanzia e supporto
9.1 Informazioni sulla garanzia
Your Beko DVS05020S dishwasher comes with a Garanzia del produttore di 5 anni. This warranty covers defects in materials and workmanship under normal use. Please retain your proof of purchase for warranty claims. For full terms and conditions, refer to the warranty card included with your appliance or visit the official Beko websito.
9.2 Assistenza clienti
Per assistenza tecnica, pezzi di ricambio o richieste di assistenza, contattare l'assistenza clienti Beko. I recapiti sono disponibili sul sito ufficiale Beko. websito o nella documentazione di garanzia.