
1. Introduzione
Welcome to the user manual for your new Lovskoo 1080P 44MP Pink Digital Camera. This manual provides essential information on setting up, operating, and maintaining your camera to ensure optimal performance and longevity. Please read through these instructions carefully before using your device.
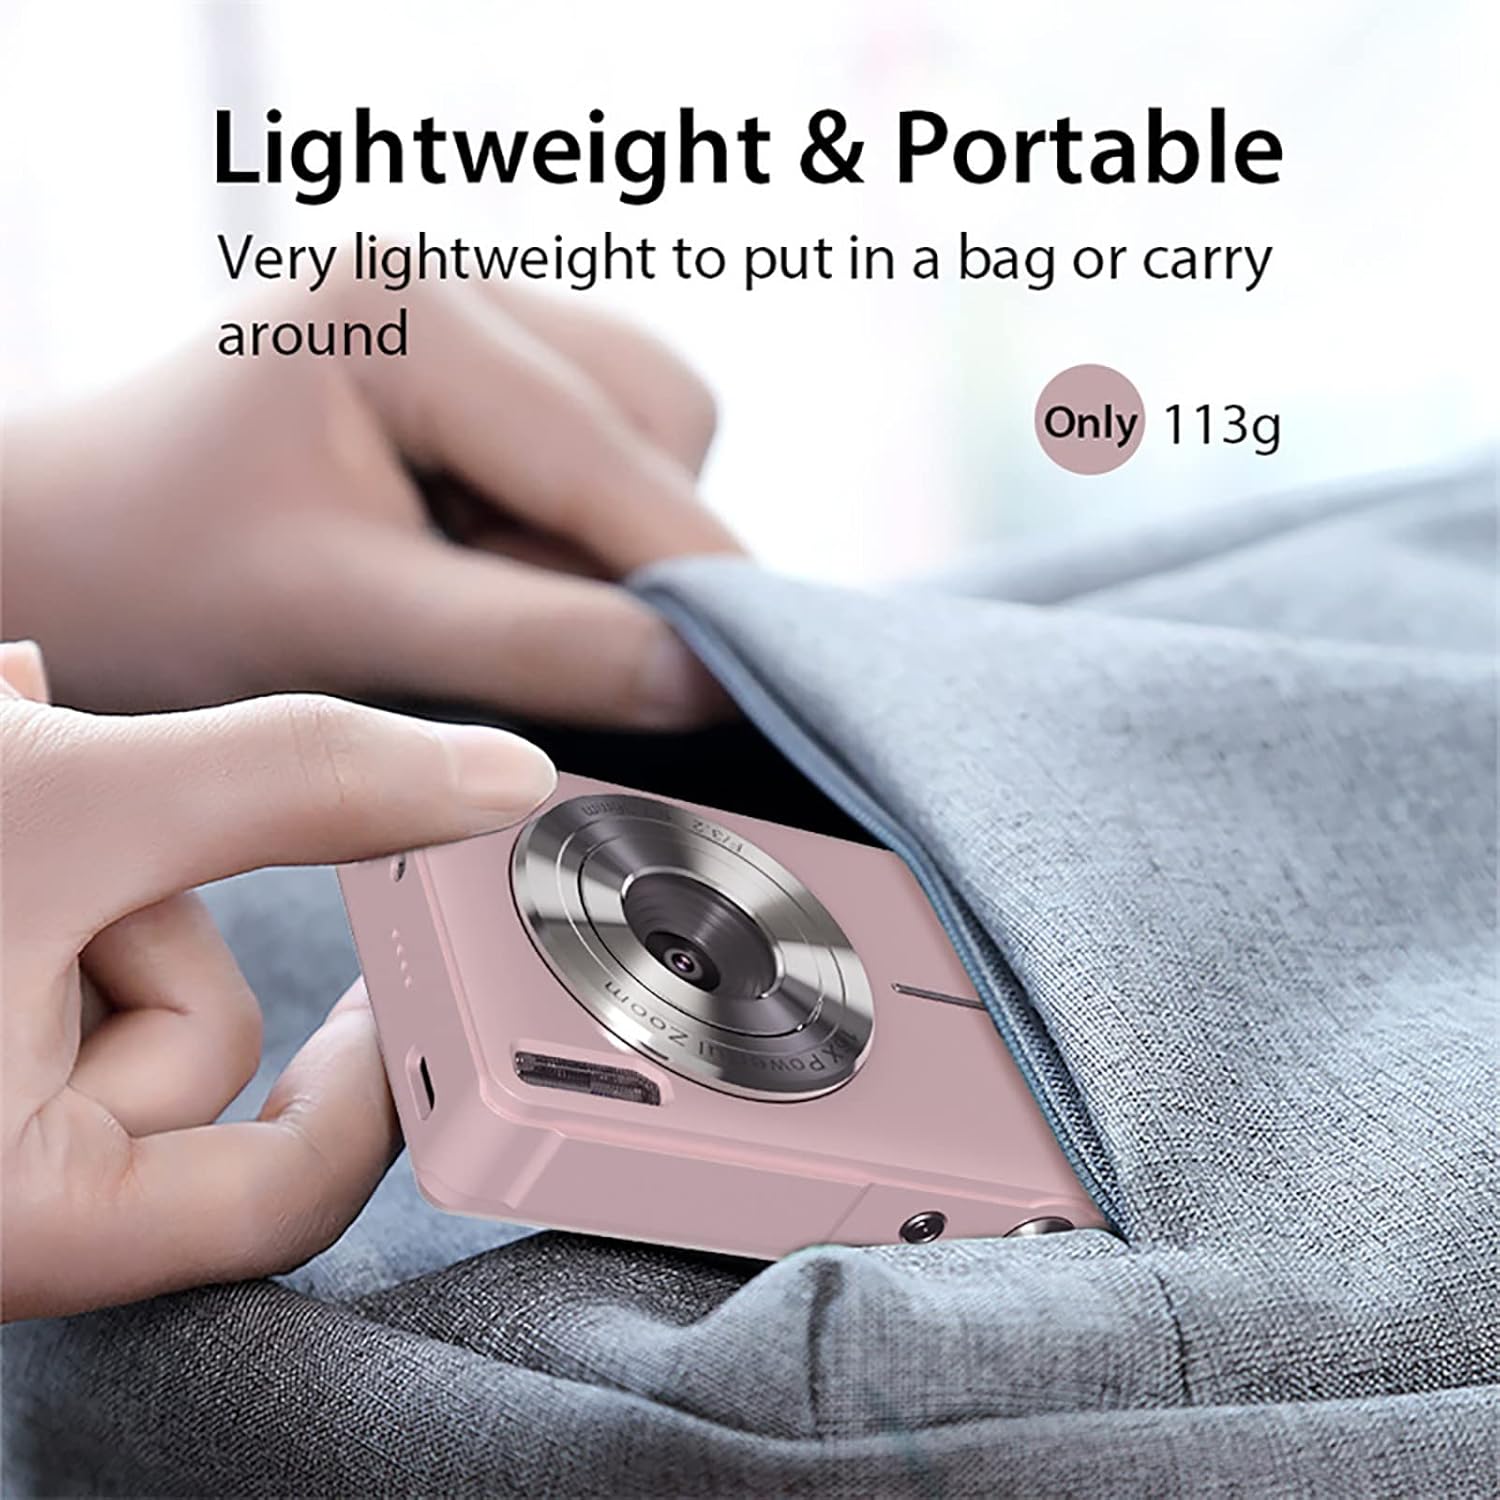
This compact digital camera is designed for ease of use, featuring a 44-megapixel sensor for high-resolution photos, 1080P video recording, 16x digital zoom, and anti-shake technology to capture clear memories. Its lightweight and portable design makes it ideal for everyday photography and vlogging.
2. Contenuto della confezione
Si prega di verificare che tutti gli articoli elencati di seguito siano inclusi nel pacchetto:
- 1x Lovskoo 1080P 44MP Pink Digital Camera (with built-in battery)
- 1x cavo di ricarica USB-C
- 1x cordino
- 1x Borsa di stoffa
- 1x Panno per la pulizia
- 1x Manuale utente

3. Fotocamera finitaview
3.1 Caratteristiche fisiche
Familiarizzare con i componenti fisici della fotocamera:


3.2 Unboxing and Initial Setup Overview
Watch this video for a quick guide on unboxing your camera and performing the initial setup steps, including battery and memory card insertion.
4. Impostazione
4.1 Inserimento della batteria
- Individuare il coperchio del vano batteria nella parte inferiore della fotocamera.
- Far scorrere il fermo del coperchio per aprire il vano.
- Insert the rechargeable Li-Battery, ensuring the correct orientation as indicated inside the compartment.
- Chiudere il coperchio del vano batteria finché non scatta saldamente in posizione.
4.2 Inserimento della scheda di memoria
The camera supports Micro SD cards up to 32GB (not included). A memory card is required to save photos and videos.
- With the battery compartment open, locate the Micro SD card slot.
- Insert the Micro SD card into the slot with the metal contacts facing down, pushing gently until it clicks into place.
- Per rimuoverla, spingere delicatamente la scheda verso l'interno finché non scatta fuori.

4.3 Caricamento della batteria
Connect the camera to a power source using the provided USB-C cable. The charging indicator light will illuminate during charging and turn off when fully charged.
5. Istruzioni per l'uso
5.1 Accensione/Spegnimento
Press and hold the Power button (usually located on the top of the camera) for a few seconds to turn the camera on or off.
5.2 Scattare foto
- Ensure the camera is in Photo Mode (indicated by an icon on the screen).
- Inquadra il tuo scatto utilizzando lo schermo LCD da 2.5 pollici.
- Press the Shutter button (usually a larger button on top) halfway down to focus, then press fully to capture the image.
5.3 Registrazione di video
- Switch to Video Mode (usually via a dedicated button or menu option).
- Press the Shutter button to start recording. A red 'REC' indicator will appear on the screen.
- Premi nuovamente il pulsante Otturatore per interrompere la registrazione.
5.4 Digital Zoom (16x)
Use the 'W' (Wide) and 'T' (Telephoto) buttons, typically located near the shutter, to adjust the 16x digital zoom. 'T' zooms in, and 'W' zooms out.

5.5 Funzione anti-vibrazione
The camera features an electronic anti-shake function to help reduce blur caused by camera movement, resulting in clearer images and videos. This feature is typically enabled by default or can be toggled in the settings menu.
5.6 Face Detection and Smile Capture
The camera can detect faces and automatically optimize focus and exposure. Some models also include a smile capture feature, which can automatically take a photo when a smile is detected.
5.7 Using Filters and Effects
Explore various built-in filters and effects to enhance your photos. These options are usually accessible through the 'Menu' button and navigating to the 'Effect' or 'Filter' settings.
5.8 Modalità di riproduzione
A view your captured photos and videos, press the Playback button (often indicated by a triangle icon). Use the directional buttons to navigate through your media.
6. Connessione a un computer
6.1 Trasferimento Files
- Collega la fotocamera al computer utilizzando il cavo USB-C in dotazione.
- Accendi la fotocamera. Dovrebbe apparire come un'unità disco rimovibile sul tuo computer.
- Apri la cartella della fotocamera per accedere e trasferire foto e video.
6.2 WebFunzionalità della camma
Your camera can also function as a PC camera (webcam) for video calls or live streaming:
- Connect the camera to your computer via USB-C.
- On the camera screen, select 'PC Camera' mode when prompted.
- Il computer dovrebbe riconoscere la fotocamera come webcam, which can then be selected in your video conferencing or streaming software.
7. Manutenzione
- Pulizia: Use the provided cleaning cloth to gently wipe the lens and screen. For stubborn smudges, use a lens cleaning solution designed for optical surfaces. Avoid harsh chemicals.
- Magazzinaggio: Store the camera in a cool, dry place away from direct sunlight and extreme temperatures. When not in use for extended periods, remove the battery.
- Cura della batteria: Fully charge the battery before first use. Avoid completely draining the battery regularly to prolong its lifespan.
8. Risoluzione Dei Problemi
- La fotocamera non si accende: Ensure the battery is correctly inserted and fully charged. Try charging the camera for at least 30 minutes.
- Immagini sfocate: Check that the lens is clean. Ensure the anti-shake function is enabled in the settings. Hold the camera steady when taking photos.
- Errore della scheda di memoria: Ensure the memory card is correctly inserted and not full. Try formatting the card (this will erase all data, so back up first). The camera supports Micro SD cards up to 32GB.
- Impossibile connettersi al computer: Ensure the USB-C cable is securely connected to both the camera and the computer. Try a different USB port or cable. Select 'USB Mode' or 'PC Camera' on the camera when prompted.
9. Specifiche tecniche
| Caratteristica | Specificazione |
|---|---|
| Tipo di sensore | CMOS |
| Risoluzione della foto | Fino a 44 Megapixel |
| Risoluzione video | 1080P/720P/480P (AVI format) |
| Digital Zoom | 16x |
| Schermo di visualizzazione | 2.5 inch LCD (4:3 aspect ratio) |
| Lente | F/3.2 f=7.36mm |
| Stabilizzazione dell'immagine | Anti-vibrazione digitale |
| Supporto per schede di memoria | Micro SD, Max 32GB |
| Porta USB | Tipo C |
| Alimentazione elettrica | Batteria ricaricabile agli ioni di litio |
| Dimensioni | 9.5 x 6.0 x 2.0 cm (x 3.7 2.3 x 0.93 a) |
| Peso | 113g (0.25 lb) |
| Caratteristiche speciali | Face Detection, Smile Detection, Continuous Shooting, Self-Timer, WebFunzione camma |
10. Garanzia e supporto
For warranty information or technical support, please refer to the contact details provided with your purchase or visit the official Lovskoo websito. Conservare la prova d'acquisto per eventuali reclami in garanzia.