1. Introduzione
Thank you for choosing the JRL Professional Hair Clipper 2020T. This manual provides essential information for the safe and effective use, setup, operation, and maintenance of your new hair clipper. Please read all instructions carefully before first use and retain this manual for future reference.
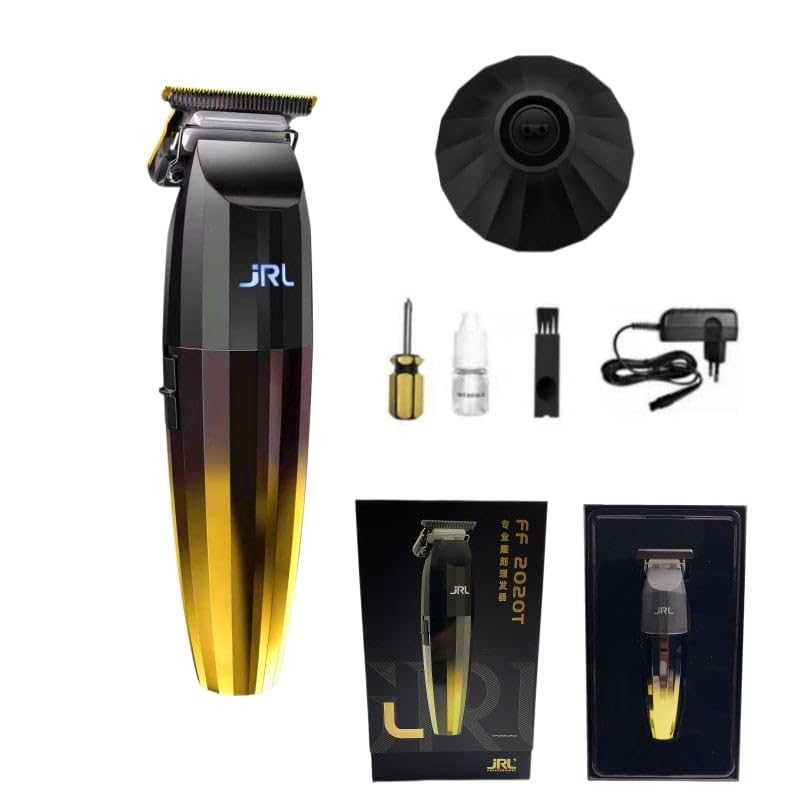
Figure 1: JRL Professional Hair Clipper 2020T and included accessories.
2. Informazioni sulla sicurezza
- Mantenere sempre l'apparecchio asciutto. Non utilizzarlo vicino all'acqua o in condizioni di umidità.
- Non immergere l'apparecchio in acqua o altri liquidi.
- Tenere l'apparecchio fuori dalla portata dei bambini.
- Ensure the power cord is not damaged. If damaged, it must be replaced by the manufacturer or a qualified service agent to avoid hazards.
- Utilizzare esclusivamente il caricabatterie fornito con l'apparecchio.
- Avoid contact with moving parts. Keep fingers, hair, and clothing away from the blades during operation.
- Do not use the clipper on irritated skin or open wounds.
- Always turn off the clipper before cleaning or maintenance.
3. Componenti e accessori
Your JRL Professional Hair Clipper 2020T comes with the following items:
- JRL Professional Hair Clipper 2020T
- Adattatore di alimentazione (spina USA)
- Spazzola per la pulizia
- Olio lubrificante
- Screwdriver (for blade adjustment)
- Pettini guida multipli (varie lunghezze di taglio)
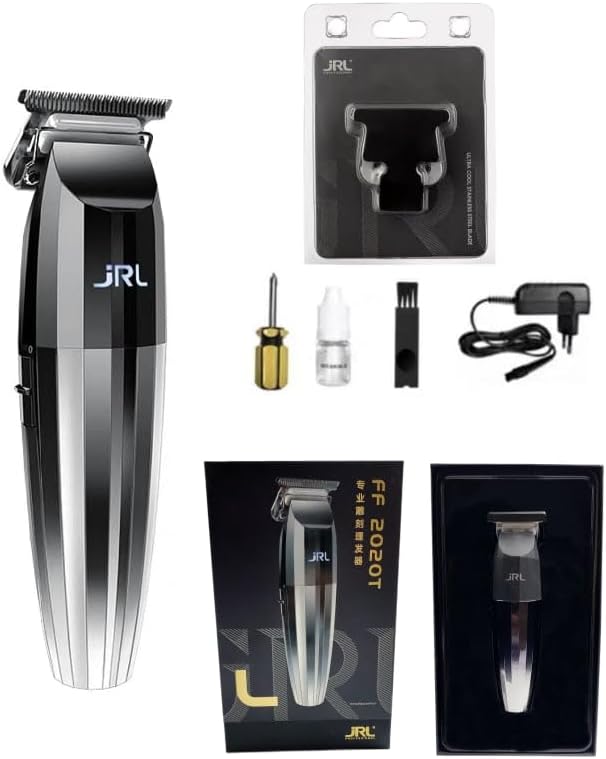
Figure 2: All components included with the JRL Professional Hair Clipper 2020T.
4. Configurazione e ricarica
4.1 Addebito iniziale
Before first use, fully charge the clipper. Connect the power adapter to the charging port on the clipper and plug it into a suitable power outlet. The LED display will indicate the charging status and remaining battery time. A full charge typically takes more than 2 hours.

Figure 3: JRL Professional Hair Clipper 2020T connected to its charging base.
4.2 Applicazione dei pettini guida
To achieve desired cutting lengths, select the appropriate guide comb. Align the comb with the clipper blade and push it firmly until it clicks into place. Ensure it is securely attached before use. The clipper supports 5 or more pieces of nozzles for various lengths.

Figure 4: JRL Professional Hair Clipper 2020T shown with a selection of guide combs.
5. Istruzioni per l'uso
5.1 Accensione/spegnimento
Press the power button to turn the clipper on or off. The LED display will illuminate when the clipper is active.
5.2 Regolazione della lunghezza di taglio
The clipper features an adjustable lever for fine-tuning cutting length without a guide comb. Move the lever up or down to change the blade position. For specific lengths, attach the desired guide comb as described in Section 4.2.
5.3 impostazioni di velocità
The JRL 2020T operates with a powerful rotary motor, offering speeds of 6000 and 7500 RPM. This allows for efficient cutting through various hair textures, from fine to coarse. Refer to the product's specific controls for switching between speed modes, if available.
5.4 Utilizzo
The JRL Professional Hair Clipper 2020T is designed for versatile grooming, including:
- Haircuts (for the head)
- Rifinitura di barba e baffi
- Cura del corpo
- Taglio delle sopracciglia
- Nose and Ear Hair Trimming (with appropriate attachments, if included)
- Bikini Area Trimming (with appropriate attachments, if included)
Always start with a longer guide comb if unsure, and gradually reduce the length until the desired result is achieved. Move the clipper against the direction of hair growth for an even cut.
6. Manutenzione
6.1 Pulizia delle lame
After each use, turn off the clipper and remove any attached guide comb. Use the provided cleaning brush to remove loose hairs from the blades. For a more thorough cleaning, the blades can be washed under water (ensure the clipper body remains dry unless specified as waterproof).
6.2 Lubrificazione delle lame
Regularly apply a few drops of the supplied lubricating oil to the blades. This ensures smooth operation and prolongs the life of the blades. Turn the clipper on for a few seconds after oiling to distribute the oil evenly.
6.3 Conservazione
Conservare il tagliacapelli in un luogo asciutto e fresco, lontano dalla luce solare diretta e dall'umidità. Tenere fuori dalla portata dei bambini.
7. Risoluzione Dei Problemi
- Il clipper non si accende: Assicurarsi che la batteria sia carica. Collegare al caricabatterie e riprovare.
- Scarse prestazioni di taglio: Pulire accuratamente le lame e applicare olio lubrificante. Assicurarsi che i pettini guida siano correttamente fissati.
- Lame che tirano i capelli: The blades may be dull or improperly aligned. Clean and oil the blades. If the issue persists, consider professional sharpening or blade replacement.
- Surriscaldamento: While designed with cool blade technology, prolonged heavy use can cause warmth. Allow the clipper to cool down if it feels excessively warm.
8. Specifiche
| Caratteristica | Dettaglio |
|---|---|
| Modello | 2020T |
| Marca | JRL (Generic) |
| Materiale della lama | Acciaio al carbonio |
| Tipo di motore | Rotante |
| Velocità del motore | 6000 - 7500 RPM (Adjustable) |
| Tipo di alimentazione | Funzionamento a rete e a batteria |
| Durata della batteria | Oltre 90 minuti |
| Tempo di ricarica della batteria | Più di 2 ore |
| Lunghezza minima di taglio | More than 2 mm (adjustable lever) |
| Lunghezza massima di taglio | Meno di 5 mm (con pettini guida) |
| Metodo di regolazione della lunghezza | Change of nozzles / Adjustable lever |
| Caratteristica speciale | Multigroomer, Cool Blade Technology, LED Display |
| Certificazione | CE |
9. Garanzia e supporto
For warranty information and customer support, please refer to the documentation provided with your product or contact the manufacturer directly. Keep your purchase receipt as proof of purchase.