
1. Introduzione
The SINGER® HD0400S Heavy Duty Overlock Serger Sewing Machine is designed for durable performance and professional finishes. This machine offers speed, strength, and precision for various sewing projects, from finishing seams to creating decorative edges. It features a heavy metal frame, 2/3/4 thread capability, and a high stitching speed of up to 1,300 stitches per minute.
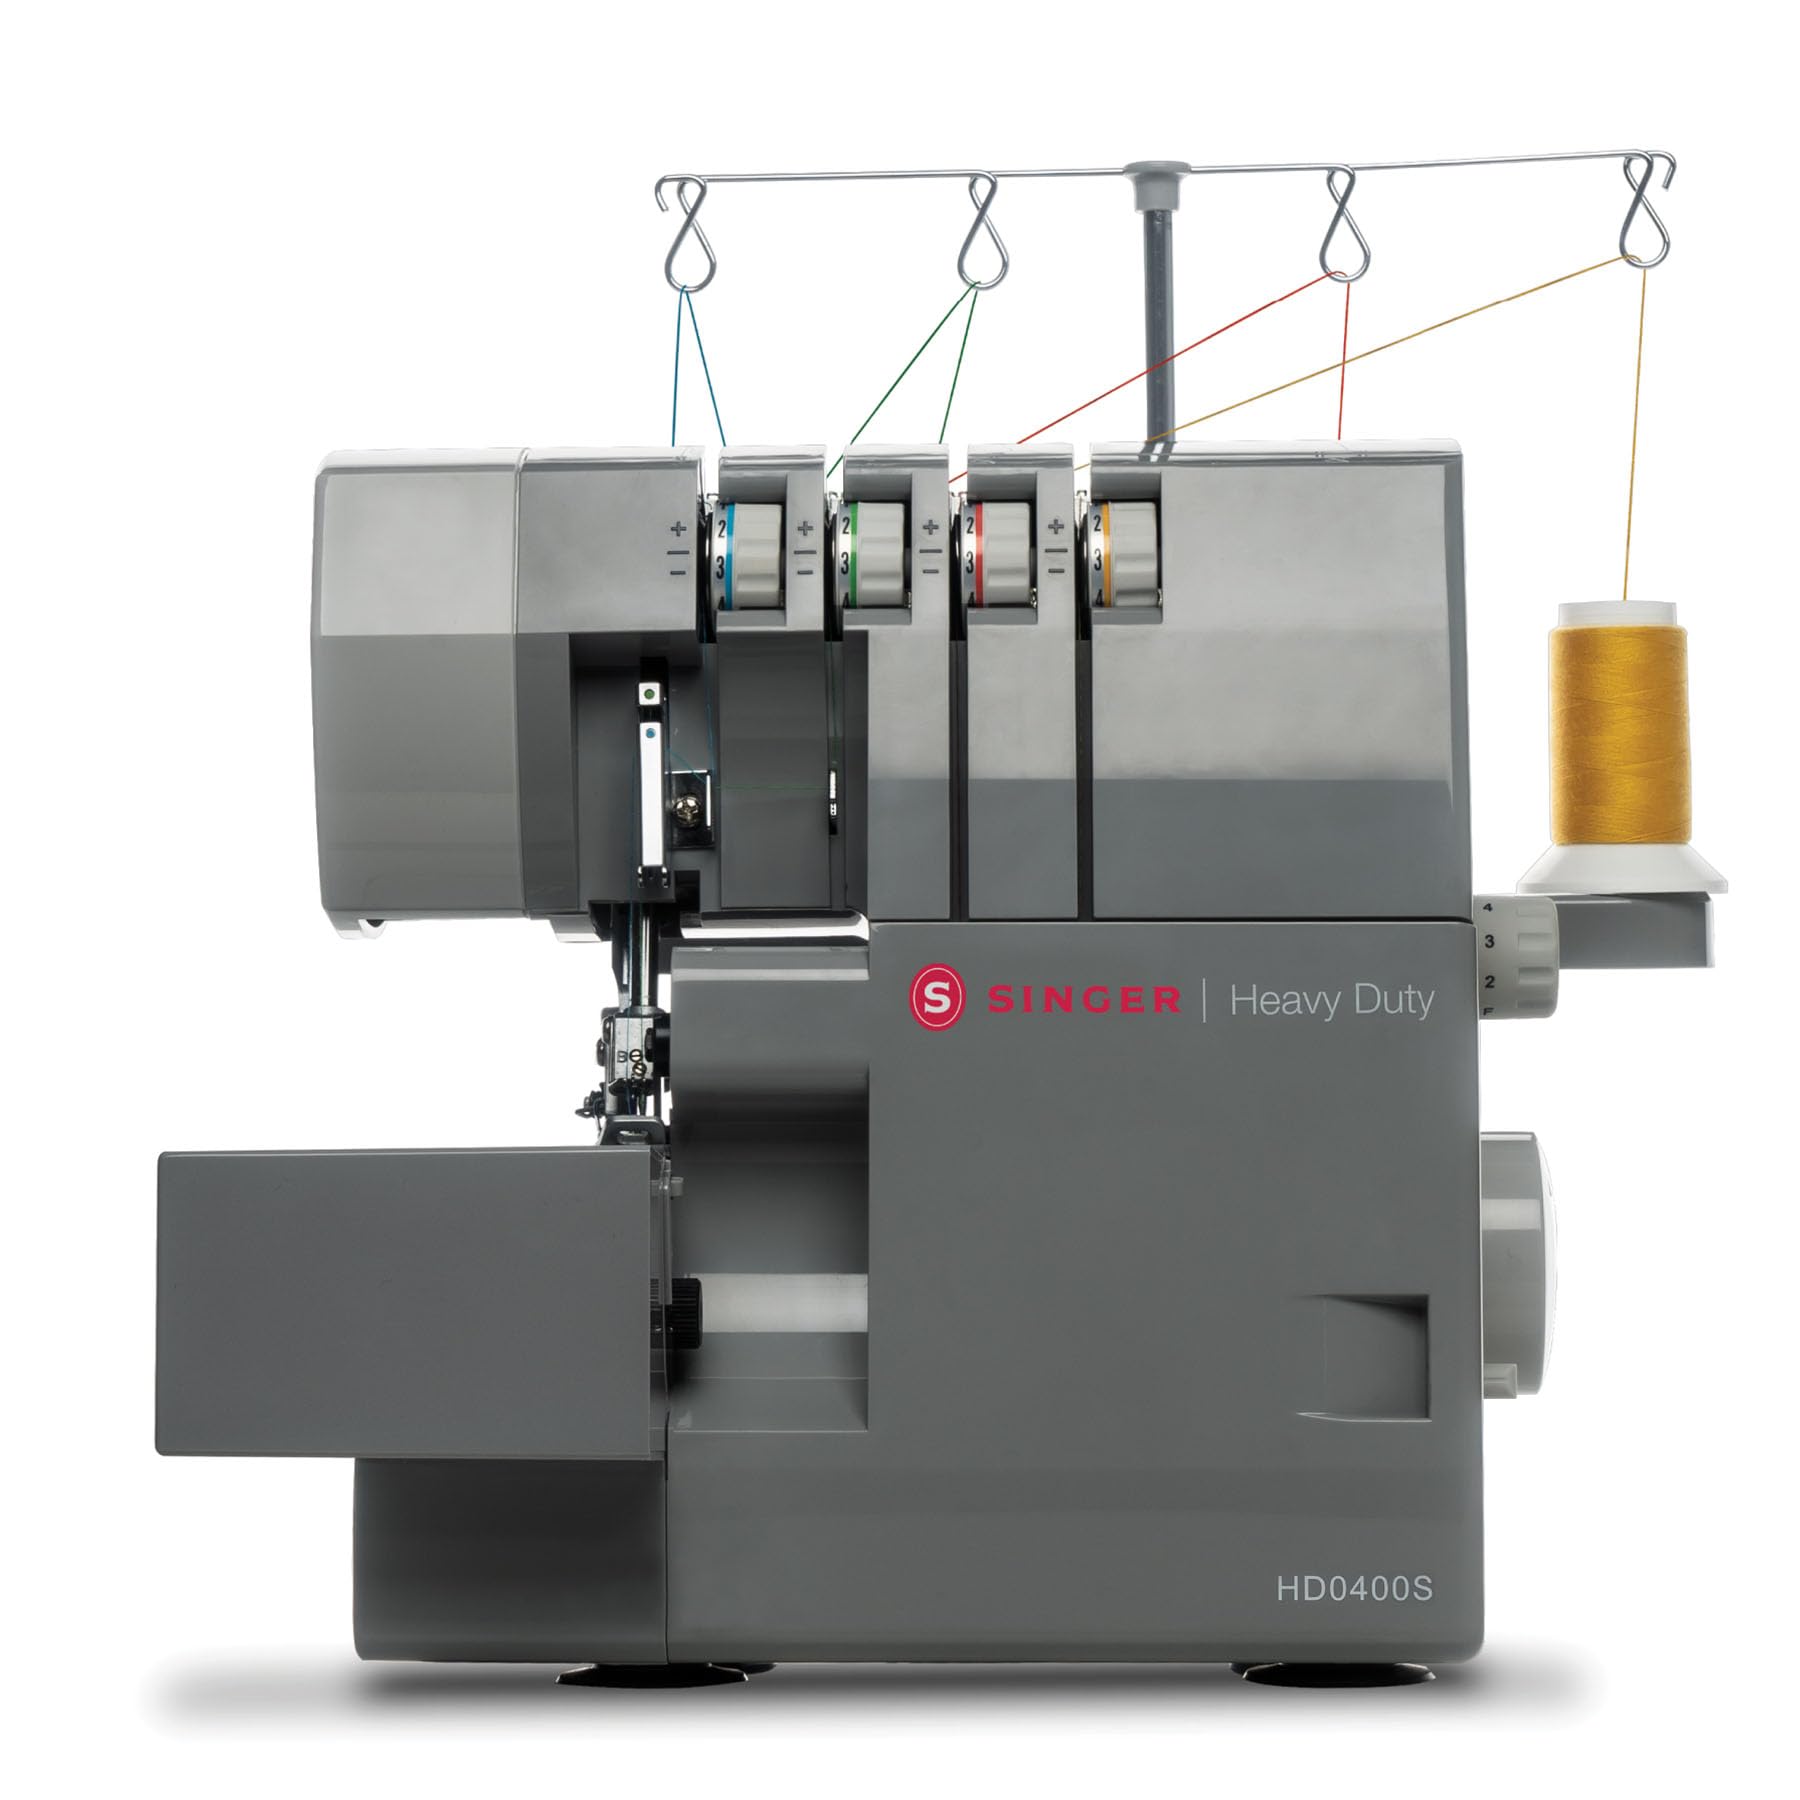
Figura 1: The SINGER HD0400S Heavy Duty Overlock Serger Sewing Machine, showcasing il suo design robusto.
This manual provides instructions for setting up, operating, and maintaining your SINGER HD0400S serger to ensure optimal performance and longevity.
2. Importanti istruzioni di sicurezza
Before using the SINGER HD0400S serger, please read all instructions. Keep this manual for future reference.
- Scollegare sempre la macchina dalla presa elettrica subito dopo l'uso e prima di pulirla, rimuovere le coperture o effettuare qualsiasi intervento di manutenzione da parte dell'utente.
- Non permettere ai bambini di utilizzare la macchina senza supervisione.
- Utilizzare questo apparecchio solo per l'uso previsto, come descritto nel presente manuale.
- Non utilizzare mai la macchina se il cavo o la spina sono danneggiati, se non funziona correttamente o se è caduta o è danneggiata.
- Keep fingers away from all moving parts. Special care is required around the serger needles and cutting knife.
- Utilizzare sempre la piastra ago corretta. Una piastra sbagliata può causare la rottura dell'ago.
- Non tirare o spingere il tessuto durante la cucitura. Ciò potrebbe deviare l'ago e causarne la rottura.
- Turn the serger off when making any adjustments in the needle area, such as threading the needle, changing the needle, or changing the presser foot.
3. Machine Components and Included Accessories
3.1 Macchina finitaview
Familiarize yourself with the main parts of your SINGER HD0400S serger.

Figura 2: Sopraview of the SINGER HD0400S serger with key components labeled, including tension indicators, stitch length display, and differential feed adjustment.
- Right Needle Thread Tension Selector (Green): Adjusts tension for the right needle thread.
- Left Needle Thread Tension Display (Blue): Displays tension for the left needle thread.
- Upper Looper Thread Tension Indicator (Orange): Indicates tension for the upper looper thread.
- Lower Looper Thread Tension Indicator (Yellow): Indicates tension for the lower looper thread.
- Stitch Length Display: Shows the current stitch length setting.
- Differential Feed Adjustment Lever/Button: Controls the differential feed ratio.
- Cloth Plate: The working surface where fabric is placed.
3.2 Accessori inclusi
The following accessories are included with your SINGER HD0400S serger:
- 4 Thread Spool Holders
- Piede multiuso
- Pennello per pelucchi
- Aghi
- Scrap Bag
- Cacciavite
- Spare Lower Knife
- Spargitore
- Vano portaoggetti
- Pinzette
4. Impostazione
4.1 Disimballaggio e posizionamento
- Estrarre con cautela la tagliacuci dalla confezione.
- Posizionare la macchina su una superficie stabile e piana.
- Ensure there is adequate space around the machine for fabric handling and accessory storage.
- Collegare il cavo di alimentazione alla macchina e poi a una presa elettrica idonea.
4.2 Infilatura della macchina
The SINGER HD0400S features a color-coded threading system and on-machine diagrams to simplify the threading process.

Figura 3: The color-coded threading paths on the SINGER HD0400S serger, designed for ease of use.
- Raise the presser foot and turn the handwheel towards you to raise the needles to their highest position.
- Follow the color-coded guides on the machine for each thread (blue for left needle, green for right needle, orange for upper looper, yellow for lower looper).
- Use the included tweezers to assist with guiding threads through small openings.
- Ensure all threads are correctly seated in their tension discs and guides.
Refer to the detailed threading diagrams printed on the machine for precise instructions.
5. Istruzioni per l'uso
5.1 Basic Operation and Stitch Options
The HD0400S offers 2, 3, or 4 thread stitch options for various professional finishes.

Figura 4: Key operational features of the SINGER HD0400S, including high-speed stitching, the larger cutting knife, and versatile thread capacity.
- Stitching Speed: The machine operates at up to 1,300 stitches per minute, allowing for efficient completion of projects.
- 2/3/4 Thread Capability: Select the appropriate number of threads for your desired stitch type (e.g., 4-thread overlock for strong seams, 3-thread for general finishing, 2-thread for delicate rolled hems).
- Regolazione della lunghezza del punto: Use the stitch length dial to set the desired stitch length for your fabric and project.
5.2 Differential Feed Control
The differential feed system controls the movement ratio between the front and back sections of the feed teeth. This feature is crucial for managing various fabric types.

Figura 5: A hand adjusting the differential feed dial, which helps prevent fabric stretching or puckering.
- Preventing Puckering: For lightweight or stretchy fabrics, adjust the differential feed to a higher ratio (e.g., above 1.0) to prevent puckering.
- Preventing Stretching: For knit fabrics or bias-cut materials, adjust to a lower ratio (e.g., below 1.0) to prevent stretching.
- Even Stitching: For most woven fabrics, a 1:1 ratio (1.0) is suitable for even stitching.
5.3 Built-in Rolled Hem
The HD0400S features a built-in rolled hem plate, allowing for quick conversion to rolled hem stitching without changing the stitch plate.
- Locate the lever for the rolled hem conversion.
- Flip the lever to engage the rolled hem setting.
- Adjust tension settings as recommended for rolled hems (refer to the full user manual for specific tension guidelines).
5.4 Free Arm Design
The free arm design facilitates sewing tubular items such as cuffs, sleeves, and small openings.
- Remove the accessory storage compartment to expose the free arm.
- Slide the tubular fabric item onto the free arm.
- Proceed with stitching, ensuring the fabric moves smoothly around the free arm.
5.5 Dual LED Lighting
Two integrated LED lights illuminate the work area, reducing shadows and improving visibility, especially when working with dark fabrics or in low-light conditions.

Figura 6: A user operating the SINGER HD0400S, demonstrating the illuminated work area provided by the dual LED lights.
6. Manutenzione
Regular maintenance ensures the smooth operation and longevity of your serger.
6.1 Pulizia
- Spegni: Prima di pulire la macchina, spegnerla e staccarla dalla presa.
- Rimuovere i pelucchi: Use the included lint brush to remove lint and thread scraps from the feed dogs, looper area, and under the needle plate.
- Scrap Bag: Regularly empty the scrap bag to prevent accumulation of fabric trimmings.
- Pulizia esterna: Pulire le superfici esterne con un panno morbido e asciutto. Non utilizzare prodotti chimici aggressivi o detergenti abrasivi.
6.2 Replacing the Lower Knife
The serger includes a spare lower knife. Replace the knife when it becomes dull to ensure clean fabric cuts.
- La sicurezza prima di tutto: Assicurarsi che la macchina sia scollegata.
- Access Knife: Open the front cover to access the lower knife.
- Rimuovere il vecchio coltello: Use the screwdriver to loosen the screw holding the lower knife in place and carefully remove it.
- Installare il nuovo coltello: Insert the spare lower knife, ensuring it is correctly positioned, and tighten the screw securely.
- Test: Close the cover and perform a test stitch on scrap fabric to verify proper cutting.
7. Risoluzione Dei Problemi
Questa sezione affronta i problemi più comuni che potresti riscontrare. Per una risoluzione dei problemi più dettagliata, consulta il manuale utente completo.
| Problema | Possibile causa | Soluzione |
|---|---|---|
| Punti saltati | Ago sbagliato, ago piegato, infilatura non corretta, tensione non corretta. | Replace needle with correct type/size, re-thread machine carefully, adjust tension settings. |
| Rottura del filo | Tensione elevata, filo di scarsa qualità, sbavature sul percorso del filo, infilatura errata. | Ridurre la tensione, utilizzare un filo di qualità, controllare che il percorso del filo non sia ostruito, quindi ripetere l'infilatura. |
| Arricciamento/allungamento del tessuto | Incorrect differential feed setting. | Adjust differential feed ratio according to fabric type (see Section 5.2). |
| La macchina non si avvia | Power cord not connected, power switch off, safety features engaged. | Check power connections, ensure switch is on, verify all covers are closed. |
8. Specifiche
| Caratteristica | Dettaglio |
|---|---|
| Marca | SINGER |
| Numero di modello | HD0400s |
| Colore | Grigio |
| Materiale | Metal (Heavy Duty Frame) |
| Dimensioni del prodotto (P x L x A) | 14"P x 11"L x 11.5"A |
| Fonte di alimentazione | Elettrico |
| Opzioni di cucitura | Filo 2/3/4 |
| Stitches Per Minute (SPM) | Fino a 1300 |
| Coltello da taglio | 60% Larger than standard models |
| Alimentazione differenziale | Regolabile |
| Orlo arrotolato | Piastra incorporata |
| Tipo di braccio | Braccio libero |
| Illuminazione | Luci a doppio LED |
| Portabilità | Maniglia per il trasporto incorporata |
| Codice GTIN (UPC) | 037431887269 |
9. Garanzia e supporto
For detailed warranty information, please refer to the official SINGER warranty documentation included with your purchase.
For comprehensive instructions, advanced techniques, and further troubleshooting, please download the complete User Manual (PDF) from the official SINGER website or via the link provided during purchase.
Scarica il manuale utente (PDF)
For customer support, visit the official SINGER websito o contattare il loro servizio clienti.