
Lampada solare 41906-SU
Sunlite LED Dimmer Switch User Manual
Model: 41906-SU
Introduzione
This manual provides comprehensive instructions for the installation, operation, and maintenance of your Sunlite LED Dimmer Switch. Designed for both residential and commercial applications, this dimmer switch offers precise control over various lighting types, including dimmable LED, CFL, incandescent, and halogen bulbs. Please read this manual thoroughly before installation and use to ensure safe and proper operation.
Informazioni sulla sicurezza
WARNING: RISK OF ELECTRIC SHOCK. Improper installation can lead to serious injury or death. Always turn off power at the circuit breaker before installation or servicing.
- Prima di iniziare qualsiasi lavoro elettrico, assicurarsi che l'alimentazione sia scollegata dall'interruttore automatico.
- Se non si è sicuri di alcuni passaggi, l'installazione deve essere eseguita da un elettricista qualificato.
- Do not use with non-dimmable bulbs.
- Questo dispositivo è destinato esclusivamente all'uso in ambienti interni.
- Rispettare tutte le normative elettriche locali e nazionali.
Contenuto della confezione
Verificare che tutti i componenti siano presenti prima dell'installazione:
- Sunlite LED Dimmer Switch (Quantity: 4)
- White Wallplate (Quantity: 4)
- Installation Hardware (Screws)
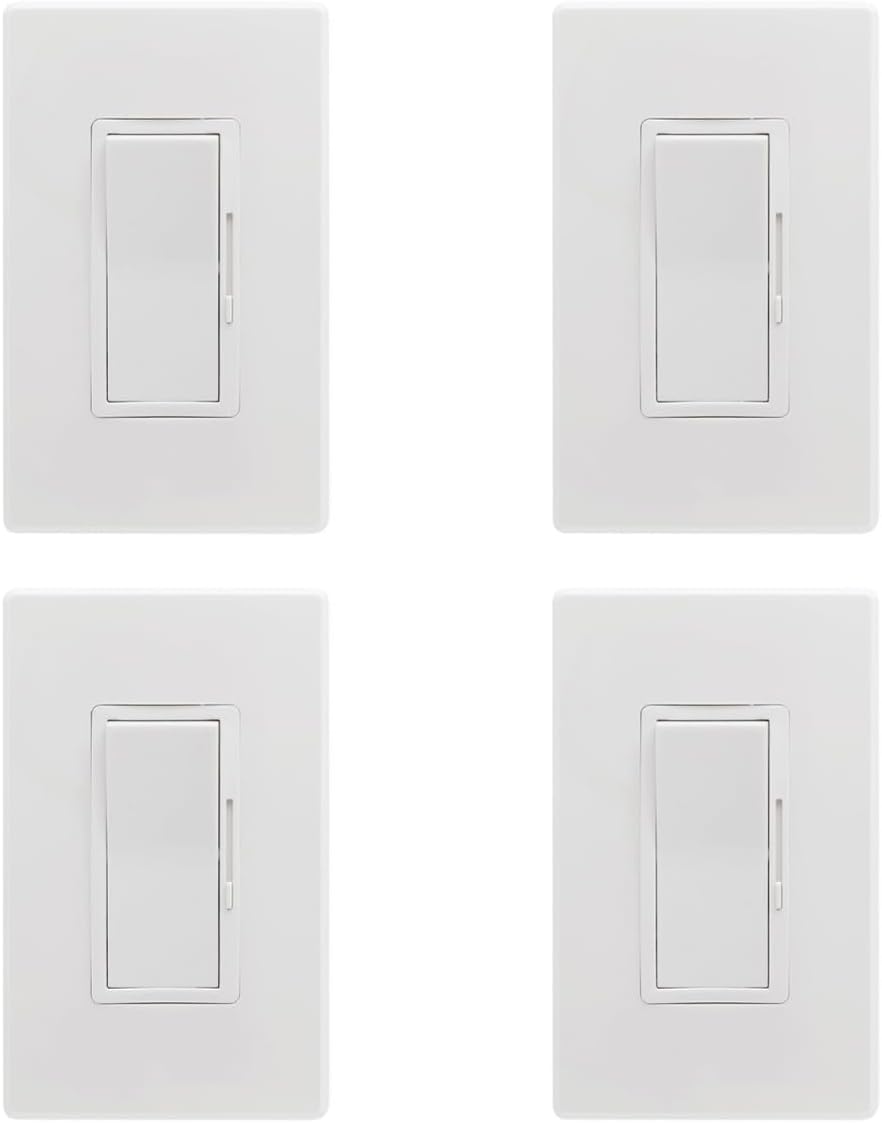
Image: Four Sunlite LED Dimmer Switches, each with a white wallplate, arranged in a 2x2 grid. This illustrates the typical package contents for the 4-pack.
Prodotto finitoview e dimensioni
The Sunlite LED Dimmer Switch features a sleek design with a large rocker switch for ON/OFF control and a sliding bar for dimming. It is designed for easy integration into standard electrical boxes.

Image: A technical diagram illustrating the dimensions of the Sunlite LED Dimmer Switch and its accompanying screwless wall plate. Key measurements are provided in inches: switch body (1.70 in width, 4.10 in height, 0.90 in depth) and wall plate (2.90 in width, 4.70 in height).
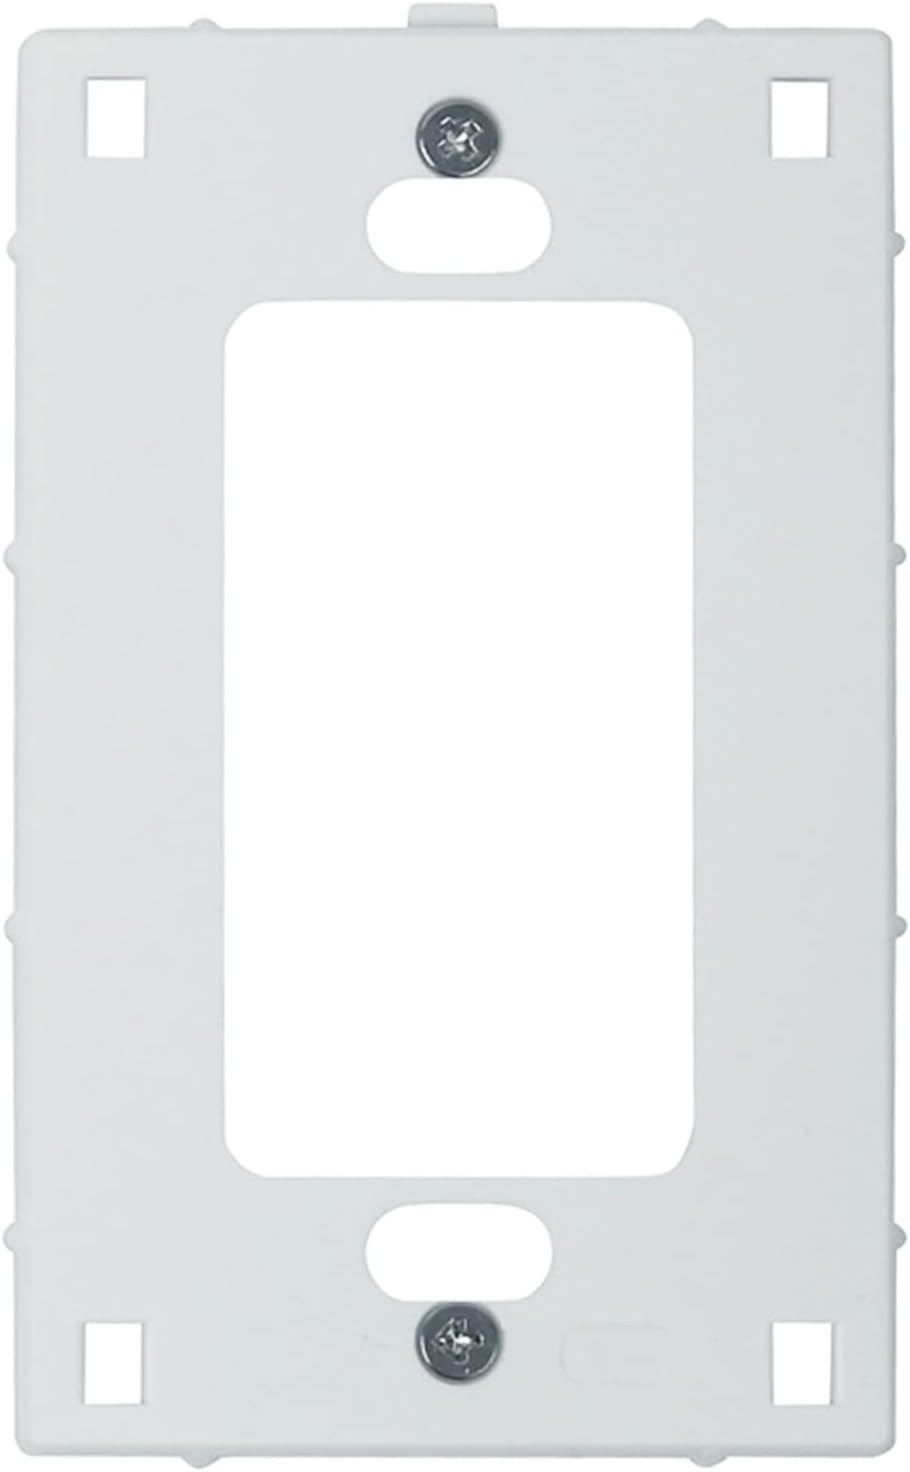
Immagine: Primo piano view of the Sunlite LED Dimmer Switch module without the wallplate, showing the rocker switch and the side-mounted slide dimmer control.

Image: A standalone white screwless wallplate, designed to cover the dimmer switch once installed, providing a clean and modern finish.
Specifiche
| Caratteristica | Specificazione |
|---|---|
| Modalità di funzionamento | OFF-NESSUNO-ON |
| Valutazione attuale | 5 Amps |
| Volume di eserciziotage | 120-277 Volt |
| Tipo di contatto | Normalmente aperto |
| Tipo di connettore | Clamp |
| terminale | Vite |
| Dimensioni articolo (L x P x A) | 1.14 x 2.9 x 4.71 pollici |
| Tipo di circuito | 3 vie |
| Tipo di attuatore | Sedia a dondolo |
| Materiale di contatto | Metallo |
| Valutazione internazionale di protezione | Grado di protezione IP65 |
| Numero di posizioni | 2 |
| Valutazione della temperatura superiore | 104 gradi Fahrenheit |
| Metodo di controllo | Tocco |
| Protocollo di connettività | X-10 |
| Colore | Bianco |
| Cosatage (Carico massimo) | 600 watts (Incandescent), 200 watts (LED) |
| Carico minimo | 3W (LED), 15W (Incandescent) |
| Frequenza | Frequenza 60 Hz |
| Stile | Moderno |
| Produttore | Sunshine Lighting |
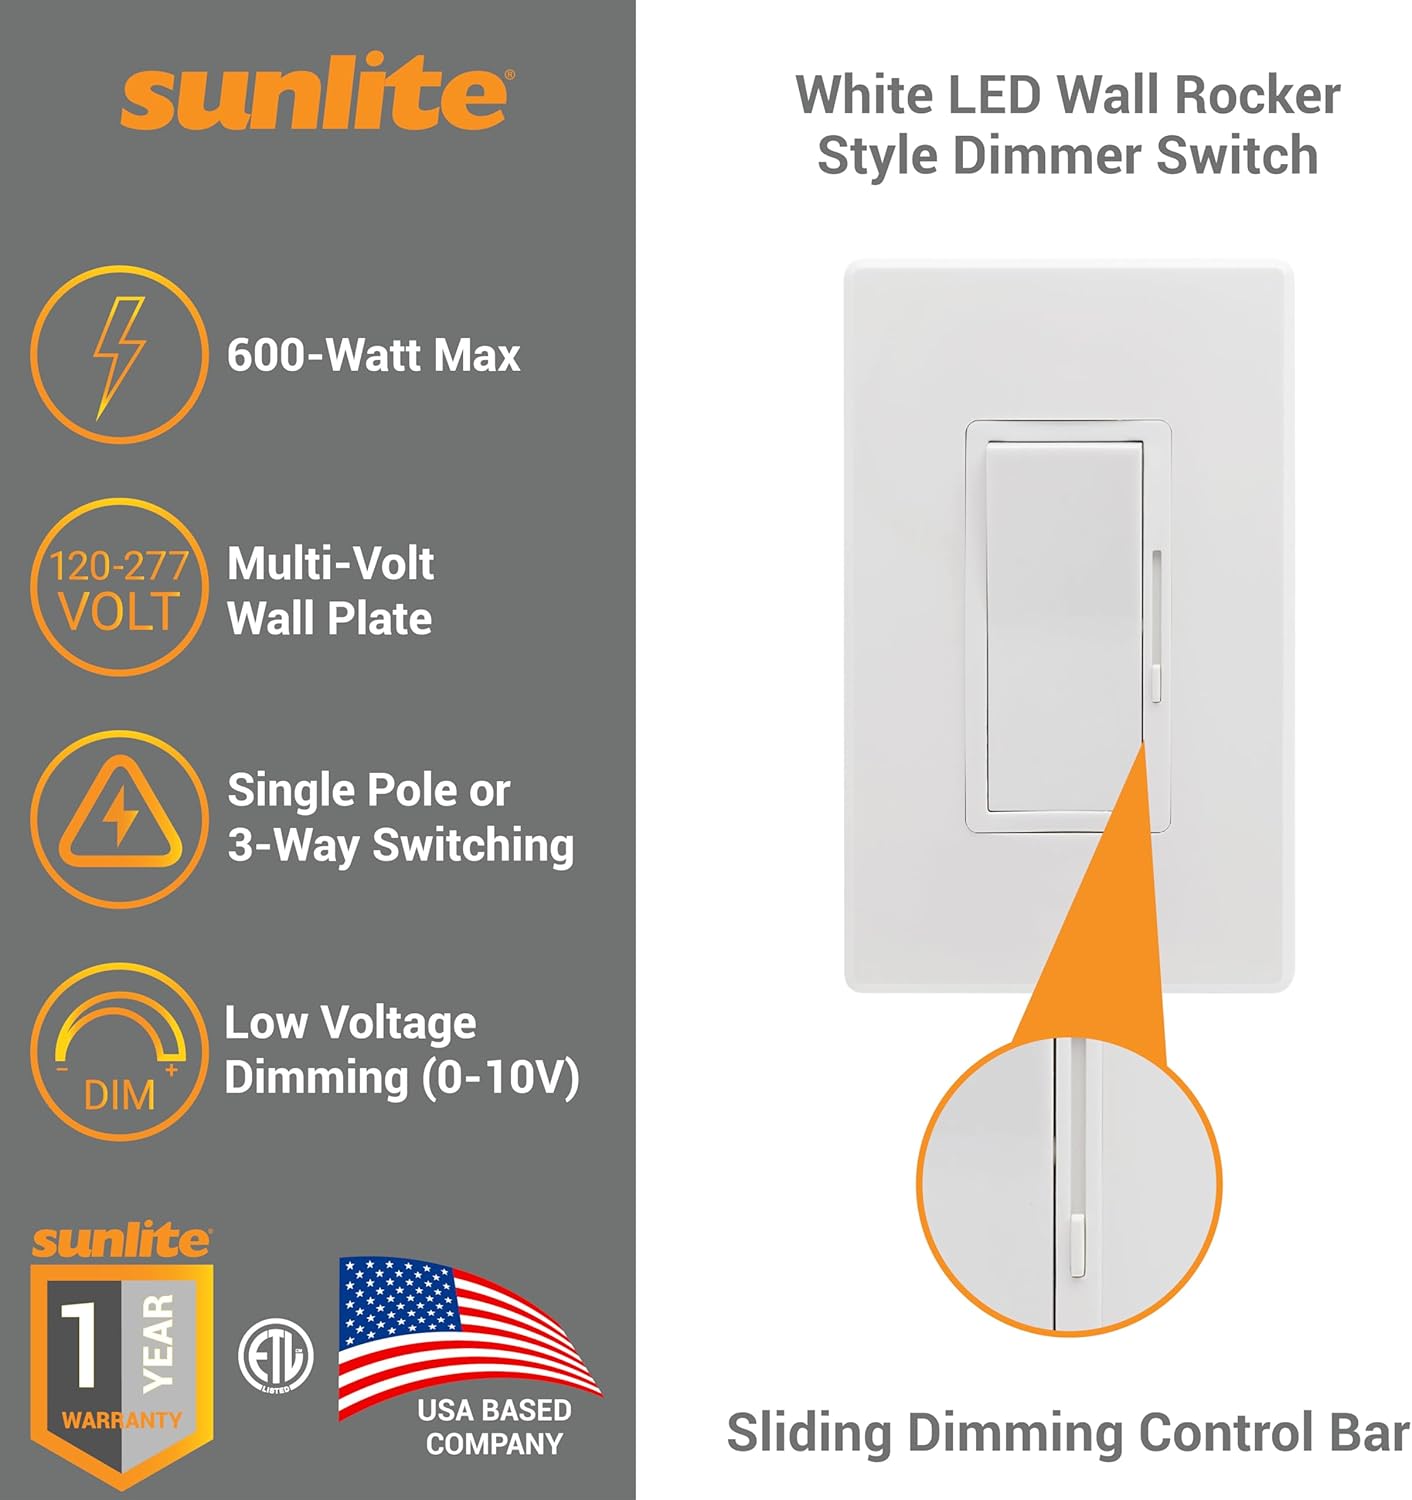
Image: Visual summary of key features including 600-Watt Max load, 120-277 Multi-Volt compatibility, Single Pole or 3-Way switching, and 0-10V Low Voltage Dimming.
Configurazione e installazione
The Sunlite LED Dimmer Switch is designed for easy installation in standard switch boxes. It supports both single pole and 3-way switching configurations.
Prima di iniziare:
- Turn OFF power at the circuit breaker or fuse box for the circuit you are working on.
- Confirm power is off by testing the existing switch or outlet with a voltagetester.
- Raccogli gli strumenti necessari: cacciavite, spelafili, nastro isolante, voltagetester.
Fasi di installazione:
- Remove the existing wall plate and switch from the electrical box.
- Carefully disconnect the wires from the old switch. Note which wire is connected to which terminal (e.g., Line, Load, Traveler, Ground).
- Connect the wires to the new Sunlite dimmer switch according to the wiring diagram for your specific setup (single pole or 3-way). Refer to the official installation manual for detailed wiring diagrams.
- Secure the dimmer switch into the electrical box using the provided screws.
- Attach the screwless wall plate.
- Ripristinare l'alimentazione all'interruttore automatico.
- Test the dimmer switch to ensure proper operation.

Image: A Sunlite dimmer switch installed in a wall, illustrating its compatibility with both single pole and 3-way wiring configurations.

Image: A graphic encouraging users to consult the product guides and documents for detailed installation instructions, with arrows pointing downwards to where such resources would typically be found.
For detailed wiring diagrams and complete installation instructions, please refer to the official Installation Manual (PDF): Scarica il manuale di installazione
Istruzioni per l'uso
The Sunlite LED Dimmer Switch is designed for intuitive operation:
- Controllo ON/OFF: Press the large rocker switch to turn the lights ON or OFF.
- Controllo oscuramento: Use the small sliding bar on the side of the rocker switch to adjust the light intensity. Slide up to increase brightness and down to decrease brightness.
- The 0-10V dimming control ensures smooth and precise adjustment of light levels.

Image: A Sunlite dimmer switch installed in a room, emphasizing its LED dimming control feature. The accompanying text explains that the sliding bar (0-10V) provides smooth, precise control for various dimmable bulb types.

Image: An informational graphic comparing TRIAC dimmers and 0-10 Volt dimmers. It explains that 0-10V dimmers offer more controlled dimming, require separate low-voltage wires, and are commonly used in commercial spaces, with a visual representation of light levels from 0V (OFF) to 10V (100%).
Manutenzione
The Sunlite LED Dimmer Switch requires minimal maintenance:
- Pulizia: To clean the switch and wall plate, wipe with a soft, damp panno. Non utilizzare detergenti abrasivi o solventi. Assicurarsi che l'alimentazione sia spenta prima di pulire.
- Ispezione: Periodically check the switch for any signs of damage or loose connections. If any issues are found, turn off power at the breaker and consult a qualified electrician.
Risoluzione dei problemi
If you encounter issues with your Sunlite LED Dimmer Switch, try the following solutions:
| Problema | Possibile causa | Soluzione |
|---|---|---|
| Le luci non si accendono. | No power to the switch; loose wiring; faulty bulb; circuit breaker tripped. | Check circuit breaker. Ensure all wire connections are secure. Test bulb in another fixture. |
| Le luci non si abbassano né tremolano. | Non-dimmable bulbs; incompatible bulb type; minimum load not met; loose wiring. | Ensure bulbs are dimmable LED, CFL, incandescent, or halogen. Verify total wattage meets minimum load (3W LED / 15W Incandescent). Check wiring connections. |
| Dimmer switch is hot to the touch. | Overload; improper installation. | Garantire watt totaletage of connected bulbs does not exceed maximum load (200W LED / 600W Incandescent). Turn off power and re-check wiring. If problem persists, consult an electrician. |
| Switch does not fit in electrical box. | Box is too shallow or full of wires. | Ensure proper box depth. Consult an electrician if the box is too crowded. |
Garanzia e supporto
Sunlite products are designed for reliability and performance. This dimmer switch comes with a 1-year warranty from the date of purchase, covering defects in materials and workmanship.
For warranty claims or technical support, please contact Sunlite customer service. Keep your proof of purchase for warranty validation.
For additional information or assistance, visit the official Sunlite Store: Sunlite Store on Amazon
Ask a question about this manual
Ask about setup, troubleshooting, compatibility, parts, safety, or missing instructions. Manuals+ will review the question and use this page’s manual context to help answer it.