
1. Prodotto finitoview
The Electro-Harmonix Pico Triboro Bridge is a versatile multi-mode drive pedal designed to provide a wide range of tonal possibilities. It features three distinct modes: Overdrive, Distortion, and Fuzz, allowing musicians to bridge any gap in their gain requirements. With its powerful EQ capabilities, input contouring, and compact pico-sized footprint, the Triboro Bridge can serve as a foundational element for your tone or offer a fresh alternative to your existing drive pedals.
Caratteristiche principali:
- Wide range of saturation with Overdrive, Distortion, and Fuzz modes.
- Treble control boosts or cuts high end in Overdrive and Distortion modes.
- Bass control boosts or cuts low end in Overdrive and Distortion modes.
- Fuzz mode features a dedicated Gate control and a Low Pass Filter.
- Includes a power adapter for immediate use.

Immagine: Angolata view of the Electro-Harmonix Pico Triboro Bridge pedal, highlighting its compact size and control knobs.
2. Configurazione e connessioni
Follow these steps to connect your Pico Triboro Bridge pedal to your audio setup:
- Collegamento elettrico: Connect the included 9V DC power adapter to the power jack on the top of the pedal. Ensure the power supply meets the pedal's specifications (9V DC, center-negative).
- Connessione di ingresso: Connect your instrument (guitar, bass, etc.) to the INPUT jack on the right side of the pedal using a standard 1/4-inch instrument cable.
- Connessione di uscita: Collega il jack OUTPUT sul lato sinistro del pedale al tuo amplifier o il pedale successivo nella catena del segnale utilizzando un cavo per strumenti standard da 1/4 di pollice.
- Accensione: Once all connections are secure, plug the power adapter into a wall outlet. The pedal's LED will illuminate when active.
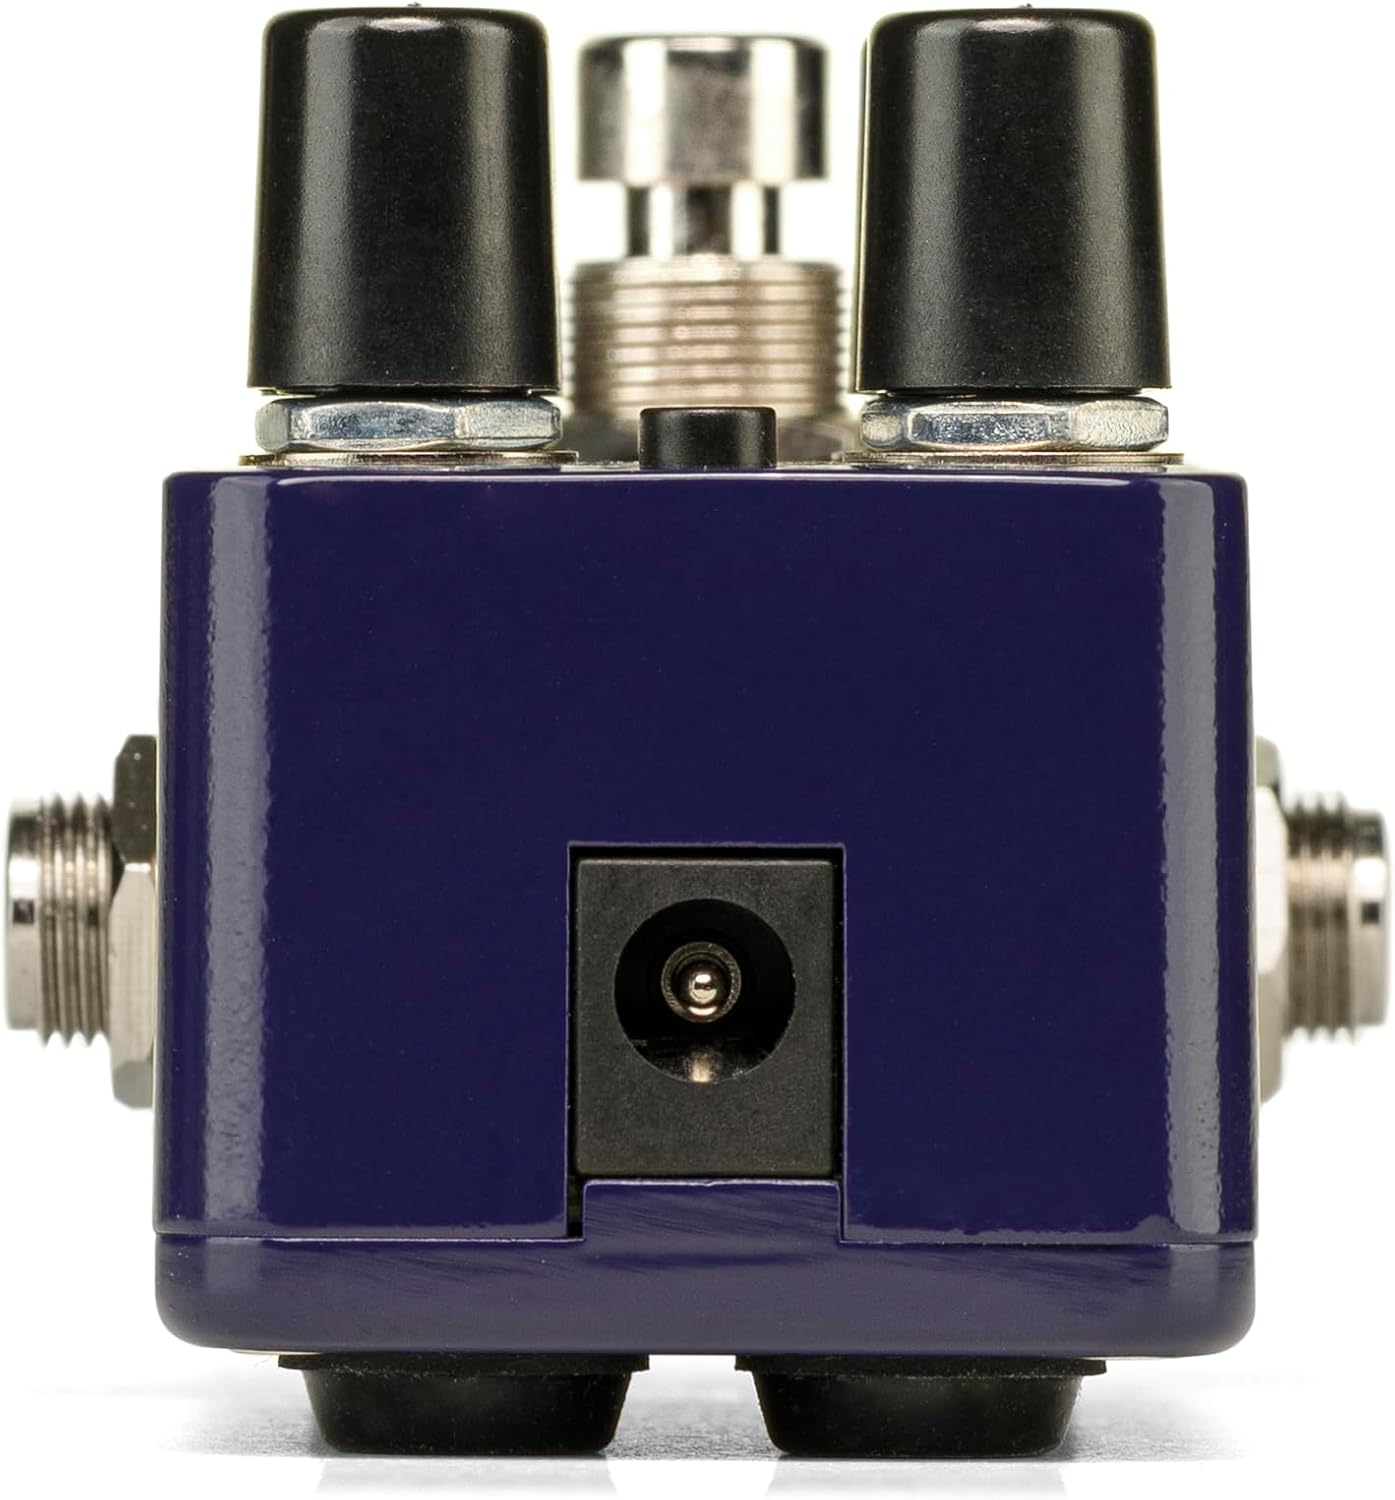
Immagine: Posteriore view of the Pico Triboro Bridge pedal, showing the power input jack for connecting the power adapter.
3. Controlli e funzionamento
The Pico Triboro Bridge features intuitive controls for shaping your desired drive tone. Understanding each knob and button is key to unlocking its full potential.
Manopole di controllo:
- VOL (volume): Controls the overall output level of the pedal. Adjust this to balance the effect's volume with your bypassed signal or other effects.
- GUADAGNO: Controls the intensity of the drive, distortion, or fuzz effect. Higher settings result in more saturation and sustain.
- BASS / GATE:
- In Overdrive and Distortion modes, this knob functions as a BASS control, allowing you to boost or cut low frequencies.
- In Fuzz mode, this knob functions as a CANCELLO control, adjusting the noise gate threshold to eliminate unwanted noise and feedback.
- TREBLE / TONE:
- In Overdrive and Distortion modes, this knob functions as a ALTI control, allowing you to boost or cut high frequencies.
- In Fuzz mode, this knob functions as a TONO control, specifically a Low Pass Filter, for extreme tonal variations and shaping the fuzz character.
TYPE Button:
The small button labeled "TYPE" at the top of the pedal is used to select between the three primary drive modes and to engage the Input Contour Mode.
- Selezione della modalità: Pressing the TYPE button cycles through the Overdrive (green LED), Distortion (orange LED), and Fuzz (red LED) modes.
- Input Contour Mode: Press and hold the TYPE button to enable or disable the Input Contouring EQ. When active, this mode applies a specific EQ to the input signal for a tighter, more modern character across all drive modes.

Immagine: in alto view of the Pico Triboro Bridge pedal, illustrating the layout of the VOL, GAIN, BASS/GATE, TREBLE/TONE knobs, and the TYPE button.
4. Drive Modes Explained
The Pico Triboro Bridge offers three distinct drive modes, each with its unique sonic characteristics:
- Overdrive Mode (Green LED): This mode provides a gain spectrum ranging from low to mid-level saturation with an open voicing. It is ideal for use as a subtle "always-on" drive, adding warmth and grit, or as a solo boost to push your amppiù vivace.
- Distortion Mode (Orange LED): Engaging this mode provides additional gain-staging, delivering tones from crunchy rhythms to fully saturated leads. It offers a more aggressive and compressed sound compared to the Overdrive mode.
- Fuzz Mode (Red LED): This mode transforms the pedal into a high-gain fuzz effect with over-the-top saturation. The BASS knob becomes a GATE control, and the TREBLE knob becomes a Low Pass Filter, allowing for unique and extreme tonal variations specific to fuzz.
Video: Official demonstration of the Electro-Harmonix Pico Triboro Bridge pedal, showcasing its Overdrive, Distortion, and Fuzz modes, along with an overview of its controls and input contouring feature. This video highlights the tonal versatility of the pedal for both guitar and bass.
5. Specifiche
| Caratteristica | Specificazione |
|---|---|
| Peso dell'articolo | 1.21 libbre (0.55 chilogrammi) |
| Dimensioni del prodotto | 3.65"L x 2"W x 2"H (3.65 x 2 x 2 pollici) |
| Numero modello articolo | PICO TRIBORO |
| Materiale del corpo | Plastica, Metallo |
| Colore | Blu |
| Tipo di connettore | Power Adapter (1/4-inch Audio Hardware Interface) |
| Formato del segnale | Analogico |
| Fonte di alimentazione | Elettrico con cavo |
| Voltage | 9 Volt |
6. Manutenzione
To ensure the longevity and optimal performance of your Pico Triboro Bridge pedal, follow these maintenance guidelines:
- Pulizia: Utilizzare un panno morbido e asciutto per pulire l'esterno del pedale. Evitare detergenti abrasivi, solventi o umidità eccessiva, poiché potrebbero danneggiare la finitura o i componenti interni.
- Magazzinaggio: Quando non viene utilizzato, conservare il pedale in un luogo fresco e asciutto, lontano dalla luce solare diretta, da temperature estreme e da elevata umidità.
- Connessioni: Controllare periodicamente tutti i collegamenti dei cavi per verificare che non siano usurati. Assicurarsi che i jack siano privi di polvere e detriti.
- Alimentazione elettrica: Always use the recommended 9V DC center-negative power adapter. Using an incorrect power supply can damage the unit and void the warranty.
7. Risoluzione Dei Problemi
If you encounter issues with your Pico Triboro Bridge pedal, refer to the following common troubleshooting steps:
- Nessun suono:
- Controllare tutti i collegamenti dei cavi (strumento all'ingresso, uscita all'ingresso) amp).
- Assicurarsi che l'adattatore di alimentazione sia collegato correttamente e funzioni.
- Verifica che il tuo strumento e ampil lifier funziona correttamente.
- Check the pedal's bypass status; if it's true bypass, sound should pass even if the pedal is off.
- Suono debole o distorto (inaspettatamente):
- Check the GAIN and VOL knob settings.
- Ensure the correct drive mode (Overdrive, Distortion, Fuzz) is selected for your desired sound.
- If in Fuzz mode, adjust the GATE and TONE (Low Pass Filter) knobs, as extreme settings can significantly alter the sound.
- Test with different cables and power supplies to rule out faulty accessories.
- Rumore/ronzio eccessivo:
- Ensure you are using a regulated, isolated power supply.
- If in Fuzz mode, adjust the GATE knob to reduce unwanted noise.
- Controllare la presenza di loop di terra nella configurazione.
- Allontanare il pedale dai trasformatori di potenza o da altre fonti di interferenza elettromagnetica.
8. Garanzia e supporto
Electro-Harmonix products are designed for reliability and performance. For warranty information, product registration, or technical support, please refer to the official Electro-Harmonix webo contattare il servizio clienti. Conservare la ricevuta d'acquisto come prova d'acquisto per eventuali reclami in garanzia.
Per ulteriore assistenza, visitare: www.ehx.com

