
TAB Fairy 10
TAB Fairy10 Robot Vacuum and Mop Combo
Manuale d'uso
Introduzione
Welcome to the user manual for your TAB Fairy10 Robot Vacuum and Mop Combo. This advanced cleaning device is designed to provide comprehensive floor care with its powerful 6000 Pa suction, hidden LiDAR navigation for precise mapping, and intelligent features such as self-drying, auto-empty, and auto-refill capabilities. Its 15mm auto-lift dual mops and AI 3.0 obstacle avoidance ensure efficient and thorough cleaning across various floor types.
Contenuto della confezione
Si prega di verificare che tutti gli articoli elencati di seguito siano inclusi nel pacchetto:
- Robot Vacuum × 1
- Base di ricarica × 1
- Adattatore × 1
- HEPA Filters × 4 (2 pairs)
- Spazzola per la pulizia × 1
- Side Brushes × 4 (2 pairs)
- Manuale dell'utente × 1
- Cavo di alimentazione × 1
- Disposable Dust Bags × 2
- Mop Cloths × 2 Pairs

Figure 1: All included components in the TAB Fairy10 package.
Impostare
1. Disimballaggio e posizionamento
- Remove all packaging materials and protective films from the robot and the charging base.
- Place the charging base against a wall on a hard, level surface. Ensure there is at least 0.5 meters (1.6 feet) of clear space on both sides and 1.5 meters (4.9 feet) in front of the base.
- Connect the power cable to the charging base and plug it into a power outlet.
2. Ricarica del robot
- Posizionare il robot sulla base di ricarica. Assicurarsi che i contatti di ricarica sul robot siano allineati con quelli sulla base.
- The robot will automatically begin charging. For first-time use, fully charge the robot before operation (approximately 6 hours).
3. Riempimento dei serbatoi dell'acqua
- Open the top cover of the charging base to access the clean water tank and dirty water tank.
- Remove the clean water tank and fill it with clean tap water. You may add a small amount of non-foaming, robot-safe cleaning solution if desired.
- Assicurarsi che il serbatoio dell'acqua sporca sia vuoto prima di avviare un ciclo di pulizia.
- Return both tanks to their respective slots in the charging base.

Figure 2: The TAB Fairy10 Robot Vacuum and its comprehensive charging station.

Figura 3: Oltreview of the station's automated functions: self-cleaning, self-emptying, self-drying, and self-refilling.
Istruzioni per l'uso
1. Accensione/Spegnimento
- To power on, press and hold the power button on the robot for 3 seconds until the indicator lights up.
- To power off, press and hold the power button for 3 seconds while the robot is stationary.
2. Connessione all'app mobile
- Download the official TAB app from your smartphone's app store.
- Follow the in-app instructions to connect your robot to your home Wi-Fi network. This will enable remote control, scheduling, map management, and cleaning mode selection.
3. Modalità di pulizia
The TAB Fairy10 supports various cleaning modes, selectable via the mobile app:
- Modalità vuoto: Per la raccolta di detriti secchi.
- Modalità Mocio: Per la pulizia a umido di pavimenti duri.
- Modalità aspirapolvere e lavapavimenti: Aspirazione e lavaggio simultanei.
- Pulizia spot: Pulizia concentrata per aree sporche specifiche.
- Pulizia delle zone: Pulisce le aree definite dall'utente sulla mappa.
4. Navigazione ed evitamento degli ostacoli
The robot utilizes hidden LiDAR navigation to create precise maps of your home, ensuring efficient cleaning paths. Its AI 3.0 obstacle avoidance technology helps it detect and navigate around common household items, reducing the chance of getting stuck.
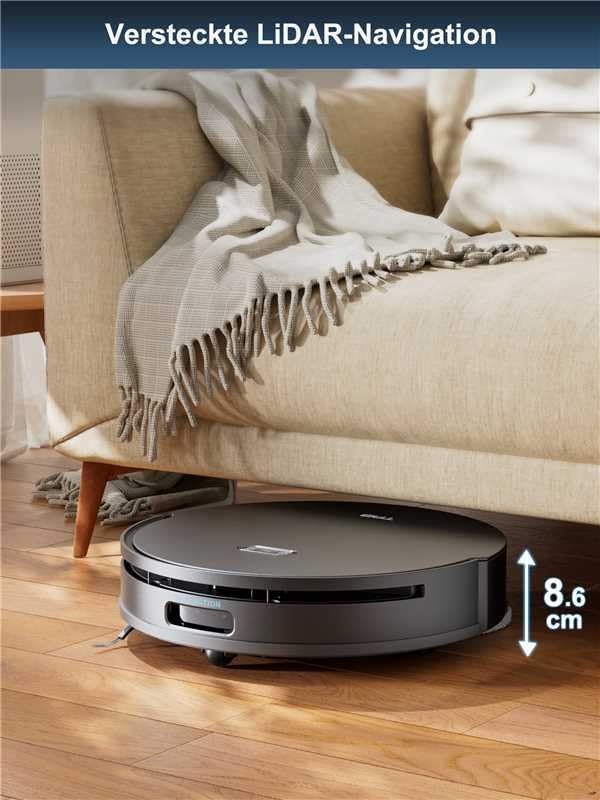
Figure 4: The robot's hidden LiDAR navigation allows it to clean under furniture effectively.
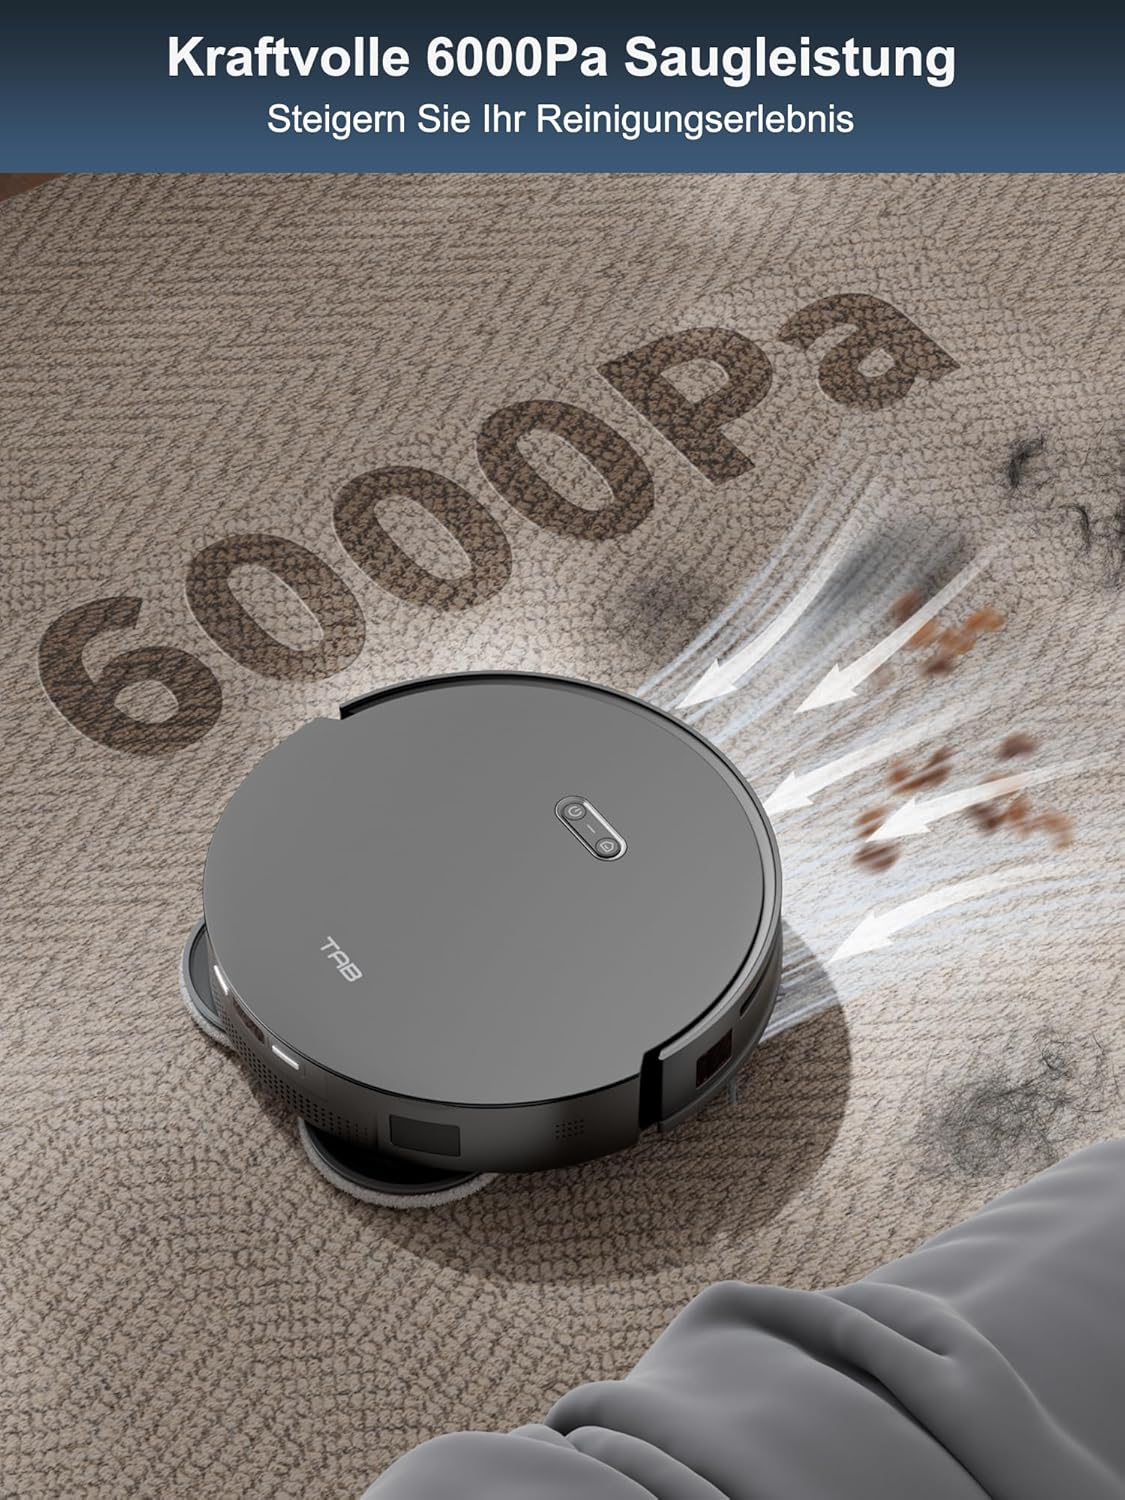
Figure 5: The powerful 6000Pa suction ensures thorough cleaning of various debris.

Figure 6: AI 3.0 obstacle avoidance helps the robot navigate around household items.
5. Automatic Mop Lifting and Dual Dirt Solution
The robot features automatic mop lifting by 15mm when it detects carpets, preventing wetting. For mopping, it applies 10N pressure and rotates at 180 rpm, providing effective scrubbing for stubborn dirt.

Figure 7: The automatic 15mm mop lifting feature protects carpets during mopping cycles.

Figure 8: The dual dirt solution combines high-speed rotation and pressure for effective mopping.
Manutenzione
Una manutenzione regolare garantisce prestazioni ottimali e prolunga la durata del tuo robot aspirapolvere.
1. Emptying the Dustbin and Replacing Dust Bag
- The robot automatically empties its internal dustbin into the disposable dust bag in the charging base.
- Replace the disposable dust bag in the charging base when the indicator light or app notification indicates it is full.
2. Pulizia dei panni per mocio
- The charging base automatically cleans and dries the mop pads after each mopping cycle.
- Periodically remove the mop pads and hand wash them with water and mild detergent to remove any residual dirt. Allow them to air dry completely before reattaching.
3. Pulizia dei filtri
- Tap the HEPA filters gently to remove loose dust. Do not wash HEPA filters with water.
- Replace HEPA filters every 3-6 months, or as needed, depending on usage.
4. Pulizia delle spazzole
- Remove the main brush and side brushes. Use the provided cleaning tool to cut and remove any tangled hair or debris.
- Wipe the brushes with a dry cloth.
5. Pulizia dei sensori e dei contatti di ricarica
- Wipe all sensors (cliff sensors, wall sensor, LiDAR sensor window) and charging contacts on both the robot and the charging base with a clean, dry cloth.
Risoluzione dei problemi
| Problema | Possibile causa | Soluzione |
|---|---|---|
| Il robot non si accende o non si carica. | Battery low; charging contacts dirty; power cable disconnected. | Ensure robot is on charging base; clean charging contacts; check power cable connection. |
| Il robot si blocca spesso. | Ostacoli sul percorso; sensori sporchi. | Clear cables, small objects, and thick rugs; clean all sensors. |
| Scarsa efficienza di pulizia. | Dustbin full; brushes tangled; filters clogged; water tank empty. | Empty dustbin; clean/replace brushes; clean/replace filters; refill clean water tank. |
| Problemi di connessione all'app. | Incorrect Wi-Fi password; robot too far from router; app outdated. | Verify Wi-Fi credentials; move robot closer to router; update app; restart robot and router. |
| I panni per il mocio non si asciugano correttamente. | Insufficient airflow; station vents blocked. | Ensure station is in a well-ventilated area; clear any obstructions around station vents. |
Specifiche
| Caratteristica | Specificazione |
|---|---|
| Marca | SCHEDA |
| Nome del modello | Fairy 10 (M50-PT-US) |
| Caratteristica speciale | Auto-Docking, Self-Drying, Auto Empty & Refill, 15mm Auto-Lift Dual Mops, Obstacle Avoidance |
| Colore | Nero |
| Dimensioni del prodotto (L x P x A) | 18.8" x 18.8" x 19.2" |
| Tipo di filtro | Cartuccia (HEPA) |
| Durata della batteria | 120 minuti |
| Fonte di alimentazione | Alimentato a batteria |
| Vol. batteria al litiotage | 3.6 Volt |
| Fattore di forma | Rectangular (Base), Round (Robot) |
| Peso dell'articolo | 41.5 libbre |
| Produttore | SHENZHEN FENGCHAO NEW TECHNOLOGY CO., LTD |
| Data prima disponibilità | 7 novembre 2024 |
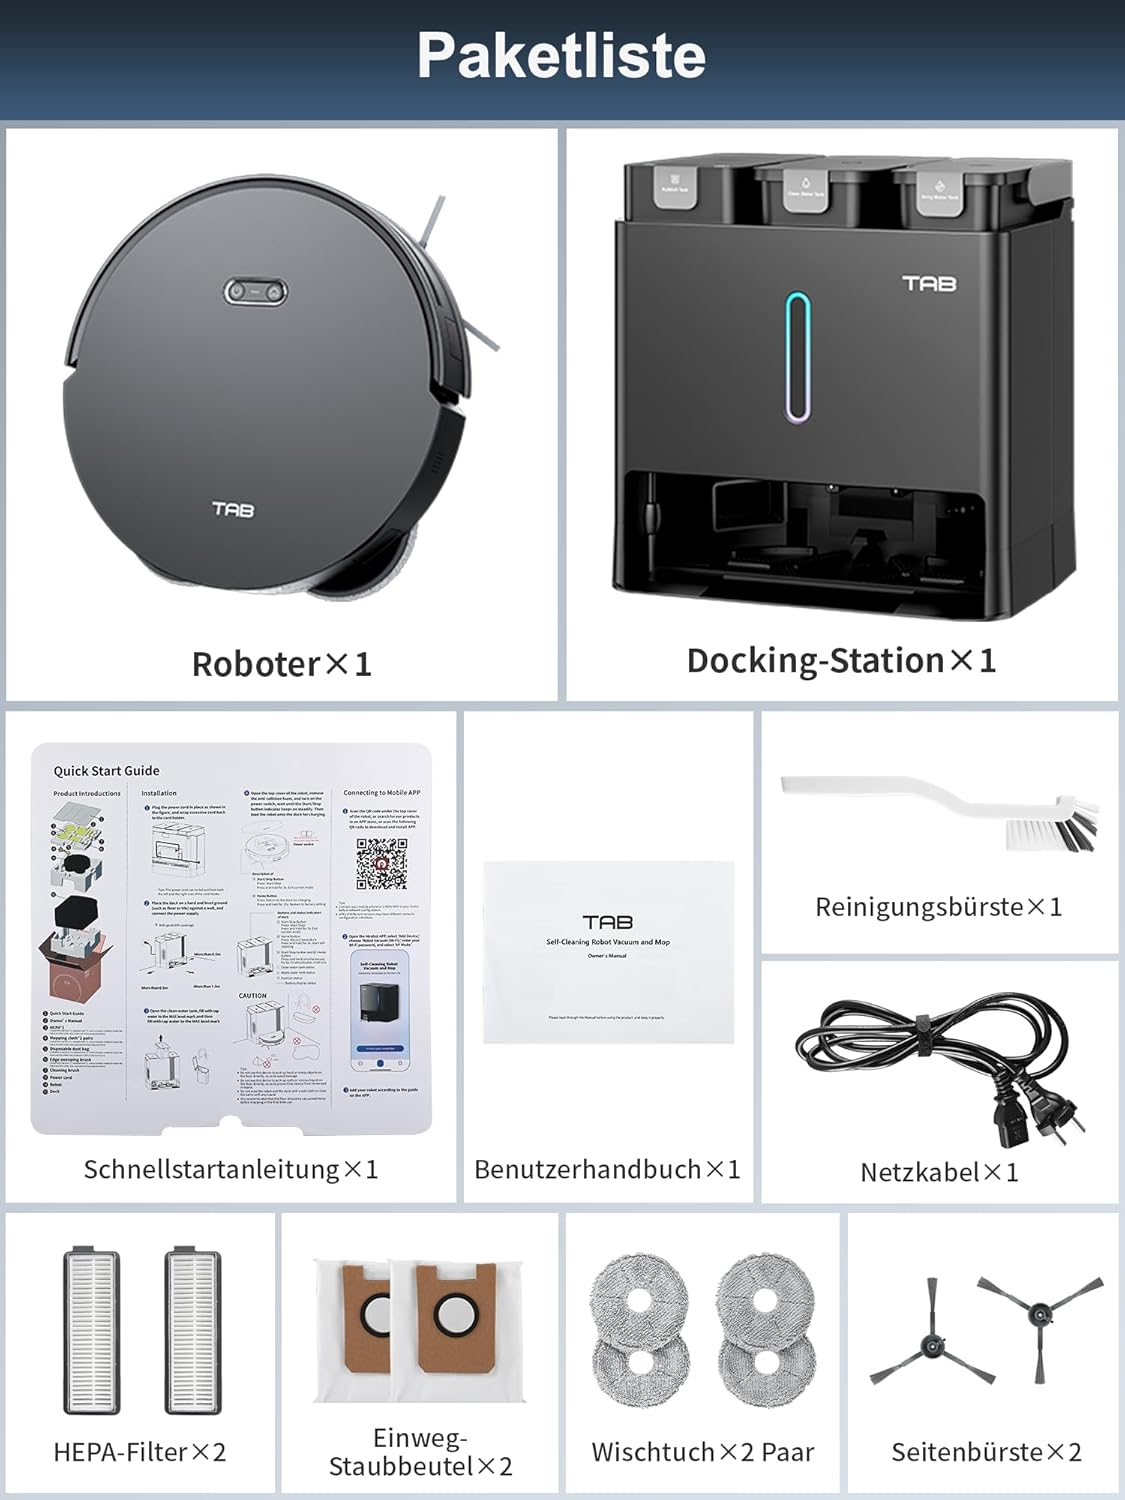
Figure 9: Regulatory and manufacturing information.
Garanzia e supporto
The TAB Fairy10 Robot Vacuum and Mop Combo comes with a manufacturer's warranty. For specific warranty terms and conditions, please refer to the warranty card included in your package or contact TAB customer support.
For technical assistance, troubleshooting, or spare parts inquiries, please contact the manufacturer or your point of purchase. Keep your purchase receipt and product serial number handy when contacting support.
Ask a question about this manual
Ask about setup, troubleshooting, compatibility, parts, safety, or missing instructions. Manuals+ will review the question and use this page’s manual context to help answer it.