MINIX H1
Manuale utente dell'extender HDMI wireless MINIX H1
Modello: H1
1. Introduzione
The MINIX H1 Wireless HDMI Extender provides a seamless, plug-and-play solution for wirelessly transmitting high-definition video and audio. This system consists of a transmitter and a receiver, designed for easy connection to laptops, PCs, cameras, gaming consoles (like PS5), and output devices such as monitors, TVs, and projectors. It supports 1080P HD transfer with a robust 2.4/5GHz transmission protocol, offering extended range and low latency for various applications including business presentations, classroom use, and home entertainment.
2. Contenuto della confezione
Si prega di verificare che tutti gli articoli siano presenti nel pacco:
- MINIX H1 Wireless HDMI Transmitter Unit
- MINIX H1 Wireless HDMI Receiver Unit
- USB-A to USB-C Power Cable (for Receiver)
- Manuale d'uso

Figure 2.1: The MINIX H1 Wireless HDMI Extender package contents, showing the transmitter and receiver units.
3. Prodotto finitoview
The MINIX H1 system comprises two main components: a Transmitter (TX) and a Receiver (RX). Both units feature an HDMI connector and a USB connector for power. The Receiver unit also includes a Pair/Reset button on its side.

Figure 3.1: Detailed diagram showing the HDMI and USB ports on both the Transmitter and Receiver units. The Pair/Reset button is located on the side of the Receiver. The cable length is approximately 693mm.
4. Impostazione
The MINIX H1 is designed for seamless plug-and-play operation, requiring no drivers or apps. Follow these steps for quick setup:
- Collegare il trasmettitore (TX): Plug the HDMI connector of the Transmitter unit into the HDMI output port of your source device (e.g., laptop, PC, gaming console).
- Alimentare il trasmettitore (TX): Plug the USB connector of the Transmitter unit into a USB-A port on your source device or a separate 5V/0.5A USB power adapter.
- Collegare il ricevitore (RX): Plug the HDMI connector of the Receiver unit into an available HDMI input port on your display device (e.g., TV, monitor, projector).
- Alimentare il ricevitore (RX): Plug the USB connector of the Receiver unit into a USB-A port on your display device or a separate 5V/0.5A USB power adapter. Note: The Receiver requires an external USB-A power source with a minimum of 5V/0.5A output.
- Connessione automatica: The transmitter and receiver units will automatically pair and establish a connection within approximately 12 seconds.

Figure 4.1: Visual representation of the plug-and-play setup, highlighting no drivers, no apps, and no login required.

Figure 4.2: The MINIX H1 offers an extended wireless transmission range of up to 50 meters (164 feet) in an open environment. For optimal performance, it is best used within 25 meters. When transmitting signals through walls, the effective distance is within 10 meters (32 feet).
5. Istruzioni per l'uso
Once connected, the MINIX H1 will automatically mirror your source device's display to the connected monitor or TV. You can typically switch between mirroring and extending your display directly from your source device's operating system settings.
- Modalità specchio: Duplicates your source device's screen on the external display.
- Modalità estesa: Extends your desktop across both displays, allowing for more screen real estate.

Figure 5.1: The MINIX H1 provides flexible display options, allowing you to mirror your screen or extend your desktop across multiple displays.
The system delivers Full HD 1080P resolution at 60Hz, ensuring sharp and vibrant visuals with swift and low-latency 5GHz transmission.
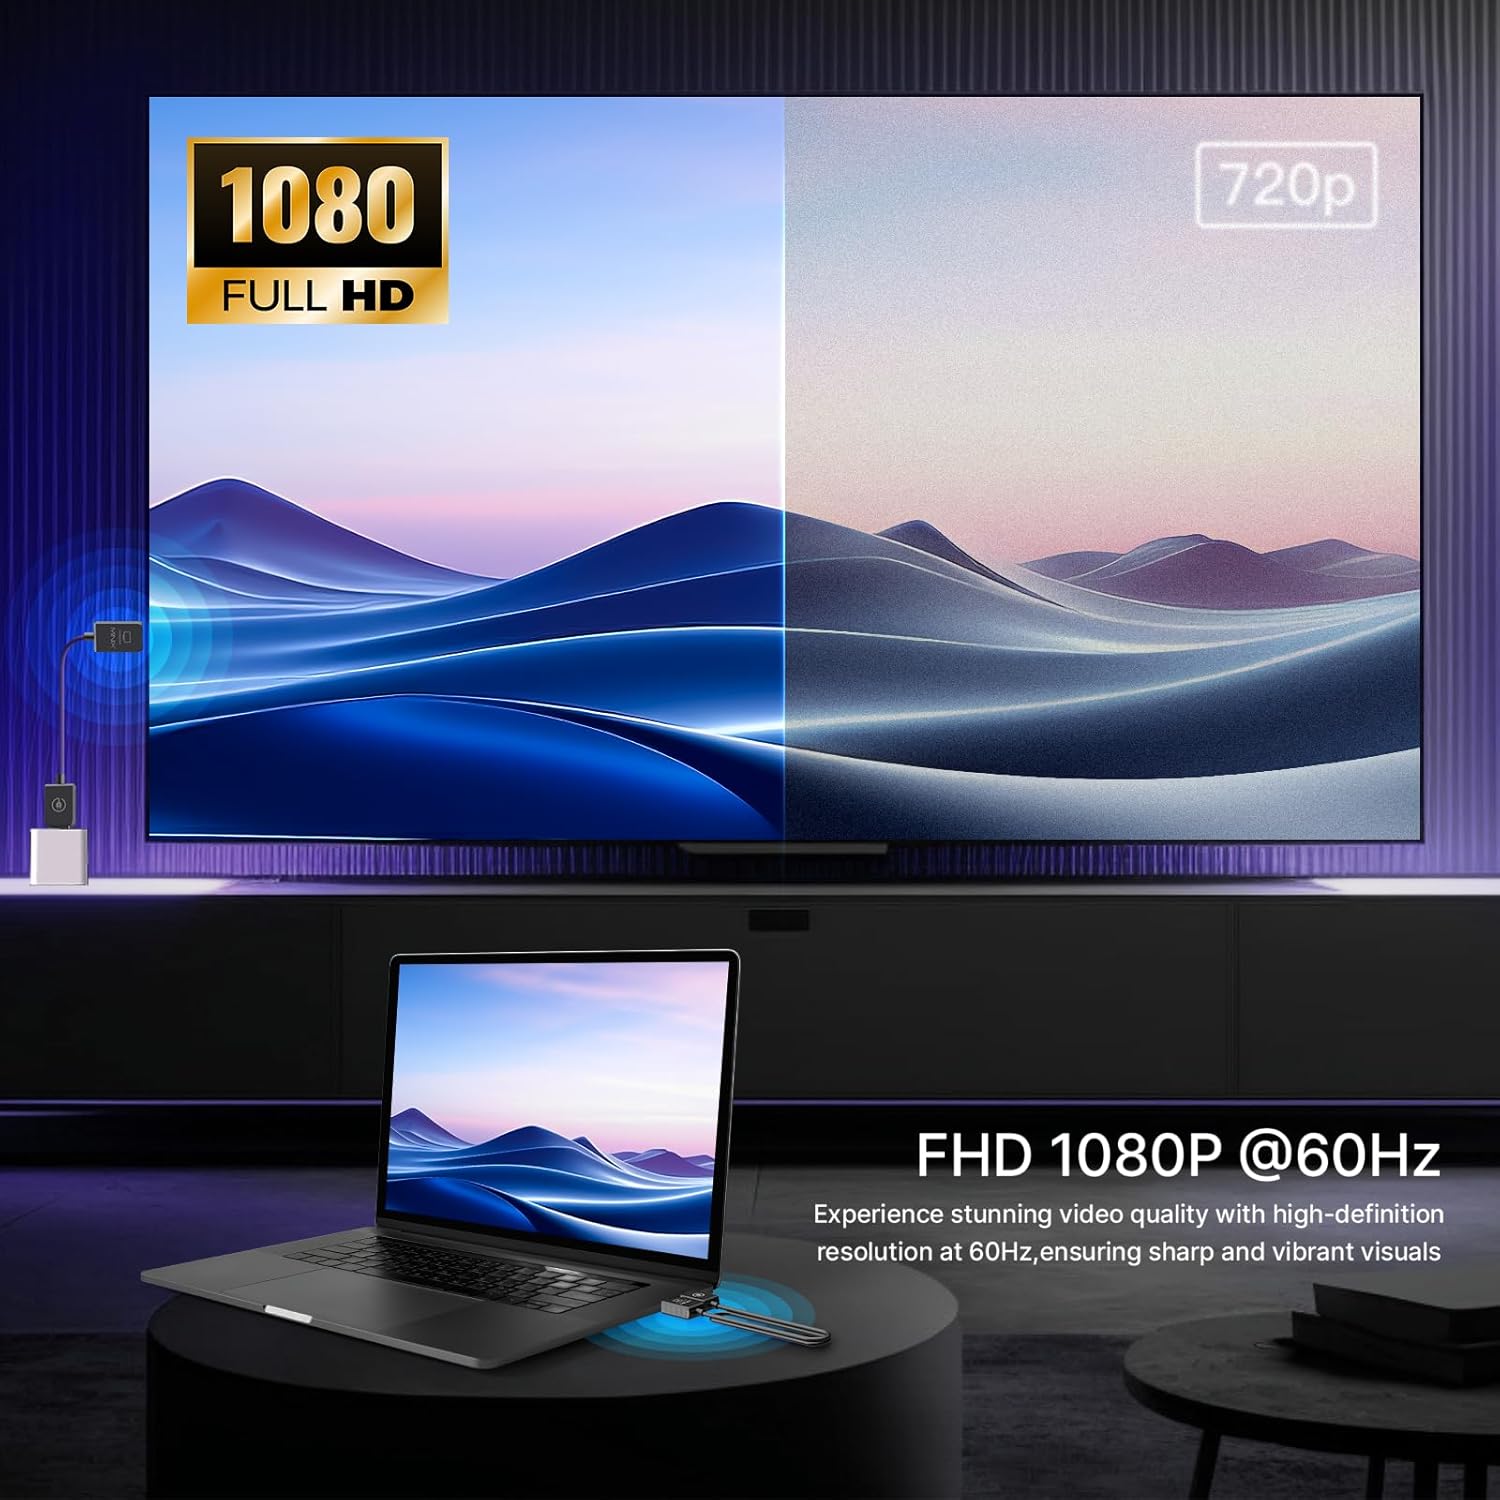
Figure 5.2: The MINIX H1 provides Full HD 1080P resolution at 60Hz for high-definition video quality.
Video ufficiale del prodotto:
Video 5.1: An official product video demonstrating the MINIX H1 Wireless HDMI Extender in use, highlighting its plug-and-play functionality and seamless display mirroring.
6. Specifiche
| Caratteristica | Dettaglio |
|---|---|
| Dimensioni del prodotto | 26.9 x 0.7 x 0.35 pollici |
| Peso dell'articolo | 1.23 once |
| Numero di modello | H1 |
| Marca | MINIX |
| Colore | Nero |
| Tipo di connettore | Cavo HDMI |
| Dispositivi compatibili | Personal computer |
| Protocollo di trasmissione wireless | 2.4/5GHz |
| Max Wireless Range (Open Environment) | 50 m (164 piedi) |
| Max Wireless Range (Through Walls) | 10 m (32 piedi) |
| Risoluzione video | Full HD 1080P @ 60Hz |
| Intervallo di temperatura di esercizio | Da -23°C a +158°C (da 5°F a 70°F) |
7. Risoluzione Dei Problemi
- No Signal/Pixelation/Freezing:
Ensure both the Transmitter and Receiver units are properly powered (Receiver requires 5V/0.5A external power). Check that HDMI connections are secure. Reduce the distance between the transmitter and receiver, especially if there are obstacles like walls. Unplug and reconnect both units to reset the connection.
- Ritardo/Lag nel video:
While designed for low latency, some minor lag may occur, particularly with fast-paced content like competitive gaming. Ensure units are within optimal range (preferably under 25m). Minimize interference from other 2.4/5GHz wireless devices.
- Device Becomes Warm During Use:
It is normal for the device to become warm during usage under normal operating conditions, as stated in the product features. This does not indicate a malfunction.
8. Manutenzione
To ensure the longevity and optimal performance of your MINIX H1 Wireless HDMI Extender, follow these simple maintenance guidelines:
- Mantenere pulite le unità pulendole con un panno morbido e asciutto.
- Evitare di esporre le unità a temperature estreme, umidità o luce solare diretta.
- Non tentare di smontare o riparare le unità autonomamente, poiché ciò invaliderebbe la garanzia.
- Quando non vengono utilizzate, conservare le unità in un luogo fresco e asciutto.
9. Garanzia e supporto
For warranty information and technical support, please refer to the official MINIX websul sito o contattare direttamente il servizio clienti. I dettagli sono in genere reperibili sulla confezione del prodotto o sulle risorse online ufficiali del produttore.
Official MINIX Websito: www.minix.com.hk
MINIX Forum: www.theminixforum.com
Facebook: www.facebook.com/minixtech
Ask a question about this manual
Ask about setup, troubleshooting, compatibility, parts, safety, or missing instructions. Manuals+ will review the question and use this page’s manual context to help answer it.