
ATTACCO SHARK X6
Manuale utente del mouse da gioco wireless leggero ATTACK SHARK X6
Modello: X6
1. Introduzione
Thank you for choosing the ATTACK SHARK X6 Lightweight Wireless Gaming Mouse. This manual provides detailed instructions on how to set up, operate, and maintain your new gaming mouse to ensure optimal performance and longevity. The X6 mouse is designed for gaming enthusiasts, featuring a high-precision sensor, multiple connectivity options, and a lightweight, ergonomic design.
2. Caratteristiche principali
- Pixart PAW3395 Flagship Sensor: Offers 6-level adjustable DPI (800/1600/2400/3200/5000/26000), 650 IPS tracking speed, 1000Hz response rate, and 50G acceleration for precise and responsive tracking.
- 49g Ultralight & Ergonomic Design: Constructed with advanced lightweight materials, weighing only 49g. Its ergonomic shape supports various grip styles, reducing hand fatigue during extended use.
- RGB Backlight Charging Base & Touch Switch: Features a magnetic charging dock with customizable RGB backlighting, controlled by a tactile touch switch. Provides up to 200 hours of use on a single charge.
- HUANO Powder Point Micro Switch & TTC Encoder: Equipped with durable HUANO switches (80 million click lifespan) for crisp clicks and quick rebound, and a TTC scroll wheel encoder for precise scrolling.
- Connessione Tri-Mode: Supports USB-C wired mode, 2.4G wireless mode, and Bluetooth 5.2 mode, allowing connection to up to 4 devices simultaneously.
- 5 pulsanti programmabili: Customize DPI, polling rate, LOD, shortcuts, and macros via the dedicated driver software.
3. Contenuto della confezione
- Mouse da gioco wireless ATTACK SHARK X6
- RGB Backlight Charging Base
- Cavo da USB-C a USB-A
- 2.4G USB Receiver (stored in mouse bottom)
- Manuale d'uso
- Complimentary Anti-slip Stickers
4. Prodotto finitoview
Familiarizza con i componenti del tuo mouse ATTACK SHARK X6.

Figura 1: Esploso view of the ATTACK SHARK X6 mouse, showing internal components such as the lightweight material case, engineering curved keys, PCB, lithium battery, TTC Golden Wheel Encoder, HUANO Pink Spots, PAW3395 Sensors, and mouse bottom case.

Figura 2: superiore e inferiore view of the ATTACK SHARK X6 mouse with labeled features including Left Button, Right Button, Middle Button, Forward Button, Backward Button, Type-C Port, BT Pairing Key, Receiver Organiser, Charging Thimble, Light Switching Key (Touch), Receiver Interface, and indicator lights for different connection modes.
5. Impostazione
5.1 Ricarica del mouse
The ATTACK SHARK X6 mouse can be charged using the included RGB backlight charging base or directly via the USB-C cable.
- Connect the USB-C cable to the charging base and a power source (e.g., computer USB port, USB wall adapter).
- Place the mouse onto the charging base, ensuring the magnetic contacts align. The RGB lighting on the base will indicate charging status.
- Alternatively, connect the USB-C cable directly to the mouse's front port for wired charging and use.

Figure 3: The ATTACK SHARK X6 mouse positioned on its RGB backlight charging base, illustrating the magnetic charging capability.
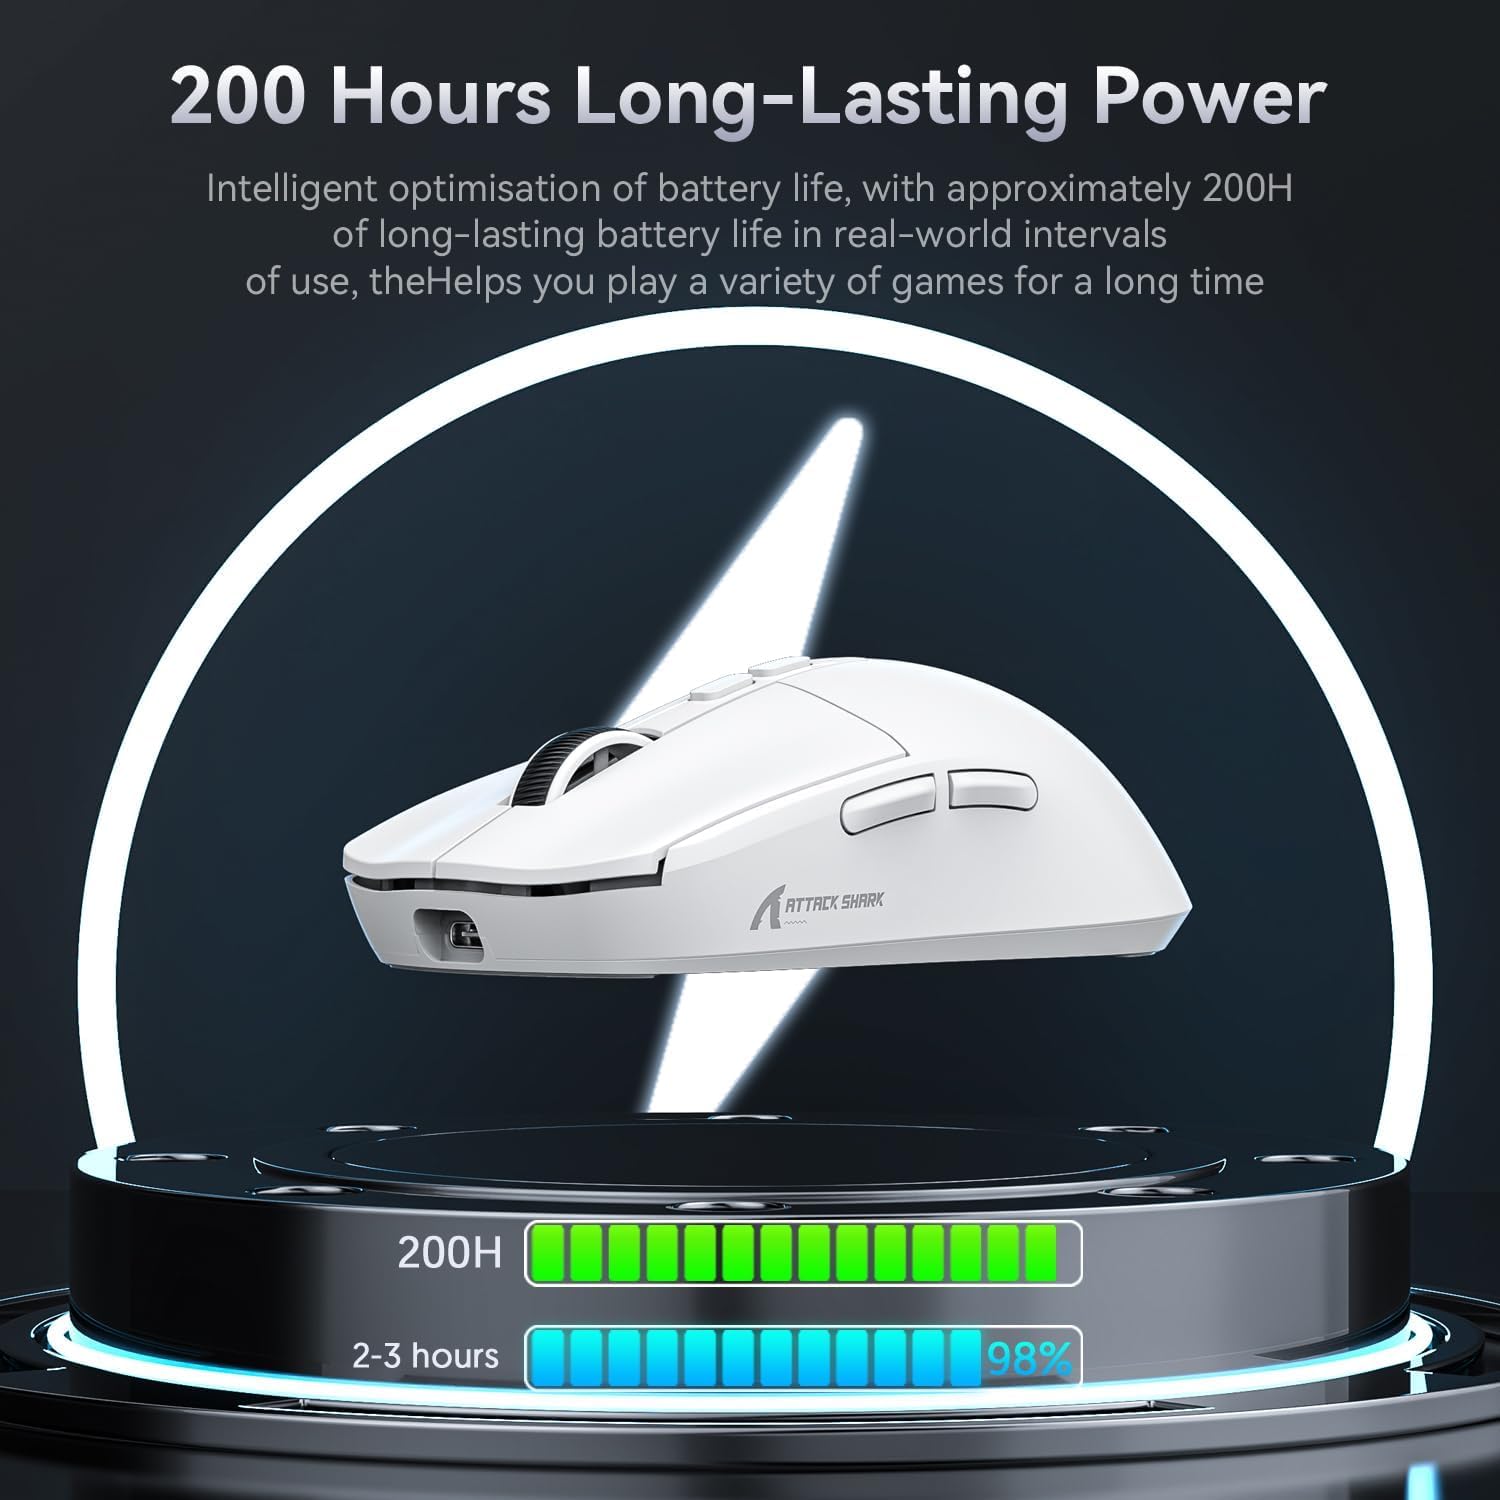
Figure 4: Visual representation of the mouse's 200-hour long-lasting power, indicating battery life optimization for extended gaming sessions.
5.2 Modalità di connettività
The X6 mouse supports three connection modes: 2.4G Wireless, Bluetooth 5.2, and Wired (USB-C).

Figure 5: The three available connection modes for the ATTACK SHARK X6 mouse: Bluetooth (BT), 2.4G wireless, and Type-C wired connection.
5.2.1 Modalità wireless 2.4G
- Individuare il ricevitore USB 2.4G riposto nello scomparto nella parte inferiore del mouse.
- Collegare il ricevitore a una porta USB-A disponibile sul computer.
- Slide the switch on the bottom of the mouse to the '2.4G' position. The mouse will automatically connect.
5.2.2 Modalità Bluetooth 5.2
- Spostare l'interruttore nella parte inferiore del mouse sulla posizione 'BT'.
- Tenere premuto il pulsante di associazione Bluetooth (situato vicino all'interruttore) per 3 secondi finché la spia luminosa non lampeggia rapidamente.
- On your device (PC, Mac, etc.), go to Bluetooth settings and search for 'ATTACK SHARK X6'. Select it to pair.
- The mouse can connect to up to 3 Bluetooth devices (BT1, BT2, BT3). Short press the BT pairing button to switch between paired devices.
5.2.3 Modalità cablata
- Connect the USB-C end of the cable to the front port of the mouse.
- Collegare l'estremità USB-A del cavo alla porta USB del computer.
- Slide the switch on the bottom of the mouse to the 'OFF' position. The mouse will function in wired mode and charge simultaneously.
6. Istruzioni per l'uso
6.1 Regolazione DPI
The mouse features 6 adjustable DPI levels. Use the dedicated DPI button (usually located behind the scroll wheel) to cycle through the preset DPI settings. The indicator light may change color or flash to indicate the current DPI level.
6.2 Programmable Buttons & Macro Settings
The ATTACK SHARK X6 has 5 programmable buttons. To customize button functions, DPI, polling rate, LOD (Lift-Off Distance), and create macros, download and install the official ATTACK SHARK driver software from the manufacturer's websito.

Figure 6: Interface of the ATTACK SHARK driver software, demonstrating options for button remapping, DPI adjustment, polling rate settings, and macro creation.
6.3 RGB Backlight Control (Charging Base)
The RGB backlight on the charging base can be controlled via a touch switch on the base itself. Tap the touch switch to cycle through different lighting effects or turn the lighting on/off.

Figure 7: Close-up of the magnetic charging base, highlighting the touch switch for controlling the RGB streaming light ring.
7. Manutenzione
- Pulizia: Use a soft, dry cloth to clean the mouse and charging base. For stubborn dirt, a slightly damp cloth can be used, but ensure no liquid enters the device. Avoid harsh chemicals or abrasive materials.
- Cura della batteria: Per prolungare la durata della batteria, evitare di scaricare completamente il mouse frequentemente. Conservare il mouse in un luogo fresco e asciutto quando non viene utilizzato per lunghi periodi.
- Magazzinaggio: When not in use, store the USB receiver in its dedicated slot on the mouse bottom to prevent loss.
8. Risoluzione Dei Problemi
| Problema | Possibile soluzione |
|---|---|
| Il mouse non risponde in modalità wireless. | Ensure the mouse is charged. Check if the 2.4G receiver is properly plugged in or if Bluetooth is paired. Verify the mode switch on the mouse bottom is set correctly (2.4G or BT). |
| Lag or disconnections in wireless mode. | Move the mouse closer to the receiver/device. Ensure no strong interference sources (e.g., Wi-Fi routers, other wireless devices) are nearby. Try connecting in wired mode to confirm mouse functionality. |
| Le impostazioni DPI non cambiano. | Ensure the mouse is powered on. If using custom settings, verify the driver software is running and settings are applied. |
| Charging base RGB not working. | Ensure the charging base is powered. Tap the touch switch on the base to cycle through lighting modes or turn it on. |
| Il mouse non si carica. | Check USB-C cable connection to both the base/mouse and power source. Ensure magnetic contacts on the base and mouse are clean and aligned. |
9. Specifiche
| Caratteristica | Dettaglio |
|---|---|
| Modello | X6 |
| Sensore | Sensore ottico Pixart PAW3395 |
| DPI | 800/1600/2400/3200/5000/26000 (Adjustable) |
| Velocità di tracciamento | 650 IPS |
| Accelerazione | 50G |
| Tasso di sondaggio | 1000 Hz |
| Interruttori | HUANO Powder Point Micro Switch (80 Million Clicks) |
| Codificatore | Codificatore TTC |
| Connettività | USB-C cablato, 2.4G wireless, Bluetooth 5.2 |
| Numero di pulsanti | 7 (5 Programmable) |
| Durata della batteria | Fino a 200 ore (circa) |
| Peso | 49g (approssimativo) |
| Dimensioni | 118.3 x 62 x 37.3 mm (circa) |
| Colore | Bianco (disponibile anche in nero) |
10. Video ufficiale del prodotto
Watch the official product video for a visual guide on the ATTACK SHARK X6 Lightweight Wireless Gaming Mouse's features and functionality.
Video: ATTACK SHARK X6 Lightweight Wireless Gaming Mouse. This video demonstrates the mouse's design, charging capabilities, sensor performance, multi-mode connectivity, and ergonomic features.
11. Garanzia e supporto
ATTACK SHARK products come with a standard manufacturer's warranty. For detailed warranty information, technical support, driver downloads, or service inquiries, please visit the official ATTACK SHARK webo contattare l'assistenza clienti. Conservare la ricevuta d'acquisto per eventuali reclami in garanzia.
For further assistance, please refer to the contact information provided on the product packaging or the official ATTACK SHARK websito: Negozio ATTACK SHARK
Ask a question about this manual
Ask about setup, troubleshooting, compatibility, parts, safety, or missing instructions. Manuals+ will review the question and use this page’s manual context to help answer it.