1. Introduzione
This manual provides essential information for the safe and effective installation, operation, and maintenance of your Pissente 1000W-1500W 26A-32A 12-Tube Dual Mode Rectangular Brushless Motor Controller. Please read this manual thoroughly before use to ensure proper function and to prevent damage to the product or injury.
2. Informazioni sulla sicurezza
Osservare sempre le seguenti precauzioni di sicurezza:
- Assicurarsi che l'alimentazione sia scollegata prima di qualsiasi intervento di installazione, cablaggio o manutenzione.
- Verify all connections are correct and secure to prevent short circuits or damage.
- Evitare di esporre il controller all'acqua, a umidità eccessiva o a temperature estreme.
- Non tentare di aprire o modificare il controller casing, as this may void the warranty and pose electrical hazards.
- Se non si è sicuri delle procedure di installazione o cablaggio, rivolgersi a un professionista.
3. Prodotto finitoview
The Pissente Dual Mode Rectangular Brushless Motor Controller is designed for electric bikes and scooters, offering reliable speed control and enhanced performance. It features a robust metal casing for improved heat dissipation and is compatible with a range of motor types.
Caratteristiche principali:
- Versatile Motor Compatibility: Supports sinusoid and rectangular motors. Not suitable for motors that exclusively rely on Hall sensors for operation.
- Avvio graduale: Provides a smooth motor start for comfortable operation.
- Prestazioni potenti: Offers strong climbing power and low motor running noise.
- Volume universaletage: Compatible with 48V, 60V, 64V, and 72V systems.
- Maggiore durata: Features a thickened shell for better heat dissipation, upgraded circuit board, power tube, capacitor, and thickened copper bar for higher inductance accuracy.
- Funzionamento in doppia modalità: 12-tube convention dual-mode rectangular controller.
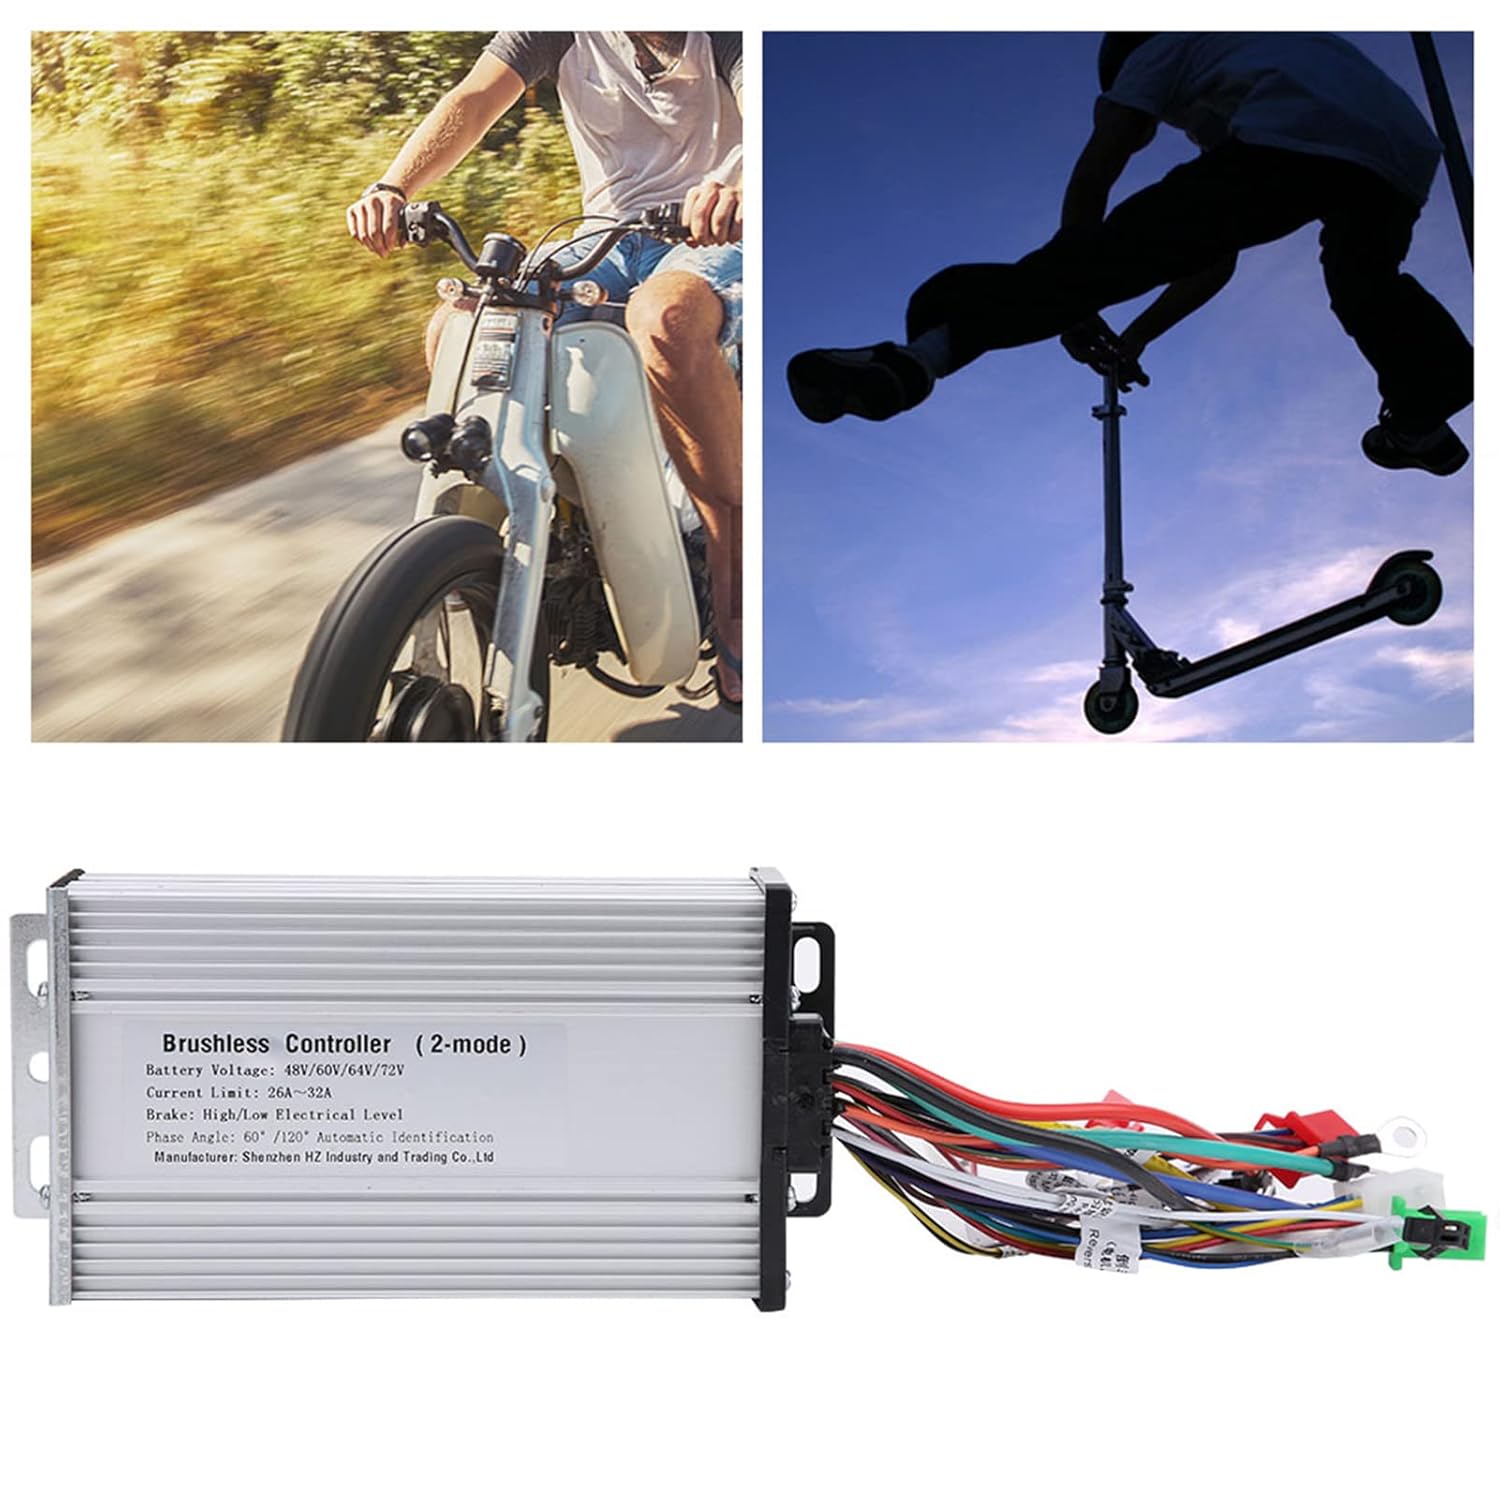
Image: The Pissente Brushless Motor Controller, showcasing its robust metal housing and the array of connection wires.
4. Specifiche
| Caratteristica | Specificazione |
|---|---|
| Marca | Pissente |
| Nome del modello | Pissentesbhzoepfnk |
| Voltage Compatibilità | 48V, 60V, 64V, 72V (Universal) |
| Intervallo di potenza | 1000W - 1500W |
| Limite di corrente | 26A - 32A |
| Tipo di controllore | 12-Tube Dual Mode Rectangular |
| Materiale | Metallo |
| Dimensioni (L x P x A) | Circa 17.7 x 8.4 x 4.3 cm (7 x 3.3 x 1.7 pollici) |
| Peso dell'articolo | Circa 560 grammi (1.23 libbre) |

Image: Dimensions of the Pissente Brushless Motor Controller, showing its length, width, and height.
5. Configurazione e installazione
Careful installation is crucial for the proper functioning of the motor controller. Ensure all connections are made correctly before applying power.
5.1 Controlli pre-installazione
- Confirm that your electric bike or scooter's motor is compatible with a dual-mode rectangular brushless controller.
- Assicurarsi che la batteria voltage matches the controller's universal voltage gamma (48V-72V).
- Gather necessary tools for installation (e.g., screwdrivers, wire strippers, electrical tape).
5.2 Collegamenti di cablaggio
The controller features multiple wires for various functions. Due to potential variations in wire coloring or labeling, it is critical to identify each wire's function accurately before connecting. Refer to the following list of functions:
- Positive Power Supply: Si collega al terminale positivo della batteria.
- Negative Power Supply: Si collega al terminale negativo della batteria.
- Serratura elettrica della porta: Connects to the ignition switch or electric lock.
- Motor Phase Lines: Connects to the motor's three phase wires (typically thicker wires).
- Hall Line: Connects to the motor's Hall sensor wires (if applicable and present).
- Accelerator Throttle Grip Line: Connects to the throttle for speed control.
- Three-Speed Shift Line: For connecting a three-speed switch (if available).
- Low-Level Brake Line: Connects to the brake lever for low-level braking signal.
- High-Level Brake Line: Connects to the brake lever for high-level braking signal.
- Ordinary Instrument Line: For connecting to a standard display or instrument panel.
- Anti-Theft Alarm Power Line: For connecting to an anti-theft alarm system's power.
- Anti-Theft Alarm Signal Line: For connecting to an anti-theft alarm system's signal.
- Linea di inversione: For connecting a reverse function switch (if available).
- Intelligent Identification Self-Learning Line: Used for initial motor pairing and self-learning.
Importante: If wire labels are not clear, consult a qualified technician or refer to a detailed wiring diagram specific to your motor and vehicle before making connections. Incorrect wiring can cause severe damage to the controller, motor, or battery.
5.3 Montaggio del controller
- Choose a secure location on your electric bike or scooter that is protected from direct impact, water, and excessive heat.
- Ensure adequate airflow around the controller for optimal heat dissipation.
- Use appropriate fasteners to securely mount the controller.

Image: The Pissente Brushless Motor Controller shown in context with an electric bicycle, illustrating its application.
6. Istruzioni per l'uso
Once the controller is correctly installed and all connections are verified, you can begin operation.
6.1 Initial Power-On and Self-Learning
- Ensure all connections are secure and the motor is free to rotate.
- Turn on the electric door lock or ignition.
- Collegare il Intelligent Identification Self-Learning Line. The motor should start to rotate. If it rotates in the wrong direction, disconnect and reconnect the self-learning line.
- Once the motor rotates smoothly in the correct direction, disconnect the self-learning line. The controller has now learned the motor's parameters.
6.2 Funzionamento di base
- Accensione/spegnimento: Use the electric door lock or ignition switch to power the system on or off.
- Controllo della velocità: Rotate the accelerator throttle grip to control the motor speed.
- Frenata: Activating the brake levers will cut power to the motor.
6.3 Funzioni avanzate
- Three-Speed Function: If a three-speed switch is connected, use it to select between different speed modes.
- Allarme antifurto: If an anti-theft alarm system is connected, refer to its specific instructions for operation.
- Funzione di inversione: If a reverse switch is connected, activate it to engage reverse motion.
7. Manutenzione
Una manutenzione regolare contribuisce a garantire la longevità e le prestazioni ottimali del controller del motore.
- Pulizia: Keep the controller clean and free from dust, dirt, and debris. Use a dry, soft cloth for cleaning. Do not use water or solvents.
- Ispezione: Periodically check all wiring connections for tightness and signs of wear or damage. Ensure the controller is securely mounted.
- Dissipazione del calore: Ensure the controller's fins are not obstructed to allow for proper heat dissipation.
- Magazzinaggio: If storing the vehicle for an extended period, disconnect the battery from the controller.
8. Risoluzione Dei Problemi
Questa sezione affronta i problemi più comuni che potresti riscontrare. Per problemi non elencati qui, contatta l'assistenza clienti.
| Problema | Possibile causa | Soluzione |
|---|---|---|
| Il motore non funziona | No power, loose connections, incorrect wiring, faulty throttle, motor issue. | Check battery charge. Verify all power and motor phase connections. Ensure throttle is functioning. Perform self-learning procedure. |
| Motor runs intermittently or roughly | Loose connections, motor phase wire issue, Hall sensor issue (if applicable). | Inspect all wiring for secure connections. Re-perform self-learning. Ensure motor is compatible. |
| Motor runs in wrong direction after self-learning | Self-learning initiated incorrectly. | Disconnect and immediately reconnect the Intelligent Identification Self-Learning Line to reverse direction. |
| Il controller diventa eccessivamente caldo | Overload, insufficient airflow, short circuit. | Reduce load. Ensure controller is mounted in a well-ventilated area. Check for short circuits in wiring. |
| No response from throttle | Throttle not connected, faulty throttle, brake engaged. | Check throttle wiring. Ensure brake levers are not engaged. Test throttle functionality. |
Nota sul cablaggio: As wire labeling can sometimes be absent or unclear, always double-check the function of each wire using a multimeter or by carefully tracing connections if you are experienced. If uncertain, consult a professional to avoid damage.
9. Garanzia e supporto
For warranty information, please refer to the terms and conditions provided at the point of purchase or contact your seller directly. If you require technical assistance or have questions regarding your Pissente Brushless Motor Controller, please reach out to the seller or manufacturer's customer support channels.