
1. Introduzione
This manual provides detailed instructions for the installation, operation, and maintenance of your Mars Gaming MC-MAG ATX Gaming Case. The MC-MAG case is designed for advanced gaming setups, featuring a tempered glass side panel, dual magnetic dust filters, and efficient cooling capabilities. Please read this manual thoroughly before beginning installation to ensure proper setup and optimal performance.
Key features of the MC-MAG case include:
- Full tempered glass side panel for component visibility.
- Dual magnetic grilles on the front and top panels with removable dust filters.
- Three pre-installed 120mm Fixed RGB front fans.
- Support for liquid cooling systems up to 360mm.
- Dual-chamber design for optimized cooling and space management.
- Front panel connectivity: 2x USB 2.0, 1x USB 3.0, HD Audio, Microphone.
2. Contenuto della confezione
Verificare che tutti i componenti siano presenti nella confezione:
- Mars Gaming MC-MAG ATX Gaming Case
- Kit di accessori (viti, fascette, distanziatori)
- Manuale dell'utente (questo documento)
3. Caso finitoview
Familiarize yourself with the main components and features of the MC-MAG case.
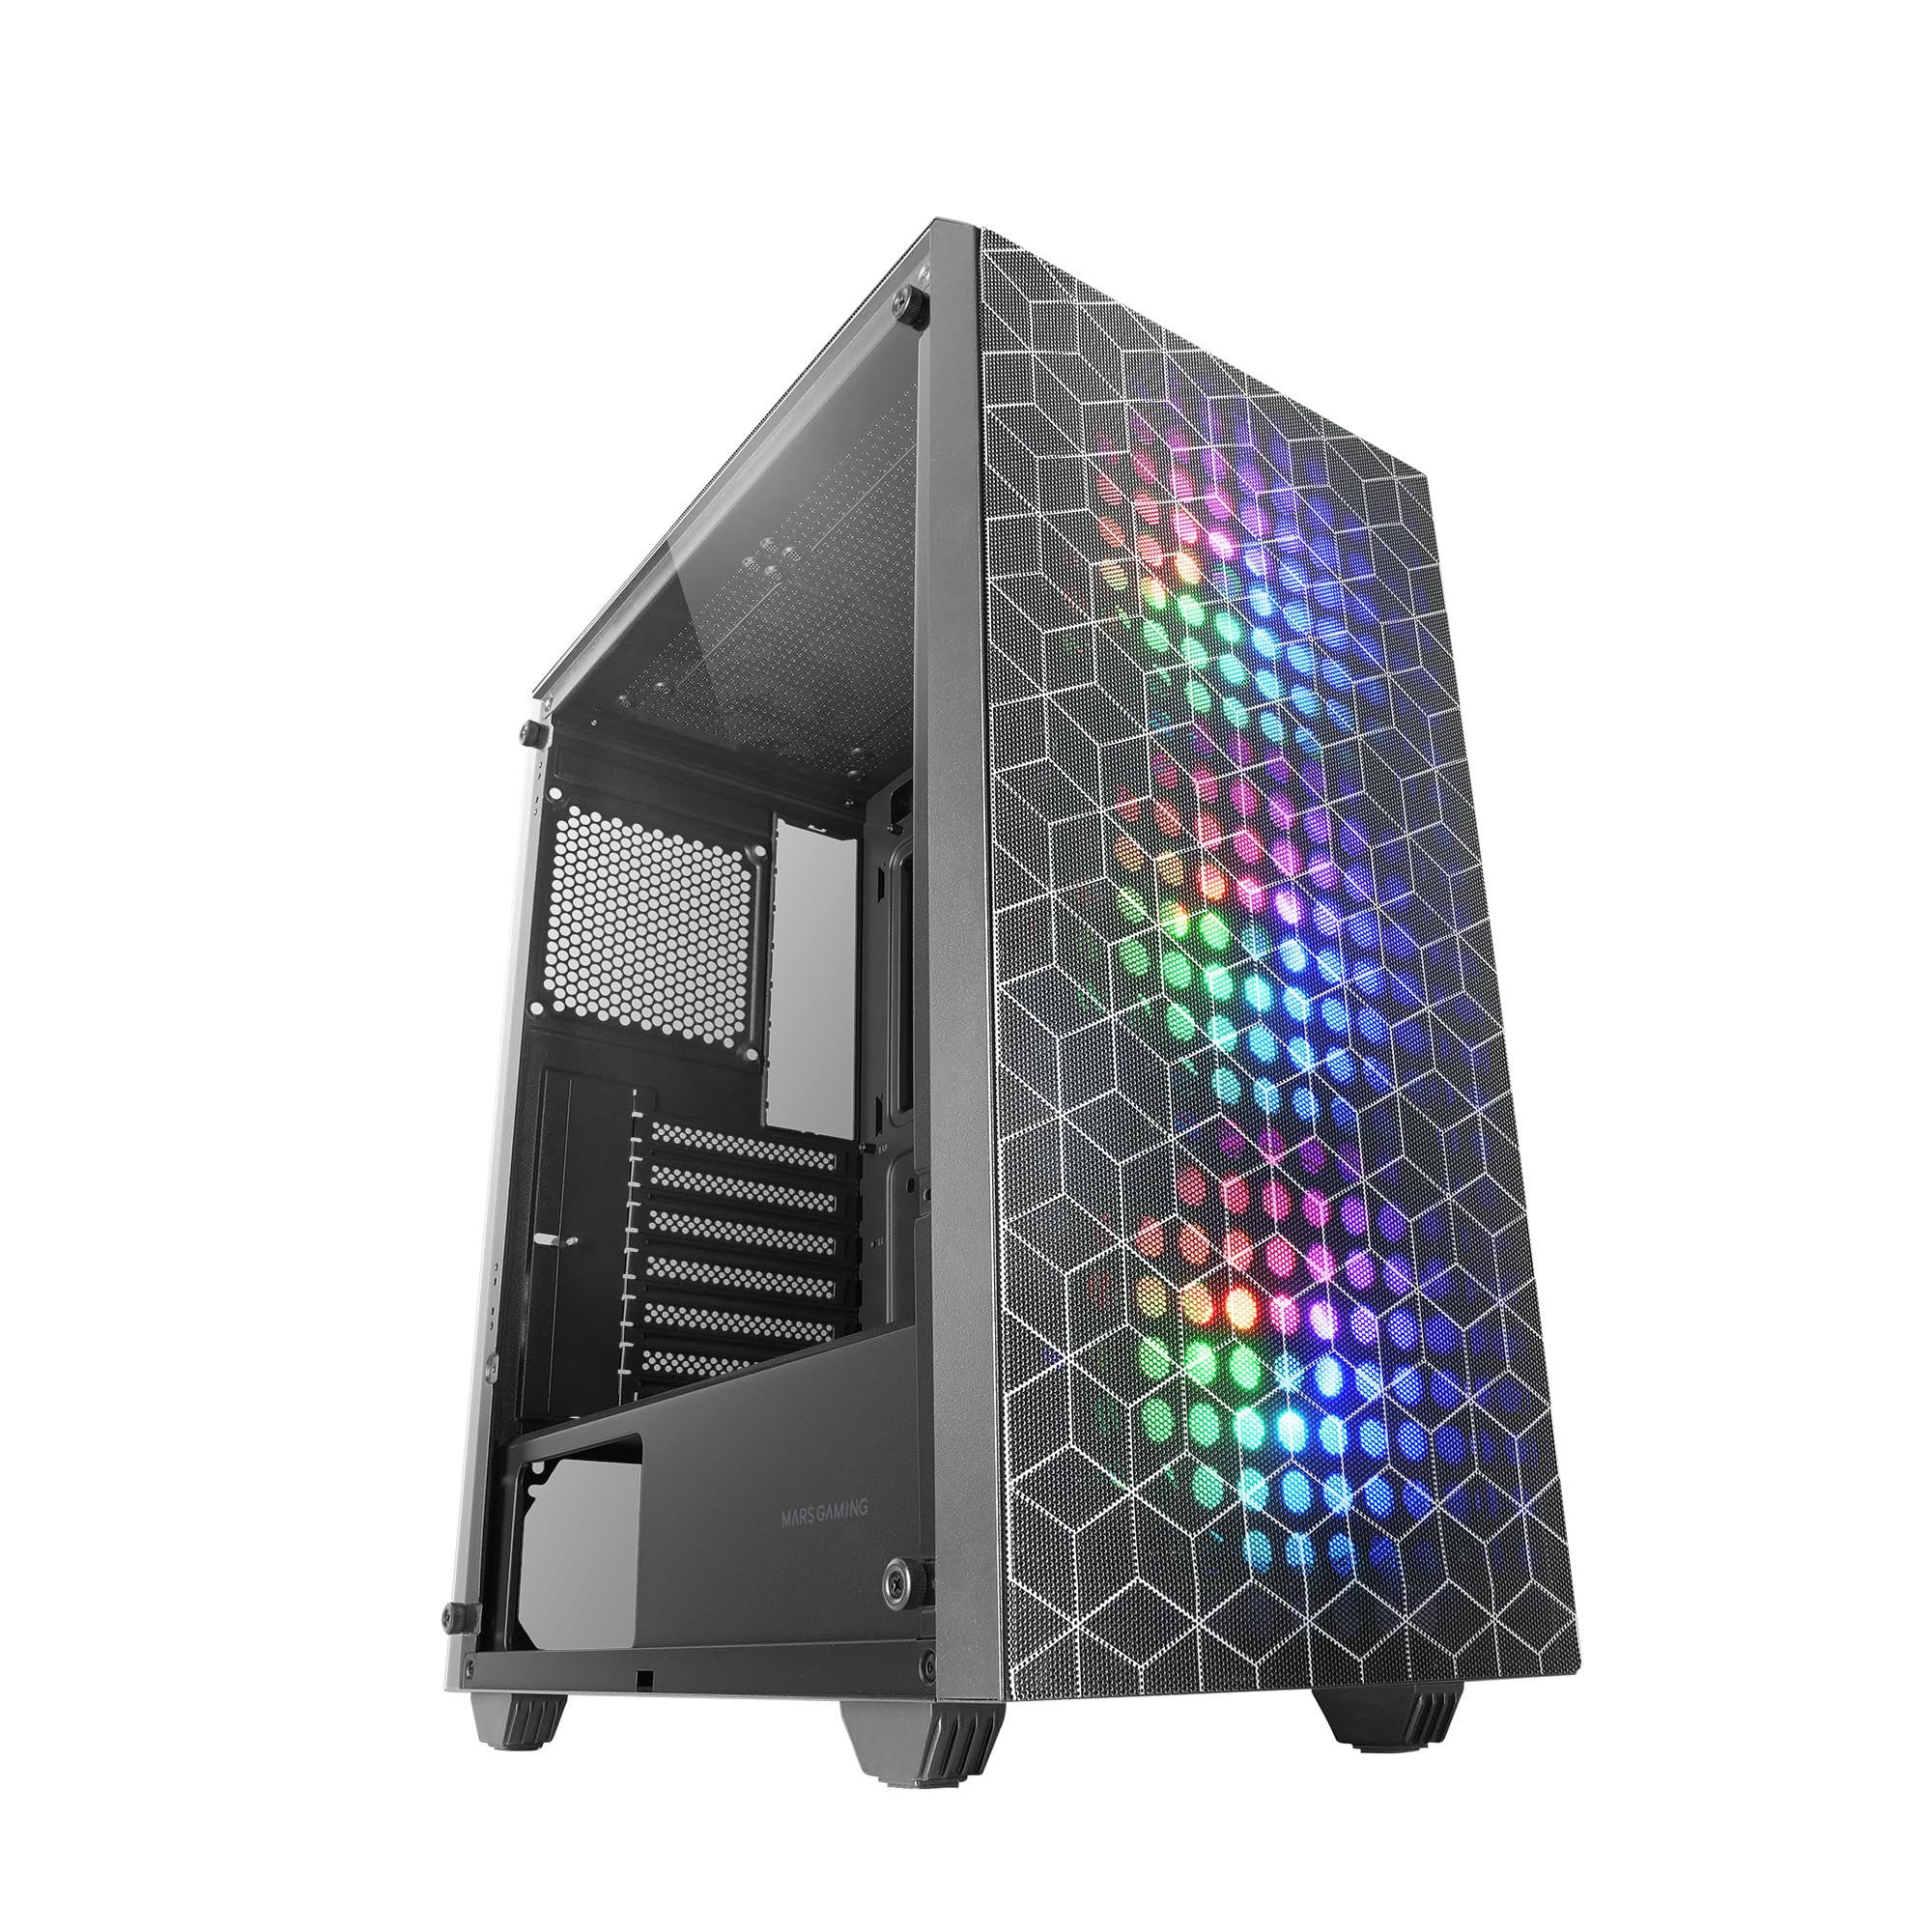
Figure 3.1: Mars Gaming MC-MAG ATX Gaming Case (Front-side view).

Figure 3.2: Tempered Glass Side Panel. This panel provides a clear view of internal components and is secured with thumbscrews.

Figure 3.3: Double Magnetic Front + Top Mesh. These removable grilles facilitate airflow and dust filtration.

Figure 3.4: Internal Layout Diagram. Illustrates fan and radiator mounting points, CPU cooler clearance (max 160mm), and VGA card length (max 350mm, 290mm with front radiator/fan).
4. Configurazione e installazione
Follow these steps to install your PC components into the MC-MAG case.
4.1 Preparazione del caso
- Posizionare la custodia su una superficie piana e stabile.
- Remove the tempered glass side panel by unscrewing the thumbscrews at the rear of the case and carefully sliding the panel off. Set it aside on a soft, protected surface.
- Rimuovere il pannello laterale posteriore per accedere all'area di gestione dei cavi.
4.2 Installazione della scheda madre
- The MC-MAG case supports ATX, MicroATX, and Mini-ITX motherboards.
- Ensure the correct standoffs are installed for your motherboard size. Adjust if necessary.
- Installare la schermatura I/O nell'apertura posteriore del case.
- Posizionare con attenzione la scheda madre sui distanziatori, allineando i fori delle viti.
- Fissare la scheda madre con le viti fornite.
4.3 Installazione dell'unità di alimentazione (PSU).
- The PSU mounts in the bottom rear chamber of the case.
- Inserire l'alimentatore nell'apposito alloggiamento dalla parte posteriore del case.
- Secure the PSU with screws from the outside rear of the case.
4.4 Installazione dell'unità di archiviazione
- Il case supporta fino a 2 HDD da 3.5" e 4 SSD da 2.5".
- HDD da 3.5": Locate the drive cage in the PSU shroud area. Slide the HDD into the drive tray and secure it with screws.
- SSD da 2.5": Mount SSDs to the designated brackets on the rear of the motherboard tray or within the PSU shroud area. Secure with screws.
4.5 Installazione della scheda grafica (VGA)
- Rimuovere le coperture degli slot di espansione necessari dalla parte posteriore del case.
- Inserisci la scheda grafica nello slot PCIe della scheda madre.
- Secure the graphics card with the expansion slot screw.
- Note: Maximum VGA length is 350mm (290mm with front radiator/fan installed).
4.6 Cooling System Installation (Fans & Liquid Cooling)
The MC-MAG case comes with 3x 120mm Fixed RGB fans pre-installed in the front.
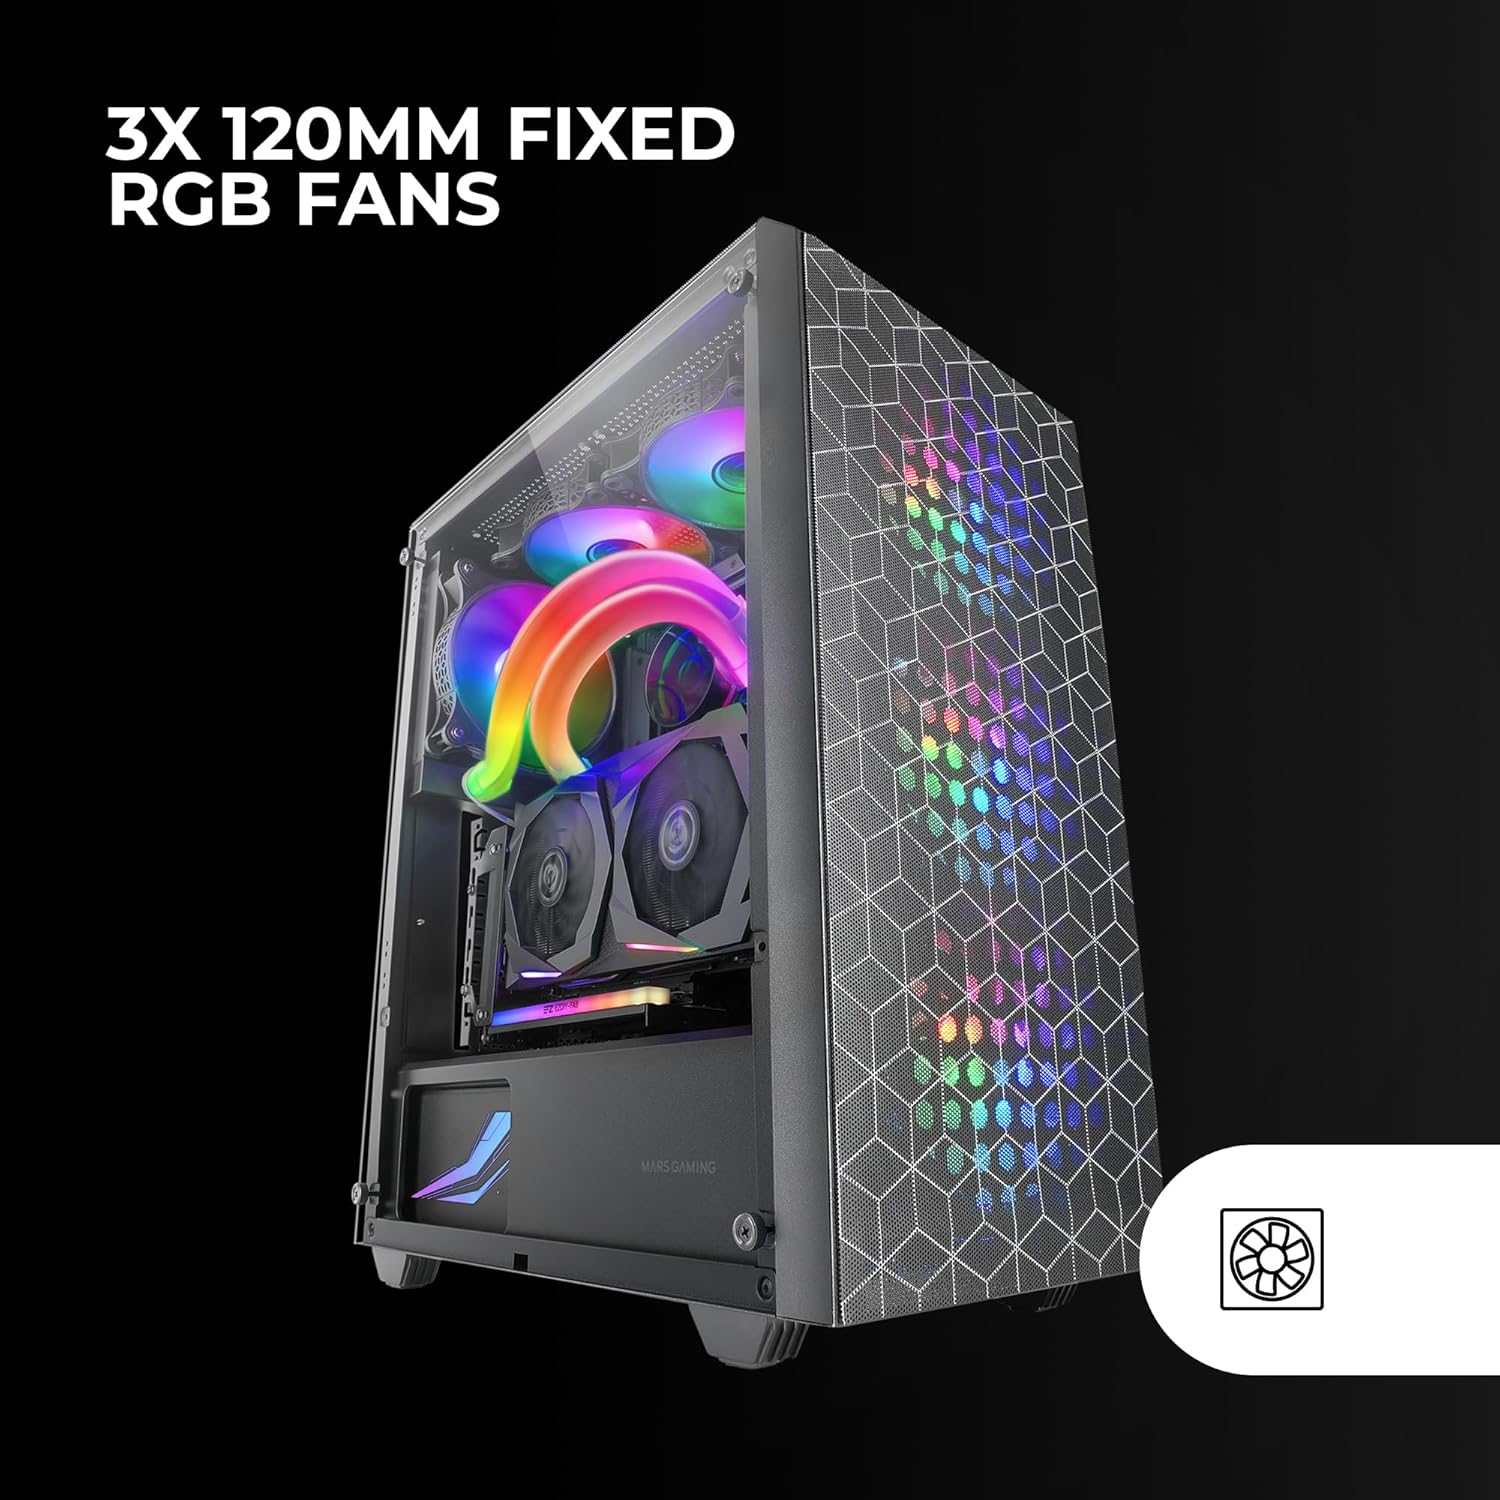
Figure 4.1: Pre-installed 3x 120mm Fixed RGB Fans.
- Altri fan: The case supports up to 6x 120mm fans or a combination of 4x 120mm and 2x 140mm fans. Refer to Figure 3.4 for fan mounting locations.
- Raffreddamento a liquido: The case supports liquid cooling radiators up to 360mm.

Figure 4.2: Liquid Cooling Installation. The case supports radiators up to 360mm.
- Install radiators and fans according to their respective manufacturer's instructions.
4.7 Gestione dei cavi
Utilizzare i fori per il passaggio dei cavi e i punti di fissaggio dietro il vassoio della scheda madre per organizzare i cavi. Questo migliora il flusso d'aria e l'estetica.
4.8 Collegamento degli I/O del pannello frontale
Connect the front panel cables (USB 2.0, USB 3.0, HD Audio, Microphone, Power Switch, Reset Switch, Power LED, HDD LED) to the corresponding headers on your motherboard. Refer to your motherboard manual for specific header locations.
4.9 Assemblaggio finale
- Once all components are installed and cables are managed, reattach the rear side panel.
- Carefully reattach the tempered glass side panel and secure it with the thumbscrews.
5. Istruzioni per l'uso
After successful installation, your MC-MAG case is ready for operation.
- Accensione: Premere il pulsante di accensione situato sul pannello superiore del case.
- Porte USB: Use the front USB 2.0 and USB 3.0 ports for connecting peripherals and external devices.
- Jack audio: Connect your headphones and microphone to the front panel HD Audio and Microphone jacks.
- Ventole RGB: The pre-installed fans feature Fixed RGB lighting. Their lighting pattern is static and does not require software control from the case itself.
6. Manutenzione
Una manutenzione regolare aiuta a garantire prestazioni ottimali e longevità dei componenti del PC.
- Filtri antipolvere: The front and top panels feature magnetic dust filters. Regularly remove these filters and clean them with compressed air or by rinsing them with water (ensure they are completely dry before reattaching).
- Pannello in vetro temperato: Clean the tempered glass side panel with a soft, lint-free cloth and a glass cleaner. Avoid abrasive materials that could scratch the glass.
- Pulizia interna: Periodically open the case and use compressed air to remove dust from internal components, especially fans and heatsinks.
7. Risoluzione Dei Problemi
In caso di problemi, fare riferimento ai seguenti passaggi comuni per la risoluzione dei problemi.
- Nessun potere:
- Ensure the PSU is switched on and properly connected to a power outlet.
- Verificare che tutti i cavi di alimentazione dell'alimentatore siano collegati correttamente alla scheda madre e ai componenti.
- Controllare il collegamento del cavo dell'interruttore di alimentazione del pannello frontale alla scheda madre.
- Le ventole non girano / RGB non si accende:
- Ensure fan power cables are securely connected to the motherboard or fan controller.
- For RGB, ensure the RGB cables are correctly connected (if applicable, for the fixed RGB fans, they should light up upon power).
- Pannello frontale USB/Audio non funzionante:
- Verify that the USB and HD Audio cables from the front panel are correctly connected to the motherboard headers.
- Surriscaldamento:
- Ensure all case fans are spinning correctly and oriented for optimal airflow (intake/exhaust).
- Clean dust filters and internal components to prevent dust buildup.
- Verify CPU cooler and GPU cooler are properly installed and functioning.
8. Specifiche
| Caratteristica | Dettaglio |
|---|---|
| Nome del modello | MCMAG |
| Tipo di caso | Mid Tower |
| Compatibilità della scheda madre | ATX, MicroATX, Mini-ITX |
| Materiale | Vetro Temperato, Acciaio, Plastica |
| Colore | Nero |
| Ventole preinstallate | 3x 120mm Fixed RGB (Front) |
| Supporto per i fan | Up to 6x 120mm or 4x 120mm + 2x 140mm |
| Supporto per il raffreddamento a liquido | Radiatore fino a 360 mm |
| Altezza massima del dissipatore della CPU | 160mm |
| Lunghezza massima della scheda VGA | 350mm (290mm with front radiator/fan) |
| Alloggiamenti unità | 2x HDD da 3.5", 4x SSD da 2.5" |
| Slot di espansione | 7 |
| Porte I / O anteriori | 2x USB 2.0, 1x USB 3.0, HD Audio, Mic |
| Peso dell'articolo | 3.96 chilogrammi |
9. Garanzia e supporto
I prodotti Mars Gaming sono realizzati secondo elevati standard qualitativi. Per informazioni sulla copertura della garanzia, sui termini e sulle condizioni, consultare la scheda di garanzia inclusa con il prodotto o visitare il sito ufficiale di Mars Gaming. websito.
For technical support, troubleshooting assistance beyond this manual, or to inquire about replacement parts, please contact Mars Gaming customer support through their official channels.
Mars Gaming Official Websito: www.marsgaming.eu