
1. Introduzione
This manual provides detailed instructions for the installation, operation, and maintenance of your Hikvision 2-Wire Video Intercom Kit, Model 38084. This system is designed for single-family homes, offering enhanced security and convenience through its 7-inch touchscreen monitor, FullHD outdoor camera, and seamless integration with the Hik-Connect mobile application. Please read this manual thoroughly before installation and use to ensure proper functioning and safety.
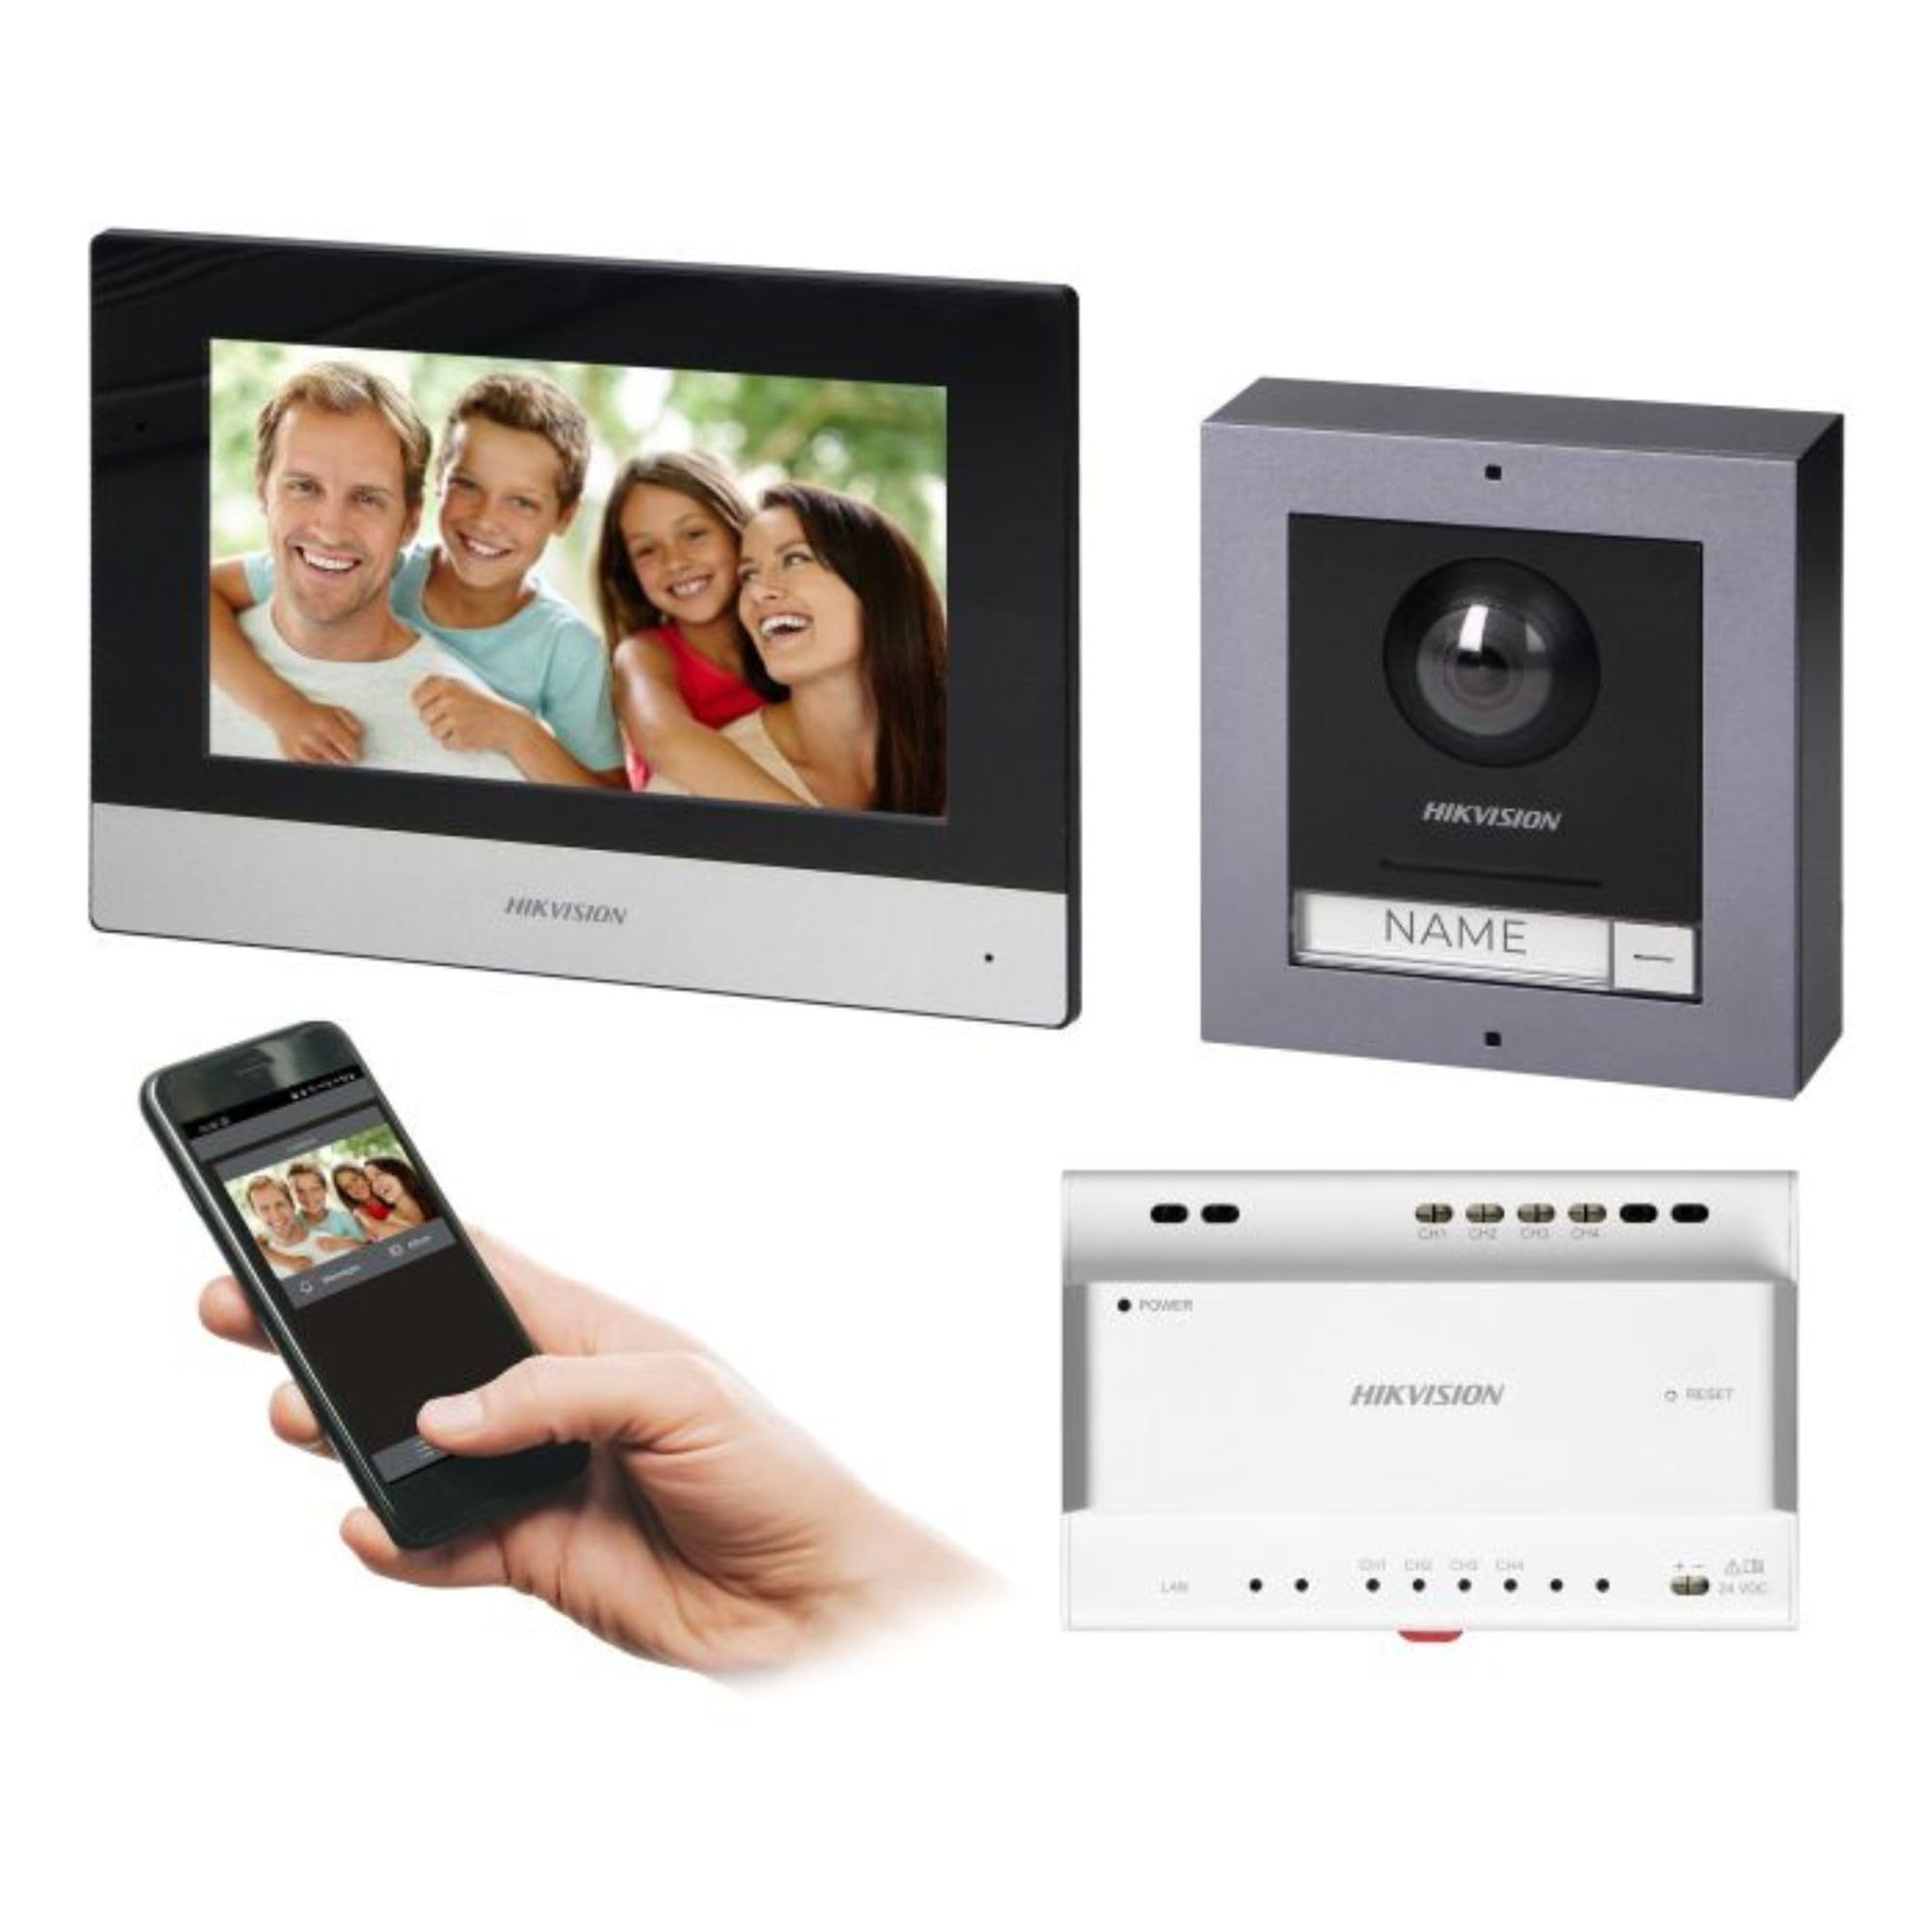
Figure 1: Hikvision 7-inch Video Intercom Monitor (Front View)
L'immagine mostra la parte anteriore view of the Hikvision 7-inch video intercom monitor, featuring a large screen and the Hikvision logo at the bottom.
2. Informazioni sulla sicurezza
Seguire sempre le precauzioni di sicurezza di base per ridurre il rischio di incendi, scosse elettriche e lesioni alle persone.
- Sicurezza elettrica: Installation must be performed by qualified personnel in accordance with all local electrical codes. Disconnect power before installation or servicing.
- Acqua e umidità: Do not expose the indoor monitor to rain or moisture. The outdoor panel is IP65 rated for weather resistance but should not be submerged.
- Temperatura: Utilizzare il dispositivo entro l'intervallo di temperatura specificato.
- Pulizia: Per la pulizia, utilizzare un panno morbido e asciutto. Non utilizzare detergenti liquidi o spray.
- Interferenza: Avoid installing near sources of strong electromagnetic interference.
3. Contenuto della confezione
Verificare che tutti i componenti siano presenti nella confezione:
- 7-inch Indoor Monitor (with WiFi)
- FullHD Outdoor Panel (with Camera and Night Vision)
- 4-Channel Distributor
- Accessori di montaggio (viti, tasselli)
- Manuale dell'utente (questo documento)
- 16 GB MicroSD Card (pre-installed or included for video storage)

Figure 2: Hikvision Outdoor Panel and Mounting Accessories
This image shows the Hikvision outdoor panel alongside its rain shield and a flush-mount box, illustrating the various mounting options available.
4. Configurazione e installazione
The Hikvision video intercom system utilizes a 2-wire installation method, simplifying wiring. Both the indoor monitor and outdoor panel are designed for surface mounting.
4.1 Installazione del pannello esterno
- Scegli la posizione: Select a suitable location near the entrance, ensuring the camera has a clear view of visitors. The panel is IP65 rated for outdoor use.
- Montaggio: Use the provided mounting bracket to mark drill holes on the wall. Drill holes, insert wall plugs, and secure the bracket.
- Cablaggio: Connect the 2-wire cable from the distributor to the outdoor panel terminals. Ensure correct polarity.
- Pannello sicuro: Attach the outdoor panel to the mounting bracket.

Figure 3: Hikvision Outdoor Panel (Front View)
This image shows the front of the Hikvision outdoor panel, featuring the FullHD camera, speaker grille, call button, and nameplate area.
4.2 Installazione del monitor interno
- Scegli la posizione: Select an indoor location where the monitor is easily accessible and visible.
- Montaggio: Use the provided mounting plate to mark and drill holes. Secure the mounting plate to the wall.
- Cablaggio: Connect the 2-wire cable from the distributor to the indoor monitor terminals.
- Collegamento elettrico: Connect the monitor to a power source (mains electricity).
- Monitoraggio sicuro: Attach the indoor monitor to the mounting plate.

Figure 4: Hikvision Indoor Monitor (Back View) and Mounting Plate
The image displays the rear of the Hikvision indoor monitor, showing its connection ports and the separate mounting plate used for installation.
4.3 Schema elettrico del sistema (generale)
The 2-wire system connects the outdoor panel, indoor monitor, and the 4-channel distributor. The distributor manages power and data communication between the devices.
- Connect the outdoor panel to the distributor using a 2-wire cable.
- Connect the indoor monitor to the distributor using a 2-wire cable.
- Ensure the distributor is powered.
- For electric lock control, additional power may be required for the lock itself, connected via the outdoor panel.
4.4 Connessione Wi-Fi
After physical installation, power on the monitor. Navigate to the network settings on the 7-inch touchscreen to connect to your 2.4 GHz Wi-Fi network (802.11 b/g/n standard). This enables smartphone communication via the Hik-Connect app.
5. Istruzioni per l'uso
5.1 Funzioni del monitor interno
- Schermo tattile: Navigate menus and control functions using the 7-inch touch screen.
- Funzione interfono: Communicate with visitors at the outdoor panel or other indoor monitors (if expanded).
- Funzione di memoria: The monitor supports a memory function, likely for capturing images or short video clips of visitors.
- Lettore di schede SD: A 16GB MicroSD card is included for storing recorded video streams.
- Ringtone Management: Choose from 3 available ringtones. Adjust volume or mute the ringtone as needed.
- Controllo porta: Use the monitor to remotely open an electric lock connected to the system.
- CCTV Camera Integration: The system can be expanded to integrate up to 16 CCTV cameras.
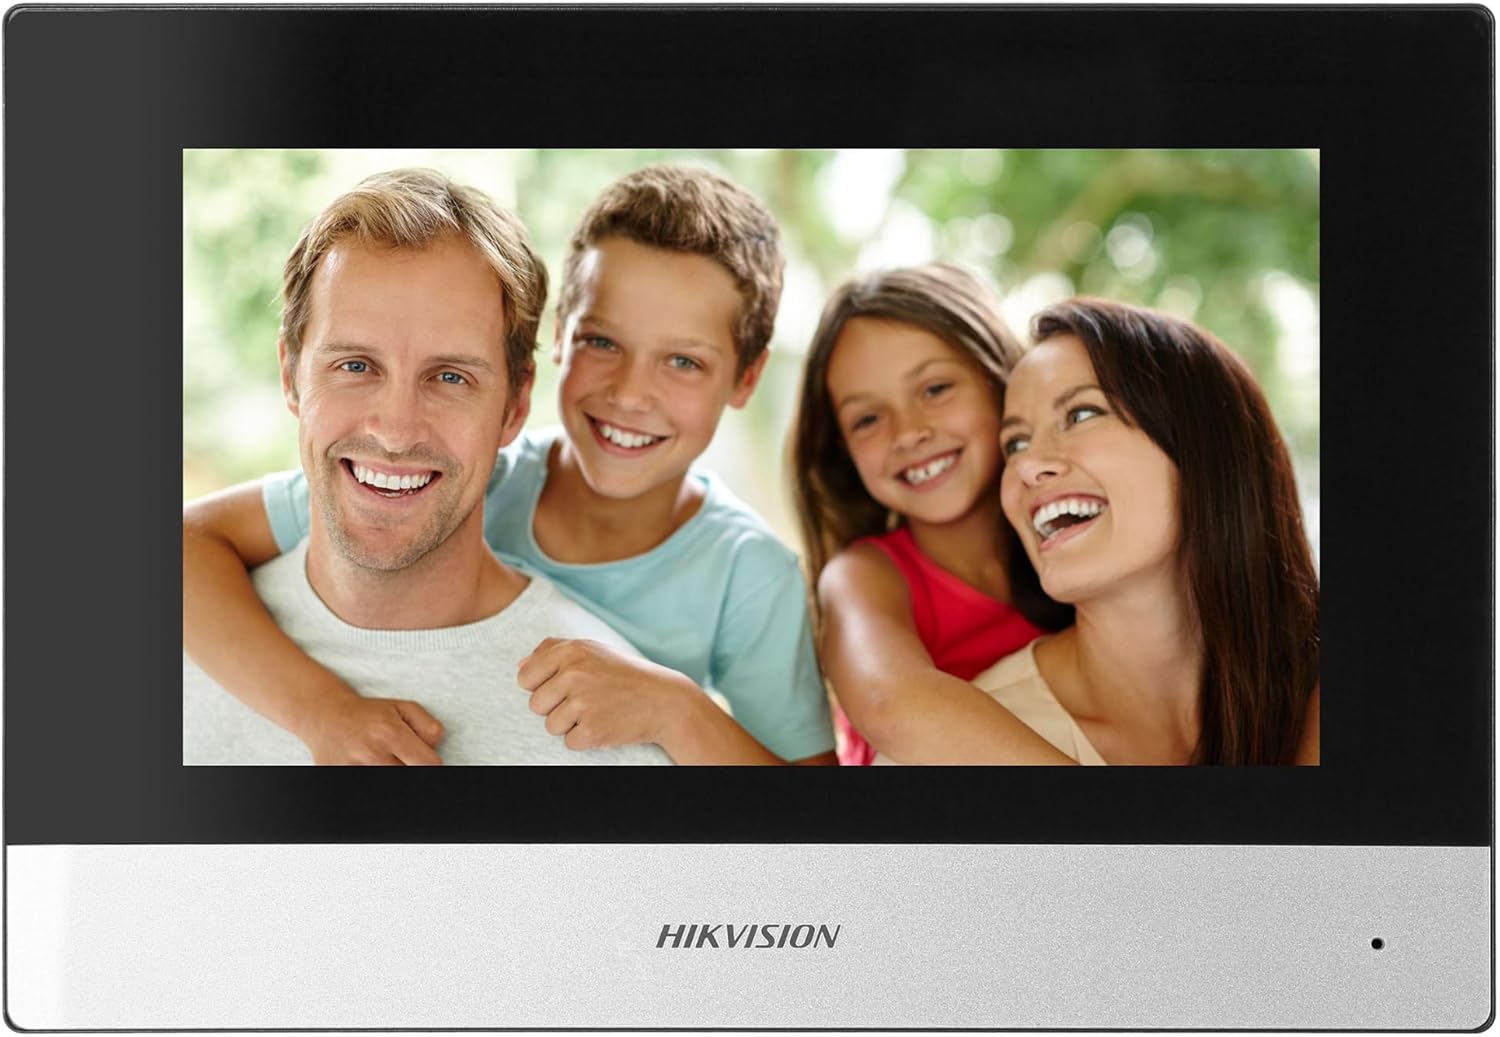
Figure 5: Hikvision Indoor Monitor (Front View)
This image shows the Hikvision 7-inch indoor monitor from the front, highlighting its sleek design and large display area.
5.2 Outdoor Panel Operation
- Pulsante di chiamata: Visitors press the single call button to initiate a call to the indoor monitor.
- FullHD Camera: Provides a 2MP (1920x1080p) video feed with a wide viewangolo di inclinazione (96°/180°).
- Visione notturna: Integrated IR illumination ensures clear visibility even in low-light conditions.
- Targhetta: A space is provided for a nameplate or label.

Figure 6: Hikvision Outdoor Panel (Angled View)
Un angolo view of the Hikvision outdoor panel, showcasing its robust construction and integrated camera and call button.
5.3 Hik-Connect Mobile Application
Download the Hik-Connect app from your smartphone's app store. Once installed and configured with your system, you can:
- Receive calls from the outdoor panel on your smartphone.
- View live video from the outdoor camera.
- Remotely open the door.
- Accedi al video registrato footage.
6. Manutenzione
Una manutenzione regolare garantisce la longevità e le prestazioni ottimali del vostro sistema interfonico.
- Pulizia: Wipe the monitor screen and outdoor panel with a soft, damp stoffa. Evitare detergenti abrasivi.
- Aggiornamenti del firmware: Controllare periodicamente la presenza di aggiornamenti del firmware tramite l'app Hik-Connect o il sito ufficiale di Hikvision websito per garantire che il tuo sistema disponga delle funzionalità e delle patch di sicurezza più recenti.
- Ispezione dei cavi: Periodically inspect all wiring for any signs of wear or damage.
- Outdoor Panel Lens: Keep the camera lens on the outdoor panel clean for clear video quality.
7. Risoluzione Dei Problemi
In caso di problemi, fare riferimento ai seguenti passaggi comuni per la risoluzione dei problemi:
- Nessun potere: Check all power connections and ensure the distributor is receiving power.
- Nessun video/audio: Verify the 2-wire connections between the outdoor panel, monitor, and distributor. Ensure correct polarity.
- Problemi di connessione WiFi: Ensure your router is operating on 2.4 GHz. Re-enter WiFi credentials on the monitor. Check signal strength.
- La serratura della porta non si apre: Confirm the electric lock has its own power supply if required. Check wiring from the outdoor panel to the lock.
- Visione notturna scarsa: Assicurarsi che l'obiettivo della telecamera esterna sia pulito e libero da ostruzioni.
8. Specifiche
| Tipo | Monofamiliare |
| Funzione video | SÌ |
| Alimentazione elettrica | Elettricità di rete |
| Tipo di trasmissione | Cablato (2 fili) |
| Smartphone Communication | Yes (via Hik-Connect app) |
| Frequenza Wi-Fi | 2.4 GHz |
| Wi-Fi standard | 802.11b/g/n |
| Metodo di installazione | 2-wire, Surface Mount |
| Numero massimo di monitor | Espandibile a 3 |
| Max. Outdoor Panels | Espandibile a 1 |
| Max. CCTV Cameras | Espandibile a 16 |
| Controllo della serratura elettrica | Yes (requires additional power for lock) |
| Funzione giorno / notte | SÌ |
| Metodo di montaggio | Montaggio in superficie |
| Hands-free System | SÌ |
| Diagonale dello schermo | 7 pollici |
| Risoluzione | 1024x600 |
| Schermo tattile | SÌ |
| Sistema video | PAL, Colore |
| Funzione di memoria | SÌ |
| Lettore di schede SD | Yes (16GB card included) |
| Funzione interfono | SÌ |
| Suonerie | 3 |
| Materiale | Plastica |
| Colore | Nero |
| Dimensioni (L x A x P) | Dimensioni: 140 mm x 200 mm x 15 mm |
| Pulsanti di chiamata | 1 |
| Metodo di montaggio | Montaggio in superficie |
| Risoluzione della fotocamera | 2MP, 1920x1080 (FullHD) |
| Telecamera Viewangolo di ing | 96°/180° |
| Illuminazione notturna | IR (infrarossi) |
| Funzione PTZ | NO |
| Lettore di schede di prossimità | NO |
| Nameplate Space | SÌ |
| Antivandalismo | NO |
| Grado di protezione | Grado di protezione IP65 |
| Materiale | Acciaio |
| Colore | Argento |
| Dimensioni (L x A x P) | Dimensioni: 98 mm x 99.8 mm x 43.9 mm |
| Dimensioni del prodotto | Dimensioni: 20 x 15 x 10 cm |
| Peso dell'articolo | 1 kg |
| Numero di modello | 38084 |
9. Garanzia e supporto
Per informazioni sulla garanzia e supporto tecnico, fare riferimento al sito ufficiale Hikvision webo contattare il distributore locale. Conservare la ricevuta d'acquisto per eventuali reclami in garanzia.
- Supporto online: Visita www.hikvision.com for product documentation, FAQs, and support resources.
- Assistenza clienti: Contact your retailer or authorized Hikvision service center for assistance.