
Introduzione
Thank you for choosing the Lexip Tsume Kakashi Kamui Naruto Shippuden Controller. This high-performance gaming controller is designed to enhance your gaming experience with its unique design and advanced features. This manual provides essential information for setting up, operating, and maintaining your controller.
Contenuto della confezione
Si prega di controllare la confezione per verificare la presenza dei seguenti elementi:
- Lexip Tsume Kakashi Kamui Naruto Shippuden Controller
- Cavo USB di ricarica/dati
- Manuale dell'utente (questo documento)
Layout del controller
Familiarize yourself with the various components of your controller.

Figura 1: Davanti view del controller, showcasing the limited edition design inspired by Naruto Shippuden.
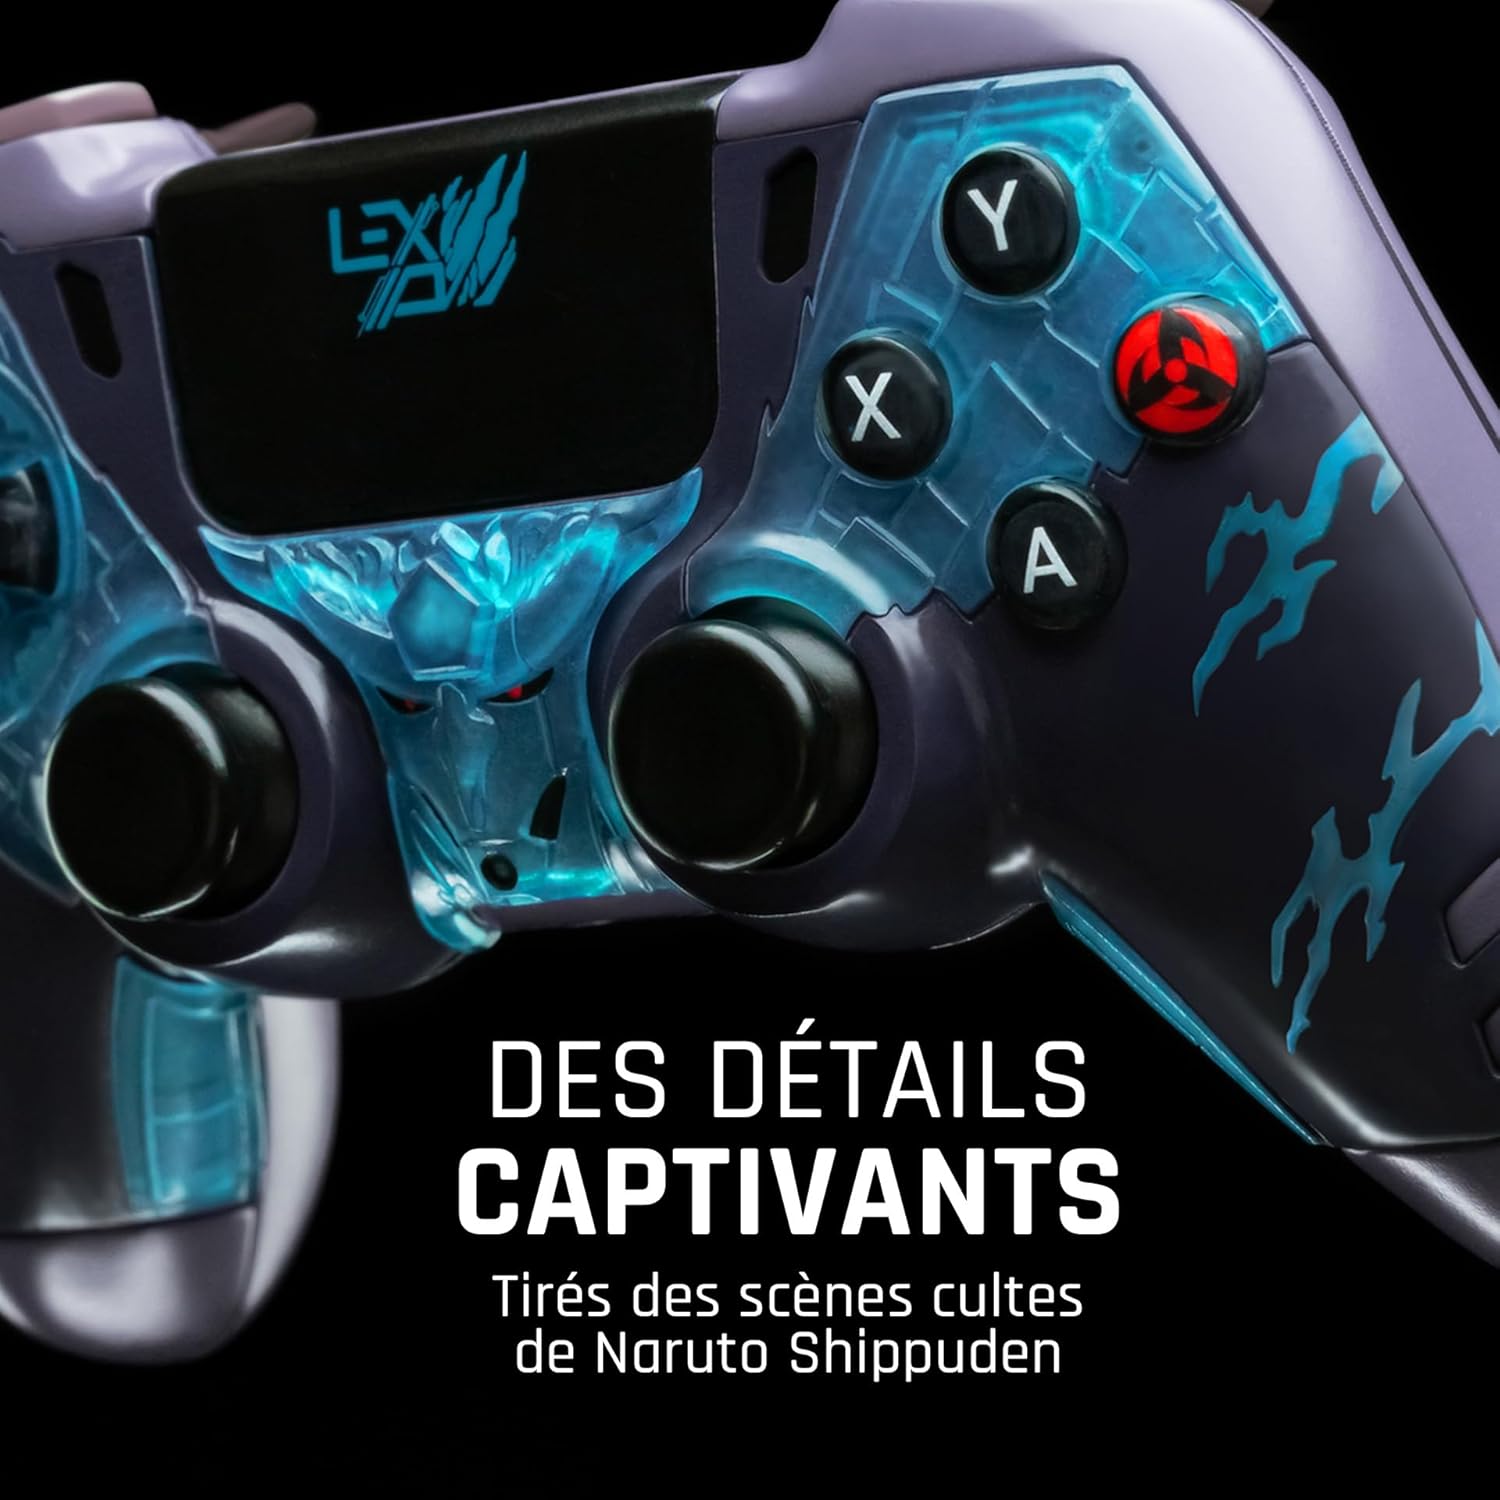
Figura 2: Dettagliato view of the controller's face buttons and analog sticks, highlighting the intricate Naruto Shippuden design elements.

Figura 3: Posteriore view of the controller, illustrating the placement of the programmable paddles (M1, M2, M3) for enhanced gameplay.
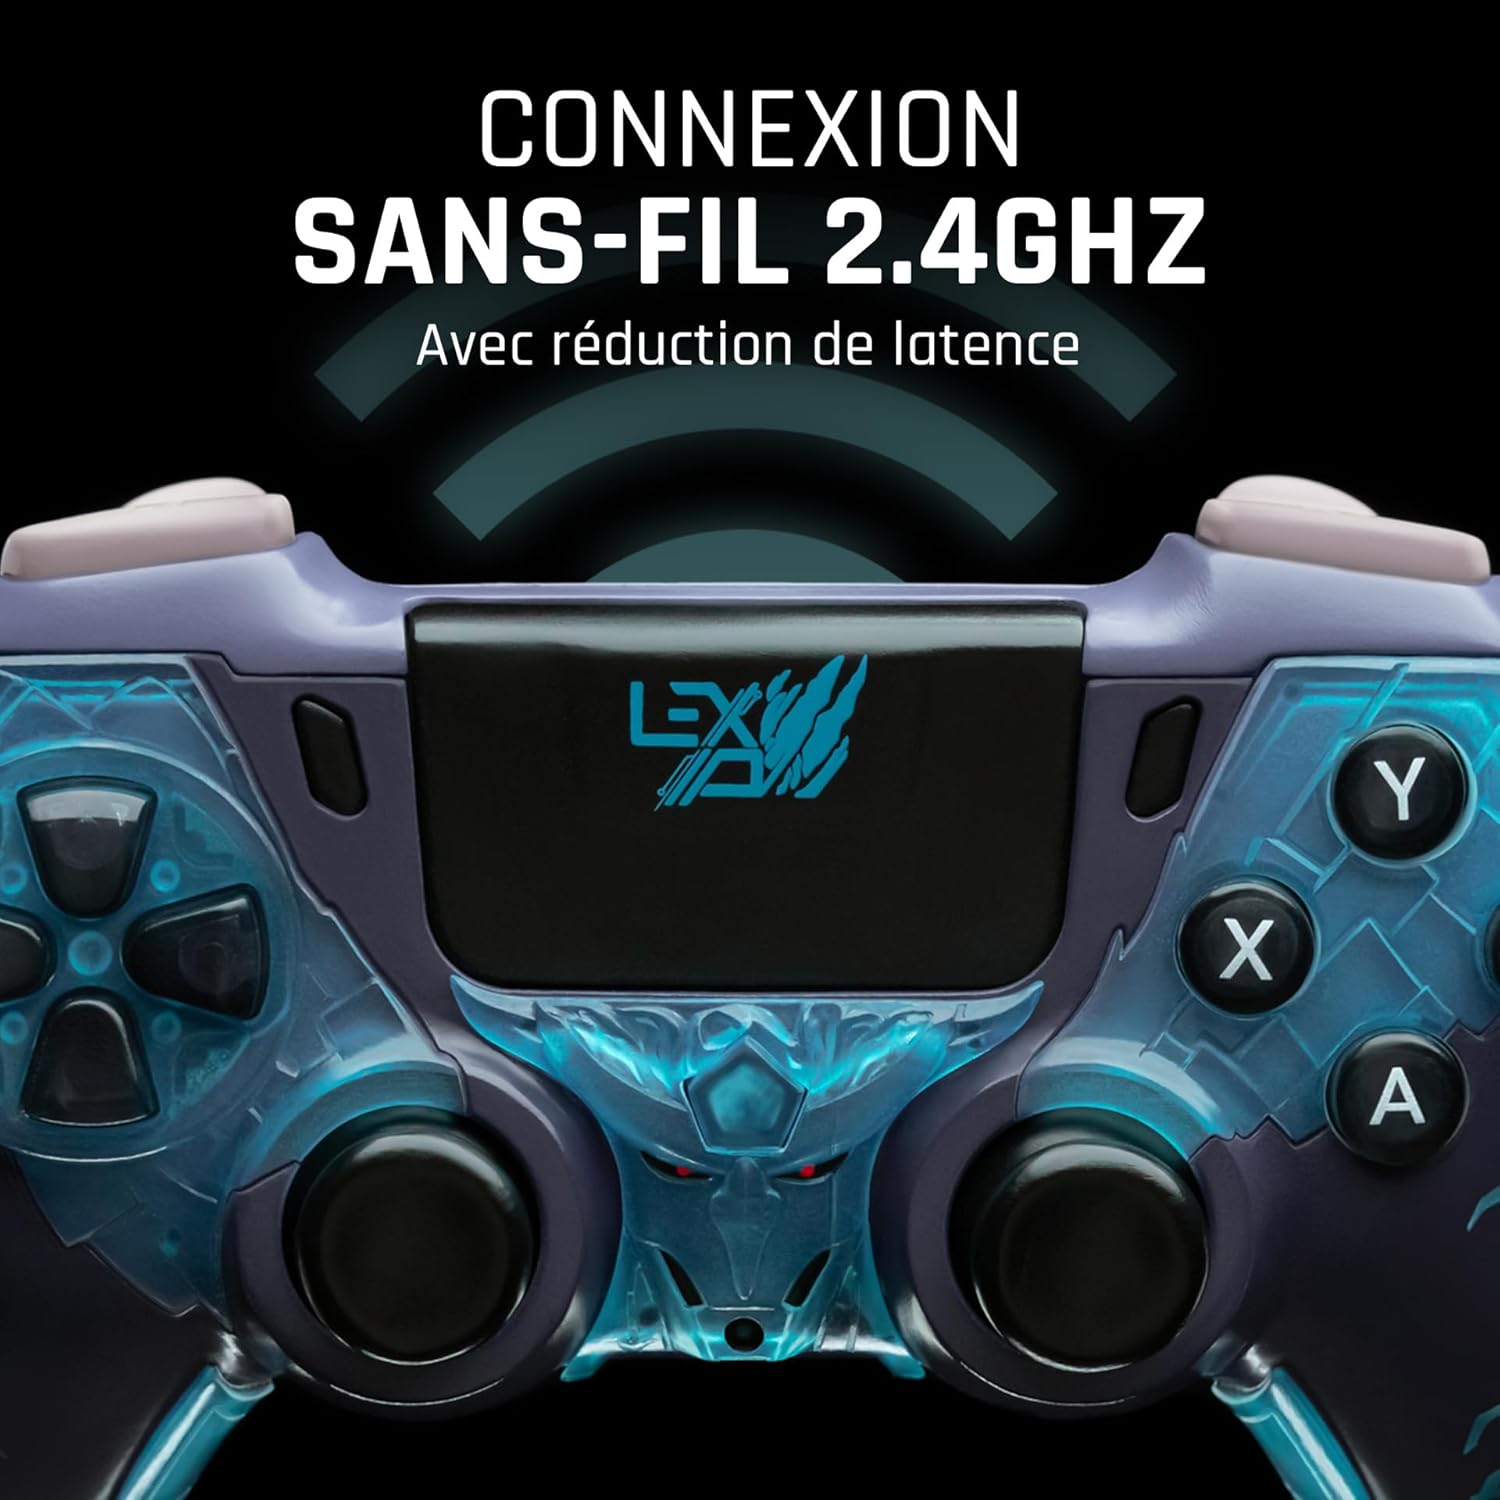
Figura 4: Davanti view of the controller, indicating its 2.4GHz wireless connection capability for reduced latency.
Componenti chiave:
- Stick analogici: Due stick analogici ad alta precisione per il controllo del movimento e della telecamera.
- Tasto direzionale: Tastierino direzionale per un input preciso.
- Pulsanti frontali (A, B, X, Y): Pulsanti di azione standard.
- Pulsanti dorsali (L1, R1) e grilletti (L2, R2): Per varie azioni di gioco.
- Programmable Paddles (M1, M2, M3): Located on the rear for custom button assignments.
- Pulsante Home: Per accedere al menu di sistema.
- Share/Options Buttons: For in-game menu and sharing functions.
- Porta USB-C: Per la ricarica e la connessione cablata.
Impostare
1. Ricarica iniziale
Before first use, fully charge the controller. Connect the supplied USB cable to the controller's USB-C port and the other end to a powered USB port (e.g., console, PC, or USB wall adapter). The charging indicator will show the charging status and turn off when fully charged.
2. Connessione wireless (2.4 GHz)
- Insert the 2.4GHz wireless dongle (if included, typically found in the controller's packaging or a dedicated slot) into an available USB port on your gaming console or PC.
- Accendi il controller premendo il pulsante Home.
- The controller will automatically attempt to pair with the dongle. The indicator light on the controller will stop flashing and remain solid once connected.
3. Connecting via USB Cable
To use the controller in wired mode or if wireless connection is not desired:
- Connect the USB cable to the controller's USB-C port.
- Connect the other end of the USB cable to an available USB port on your gaming console or PC.
- The controller will be recognized as a wired device and is ready for use.
Istruzioni per l'uso
Accensione/spegnimento
- Per accendere: Press the Home button. The controller will attempt to connect to the last paired device.
- Per spegnere: Press and hold the Home button for approximately 5-10 seconds until the indicator lights turn off. The controller will also power off automatically after a period of inactivity to conserve battery.
Using Programmable Paddles
The controller features three programmable paddles (M1, M2, M3) on the rear. These paddles can be assigned to replicate other button inputs for quick access during gameplay. Refer to your console or PC's controller settings for specific button remapping options, as dedicated software for programming these paddles may not be available.

Figura 5: A user holding the controller, demonstrating its ergonomic design during use.
Manutenzione
- Pulizia: Utilizzare un panno morbido e asciutto per pulire il controller. Per lo sporco ostinato, leggermente dampLavare il panno con acqua. Non utilizzare prodotti chimici aggressivi o detergenti abrasivi.
- Magazzinaggio: Conservare il controller in un luogo fresco e asciutto, lontano dalla luce solare diretta e da temperature estreme.
- Cura della batteria: Per prolungare la durata della batteria, evitare di scaricare completamente il controller frequentemente. Caricarlo regolarmente, anche se non lo si utilizza per lunghi periodi.
Risoluzione dei problemi
Il controller non si connette
- Assicurati che il controller sia carico.
- For wireless connection, ensure the 2.4GHz dongle is securely plugged into the console/PC and the controller is powered on.
- Try connecting the controller via the USB cable to verify functionality.
- Restart your console/PC and try connecting again.
Buttons/Sticks Unresponsive
- Assicurarsi che il controller sia correttamente collegato e acceso.
- Controllare che non vi siano ostruzioni fisiche o detriti attorno ai pulsanti o agli stick.
- Test the controller with another game or application to determine if the issue is specific to one program.
Durata breve della batteria
- Assicurarsi che il controller sia completamente carico prima dell'uso.
- Reduce rumble intensity if possible through system settings, as vibration motors consume significant power.
- Evitare temperature estreme durante l'uso e lo stoccaggio.
Specifiche
| Caratteristica | Dettaglio |
|---|---|
| Numero di modello | TSXLXGC0002 |
| Connettività | Wireless a 2.4 GHz, cablato USB |
| Dimensioni (L x P x A) | 3.94 x 1.97 x 0.5 pollici |
| Peso | 1.01 libbre |
| Ingresso volumetage | 3 V - 500 mA |
| Programmable Paddles | Yes (M1, M2, M3) |
Garanzia e supporto
For warranty information and technical support, please refer to the official Lexip website or contact Lexip customer service. Keep your proof of purchase for warranty claims.
Lexip Official Websito: www.lexip.com (Note: This is a placeholder link, please refer to actual Lexip support channels.)