1. Introduzione
The Foscam FNA108HE is an 8-channel Network Video Recorder (NVR) designed for surveillance systems. It supports up to 8 PoE (Power over Ethernet) IP cameras, allowing for simplified installation with power and data transmission over a single Ethernet cable. This NVR records video at up to 8MP resolution per channel and utilizes H.264+ video compression for efficient storage. It offers continuous, motion-detection, and scheduled recording options, and supports a hard drive up to 16TB (not included) for extensive storage. View and manage your surveillance system locally via HDMI/VGA monitor or remotely through a web interfaccia.
2. Contenuto della confezione
- Foscam FNA108HE 8-Channel PoE NVR
- Adattatore di alimentazione
- Mouse USB
- Cavo Ethernet
- Guida rapida
- Viti di montaggio per HDD (unità disco rigido non inclusa)
3. Prodotto finitoview
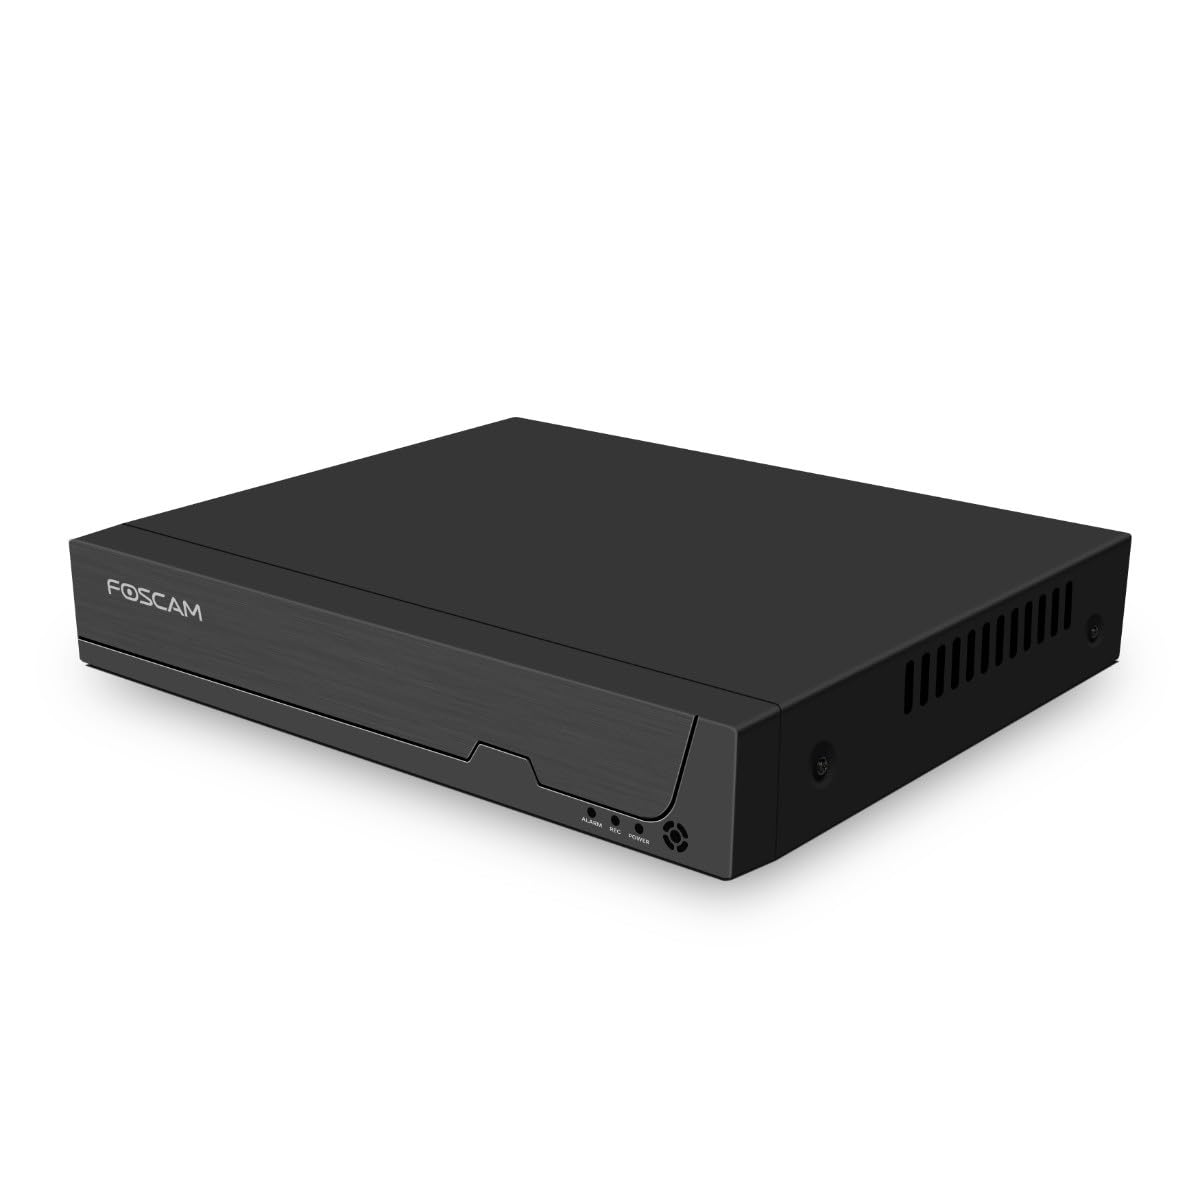
Figura 3.1: pannello frontale
This image shows the front of the Foscam FNA108HE NVR, featuring the Foscam logo on the left and indicator lights (ALARM, REC, POWER) on the right, along with a navigation button.

Figura 3.2: Angolato View
An angled perspective of the Foscam FNA108HE NVR, highlighting its compact design and the Foscam branding.

Figura 3.3: pannello posteriore
This image displays the rear panel of the Foscam FNA108HE NVR, showing various ports including the power switch, DC 48V power input, 8 PoE ports, LAN port, A-OUT (audio output), VGA port, HD-OUT (HDMI port), and two USB ports.
3.1 Indicatori del pannello frontale
- ENERGIA: Indicates the NVR is powered on.
- Rec: Flashes when video is being recorded.
- ALLARME: Illuminates when an alarm event (e.g., motion detection) is triggered.
3.2 Porte del pannello posteriore
- Interruttore ON/OFF: Powers the NVR on or off.
- CC 48V: Ingresso alimentazione per l'NVR.
- Porte PoE (1-8): Connect PoE IP cameras. These ports provide both power and data.
- Porta LAN: Connects the NVR to your local network/router for internet access and remote viewing.
- A-OUT (Uscita audio): Connects to an external speaker for audio output.
- Porta VGA: Connects to a VGA monitor for local display.
- HD-OUT (HDMI Port): Connects to an HDMI monitor or TV for local display.
- Porte USB (x2): Connect a USB mouse for local control and for USB backup devices.
4. Impostazione
4.1 Hard Drive Installation (Optional, HDD not included)
For video recording, a 3.5-inch SATA hard drive is required. Ensure the NVR is powered off before installation.
- Svitare e rimuovere il coperchio superiore dell'NVR.
- Collegare i cavi dati e di alimentazione SATA dall'NVR al disco rigido.
- Fissare il disco rigido allo chassis dell'NVR utilizzando le viti fornite.
- Riposizionare il coperchio superiore e fissarlo con le viti.
4.2 Connessione hardware
- Connect your PoE IP cameras to the PoE ports (1-8) on the NVR's rear panel using Ethernet cables.
- Connect a monitor to the NVR's HD-OUT (HDMI) or VGA port.
- Collegare il mouse USB a una delle porte USB dell'NVR.
- Collegare la porta LAN dell'NVR al router o allo switch di rete tramite un cavo Ethernet.
- Connect the power adapter to the DC 48V input on the NVR and then plug it into a power outlet.
- Press the ON/OFF switch to power on the NVR.
5. Operativo
5.1 Configurazione iniziale e accesso
Upon first boot, the NVR will guide you through an initial setup wizard (password creation, network settings, etc.). You can access the NVR interface locally via the connected monitor and mouse, or remotely via a web browser su un computer connesso alla stessa rete.
5.2 Vivere View
After logging in, the NVR will display the live video feeds from connected cameras. You can switch between single-camera view, griglia multi-camera viewe personalizzare il layout di visualizzazione.
5.3 Modalità di registrazione
The NVR supports the following recording modes:
- Registrazione continua: Registra 24 ore su 24, 7 giorni su 7, senza interruzioni.
- Registrazione di rilevamento del movimento: Registra solo quando le telecamere rilevano un movimento.
- Registrazione programmata: Registrazioni in base a una pianificazione predefinita (ad esempio, orari specifici del giorno).
Configure these settings in the NVR's menu under 'Record' or 'Schedule'.
5.4 Riproduzione
per riview registrato footage:
- Access the 'Playback' menu on the NVR interface.
- Selezionare la/le telecamera/e desiderata/e e l'intervallo di data/ora.
- Use the timeline to navigate through recordings and play back events.
5.5 Accesso remoto
Per accedere all'NVR da remoto:
- Assicurarsi che l'NVR sia connesso a Internet.
- Configure network settings (e.g., port forwarding) on your router if necessary, or use Foscam's cloud service/P2P feature if available.
- Use the Foscam web interface or mobile application to view live feeds and manage settings from anywhere.
6. Manutenzione
6.1 Gestione del disco rigido
Regularly check the status of your hard drive in the NVR's storage settings. If the hard drive is new or has issues, it may need to be formatted through the NVR interface. Ensure sufficient free space for continuous recording.
6.2 Aggiornamenti firmware
Periodically check the Foscam official website for firmware updates. Keeping your NVR's firmware updated ensures optimal performance, security, and access to new features. Follow the instructions provided with the firmware update carefully.
7. Risoluzione Dei Problemi
- Nessuna visualizzazione video: Check HDMI/VGA cable connections, ensure monitor is on and set to correct input. Verify NVR is powered on.
- Le telecamere non vengono visualizzate: Ensure cameras are properly connected to PoE ports. Check camera power and network status. Verify camera IP addresses are within the NVR's range.
- Nessuna registrazione: Confirm a hard drive is installed and formatted. Check recording schedules and motion detection settings. Ensure HDD has free space.
- Problemi di accesso remoto: Verify NVR has internet access. Check network settings, port forwarding, or P2P status. Ensure correct login credentials.
- NVR Not Powering On: Check power adapter connection and power outlet. Ensure the ON/OFF switch is in the 'ON' position.
8. Specifiche
| Caratteristica | Specificazione |
|---|---|
| Numero di modello | FNA108HE |
| Marca | Foscam |
| Numero di canali | 8 |
| Capacità di archiviazione massima | 16 TB (Hard Drive not included) |
| Compressione video | H.264 + |
| Tipo di ingresso video | Telecamera IP PoE |
| Uscita video | HDMI, VGA |
| Uscita audio | A-FUORI |
| Porte USB | 2 |
| Tecnologia di connettività | HDMI, USB, VGA, Ethernet (LAN, PoE) |
| Dispositivi compatibili | Camera, Smartphone, Television |
| Peso dell'articolo | 880 grammi |
| Disponibilità dei pezzi di ricambio | 1 anno |
9. Garanzia e supporto
This Foscam NVR (Model FNA108HE) typically comes with a manufacturer's warranty. Spare parts are available for 1 year. For detailed warranty information, technical support, or service inquiries, please refer to the official Foscam webo contattare direttamente l'assistenza clienti. Conservare la ricevuta d'acquisto per eventuali reclami in garanzia.