
Introduzione
This manual provides instructions for the setup, operation, maintenance, and troubleshooting of your Pisichen 17.3 inch Portable Monitor. This monitor features a 1600x900 HD resolution, 800:1 contrast ratio, 250 cd/m² brightness, 16:9 aspect ratio, and a 60Hz refresh rate, designed to provide an extended display for various devices.
The monitor includes multiple interfaces for broad compatibility and a built-in kickstand for convenience. It supports various display modes for enhanced productivity and entertainment.
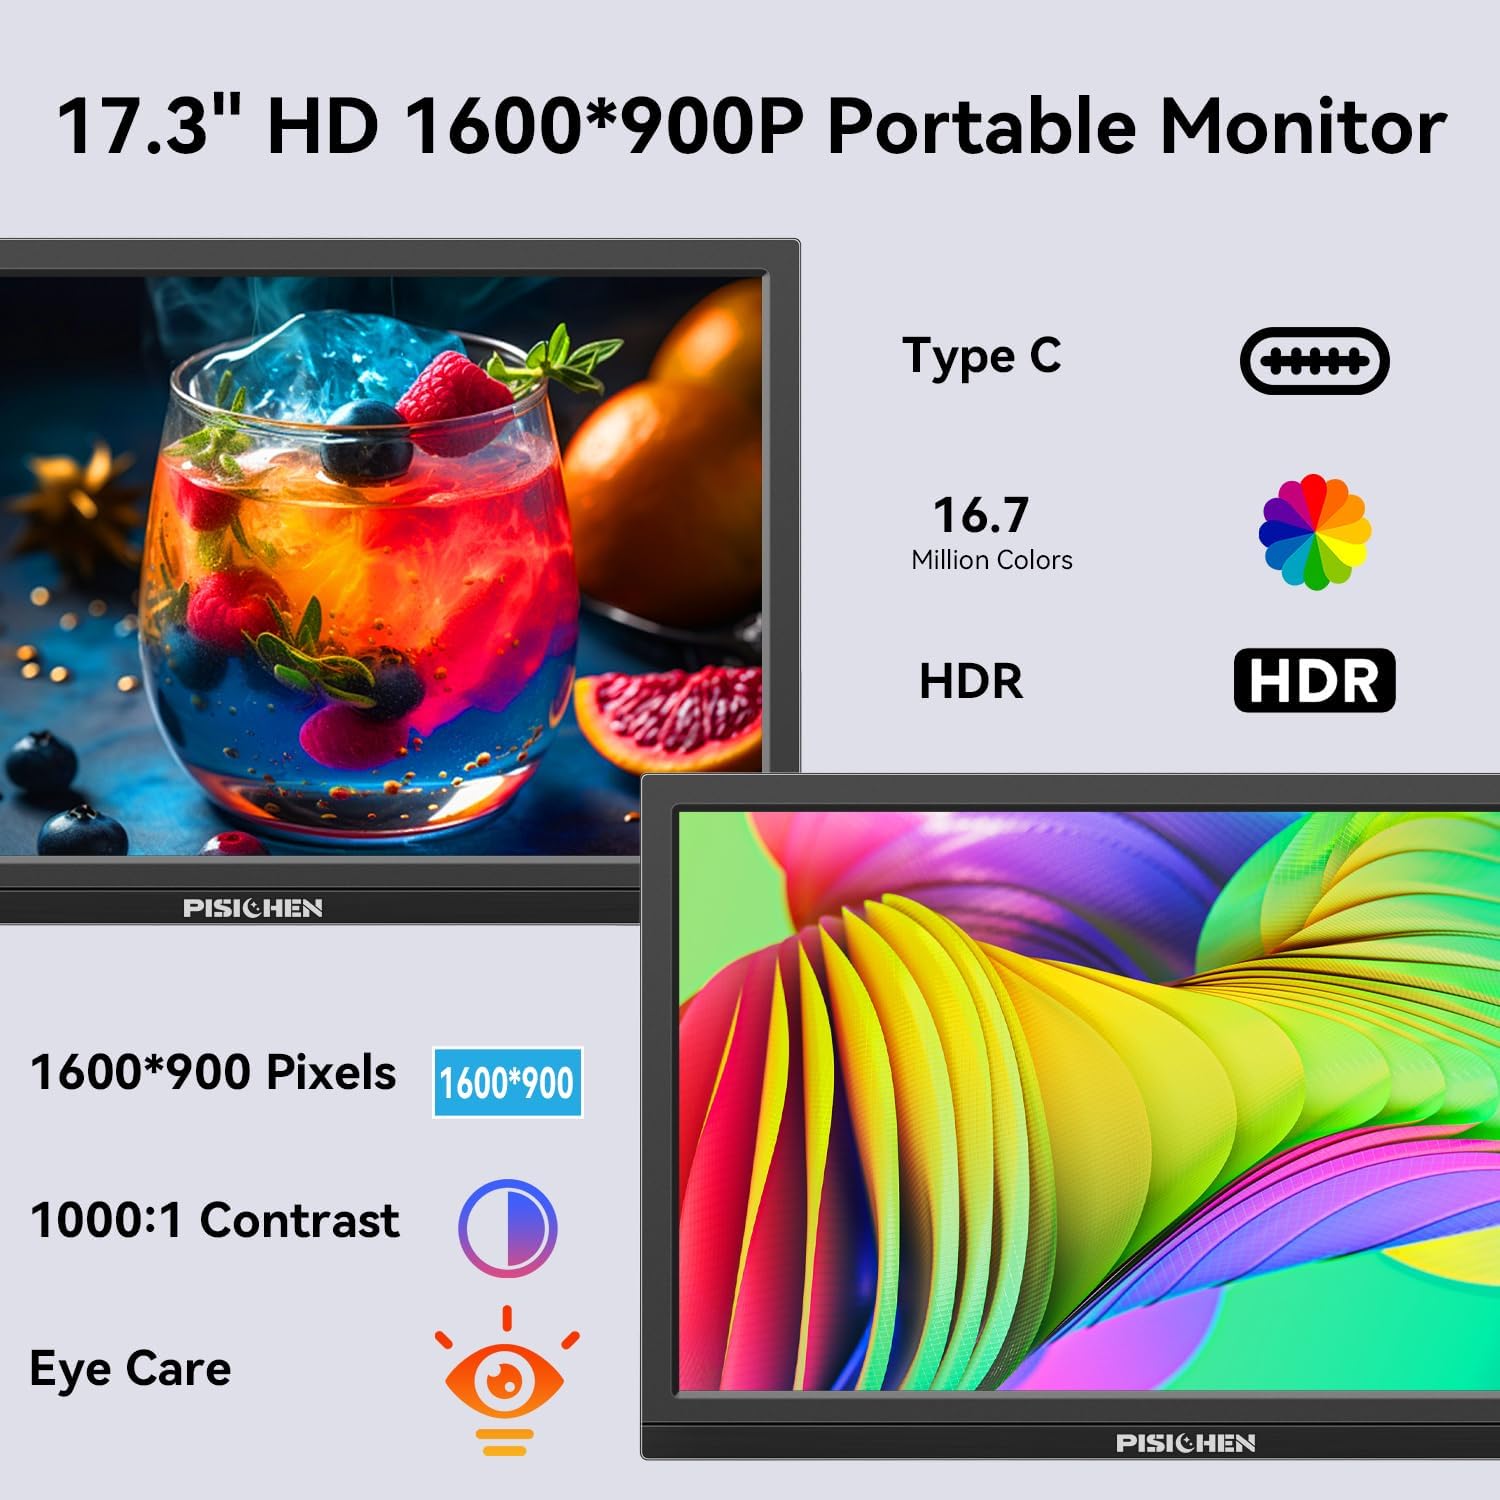
Image: The Pisichen 17.3 inch Portable Monitor highlighting its HD 1600x900 resolution, 1000:1 contrast, and eye care features.
Contenuto della confezione
Verificare che tutti gli articoli siano presenti nel pacco:
- Monitor portatile da 17.3 pollici
- Adattatore di alimentazione CC
- Cavo da HDMI a HDMI
- Cavo da USB-C a USB-C
- Manuale dell'utente (questo documento)

Image: The portable monitor and its accompanying accessories, including cables and power adapter.
Istruzioni di installazione
1. Collegamento dell'alimentazione
Connect the provided DC Power Adapter to the DC Power Port on the monitor and then to a power outlet. Ensure the monitor receives sufficient power for stable operation.
2. Connessione a un dispositivo
Il monitor supporta due metodi di connessione principali:
- Connessione USB-C: Use the provided USB-C to USB-C cable. Connect one end to the monitor's USB-C 3.1 port (for signal input) and the other end to a compatible USB-C 3.1 (or higher) port on your laptop, PC, or smartphone. This connection can transmit both video and power.
- Connessione HDMI: Use the provided HDMI to HDMI cable. Connect one end to the monitor's HDMI port and the other end to the HDMI output of your device (laptop, PC, game console). When using HDMI, ensure the monitor is also connected to power via the DC power adapter.

Image: Visual guide for USB-C and HDMI connection methods, showing cable connections and power requirements.
3. Configurazione fisica
- Cavalletto integrato: The monitor features an integrated, foldable kickstand. Gently unfold it from the back of the monitor to position the screen at a desired viewing angle on a flat surface.
- Montaggio VESA: For alternative mounting options, the monitor is equipped with standard 75x75mm VESA holes on the back. This allows for mounting to compatible desktop stands or wall mounts (mounting hardware not included).
Istruzioni per l'uso
1. Monitor Interfaces and Controls
Familiarize yourself with the ports and control buttons located on the side of the monitor:
- Porta di alimentazione CC: Per collegare l'adattatore di alimentazione.
- Porta audio da 3.5 mm: Per collegare cuffie o altoparlanti esterni.
- Porta USB C 3.1: For video signal input and power delivery from compatible devices.
- Porta USB C 2.0: Primarily for charging phones or connecting OTG devices.
- Porta HDMI: For video signal input from HDMI-enabled devices.
- Brightness/Up Button: Adjusts screen brightness or navigates up in the OSD menu.
- Pulsante Menu/OK: Opens the On-Screen Display (OSD) menu or confirms selections.
- Volume/Down Button: Adjusts audio volume or navigates down in the OSD menu.
- Porta OTG: For connecting a keyboard or mouse.

Immagine: dettagliata view delle porte e dei pulsanti di controllo del monitor.
2. Modalità di visualizzazione
Il monitor supporta diverse modalità di visualizzazione quando è collegato a un dispositivo compatibile:
- Modalità duplicata: Rispecchia il contenuto dello schermo principale.
- Modalità estesa: Extends your desktop, providing additional screen space.
- Modalità secondo schermo: Utilizza solo il monitor portatile come display.
These modes can typically be configured through your device's display settings (e.g., Windows Display Settings, macOS System Preferences).

Immagine: Example of extending a smartphone's display to the portable monitor via USB-C.
3. Menu OSD (On-Screen Display).
Premere il tasto Menù/OK button to access the OSD menu. Use the Luminosità/Aumento E Volume basso buttons to navigate through options and adjust settings such as brightness, contrast, color temperature, and input source. Press Menù/OK again to confirm selections or exit sub-menus.
4. HDR Mode
The monitor supports HDR (High Dynamic Range) technology for improved color and contrast. This mode can be enabled or disabled through the OSD menu, if supported by your connected device and content.

Image: Visual comparison of SDR and HDR display quality.
5. Low Blue Light Feature
The monitor includes a Low Blue Light feature designed to filter harmful blue light, reducing eye strain during prolonged use. This setting can be adjusted via the OSD menu.

Image: Illustration of the Low Blue Light feature for eye protection.
Manutenzione
1. Pulizia del monitor
- Prima di pulire il monitor, spegnerlo e scollegarlo sempre.
- Utilizzare leggermente un panno morbido e privo di lanugine dampcon acqua o con un detergente per schermi non abrasivo.
- Non spruzzare il detergente direttamente sullo schermo. Applicalo prima sul panno.
- Avoid using harsh chemicals, alcohol, or ammonia-based cleaners, as these can damage the screen surface.
2. Conservazione
When not in use, store the monitor in a cool, dry place, away from direct sunlight and extreme temperatures. If transporting, use a protective sleeve or case to prevent scratches and damage.
Risoluzione dei problemi
Se riscontri problemi con il monitor, fai riferimento ai seguenti problemi comuni e alle relative soluzioni:
- Nessun segnale / Schermo nero:
- Ensure all cables (power and video) are securely connected to both the monitor and the source device.
- Verificare che il dispositivo sorgente sia acceso e che emetta un segnale.
- Check the input source setting on the monitor via the OSD menu to ensure it matches your connection (e.g., HDMI, USB-C).
- If using USB-C, confirm your device's USB-C port supports video output (DisplayPort Alternate Mode).
- Screen is Too Dim / Cannot Adjust Brightness:
- Access the OSD menu and navigate to the brightness settings. Ensure the brightness level is increased.
- Some devices may have their own display settings that override or limit monitor brightness. Check your connected device's display settings.
- Ensure the monitor is receiving adequate power. A weak power source can sometimes affect brightness.
- No Audio / Headphone Jack Not Working:
- Controllare le impostazioni del volume sia sul monitor (tramite il menu OSD) sia sul dispositivo collegato.
- Ensure headphones or speakers are fully plugged into the 3.5mm audio port.
- Verify that the audio output on your source device is set to the portable monitor.
- Test with different headphones or speakers to rule out a faulty audio device.
- Image Distortion / Poor Picture Quality:
- Assicurati che la risoluzione dello schermo sul dispositivo sorgente sia impostata sulla risoluzione nativa del monitor (1600x900).
- Check for damaged or loose video cables. Try a different cable if available.
- Adjust contrast and color settings in the OSD menu.
Specifiche
| Numero di modello | SLZJ173 |
| Dimensioni dello schermo | 17.3 pollici |
| Risoluzione | 1600x900 Alta Definizione |
| Proporzioni | 16:9 |
| Rapporto di contrasto | 800:1 |
| Luminosità | 250 cd/m² |
| Frequenza di aggiornamento | 60 Hz |
| Tipo di pannello | TN |
| Viewangolo di ing | 170° |
| Gamma di colori | 99% sRGB, 16.7 million colors (8-bit) |
| Connettività | 1x HDMI, 1x USB-C 3.1 (signal input), 1x USB-C 2.0 (phone charging/OTG), 1x 3.5mm Audio Jack, 1x DC Power Port |
| Altoparlanti incorporati | SÌ |
| Supporto VESA | 75x75mm |
| Dimensioni del prodotto | 0.3 x 12 x 8 pollici (circa) |
| Peso dell'articolo | 3.54 libbre |
Garanzia e supporto
For warranty information or technical support, please contact the manufacturer, Pisichen, or the retailer from whom you purchased the product. Please have your model number (SLZJ173) and purchase details ready when contacting support.