
1. Introduzione
Thank you for choosing the EasySMX T37 Wireless Switch Pro Controller. This manual provides detailed instructions for setting up, operating, maintaining, and troubleshooting your controller. Please read this manual carefully before use to ensure optimal performance and longevity of your device. This controller is compatible with Nintendo Switch, Switch Lite, and Switch OLED consoles.
2. Prodotto finitoview
The EasySMX T37 is a wireless gamepad designed for an enhanced gaming experience on Nintendo Switch systems. It features an ergonomic design, dual turbo vibration, and 6-axis gyro motion control.

Immagine 2.1: anteriore view of the EasySMX T37 Wireless Switch Pro Controller, showcasinla sua forma ergonomica e la disposizione dei pulsanti.
3. Impostazione
3.1 Abbinamento con Nintendo Switch
- Accendi la tua console Nintendo Switch.
- Dal menu HOME, seleziona Controllori > Cambia impugnatura/ordine.
- On the EasySMX T37 controller, press and hold the Pulsante SYNC (located on the top edge of the controller) for 3 seconds until the LED indicators start flashing rapidly.
- Una volta che il controller è stato associato correttamente, i LED del lettore nella parte inferiore del controller si accenderanno con luce fissa.
3.2 Ricarica del controller
Connect the provided USB-C charging cable to the USB-C port on the controller and the other end to a USB power source (e.g., Switch dock, USB wall adapter, computer USB port). The LED indicators will show charging status and turn off when fully charged.
4. Istruzioni per l'uso
4.1 Controlli di base
The controller features standard button layouts for Nintendo Switch compatibility:
- Pulsanti A/B/X/Y: Pulsanti di azione.
- Tasto direzionale: Input direzionale.
- Stick analogici sinistro/destro: Controllo del movimento e della telecamera.
- Pulsanti L/R/ZL/ZR: Pulsanti a spalla e a grilletto.
- Tasto CASA: Returns to the Switch HOME Menu.
- CAPTURE Button: Acquisisce screenshot.
- Pulsanti PIÙ (+) / MENO (-): Funzioni di avvio/selezione.

Image 4.1: A user holding the EasySMX T37 controller, demonstrating the comfortable grip and accessible button placement during gameplay.
4.2 Funzione Turbo
The Turbo function allows for rapid, automatic pressing of a button, useful in action or arcade games.
- Attiva Turbo: Press and hold the desired action button (A/B/X/Y/L/R/ZL/ZR), then press the Pulsante turbo (T button). The button will now auto-fire.
- Regola la velocità del turbo: Mentre si tiene premuto il Pulsante turbo, sposta il Levetta analogica destra su o giù to cycle through three speeds: 5 shots/s, 12 shots/s, and 20 shots/s.
- Disattiva Turbo: Repeat the activation step (hold the action button, then press the Turbo button) or press and hold the Pulsante turbo for 5 seconds to clear all Turbo settings.
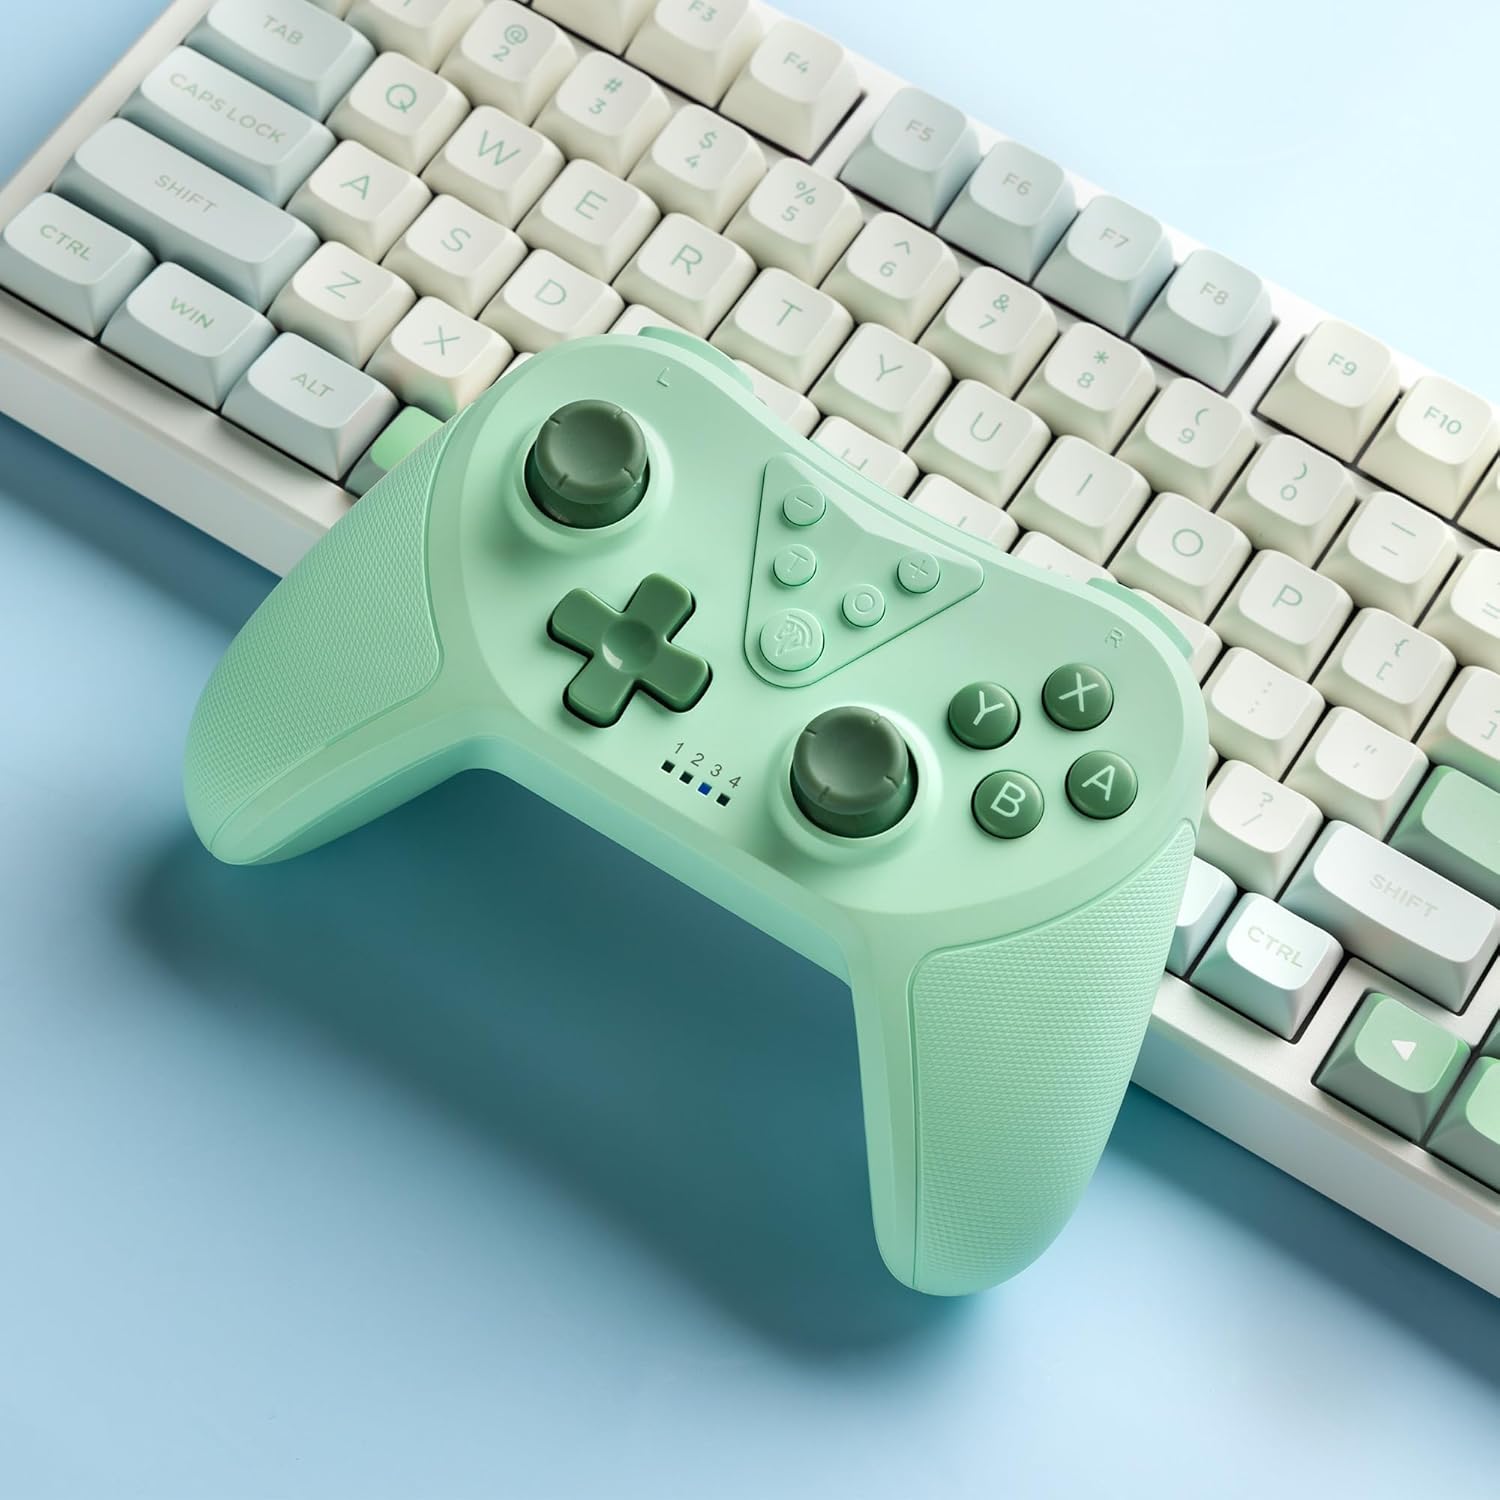
Image 4.2: Illustration of the Turbo function on the EasySMX T37 controller, showing the three adjustable speeds: 5, 12, and 20 shots per second.
4.3 Regolazione delle vibrazioni
The controller features dual motors for adjustable vibration feedback, enhancing immersion in games.
- Regola l'intensità della vibrazione: Premere e tenere premuto il tasto Pulsante turbo, quindi sposta il Left Analog Stick Up or Down to cycle through four vibration levels: 0% (off), 30%, 70%, and 100%.

Image 4.3: Visual representation of the Dual Vibration feature on the EasySMX T37 controller, indicating four intensity levels from 0% to 100%.
4.4 Controllo del movimento giroscopico a 6 assi
The built-in 6-axis gyroscope provides precise motion sensing, allowing for intuitive control in games that support motion input.

Image 4.4: Illustration depicting the 6-Axis Gyro Motion Control feature of the EasySMX T37 controller, showing how it interacts with a game on the Nintendo Switch screen.
5. Manutenzione
- Pulizia: Utilizzare un panno morbido e asciutto per pulire il controller. Evitare l'uso di prodotti chimici aggressivi o materiali abrasivi.
- Magazzinaggio: Conservare il controller in un luogo fresco e asciutto, lontano dalla luce solare diretta e da temperature estreme.
- Cura della batteria: Per prolungare la durata della batteria, evitare di scaricare completamente il controller frequentemente. Caricarlo regolarmente, anche se non lo si utilizza per lunghi periodi.
- Evitare gocce: Proteggere il controller da cadute e urti che potrebbero danneggiare i componenti interni.
6. Risoluzione Dei Problemi
6.1 Il controller non si connette
- Assicurati che il controller sia carico.
- Verify the Switch console is updated to the latest system version.
- Provare a riassociare il controller seguendo i passaggi nella Sezione 3.1.
- If issues persist, try resetting the controller by inserting a thin object into the small reset hole (if present, usually on the back) for a few seconds.
6.2 Buttons Unresponsive or Lagging
- Assicurarsi che il controller sia completamente carico.
- Move closer to the Switch console to ensure a strong wireless connection.
- Controllare che non vi siano ostruzioni fisiche o detriti attorno ai pulsanti.
- Riassociare il controller.
6.3 Il controller non si carica
- Ensure the USB-C cable is securely connected to both the controller and the power source.
- Prova a utilizzare un cavo USB-C o un adattatore di alimentazione diverso.
- Assicurarsi che la fonte di alimentazione sia funzionante.
7. Specifiche
- Modello: T37
- Connettività: Wireless (Bluetooth)
- Compatibilità: Nintendo Switch, Switch Lite, Switch OLED
- Caratteristiche: Dual Turbo Function, Adjustable Vibration, 6-Axis Gyro Motion Control, Ergonomic Design
- Product Identifier (ASIN): B0CTTWN84L
8. Garanzia e supporto
Per informazioni sulla garanzia, supporto tecnico o ulteriore assistenza, fare riferimento al sito ufficiale EasySMX webo contattare direttamente l'assistenza clienti. Conservare la ricevuta d'acquisto per eventuali reclami in garanzia.