1. Introduzione
Thank you for choosing the AOFAR HX1000 Hunting Laser Rangefinder. This device is designed to provide accurate distance, angle, and speed measurements for hunting and outdoor activities. Featuring a high-transparency multi-coated lens with 6x magnification, a measurement range of up to 1000 yards, and a durable IPX4 waterproof design, the HX1000 offers reliable performance in various conditions. This manual provides essential information for the proper setup, operation, maintenance, and troubleshooting of your device.
2. Informazioni sulla sicurezza
The AOFAR HX1000 is a Class 1 laser product. Please read and adhere to the following safety guidelines:
- Non fissare direttamente il raggio laser. Direct exposure to the laser beam may cause eye damage.
- Non puntare il dispositivo negli occhi di nessuno.
- Avoid disassembling or modifying the device. Unauthorized modifications can lead to laser radiation exposure and void the warranty.
- Tenere il dispositivo lontano da temperature estreme, luce solare diretta e umidità elevata.
- Maneggiare il dispositivo con cura per evitare cadute o urti che potrebbero danneggiare i componenti interni.
- Tenere fuori dalla portata dei bambini.
3. Contenuto della confezione
Verifica che tutti gli articoli siano presenti nel tuo pacco:
- AOFAR HX1000 Laser Rangefinder (x1)
- Handbag (x1)
- Moschettone (x1)
- Cordino (x1)
- Panno per la pulizia (x1)
- Cavo di ricarica USB di tipo C (x1)
- Manuale utente (x1)

Figure 3.1: Included accessories with the AOFAR HX1000 Laser Rangefinder.
4. Prodotto finitoview
Familiarize yourself with the components of your AOFAR HX1000 Laser Rangefinder.
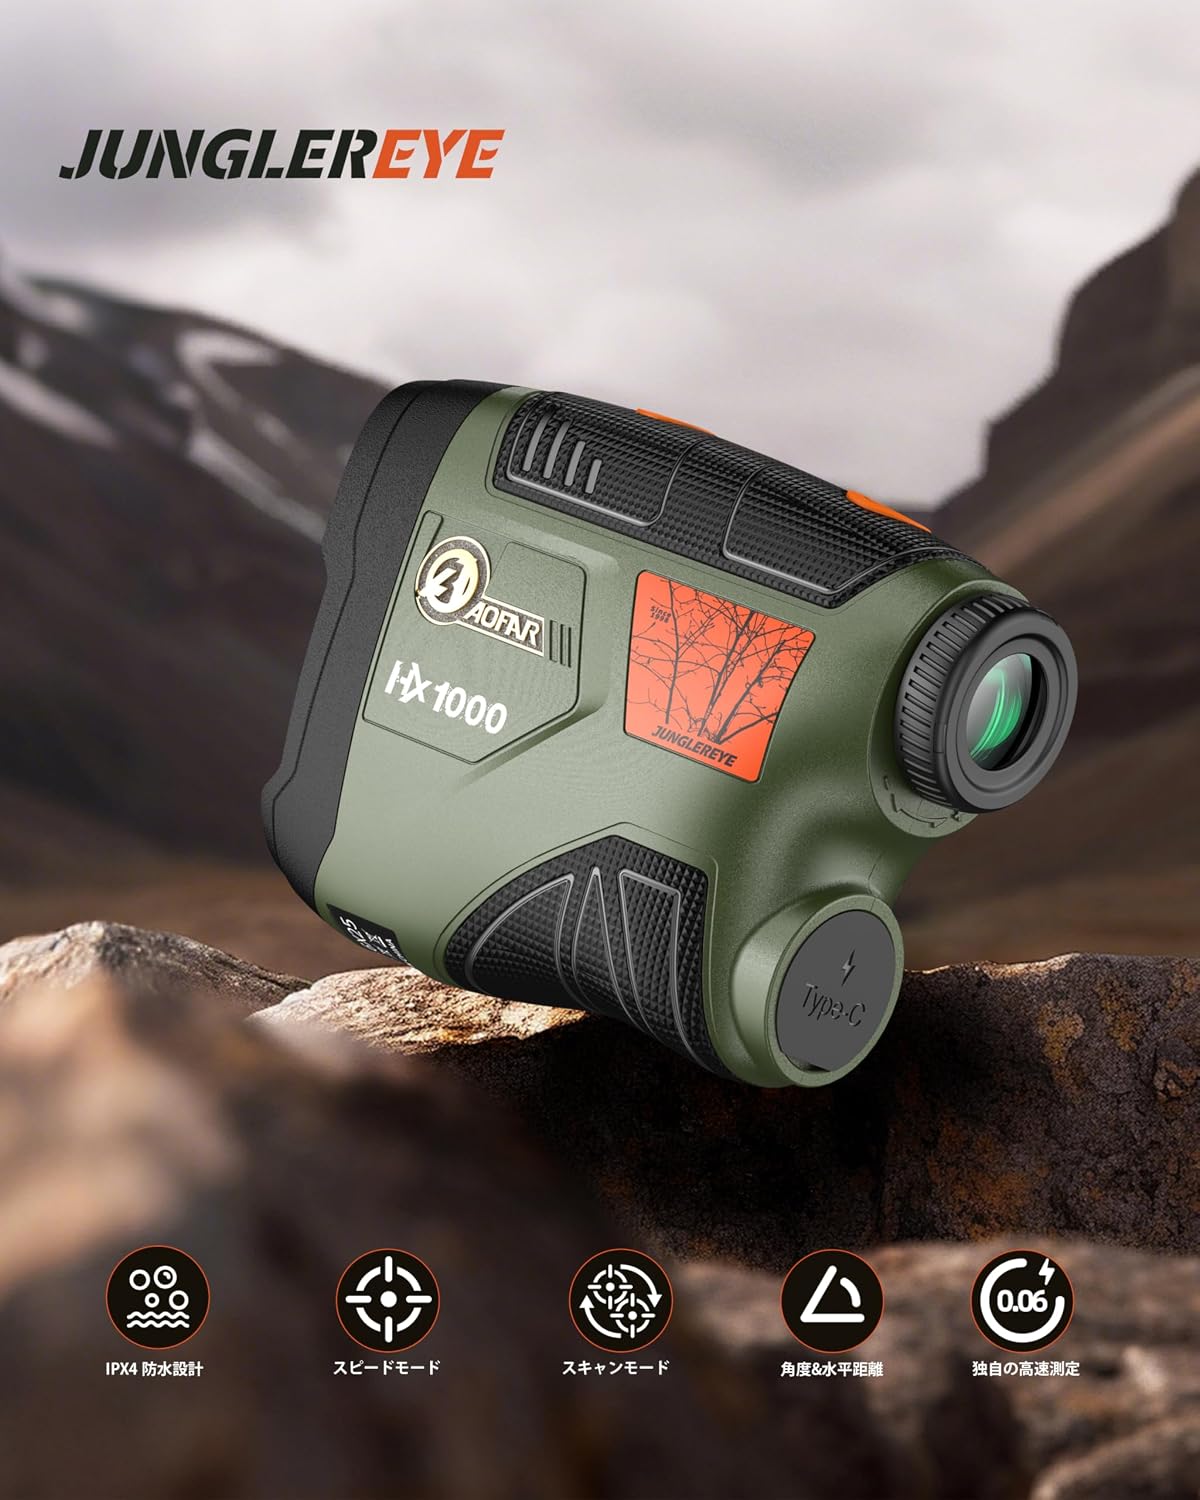
Figura 4.1: Fronte view of the AOFAR HX1000 Laser Rangefinder.
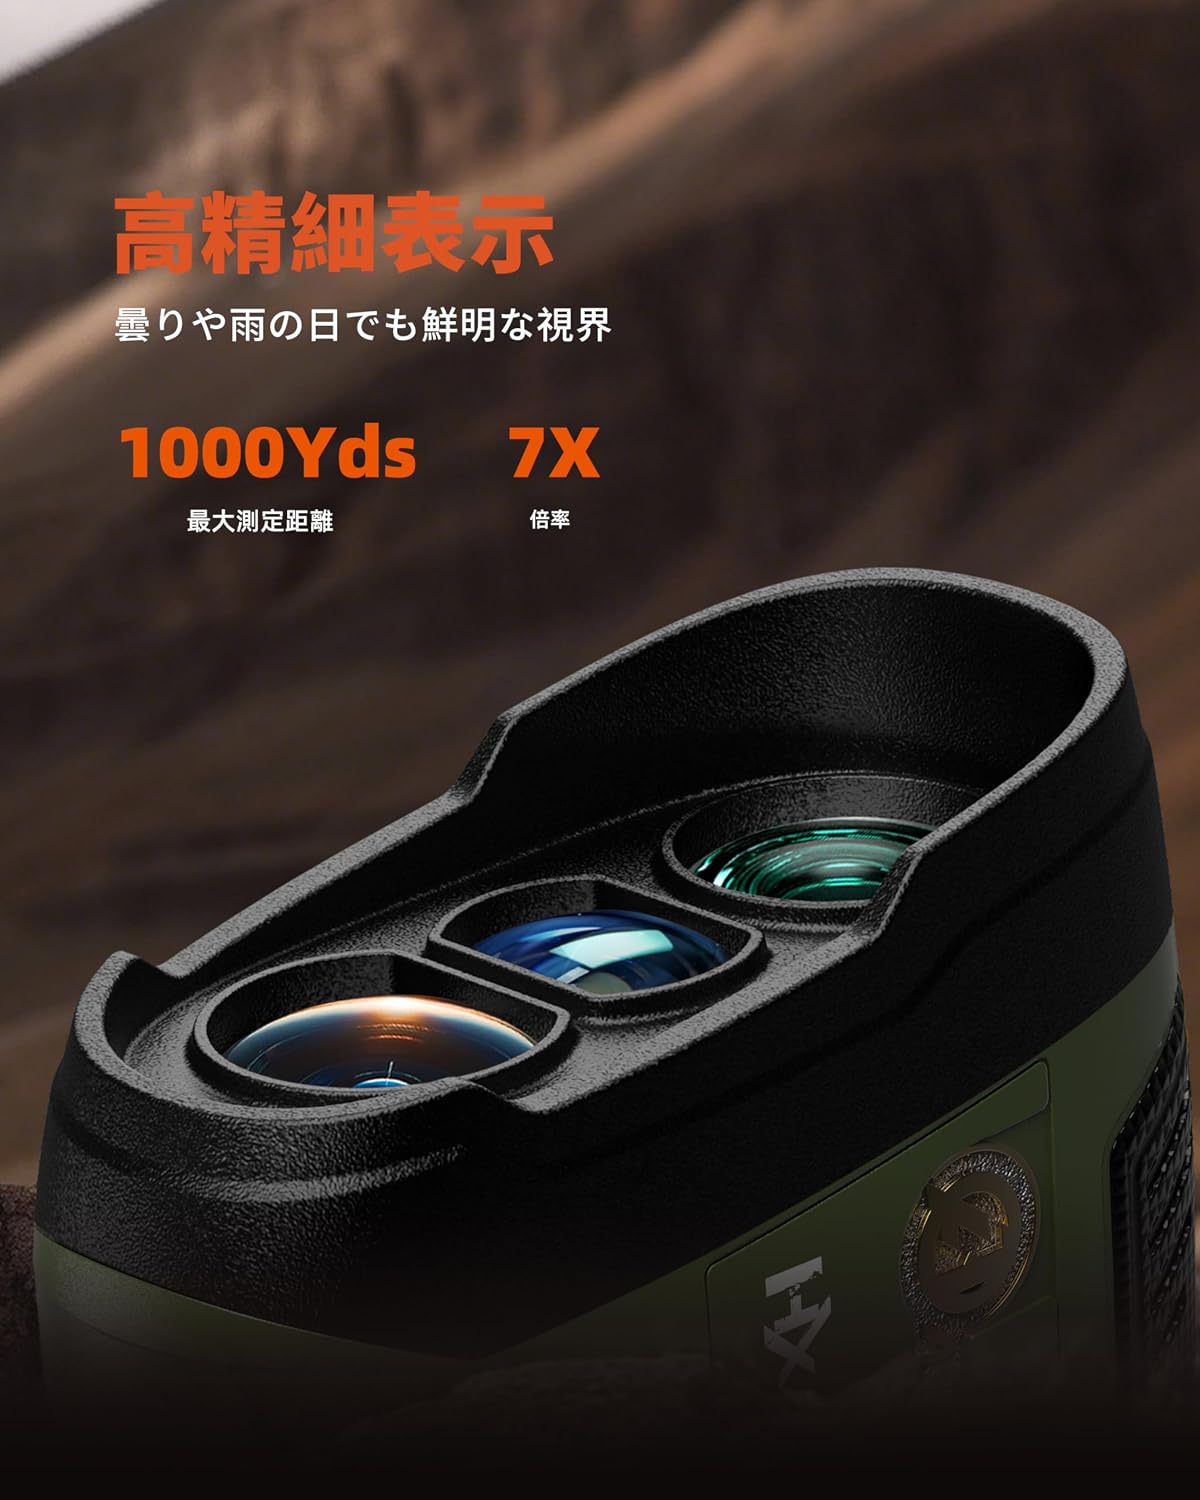
Figure 4.2: Close-up of the objective and eyepiece lenses.
Componenti chiave:
- Lente obiettivo: La lente frontale attraverso la quale il laser viene emesso e ricevuto.
- Oculare: The lens you look through to view the target and display.
- Pulsante di accensione/misurazione: Used to power on the device and initiate measurements.
- Pulsante Modalità: Used to switch between different measurement modes.
- Porta di ricarica USB di tipo C: Per ricaricare la batteria interna.
- Anello di regolazione diottrica: Located on the eyepiece, used to adjust focus for clear viewing.
5. Impostazione
5.1 Ricarica del dispositivo
The AOFAR HX1000 features a built-in rechargeable lithium-ion battery. Before first use, fully charge the device.
- Individuare la porta di ricarica USB Type-C sul lato del telemetro.
- Connect the provided USB Type-C cable to the rangefinder and the other end to a compatible USB power source (e.g., computer, wall adapter).
- The charging indicator will show the charging status. A full charge provides approximately 12,000 measurements.
- Avoid charging in high-temperature environments. Do not use the device while charging.

Figure 5.1: Charging the AOFAR HX1000 via USB Type-C.
5.2 Regolazione dell'oculare
Per chiaro viewing, adjust the diopter:
- Guarda attraverso l'oculare.
- Rotate the diopter adjustment ring until the display and target appear sharp and clear.
5.3 Accensione/Spegnimento
- Accensione: Press the Power/Measurement button once. The display will activate.
- Spegni: The device will automatically power off after 20 seconds of inactivity to conserve battery. You can also press and hold the Power/Measurement button to manually turn it off.
6. Istruzioni per l'uso
The AOFAR HX1000 offers multiple measurement modes to suit various needs.

Figura 6.1: Oltreview of measurement modes.
6.1 Basic Measurement (Distance Mode)
This is the default mode for measuring linear distance to a stationary target.
- Power on the device by pressing the Power/Measurement button.
- Punta il mirino sul bersaglio desiderato.
- Press the Power/Measurement button again. The measured distance will be displayed instantly.
6.2 Selezione della modalità
To switch between measurement modes, press the Mode button while the device is powered on.
6.3 Modalità di misurazione della velocità
This mode allows you to measure the speed of a moving target.
- Press the Mode button until 'Speed Mode' is indicated on the display.
- Mira al bersaglio in movimento.
- Press the Power/Measurement button. The speed of the target will be displayed.
Video 6.1: Demonstration of AOFAR rangefinder operation, including speed measurement. Note: The model shown in this video is HX2000, but the general operational principles apply to the HX1000.
6.4 Modalità di scansione
For continuous measurement of multiple targets or a moving target, use the scanning mode.
- Press the Mode button until 'Scanning Mode' is indicated.
- Press and hold the Power/Measurement button while sweeping the rangefinder across different targets.
- The display will continuously update with real-time distances to objects in the field of view.
6.5 Multi-functional Measurement
The HX1000 can automatically calculate horizontal distance and angle. These values are displayed alongside the linear distance in certain modes.
6.6 Unit Switching (Meter/Yard)
To switch between meters (m) and yards (yd):
- While the device is powered on, press and hold the Mode button for a few seconds until the unit changes.
7. Manutenzione
Proper care ensures the longevity and accuracy of your rangefinder.
- Pulizia delle lenti: Utilizzare il panno in dotazione o un panno morbido e privo di lanugine per pulire delicatamente le lenti. Evitare l'uso di materiali abrasivi o prodotti chimici aggressivi.
- Pulizia del corpo: Pulisci il corpo con un panno morbido, damp panno. Non utilizzare solventi né immergere il dispositivo in acqua.
- Magazzinaggio: Store the rangefinder in its protective handbag in a cool, dry place when not in use. Avoid prolonged exposure to direct sunlight or extreme temperatures.
- Cura della batteria: Per preservare la salute della batteria, ricaricarla regolarmente, anche se il dispositivo non viene utilizzato frequentemente.
8. Risoluzione Dei Problemi
Se riscontri problemi con il tuo AOFAR HX1000, fai riferimento ai seguenti problemi comuni e alle relative soluzioni:
| Problema | Possibile causa | Soluzione |
|---|---|---|
| Il dispositivo non si accende. | Batteria scarica o dispositivo spento. | Charge the battery using the USB Type-C cable. Press the Power/Measurement button to turn on. |
| Misurazioni imprecise. | Unstable grip, dirty lenses, or target is too small/reflective. | Ensure a steady grip. Clean the lenses. Aim at a larger or less reflective part of the target. |
| Lo schermo è sfocato. | Diottrie non regolate correttamente. | Rotate the diopter adjustment ring on the eyepiece until the display is clear. |
| Impossibile cambiare modalità. | Mode button not pressed correctly or device is frozen. | Ensure a firm press on the Mode button. If unresponsive, power off and on the device. |
Se il problema persiste dopo aver provato queste soluzioni, contattare l'assistenza clienti AOFAR.
9. Specifiche
Specifiche tecniche dettagliate del telemetro laser AOFAR HX1000:
| Caratteristica | Specificazione |
|---|---|
| Modello | Tipo HX1000 |
| Campo di misura | 5 - 1000 yards |
| Precisione della misurazione | ±1 iarde |
| Ingrandimento | 6X |
| Rivestimento delle lenti | Multi-coated LCD lens |
| Tipo di batteria | Ricaricabile agli ioni di litio (650 mAh) |
| Porta di ricarica | USB di tipo C |
| Livello di impermeabilità | IPX4 (resistente agli spruzzi) |
| Dimensioni (L x P x A) | Dimensioni: 10.5 x 2.5 x 7.5 cm |
| Peso | 140g |
| Materiale | ABS, gomma |
| Colore | Verde militare |
10. Garanzia e supporto
The AOFAR HX1000 Laser Rangefinder comes with a Garanzia di 2 anno dalla data di acquisto. La presente garanzia copre i difetti di fabbricazione e garantisce un funzionamento affidabile in condizioni di utilizzo normali.
For any questions, technical assistance, or warranty claims, please contact AOFAR customer support. When contacting support, please have your order number ready for faster service.
Informazioni sui contatti: Please refer to the contact details provided on the AOFAR official websito o sulla piattaforma di acquisto per le informazioni di supporto più aggiornate.