
1. Introduzione
This manual provides detailed instructions for the installation, operation, and maintenance of your ELUSH 100A MPPT Solar Charge Controller. This advanced controller is designed to efficiently manage power from your solar panels to your battery bank, ensuring optimal charging and system protection. It automatically recognizes 12V, 24V, 36V, and 48V systems and features dual USB 5V charging ports.
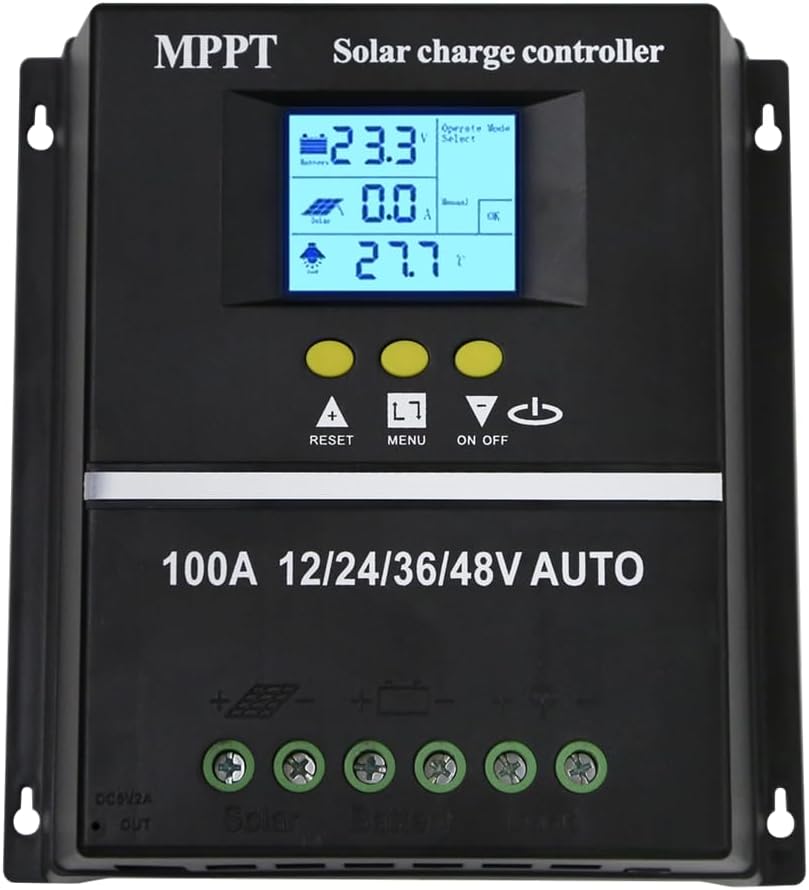
Figura 1.1: Fronte view of the ELUSH 100A MPPT Solar Charge Controller.
2. Istruzioni di sicurezza
Leggere attentamente tutte le istruzioni prima dell'installazione e dell'uso. Il mancato rispetto di queste istruzioni può causare danni all'unità, lesioni personali o danni materiali.
- Prima di accendere il sistema, assicurarsi che tutti i collegamenti siano sicuri e corretti.
- Non smontare o tentare di riparare il controller da soli. Contattare personale qualificato per l'assistenza.
- Installare il controller in un'area ben ventilata, lontano da materiali infiammabili e dalla luce solare diretta.
- The controller provides comprehensive voltage protection, including safeguards against battery over-voltage, over-current, power failure, overcharge, deep discharge, reverse connection, and overheating.
- Device Startup Reminder: When connecting the equipment, first connect the rechargeable battery and ensure it has power. After successful startup, then connect the solar panel. This sequence ensures proper operation.
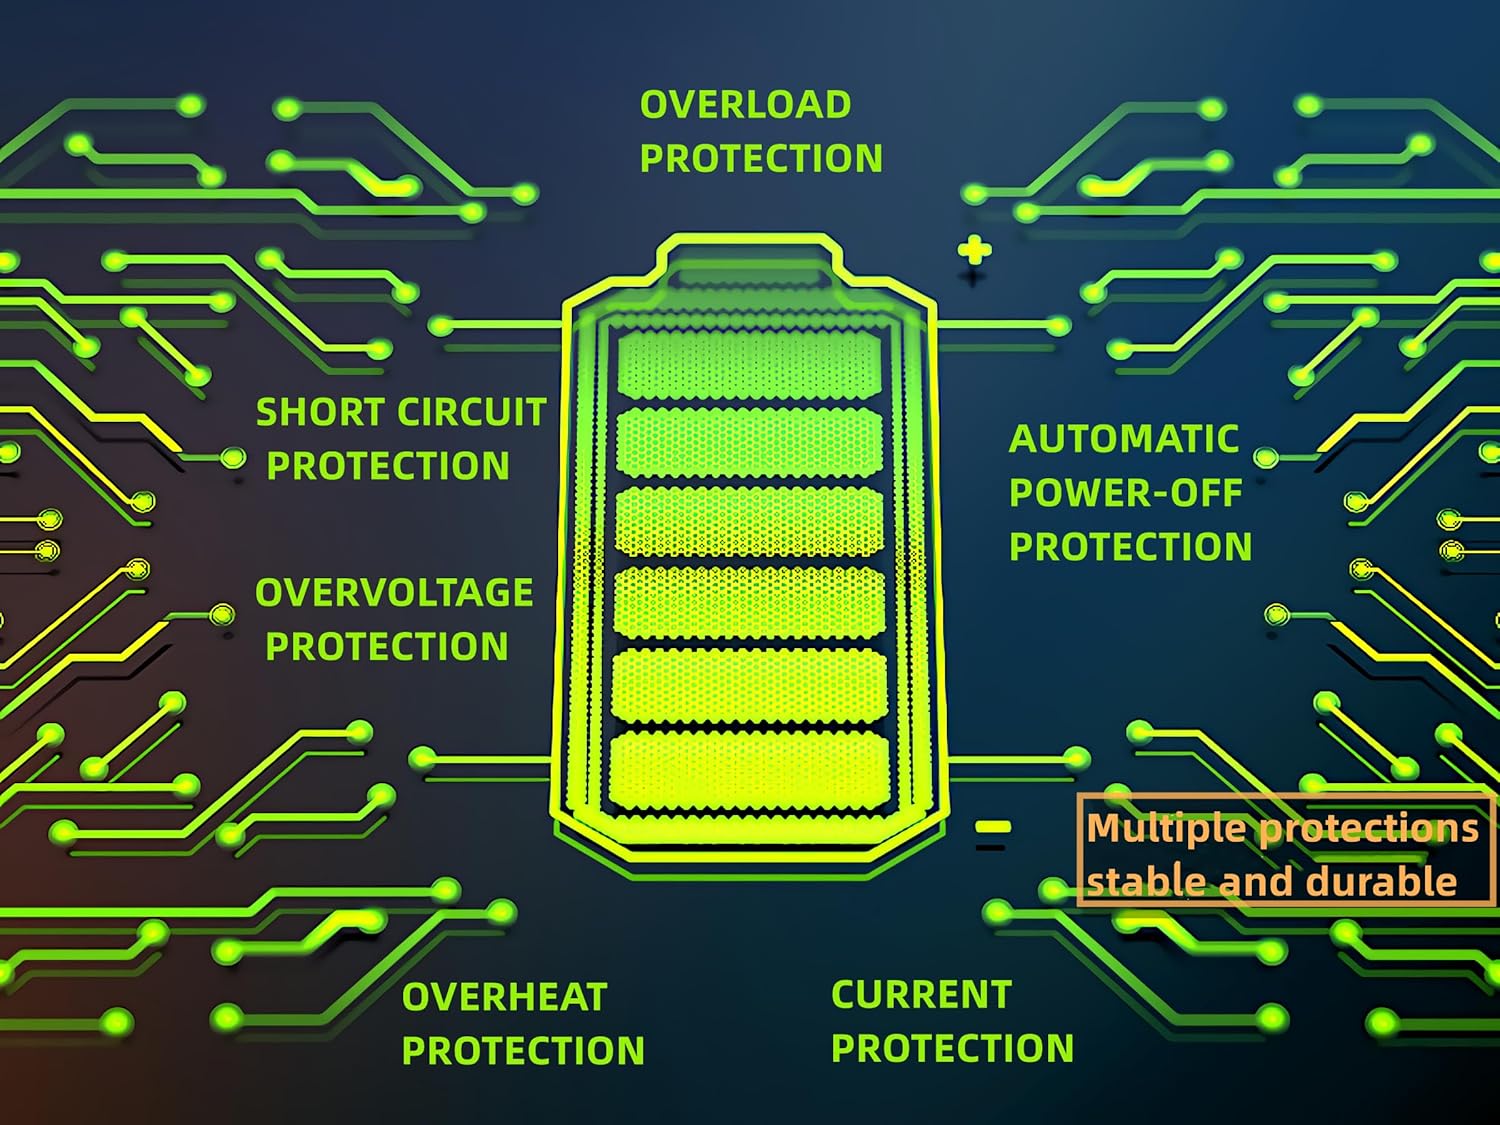
Figure 2.1: Built-in protection features for enhanced safety and durability.
3. Caratteristiche del prodotto
The ELUSH MPPT Solar Charge Controller offers a range of features designed for efficient and reliable solar power management:
- Superior MPPT Technology: Equipped with an advanced Maximum Power Point Tracking algorithm, ensuring tracking efficiency of no less than 99.5% for enhanced energy utilization.
- Automatic System Recognition: Automatically recognizes 12V, 24V, 36V, and 48V battery systems.
- Modalità operative versatili: Features seven operating modes including charging mode, light control mode, light control + time delay control mode, universal control mode, manual control mode, and timing control mode.
- Display LCD multifunzione: Dynamically displays operational data such as working mode, battery voltage, corrente di carica del fotovoltaico, corrente di scarica della batteria, temperatura di funzionamento del prodotto e tempo di ritardo.
- Doppia porta USB: Includes dual USB 5V charging ports for convenient device charging.
- Ampia compatibilità della batteria: Compatible with various battery types, including Sealed, GEL, Flooded, and LifePO4.
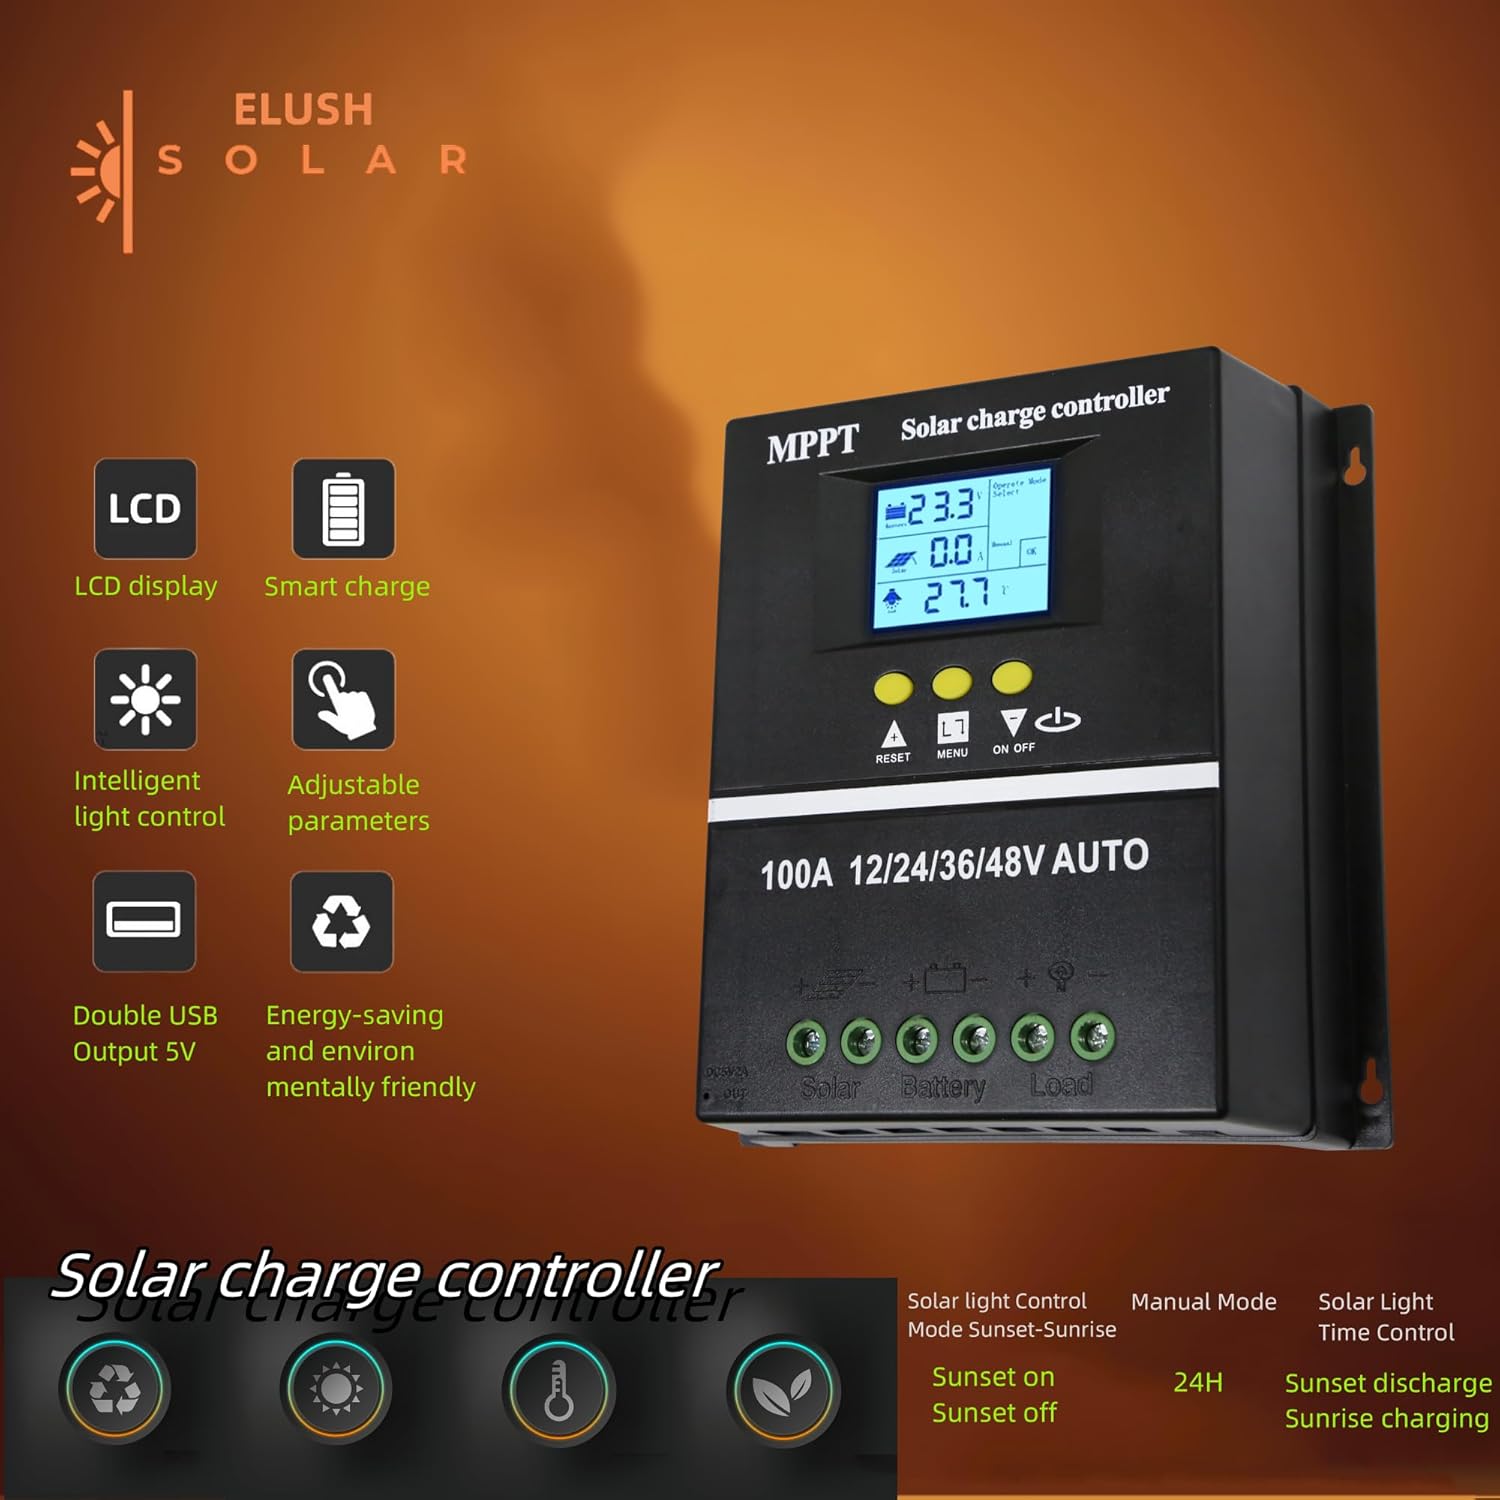
Figure 3.1: Key features of the ELUSH Solar Charge Controller.

Figura 3.2: dettagliata view of connection ports and heat dissipation design.
4. Configurazione e installazione
Per una corretta installazione del regolatore di carica solare, seguire questi passaggi:
- Preparare la posizione di montaggio: Choose a dry, well-ventilated area, protected from direct sunlight and moisture. Ensure there is enough space around the controller for proper heat dissipation.
- Collegare la batteria: First, connect the positive and negative terminals of your battery to the corresponding battery terminals on the controller. Ensure the battery has sufficient charge to power the controller's display.
- Collegare i pannelli solari: Next, connect the positive and negative terminals of your solar panel array to the corresponding solar panel terminals on the controller.
- Collegare il carico (facoltativo): If you are connecting a DC load directly to the controller, connect its positive and negative terminals to the load terminals on the controller.
- Verifica connessioni: Controllare attentamente tutti i collegamenti per accertarsi che siano saldi e correttamente polarizzati.

Figure 4.1: Typical connection diagram for the solar charge controller.
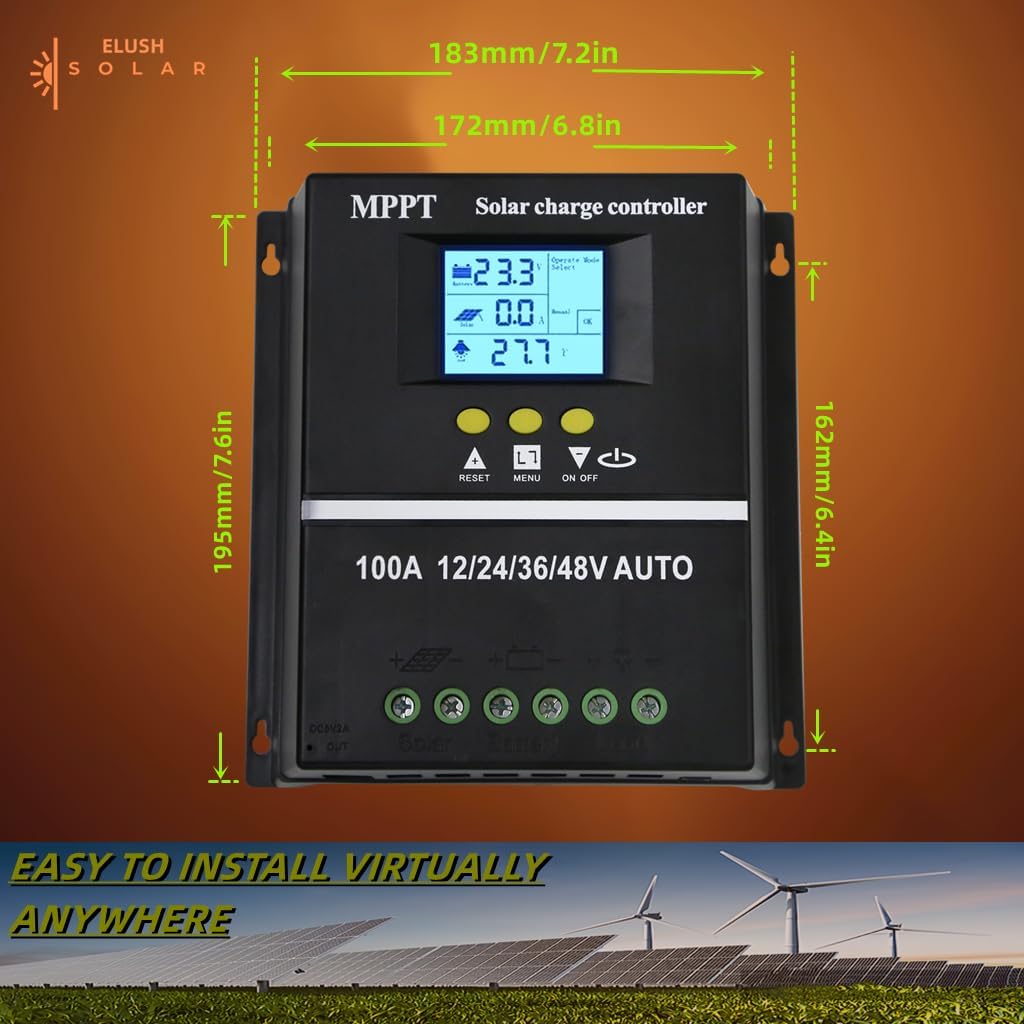
Figura 4.2: Dimensioni del prodotto per la pianificazione dell'installazione.
5. Istruzioni per l'uso
The controller's LCD display provides real-time information and allows for configuration of various settings.
Display LCD e pulsanti 5.1
The LCD dynamically displays operational data. Use the buttons below the screen to navigate menus and adjust settings:
- RIPRISTINA: Resets certain parameters or enters settings mode.
- MENU: Navigates through different display screens and settings.
- Frecce SU/GIÙ: Adjust values or select options within menus.
- ACCESO/SPENTO: Controlla l'uscita del carico CC.
5.2 modalità di ricarica
The controller supports a rapid, efficient, and safe battery charging algorithm with four stages:
- Carica alla rinfusa: iniziale stage where the battery receives maximum current.
- Carica potenziata: Charges the battery to a higher voltage per garantire la carica completa.
- Carica galleggiante: Mantiene la batteria a un volume costantetage per evitare sovraccarichi.
- Carica di equalizzazione: Sovraccarica periodicamente la batteria per bilanciare il volume delle celletages (for certain battery types).

Figure 5.1: Four-stage battery charging process.
5.3 Selezione del tipo di batteria
The controller is compatible with Sealed, GEL, Flooded, and LifePO4 batteries. Ensure you select the correct battery type in the settings for optimal charging and battery longevity.

Figura 5.2: Tipi di batterie compatibili.
5.4 Scenari applicativi
The ELUSH MPPT Solar Charge Controller is suitable for various applications, including:
- Residential solar power systems
- RV and marine solar setups
- Off-grid cabins and remote power solutions
- Portable solar power kits
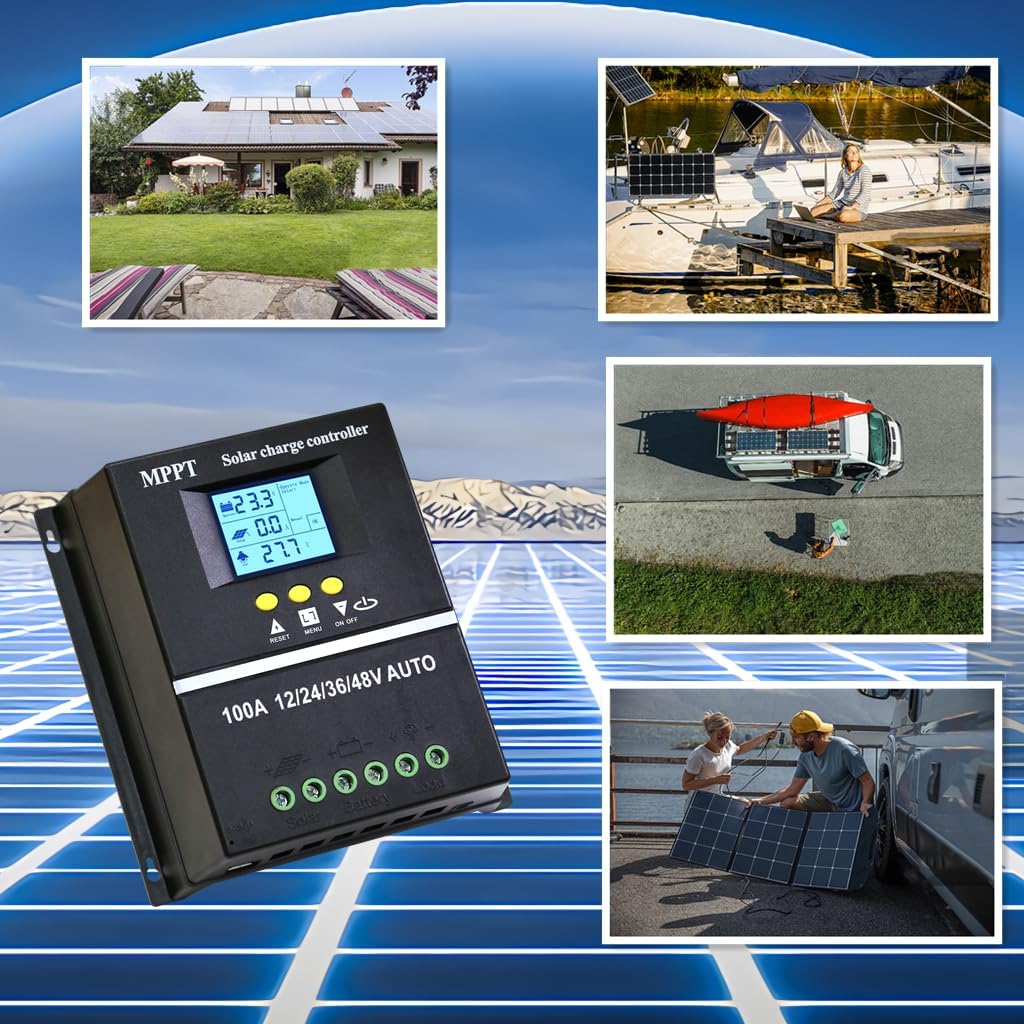
Figure 5.3: Diverse application scenarios for the solar charge controller.
6. Manutenzione
Una manutenzione regolare garantisce la longevità e le prestazioni ottimali del tuo regolatore di carica solare:
- Pulizia: Mantenere il controller pulito e privo di polvere e detriti. Utilizzare un panno asciutto e morbido per la pulizia.
- Connessioni: Controllare periodicamente tutti i collegamenti elettrici per assicurarsi che siano ben saldi e privi di corrosione. Collegamenti allentati possono causare perdite di potenza o surriscaldamento.
- Ventilazione: Ensure the installation area remains well-ventilated to prevent overheating, especially during peak operation.
- Aggiornamenti del firmware: Controllare il produttore websito per eventuali aggiornamenti firmware disponibili per garantire che il controller disponga delle funzionalità e delle correzioni di bug più recenti.
7. Risoluzione Dei Problemi
Se riscontri problemi con il tuo regolatore di carica solare, fai riferimento ai seguenti problemi comuni e alle relative soluzioni:
| Problema | Possibile causa | Soluzione |
|---|---|---|
| Il controller non si accende / Nessun display | Battery not connected or insufficient battery voltage. | Ensure battery is connected first and has adequate charge (minimum 9V for 12V systems). Charge battery externally if completely depleted. |
| No solar charging current | Solar panels not connected, insufficient sunlight, or panel issues. | Check solar panel connections. Ensure panels are receiving direct sunlight. Verify panel voltage. |
| Batteria non completamente carica | Impostazione errata del tipo di batteria, apporto solare insufficiente o degrado della batteria. | Verify battery type setting on the controller. Increase solar panel capacity if needed. Test battery health. |
| Il carico non funziona | Load output disabled, overload, or low battery voltage. | Check load output setting (ON/OFF button). Reduce load if overloaded. Charge battery. |
| Surriscaldamento | Scarsa ventilazione o corrente di carico/carica eccessiva. | Assicurare un flusso d'aria adeguato attorno al controller. Ridurre il carico o verificare la presenza di cortocircuiti. |
8. Specifiche
Detailed technical specifications for the ELUSH 100A MPPT Solar Charge Controller:
| Parametro | Valore |
|---|---|
| Volume batteriatage | 12V/24V/36V/48V automatico |
| Corrente di carica | 100A |
| Massimo apporto solare (Voc) | 15-25 V (batteria da 12 V); 30-50 V (batteria da 24 V); 45-75 V (batteria da 36 V); 60-100 V (batteria da 48 V) |
| Potenza massima in ingresso FV | 1200 W (batteria da 12 V); 2400 W (batteria da 24 V); 3600 W (batteria da 36 V); 4800 W (batteria da 48 V) |
| Porta USB | DC 5V/1.5A x 2 USB |
| Temperatura di esercizio | Temperatura ambiente -25°C ~ 55°C |
| Produttore | ELUSH |
| Peso dell'articolo | 1.79 libbre |
| Dimensioni del pacco | 8.11 x 8.03 x 2.91 pollici |

Figure 8.1: Detailed specifications of the 100A model.
9. Garanzia e supporto
ELUSH offers a 1-year warranty for this product. For technical support or any issues you may encounter, please feel free to contact our team. Our engineers are available to provide advice and solutions.
Per maggiori informazioni e prodotti, visita il sito ELUSH Store.