1. Introduzione
Thank you for choosing the FERREX 20V Li-Ion Cordless Drill Driver. This manual provides essential information for the safe and effective operation, maintenance, and troubleshooting of your new tool. Please read these instructions carefully before use and keep them for future reference.
2. Istruzioni di sicurezza
Quando si utilizzano utensili elettrici, seguire sempre le precauzioni di sicurezza di base per ridurre il rischio di incendi, scosse elettriche e lesioni personali.
- Sicurezza dell'area di lavoro: Mantenete l'area di lavoro pulita e ben illuminata. Aree disordinate o buie possono favorire incidenti. Non utilizzate utensili elettrici in atmosfere esplosive, ad esempio in presenza di liquidi, gas o polveri infiammabili.
- Sicurezza elettrica: Evitare il contatto del corpo con superfici messe a terra o collegate a terra, come tubi, termosifoni, cucine e frigoriferi. Non esporre gli elettroutensili alla pioggia o all'umidità.
- Sicurezza personale: Indossare sempre protezioni per gli occhi. Utilizzare protezioni acustiche quando si lavora per periodi prolungati. Vestirsi in modo appropriato; evitare abiti larghi o gioielli. Raccogliere i capelli lunghi.
- Uso e cura dello strumento: Non forzare l'utensile elettrico. Utilizzare l'utensile elettrico corretto per l'applicazione desiderata. Scollegare la spina dalla presa di corrente e/o la batteria dall'utensile elettrico prima di effettuare qualsiasi regolazione, sostituire accessori o riporre l'utensile elettrico.
- Uso e cura della batteria: Ricaricare solo con il caricabatterie specificato dal produttore. Non utilizzare le batterie con altri utensili elettrici. Quando la batteria non è in uso, tenerla lontana da altri oggetti metallici.
3. Contenuto della confezione
Carefully unpack your FERREX 20V Li-Ion Cordless Drill Driver and check that all items are present and undamaged. If any parts are missing or damaged, please contact your retailer.
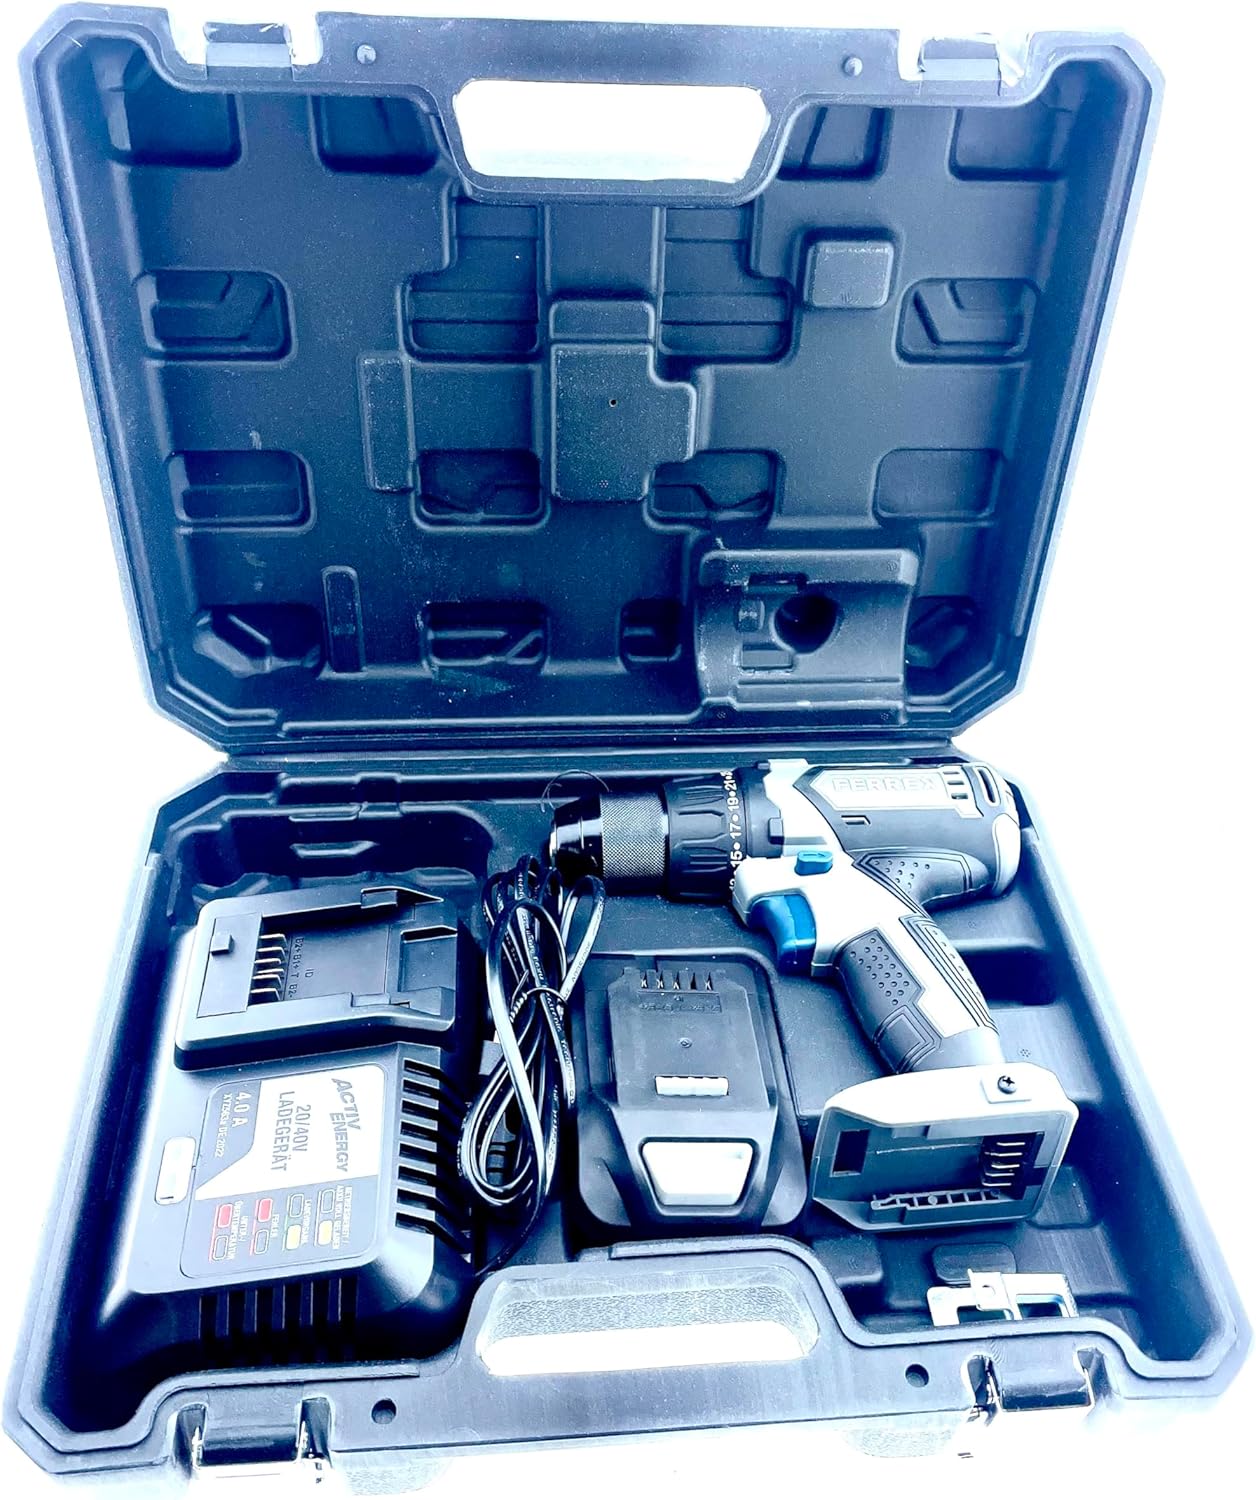
Image: The FERREX 20V Li-Ion Cordless Drill Driver kit, including the drill, battery, and charger, neatly organized within its practical carrying case.
- FERREX 20V Li-Ion Cordless Drill Driver
- 20V Li-Ion Battery Pack
- Caricabatterie 20V/40V
- Clip per cintura
- Manuale di istruzioni
- Pratica custodia per il trasporto
4. Prodotto finitoview
Familiarize yourself with the components of your drill driver before operation.

Image: The FERREX 20V Li-Ion Cordless Drill Driver, showing the chuck, torque collar, speed selector, trigger, and attached battery pack.
- Mandrino senza chiave: Per cambi di punta rapidi e facili.
- Collare di regolazione della coppia: Selects the desired torque setting or drilling mode.
- Interruttore selettore velocità: Changes between high and low-speed gears.
- Selettore avanti/indietro: Controlla la direzione di rotazione.
- Interruttore a grilletto: Attiva lo strumento e ne controlla la velocità.
- Luce da lavoro a LED: Illumina l'area di lavoro.
- Batteria: Fornisce energia allo strumento.
- Pulsante di rilascio della batteria: Per staccare la batteria.
- Clip da cintura: Per un trasporto comodo.
5. Impostazione
5.1 Caricamento della batteria
The battery pack is not fully charged upon purchase. It must be charged before first use.

Image: The FERREX 20V/40V battery charger, showing its design and indicator lights.
- Collegare il caricabatterie ad una presa di corrente adeguata.
- Slide the battery pack onto the charger base, ensuring it clicks into place.
- The charging indicator light on the charger will show the charging status. Refer to the charger's specific instructions for light indications (e.g., red for charging, green for fully charged).
- Una volta completata la carica, scollegare il caricabatterie dalla presa di corrente e rimuovere la batteria.
5.2 Installazione e rimozione della batteria
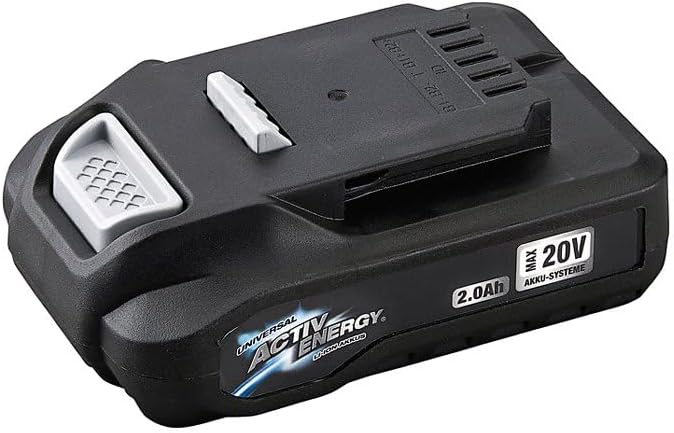
Image: The FERREX 20V Li-Ion battery pack, showing its connection points and release button.
Per installare: Allineare la batteria alla base del trapano avvitatore e farla scorrere finché non scatta saldamente in posizione.
Per rimuovere: Press the battery release button (located on the battery pack) and slide the battery pack out from the tool.
5.3 Installazione e rimozione di punte/accessori per trapano
- Ensure the drill driver is switched off and the forward/reverse selector is in the center (locked) position to prevent accidental starting.
- Grip the rear half of the keyless chuck and rotate the front half counter-clockwise until the chuck jaws are open wide enough to accept the bit.
- Inserire completamente la punta del trapano o l'accessorio nel mandrino.
- Rotate the front half of the chuck clockwise to tighten the jaws firmly around the bit. Ensure the bit is centered and secure.
- Per rimuoverlo, invertire il processo.
6. Istruzioni per l'uso
6.1 Accensione/spegnimento e controllo della velocità
The tool is activated by pressing the trigger switch. The speed is variable depending on how far the trigger is pressed. Releasing the trigger switch turns the tool off. The quick stop function ensures the chuck stops rotating almost immediately upon releasing il grilletto.
6.2 Rotazione avanti/indietro
The forward/reverse selector switch controls the direction of rotation. Push it to the left for forward (drilling/driving) rotation and to the right for reverse (removing screws) rotation. When the switch is in the center position, the trigger is locked, preventing accidental operation.
6.3 Speed Settings (Gearbox)
Il trapano avvitatore è dotato di un cambio a 2 velocità:
- Marcia 1 (bassa velocità, coppia elevata): Select this for heavy-duty drilling, driving large screws, or applications requiring more power. (0-400 RPM)
- Marcia 2 (alta velocità, bassa coppia): Select this for fast drilling in softer materials or for smaller screws. (0-1500 RPM)
To change gears, slide the speed selector switch located on top of the drill. Always ensure the tool has come to a complete stop before changing gears.
6.4 Regolazione della coppia
The torque adjustment collar allows you to select the desired torque setting (1-25) or the drilling mode. This prevents over-driving screws and damaging the workpiece.
- Impostazioni 1-25: Use lower settings for smaller screws and softer materials, and higher settings for larger screws and harder materials. The clutch will disengage when the set torque is reached.
- Modalità di perforazione (simbolo di perforazione): Select this mode for drilling applications. The clutch will not engage, providing maximum torque.
6.5 Lampada da lavoro a LED
The integrated LED work light automatically illuminates when the trigger is pressed, providing better visibility in dimly lit work areas.
6.6 clip da cintura
The included belt clip can be attached to either side of the drill driver for convenient temporary storage while working.
7. Manutenzione
Una manutenzione regolare garantisce prestazioni ottimali e prolunga la durata del tuo utensile.
- Pulizia: Mantenere pulite le fessure di ventilazione dell'utensile per evitare il surriscaldamento. Utilizzare un panno morbido eamp panno per pulire l'alloggiamento. Non utilizzare prodotti chimici aggressivi o detergenti abrasivi.
- Manutenzione del mandrino: Pulire periodicamente le ganasce del mandrino per garantire una presa corretta delle punte.
- Cura della batteria: Store battery packs in a cool, dry place away from direct sunlight. Do not store fully discharged batteries for extended periods. Recharge them periodically if not in use.
- Magazzinaggio: Store the drill driver, battery, and charger in the provided carrying case in a dry, secure location, out of reach of children.
8. Risoluzione Dei Problemi
Se riscontri problemi con il tuo trapano avvitatore, fai riferimento ai seguenti problemi comuni e alle relative soluzioni:
| Problema | Possibile causa | Soluzione |
|---|---|---|
| Il trapano non si avvia. | Battery not charged or not properly installed. Forward/reverse selector in center (locked) position. | Charge the battery. Ensure battery is securely installed. Move forward/reverse selector to forward or reverse position. |
| Potenza ridotta o breve tempo di funzionamento. | Battery charge is low. Battery is old or damaged. | Recharge the battery. If the problem persists, the battery may need replacement. |
| La punta scivola nel mandrino. | Mandrino non serrato a sufficienza. Il gambo della punta è sporco o danneggiato. | Serrare saldamente il mandrino. Pulire o sostituire la punta. |
| Surriscaldamento durante l'uso. | Overloading the tool. Ventilation slots blocked. | Reduce load on the tool. Clear any obstructions from ventilation slots. Allow tool to cool down. |
Se il problema persiste dopo aver provato queste soluzioni, contattare l'assistenza clienti.
9. Specifiche
| Caratteristica | Specificazione |
|---|---|
| Numero di modello | FAS |
| Voltage | 20 Volt |
| Tipo di batteria | Agli ioni di litio |
| Velocità a vuoto (marcia 1) | 0-400 giri/min |
| Velocità a vuoto (marcia 2) | 0-1500 giri/min |
| Coppia massima | 45 Nm |
| Impostazioni di coppia | 25 + Drilling |
| Dimensioni del mandrino | 13 mm Keyless Chuck |
| Peso (con batteria) | Circa 2.52 kg |
| Dimensioni (L x P x A) | Dimensioni: 30 x 10 x 30 cm |
| Caratteristiche | LED Work Light, Quick Stop Function, Spindle Lock, Belt Clip |
10. Garanzia e supporto
Your FERREX 20V Li-Ion Cordless Drill Driver is manufactured to high-quality standards. For warranty information or technical support, please refer to the warranty card included with your purchase or contact your retailer. Keep your proof of purchase for any warranty claims.