
Introduzione
Thank you for choosing the VOOPEAK Solar Trail Camera. This manual provides essential information for setting up, operating, and maintaining your camera. This camera is designed for outdoor use, capturing high-quality 4K video and 48MP photos of wildlife with its integrated solar panel for extended battery life and robust IP66 waterproofing.

Image: The VOOPEAK Solar Trail Camera, featuring an integrated solar panel, mounted on a tree in a natural environment with a deer nearby. This illustrates the camera's primary use for wildlife monitoring.
Guida all'installazione
1. Carica iniziale della batteria
- Before first use, fully charge the built-in rechargeable battery for 8 hours using the provided micro USB cable and a 5V wall adapter (not included).
- The integrated solar panel charges only the built-in battery, not any inserted AA batteries.
- For optimal performance in low temperatures or limited sunlight, use AA batteries as a backup power source.
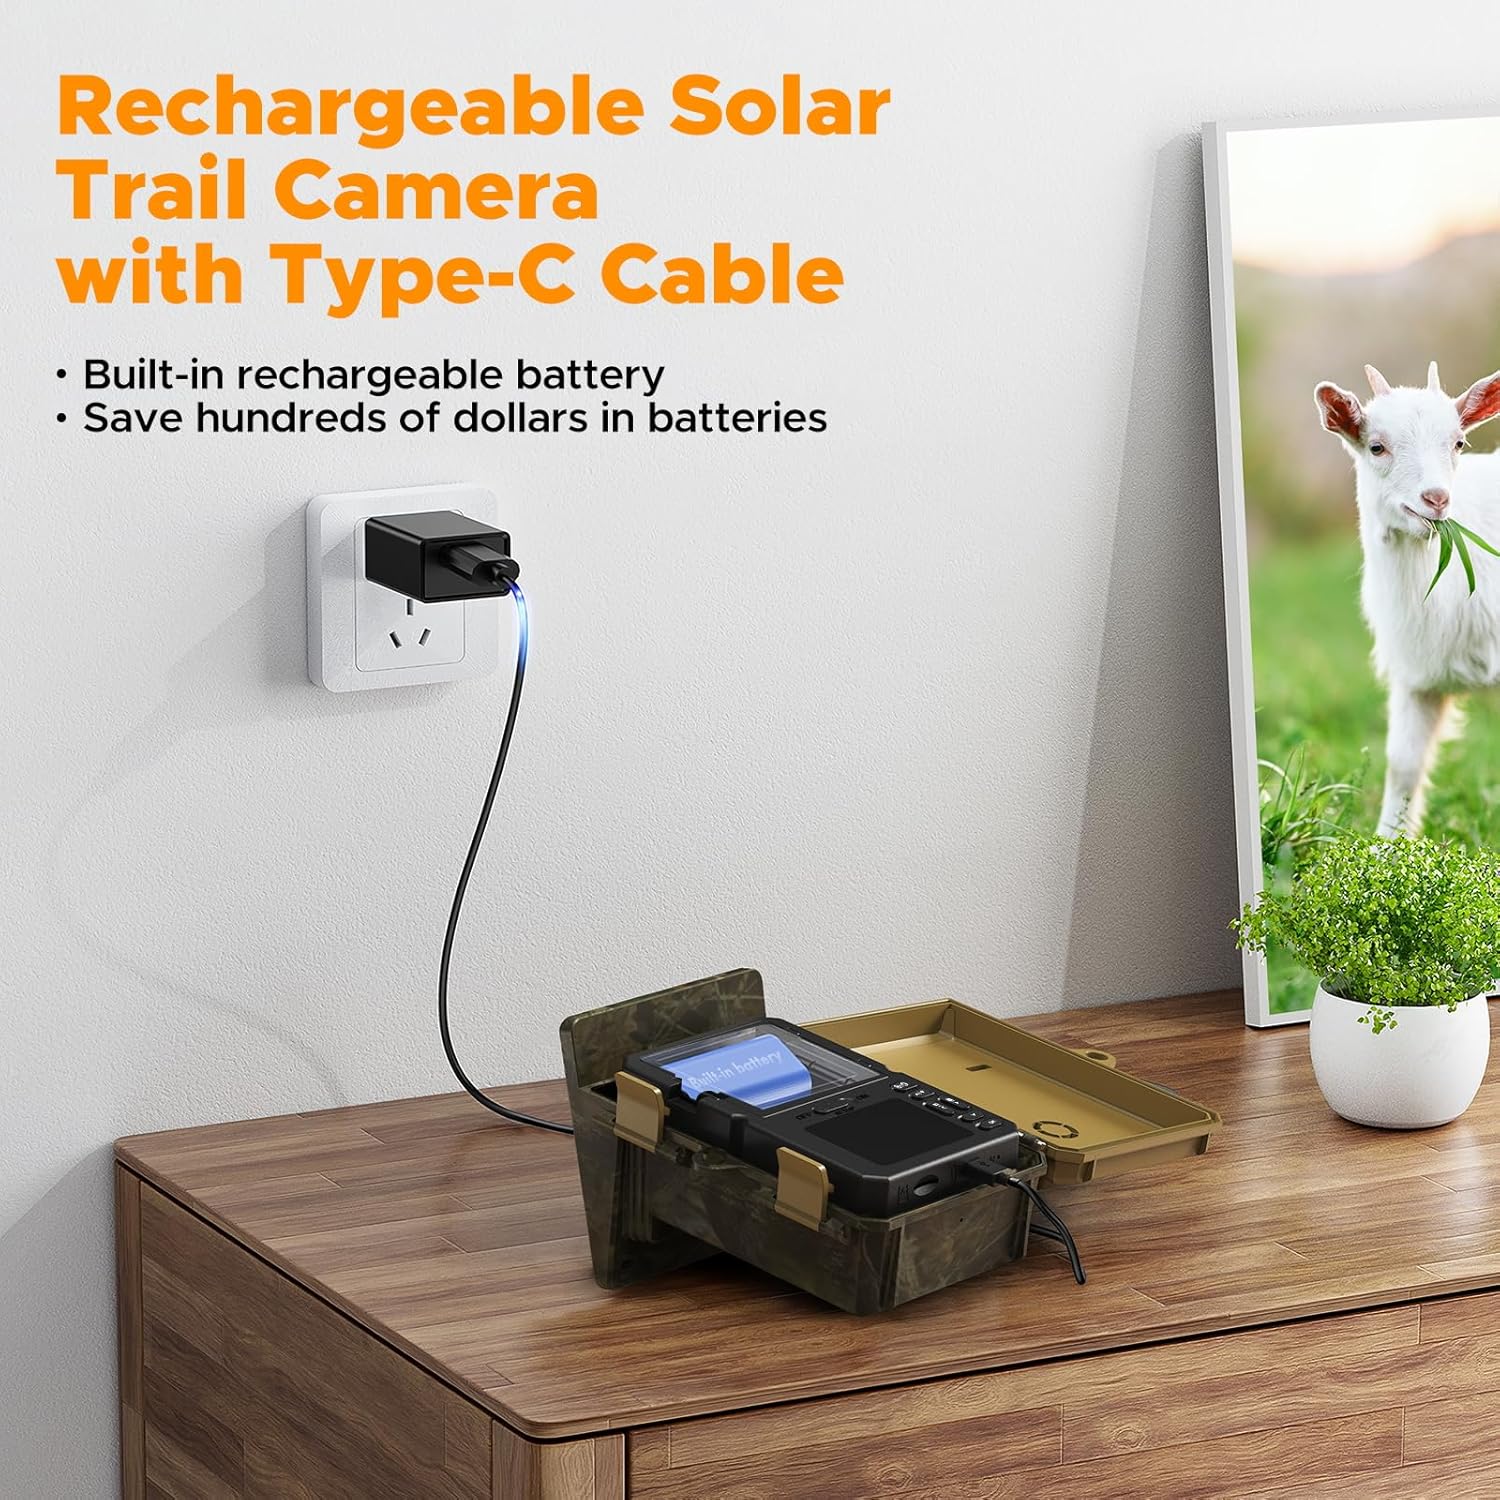
Image: The VOOPEAK Solar Trail Camera connected to a wall charger via a Type-C USB cable, indicating the internal battery charging process. This shows how to prepare the camera for use.
2. Installazione della scheda Micro SD
- Insert a Class 10 or higher Micro SD card (maximum 32GB capacity) into the designated slot.
- Assicurarsi che la scheda sia inserita correttamente finché non scatta in posizione.
- Activate the loop recording function in the camera settings to ensure continuous recording when the card is full.
3. Montaggio della fotocamera
- Securely attach the camera to a tree or other stable surface using the provided mounting strap.
- Position the camera to ensure the solar panel receives adequate sunlight throughout the day.
- Regolare l'angolazione della telecamera per coprire l'area di monitoraggio desiderata.
Istruzioni per l'uso
1. Accensione/Spegnimento
- Per accendere, far scorrere l'interruttore di alimentazione in posizione "ON".
- Per spegnere, portare l'interruttore di alimentazione in posizione "OFF".
2. Selezione della modalità
The camera typically offers three modes: Photo, Video, and Photo+Video. Use the mode switch or menu options to select your desired recording mode.
- Modalità foto: Captures still images (up to 48MP) when triggered.
- Modalità video: Records video clips (up to 4K 30FPS) when triggered.
- Modalità foto+video: Captures a photo followed by a video clip when triggered.
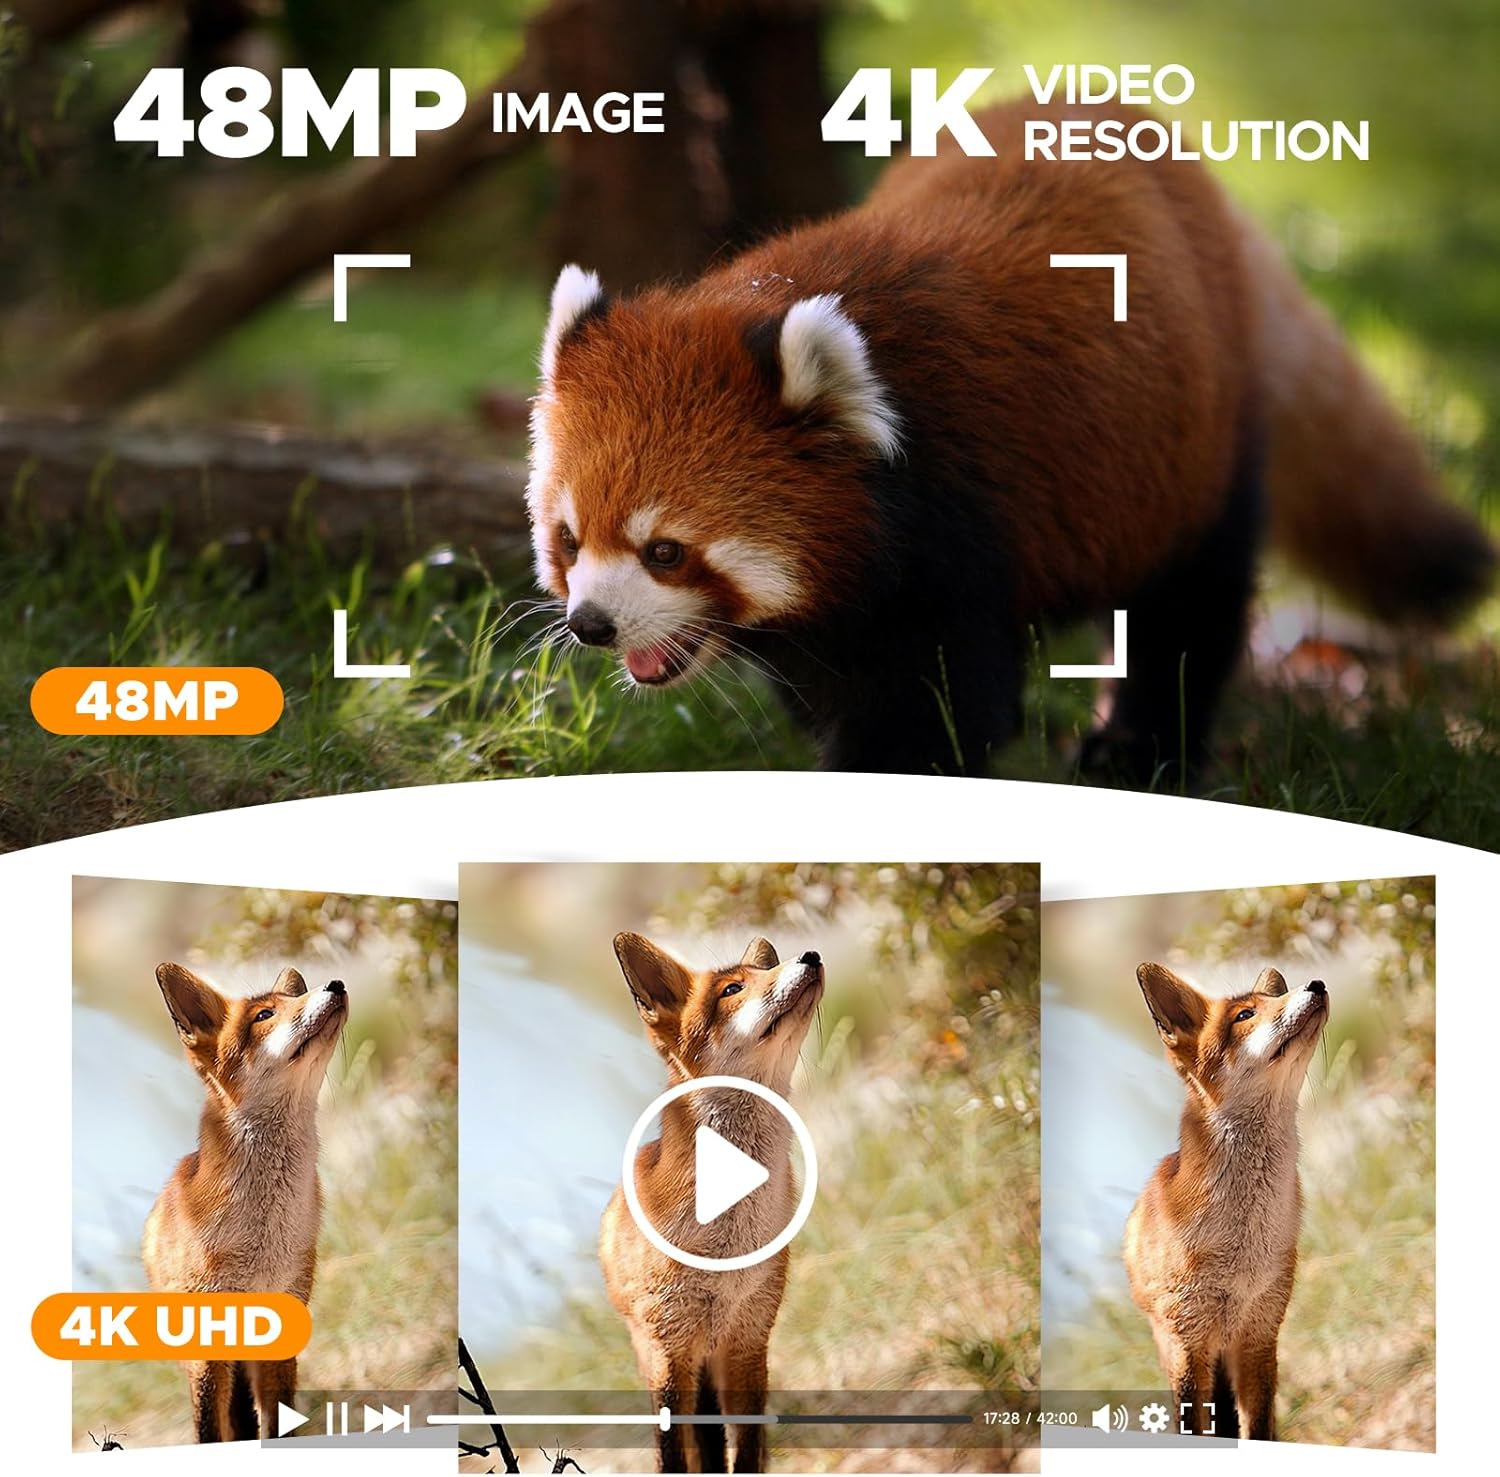
Image: A visual representation showcasing the high-quality 48MP image and 4K video resolution capabilities of the camera, with examples of captured wildlife footage.
3. PIR Sensor and Trigger Speed
The camera features a 0.1s trigger speed and a detection range of up to 20 meters (15 meters at night) to capture fast-moving subjects.
- Adjust PIR sensitivity in the settings menu to suit your environment and avoid false triggers.
- The 120° wide-angle lens ensures a broad field of view.
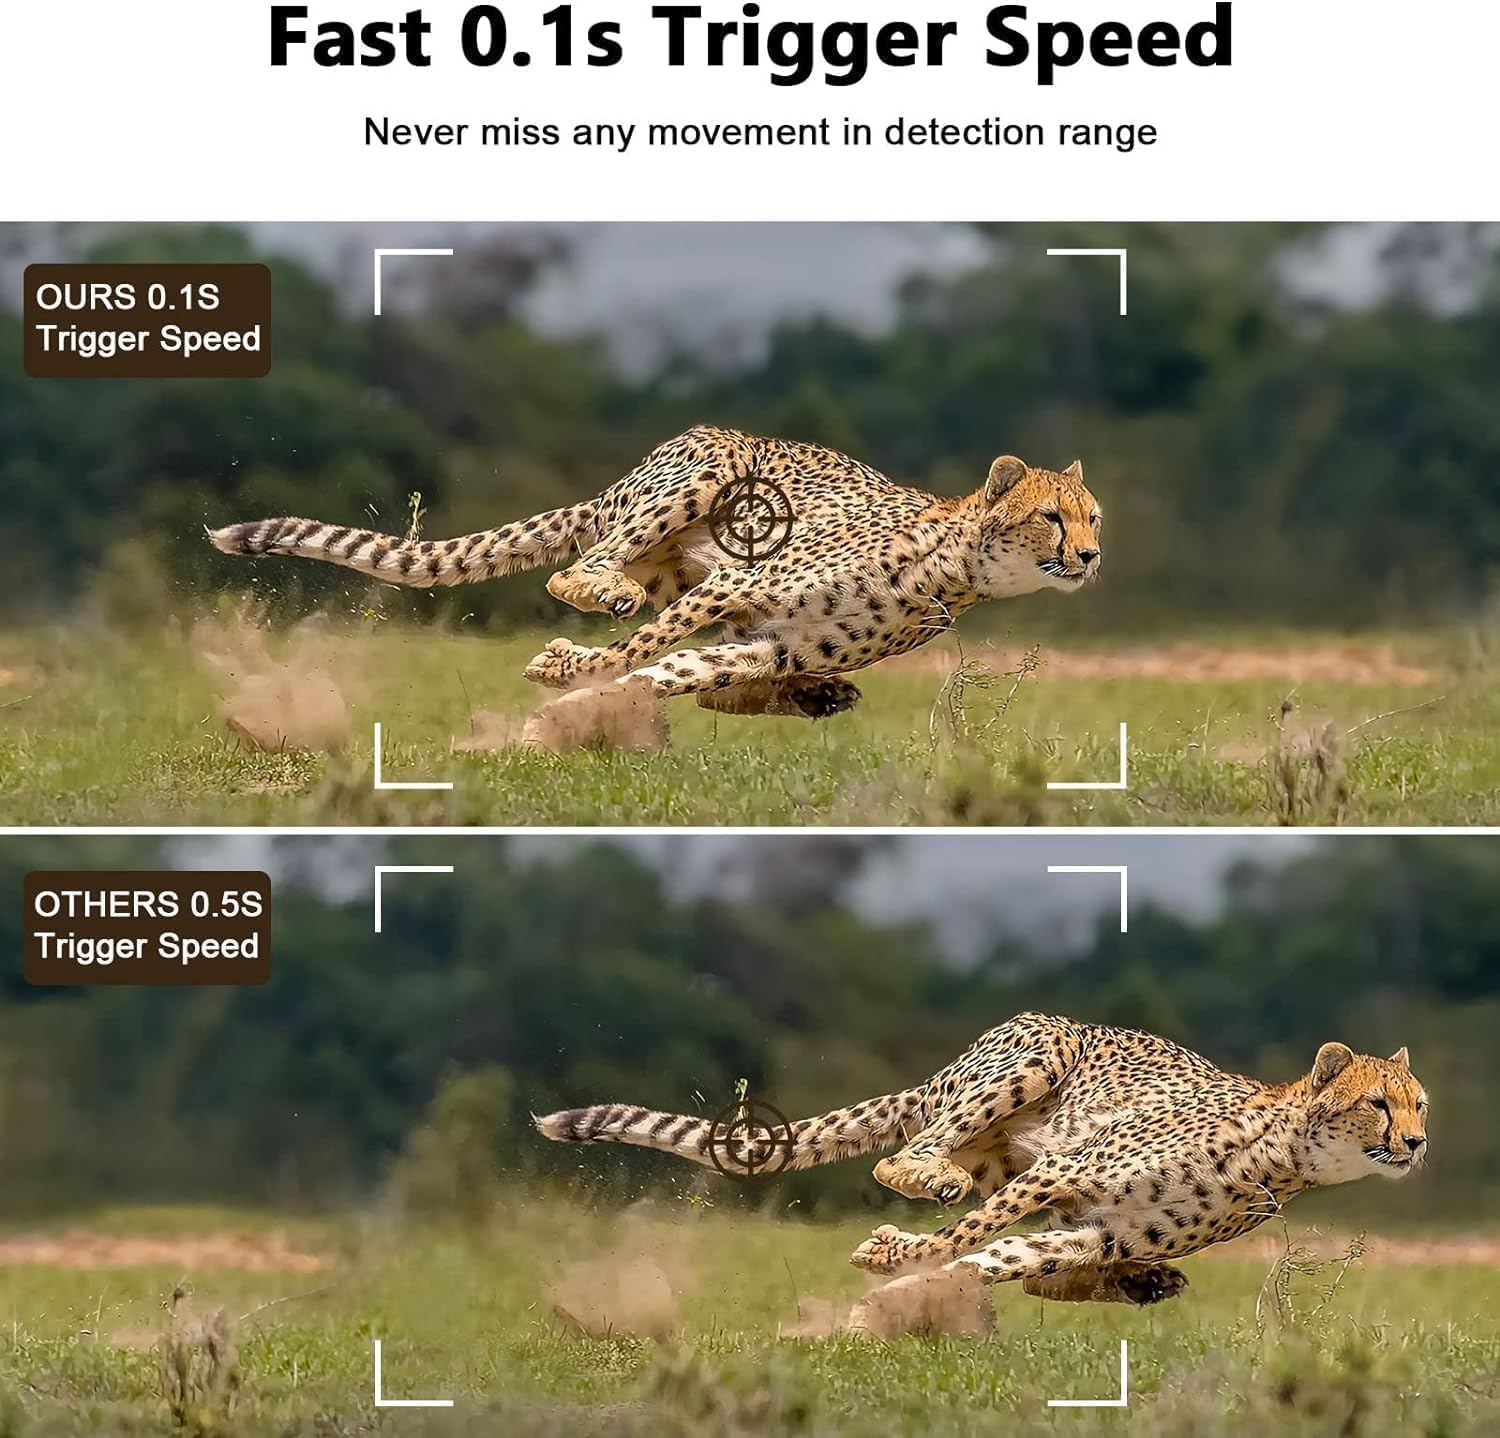
Image: A comparison demonstrating the camera's rapid 0.1-second trigger speed, capturing a fast-moving cheetah clearly, contrasted with a slower trigger speed that results in a blurred image.
4. Visione notturna
Equipped with 26pcs 850nm infrared LEDs, the camera records clear images and videos in night vision without startling wildlife.

Image: The VOOPEAK Solar Trail Camera mounted on a tree, illuminating a bear at night with its advanced night vision capabilities, demonstrating its effectiveness in low-light conditions.
5. Registrazione in loop
The camera supports loop recording. When the Micro SD card is full, the camera continues recording by overwriting the oldest footage con nuove registrazioni.
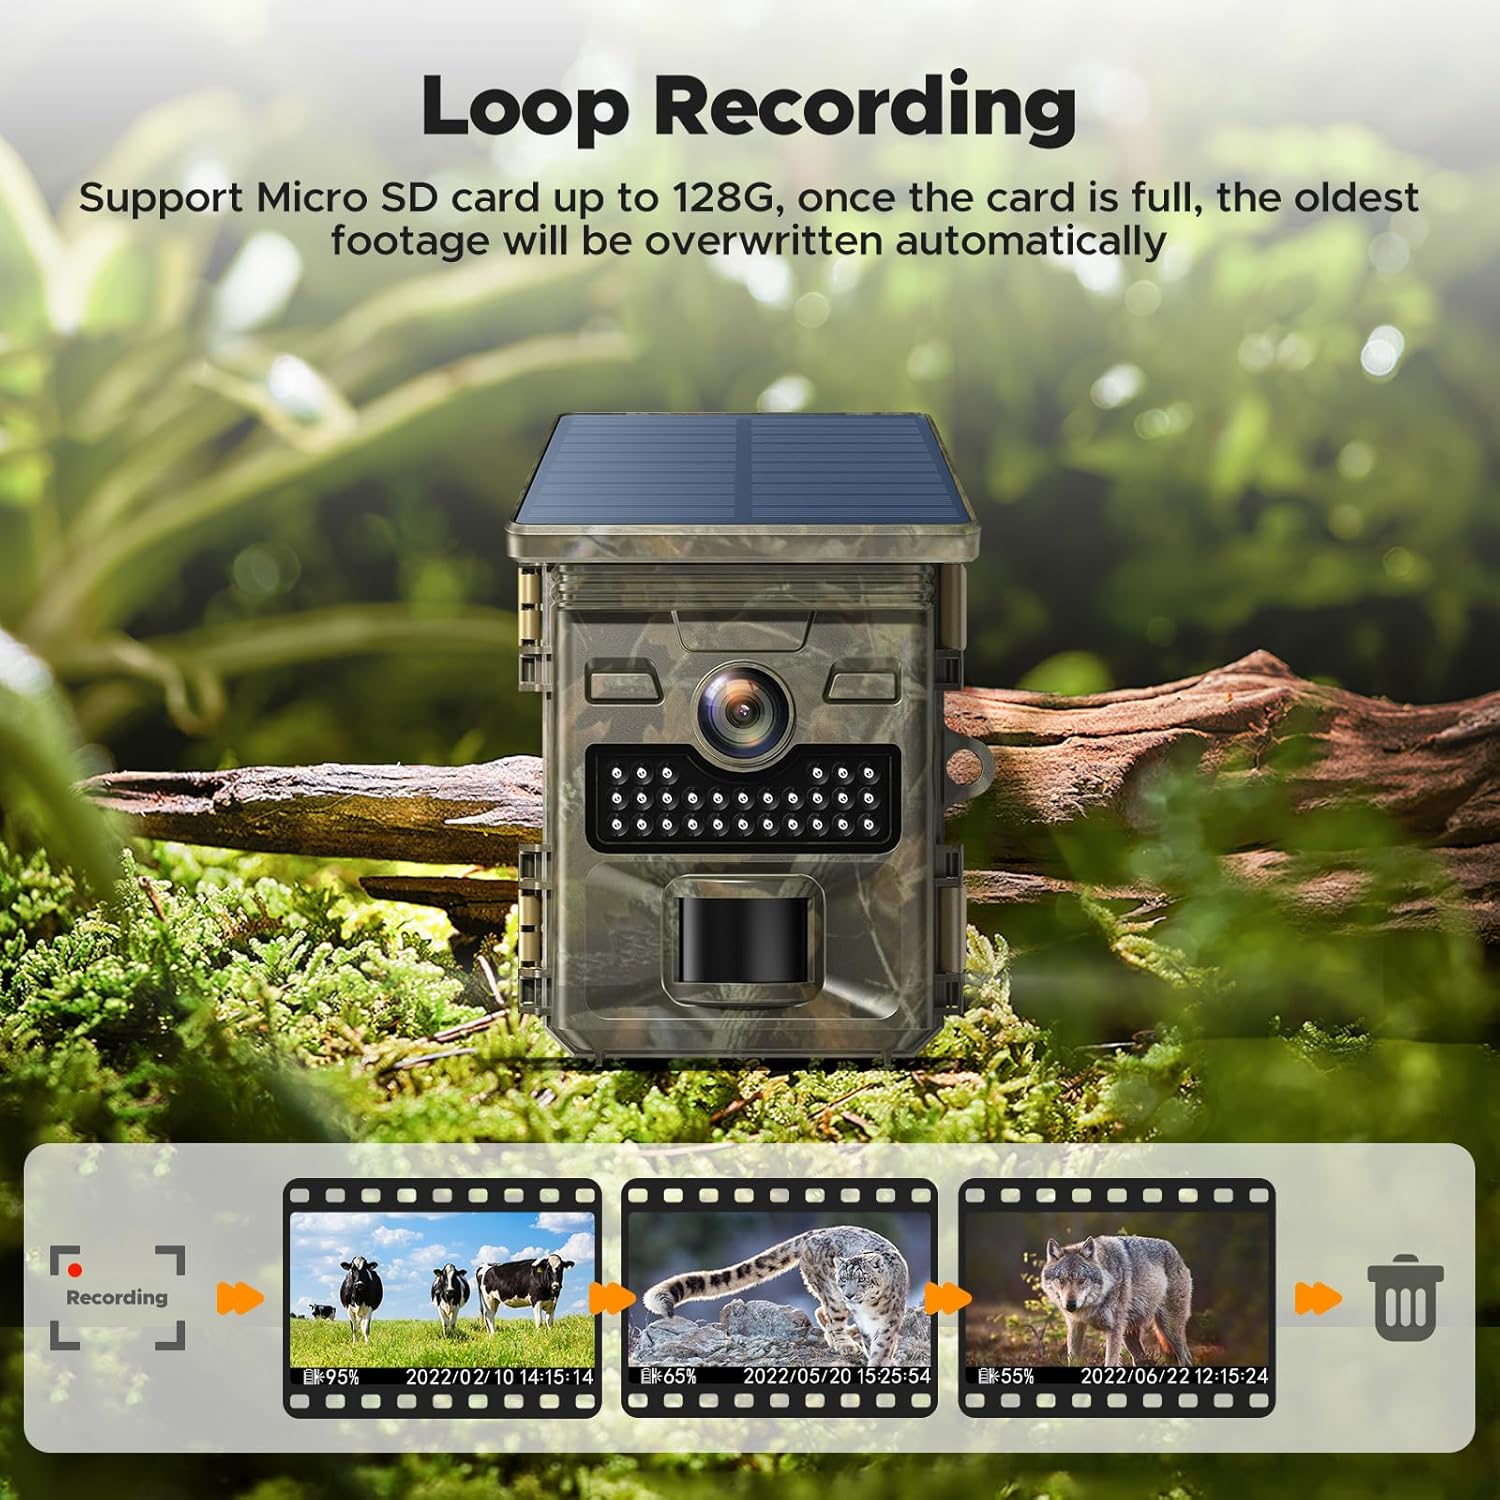
Image: A visual explanation of the loop recording feature, depicting how the camera continuously records by replacing the oldest files on the Micro SD card once its capacity is reached.
Manutenzione
- Pulizia: Regularly clean the camera lens and solar panel with a soft, dry cloth to ensure optimal performance. Avoid abrasive materials.
- Controllo della batteria: Periodically check the battery level. Recharge the internal battery as needed and replace AA backup batteries when depleted.
- Gestione della scheda SD: Format the Micro SD card regularly to maintain optimal recording performance and prevent data corruption. Back up important footage prima della formattazione.
- Guarnizioni impermeabili: Ensure all covers and seals are properly closed and free from debris to maintain the IP66 waterproof rating.

Image: The VOOPEAK Solar Trail Camera securely mounted on a tree during rainfall, demonstrating its IP66 waterproof design that protects it from environmental elements like rain and dust.
Risoluzione dei problemi
La fotocamera non si accende
- Controllare se la batteria interna è carica.
- Ensure AA backup batteries (if used) are inserted correctly and are not depleted.
- Verificare che l'interruttore di alimentazione sia in posizione "ON".
Scarsa qualità dell'immagine/video
- Clean the camera lens to remove dirt or smudges.
- Assicurarsi che la telecamera sia stabile e non vibri.
- Check lighting conditions. For night vision, ensure no obstructions block the IR LEDs.
No Recordings
- Verify that a Micro SD card is inserted and properly formatted.
- Check if the SD card is full. If loop recording is off, recordings will stop.
- Adjust PIR sensor sensitivity; it might be too low to detect movement.
- Ensure the camera is in the correct recording mode (Photo, Video, or Photo+Video).
Pannello solare non in carica
- Ensure the solar panel is clean and free from obstructions (leaves, dirt).
- Reposition the camera to maximize direct sunlight exposure.
- Note that the solar panel only charges the internal battery, not AA batteries.
Specifiche del prodotto
| Caratteristica | Specificazione |
|---|---|
| Marca | VOOPEAK |
| Numero di modello | TC19/HELIJP0711 |
| Uso consigliato | Fotocamera da pista |
| Effective Capture Resolution | 48 Megapixel |
| Risoluzione di registrazione video | 4K |
| Formato di acquisizione video | MP4 |
| Trigger Speed | 0.1 secondi |
| Gamma di visione notturna | 20 metri |
| Viewangolo di ing | 120 gradi |
| Zoom ottico | 3x |
| Valutazione internazionale di protezione | Grado di protezione IP66 |
| Fonte di alimentazione | Solar Power, Internal Rechargeable Battery, AA Batteries (backup) |
| Cosatage | 2.5 Watt |
| Magazzinaggio | Micro SD Card (Class 10+, Max 32GB) |
| Dimensioni dell'articolo | 8 x 5 x 14 centimetri |
| Tipo di montaggio | Monte albero |
| Connettività | No Wi-Fi for direct phone connection. |
Informazioni sulla garanzia
VOOPEAK products are manufactured to high-quality standards. For specific warranty details, including coverage period and terms, please refer to the warranty card included with your product or contact VOOPEAK customer support. Keep your purchase receipt as proof of purchase for any warranty claims.
Assistenza clienti
If you encounter any issues or have questions regarding your VOOPEAK Solar Trail Camera, please contact our customer support team. Refer to the contact information provided in your product packaging or visit the official VOOPEAK websito per assistenza.