1. Introduzione
This instruction manual provides essential information for the safe and effective operation of your Mastech MS2000G Digital Clamp Meter. Please read this manual thoroughly before use and retain it for future reference. This device is designed for measuring AC current, AC/DC voltage, resistance, continuity, diode, frequency, and temperature in various electrical applications.
2. Informazioni sulla sicurezza
WARNING: To avoid electric shock or personal injury, always follow these safety precautions.
- Always disconnect measuring leads before removing the battery cover.
- Non applicare voltage o corrente che supera i limiti massimi specificati per il contatore.
- Prima di collegare il dispositivo al circuito, assicurarsi che il commutatore rotante sia nella posizione corretta per la misurazione desiderata.
- Prima di ogni utilizzo, ispezionare i puntali per verificare che non vi siano danni all'isolamento o parti metalliche esposte. Sostituirli se danneggiati.
- Non utilizzare il misuratore se appare danneggiato o se la custodia è aperta.
- The Mastech MS2000G is rated for CAT II 1000V and CAT III 600V. Adhere to these category ratings for safe operation.
- Prestare la massima attenzione quando si lavora su circuiti sotto tensione.
For detailed safety guidelines, refer to relevant electrical safety standards.
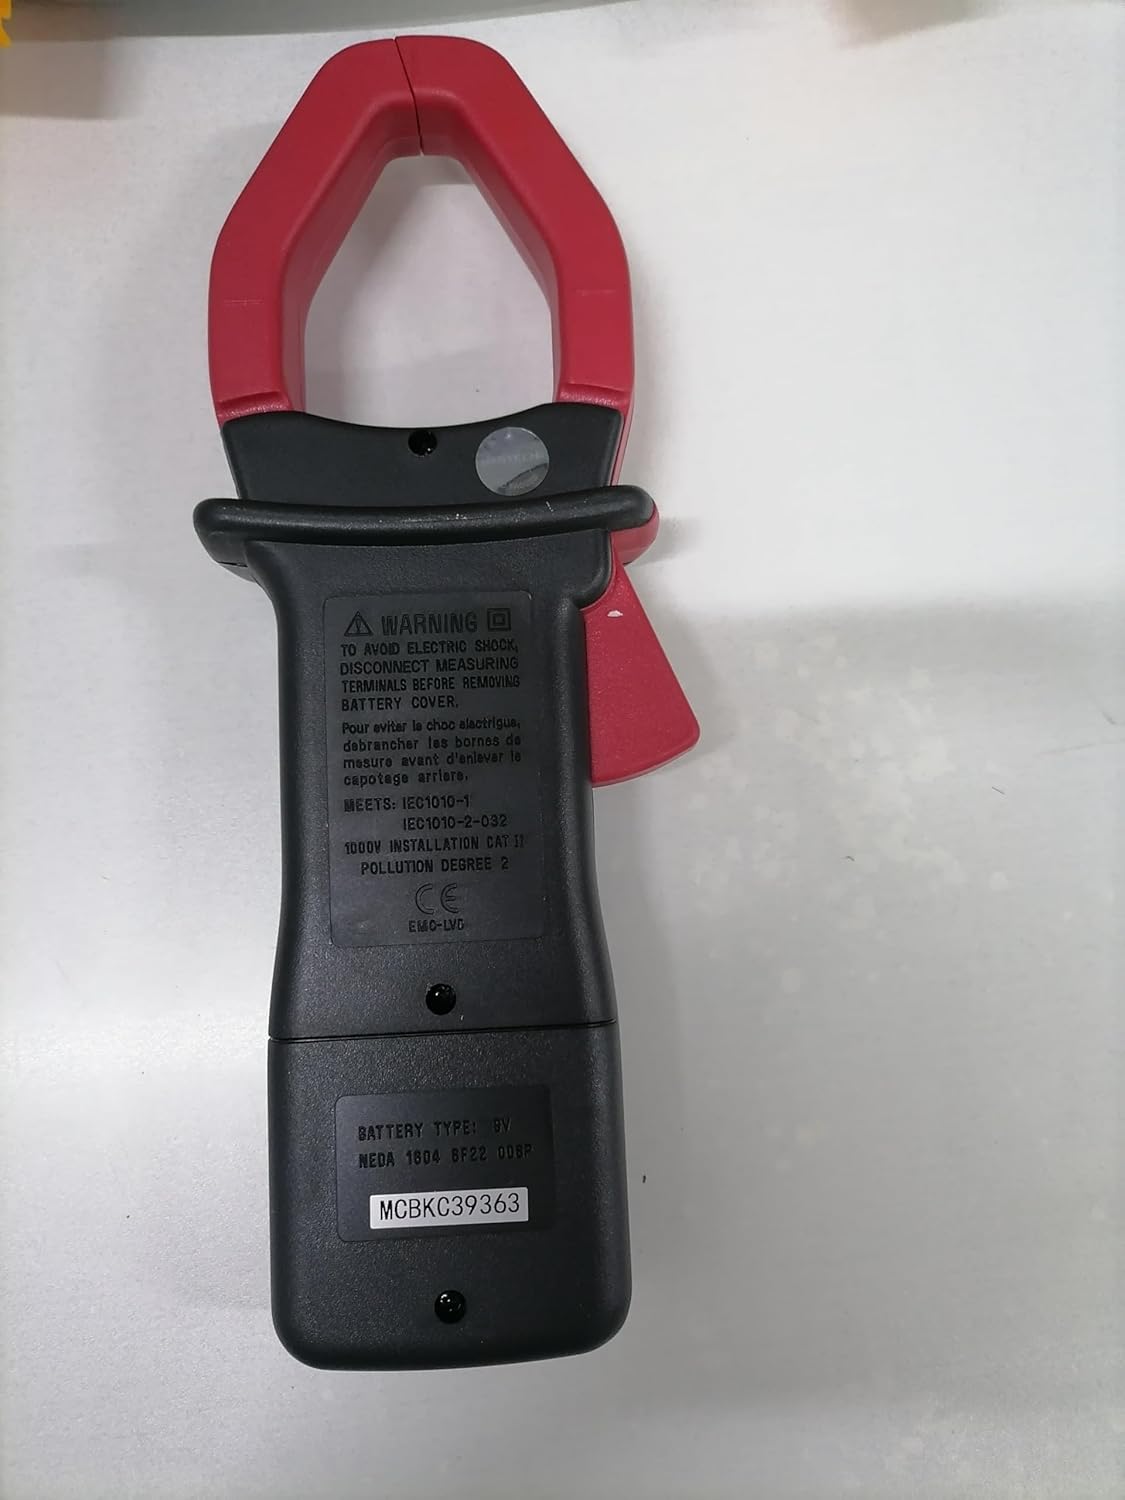
Posteriore view of the Mastech MS2000G Digital Clamp Meter, showing the battery compartment and safety warnings, including instructions to disconnect leads before opening.
3. Caratteristiche del prodotto
- Display digitale a 2000 conteggi
- Jaw Opening: 55mm (2.2 inches)
- Diodo aperto Voltage: 3.0 V
- Continuity Buzzer: Activates below 30Ω
- Funzione di conservazione dei dati
- Retroilluminazione del display per condizioni di scarsa illuminazione
- Indicatore di batteria scarica
4. Prodotto finitoview
The Mastech MS2000G features a robust design for professional and home use. Key components include:
- Clamp Mascella: Utilizzato per la misurazione della corrente alternata senza contatto.
- Interruttore rotante: Selects measurement functions (AC Current, Voltage, Resistenza, ecc.).
- Schermo LCD: Mostra le letture delle misurazioni, le unità e gli indicatori.
- Jack di ingresso: Per collegare i puntali di prova per voltage, resistance, continuity, diode, frequency, and temperature measurements.
- Pulsante di blocco dati: Blocca la lettura corrente sul display.
- Pulsante retroilluminazione: Illumina il display per una migliore visibilità.

Davanti view of the Mastech MS2000G Digital Clamp Meter, highlighting the display, rotary switch, and clamp mascella.
5. Impostazione
5.1 Installazione della batteria
- Assicurarsi che il misuratore sia spento e che tutti i puntali di prova siano scollegati.
- Individuare il coperchio del vano batterie sul retro del misuratore.
- Utilizzare un cacciavite per allentare le viti che fissano il coperchio della batteria.
- Togliere il coperchio.
- Inserire una nuova batteria da 9 V, rispettando la polarità corretta (+ e -).
- Riposizionare il coperchio della batteria e fissarlo con la/le vite/i.
5.2 Collegamento dei puntali di prova
Per misurazioni che richiedono cavi di prova (voltage, resistance, continuity, diode, frequency, temperature):
- Insert the red test lead into the VHzΩ input jack.
- Inserire il puntale nero nella presa di ingresso COM.
- For temperature measurements, connect the K-type thermocouple to the designated input terminals, observing polarity.
6. Istruzioni per l'uso
To operate the Mastech MS2000G, turn the rotary switch to the desired function. The display will show the measurement reading.
6.1 Misurazione della corrente CA
- Turn the rotary switch to the 'A' (AC Current) range.
- Aprire il clamp mascella premendo il grilletto.
- Circondare solo un conduttore del circuito con il clamp mascella. Assicurarsi che la mascella sia completamente chiusa.
- Leggere il valore della corrente alternata sul display.
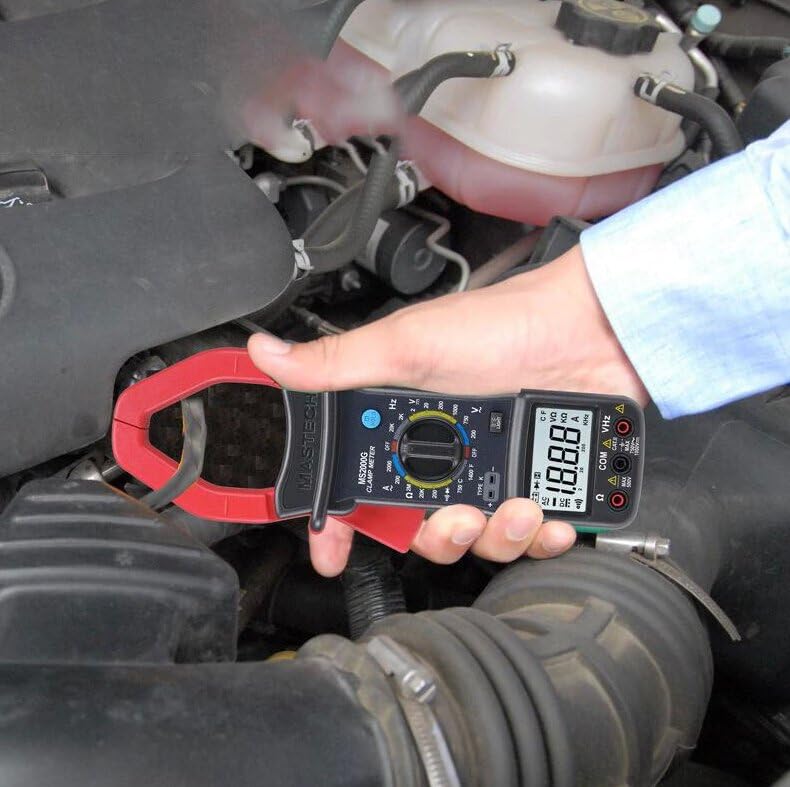
Demonstration of the Mastech MS2000G measuring AC current around a single conductor.
6.2 CA/CC voltage Misurazione
- Collegare i puntali di prova come descritto nella Sezione 5.2.
- Ruotare l'interruttore rotante su 'V~' (Volume ACtage) o 'V=' (Volume DCtage) gamma.
- Collegare le sonde di prova in parallelo al circuito o al componente in prova.
- Leggi il vol.tage valore sul display.
6.3 Misurazione della resistenza
- Collegare i puntali di prova.
- Turn the rotary switch to the 'Ω' (Resistance) range.
- Prima di collegare le sonde, assicurarsi che il circuito o il componente siano disattivati.
- Collegare le sonde di prova al componente.
- Leggere il valore di resistenza sul display.
6.4 Prova di continuità
- Collegare i puntali di prova.
- Turn the rotary switch to the 'Ω' (Resistance) range and press the 'SELECT' button if necessary to choose continuity mode (indicated by a buzzer symbol).
- Collegare le sonde di prova al circuito o al componente.
- Se la resistenza è inferiore a circa 30Ω, il cicalino suonerà, indicando la continuità.
6.5 Test diodi
- Collegare i puntali di prova.
- Turn the rotary switch to the 'Ω' (Resistance) range and press 'SELECT' to choose diode mode (indicated by a diode symbol).
- Collegare la sonda rossa all'anodo e la sonda nera al catodo del diodo.
- Il display mostrerà il volume in avantitage goccia. Invertire le sonde; il display dovrebbe visualizzare 'OL' (Open Loop) per un diodo funzionante.
6.6 Misurazione della frequenza
- Collegare i puntali di prova.
- Ruotare il selettore rotativo sulla gamma 'Hz' (frequenza).
- Collegare le sonde di prova al circuito in cui si desidera misurare la frequenza.
- Leggere il valore della frequenza sul display.
6.7 Misurazione della temperatura
- Connect the K-type thermocouple to the designated input terminals, observing polarity.
- Turn the rotary switch to the '°C' or '°F' (Temperature) range.
- Posizionare la sonda termocoppia sull'oggetto di cui si desidera misurare la temperatura o nelle sue vicinanze.
- Leggere il valore della temperatura sul display.
6.8 Funzione di conservazione dei dati
Premere il pulsante 'HOLD' per bloccare la lettura corrente sul display. Premerlo nuovamente per rilasciare e riprendere le misurazioni in tempo reale.
6.9 Retroilluminazione del display
Press the 'LIGHT' button to turn on the display backlight for improved visibility in dimly lit environments. Press it again to turn off the backlight.
7. Manutenzione
7.1 Pulizia
Pulisci la custodia del misuratore con un pannoamp panno e detergente delicato. Non utilizzare abrasivi o solventi. Assicurarsi che il misuratore sia asciutto prima dell'uso.
7.2 Sostituzione della batteria
When the 'Low Battery' indicator appears on the display, replace the 9V battery as described in Section 5.1. Prompt battery replacement ensures accurate readings.
7.3 Conservazione
If the meter is not used for an extended period, remove the battery to prevent leakage and damage. Store the meter in a cool, dry place, away from direct sunlight and extreme temperatures.
8. Risoluzione Dei Problemi
- Nessun display/Display debole: Check battery installation and replace the 9V battery if necessary.
- Letture errate: Ensure the rotary switch is set to the correct function and range. Verify test lead connections. Check for damaged test leads.
- 'OL' sullo schermo: Indicates an over-range condition or an open circuit. Select a higher range or check the circuit connection.
- Buzzer Not Sounding in Continuity Mode: The resistance may be above the continuity threshold (30Ω), or the circuit is open.
9. Specifiche
| Parametro | Specificazione |
|---|---|
| Display | 2000 Conteggi |
| Apertura della mascella | 55 mm (2.2") |
| Volume ACtage | 750V |
| Volume DCtage | 1000V |
| Corrente alternata | 1000A |
| Resistenza | 2 MΩ |
| Frequenza | 20 kHz |
| Continuità | <30Ω (Buzzer) |
| Diodo aperto Voltage | 3.0V |
| Temperatura (Tipo K) | da -0°C a 750°C (da 32°F a 1382°F) |
| Valutazione di sicurezza | CAT II 1000 V, CAT III 600 V |
| Fonte di alimentazione | Batteria 9V (inclusa) |
| Dimensioni del prodotto | 7.87 x 5.91 x 9.84 pollici |
| Peso dell'articolo | 1 chilogrammo (2.2 libbre) |

Detailed specifications and features for the Mastech MS2000G and other models.
10. Cosa c'è nella scatola
The Mastech MS2000G package typically includes:
- Mastech MS2000G Digital Clamp metro
- Cavi di prova (una coppia)
- Wrapping Case
- Termocoppia di tipo K
- Batteria da 9 V
- Certificato di calibrazione
- Guida rapida / Manuale utente

Contents of the Mastech MS2000G package, including the clamp meter and accessories.
11. Garanzia e supporto
For warranty information and technical support, please refer to the documentation included with your product or contact the seller/manufacturer directly. Keep your purchase receipt as proof of purchase.