
1. Informazioni importanti sulla sicurezza
Please read all safety instructions carefully before using the VETEK NPX108 camcorder. Keep this manual for future reference.
- Non esporre la fotocamera all'acqua o all'umidità.
- Evitare temperature estreme.
- Non tentare di smontare o riparare da soli la fotocamera.
- Utilizzare solo accessori e adattatori di alimentazione approvati.
- Tenere fuori dalla portata dei bambini.
2. Contenuto della confezione
Verifica che tutti gli articoli siano presenti nel tuo pacco:
- VETEK NPX108 4K Camcorder
- stabilizzatore Handheld
- Paraluce
- Microfono
- Luce di riempimento
- Scheda SD da 64 GB
- Telecomando
- DV-108 Battery (4500mAh)
- Cavo USB
- Caricabatterie
- Borsa fotografica
- Manuale d'uso

Image: The VETEK NPX108 camcorder with all included accessories, such as the handheld stabilizer, microphone, fill light, SD card, battery, cables, and carrying bag.

Image: A visual representation of the camcorder and its accessories, including microphone, remote control, LED lights, lens hood, battery, bag, 64GB SD card, data line, charger, and user manual.
3. Prodotto finitoview
3.1. Componenti e controlli

Image: A multi-angle diagram of the camcorder highlighting key components such as Handle Charging Port, Battery, Video Button, Photo Button, Confirmation Button/Control Wheel, DISP Button, USB Interface/Camera Charging Port, MIC Interface, HDMI Interface, Lens, Power Button, Menu Button, Mode Button, Playback Button, SD Card Slot, Speaker, Handle Hot Shoe, Handle Video/Photo Button, Handle Digital Zoom, Camera Zoom, and Camera Hot Shoe.
The VETEK NPX108 camcorder features a 4.0-inch 270-degree rotating touchscreen for flexible viewing and control. It supports 4K Ultra HD 60FPS video resolution and 64MP image resolution, with 18X digital zoom.

Image: The VETEK NPX108 camcorder showcasing its 4K UHD capabilities, 64MP resolution, 270-degree rotating screen, and 3.0-inch HD touch screen.
4. Impostazione
4.1. Installazione e ricarica della batteria
The camcorder uses a 4500mAh Lithium Polymer battery. Ensure the battery is fully charged before first use.
- Aprire il coperchio del vano batterie.
- Inserire la batteria rispettando la polarità indicata.
- Chiudere saldamente il coperchio del vano batterie.
- Connect the USB cable to the camera's charging port and the charger, then plug into a power outlet. The camera supports recording while charging.

Image: The camcorder displaying a 93% battery charge on its screen, emphasizing its 4500mAh battery for longer shooting times.
4.2. Installazione della scheda SD
The camcorder comes with a 64GB SD card. Insert it correctly to store your recordings.
- Individua lo slot della scheda SD sulla fotocamera.
- Inserire la scheda SD con i contatti metallici rivolti nella direzione corretta finché non scatta in posizione.
- Per rimuoverla, premere delicatamente la scheda fino a quando non viene espulsa.
4.3. Fissaggio degli accessori
Attach the included accessories for enhanced functionality.
- Stabilizzatore portatile: Attach the stabilizer to the bottom of the camera for improved stability, especially for low-angle shots. It includes zoom and shooting buttons for convenience.
- Microfono: Connect the external microphone to the MIC interface for clearer audio recording, reducing background noise.
- Luce di riempimento: Mount the fill light onto the camera's hot shoe for additional illumination in low-light conditions. Adjust brightness and color temperature as needed.
- Paraluce: Attach the lens hood to protect the lens from damage and improve image contrast by reducing glare.
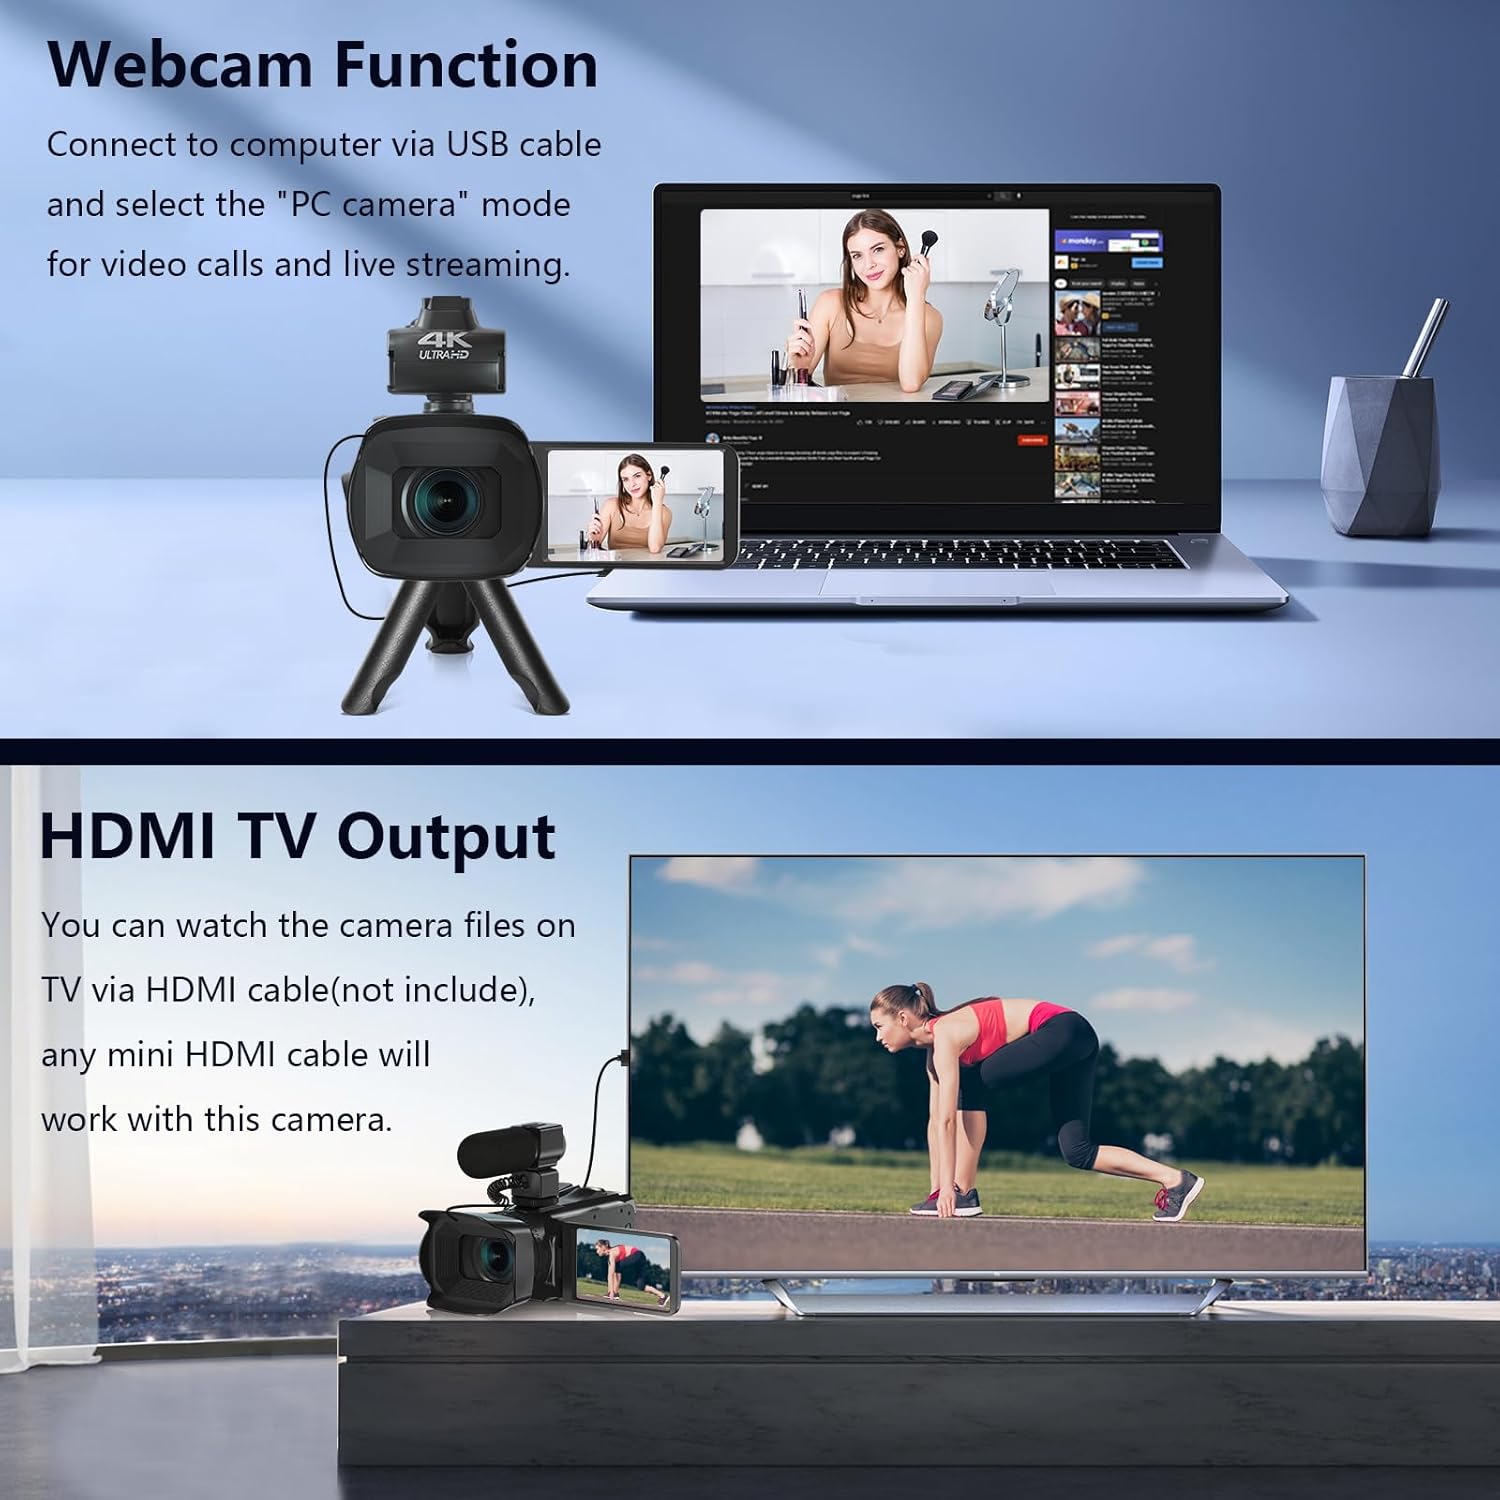
Image: The fill light accessory demonstrating its adjustable brightness (100%, 50%, 10%) and color temperature (3300K-5600K) settings, with examples of white light, white glow, and warm light.
5. Utilizzo della fotocamera
5.1. Accensione/spegnimento
Open the LCD screen to power on the camera. Close it to power off.
5.2. Registrazione di base (video/foto)
Use the dedicated Video and Photo buttons to switch between modes and start/stop recording or capture images.
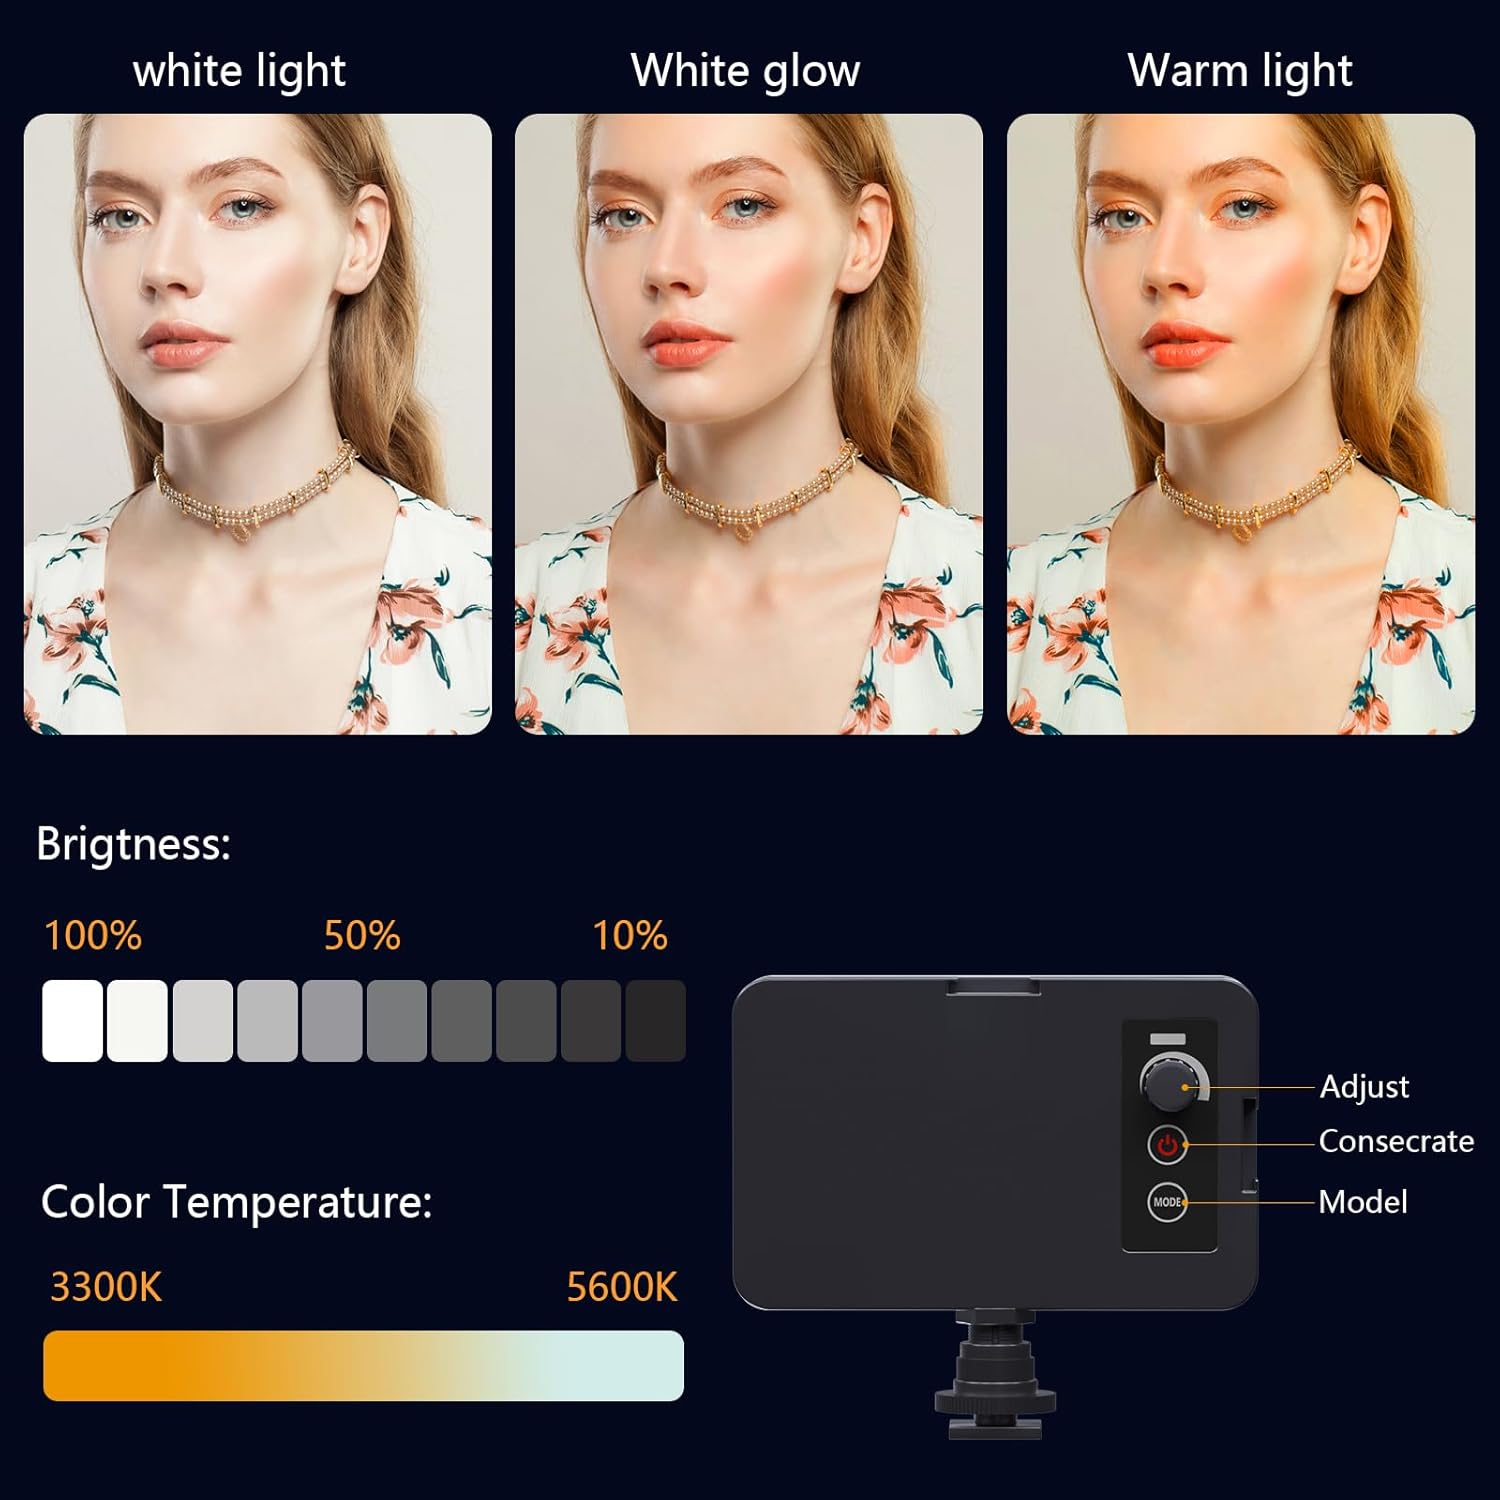
Image: The camcorder recording a 4K 60FPS video, with smaller inset images showing the effect of 18X, 16X, and 12X digital zoom on a subject.
5.3. Funzione Zoom
Use the zoom controls on the camera body or handheld stabilizer to adjust the 18X digital zoom.
5.4. Funzionamento tramite touch screen
Navigate menus and settings directly on the 4.0-inch touchscreen. The screen can rotate 270 degrees for versatile shooting angles.
5.5. Impostazioni del menu
Press the Menu button to access various settings such as resolution, white balance, exposure, and metering mode. Use the control wheel or touchscreen to make selections.
5.6. Connessione Wi-Fi e utilizzo delle app
Connect your smartphone to the camcorder via Wi-Fi to control it remotely and transfer files.
- Turn on Wi-Fi on the camcorder via the menu. The screen will display the Wi-Fi ID (e.g., 4K_WIFI) and password (e.g., 12345678), along with a QR code.
- Download the "IDC CAM" app by scanning the QR code or searching on your app store.
- On your smartphone, go to Wi-Fi settings and connect to the camcorder's Wi-Fi network using the provided password.
- Open the "IDC CAM" app. You can now view a live feed, control recording, and capture photos remotely.

Image: The camcorder's screen showing Wi-Fi ID, password, and a QR code for downloading the companion app, with smartphones connected via Wi-Fi in the background.
For a visual guide on Wi-Fi connection and app usage, watch this video:
Video: This video demonstrates how to connect the NPX108 digital video camera to Wi-Fi and use the companion app for remote control and file gestione.
5.7. WebFunzione camma
La videocamera può essere utilizzata come webcam per videochiamate e streaming live.
- Collegare la videocamera al computer tramite il cavo USB.
- On the camera's screen, select "PC CAM" mode.
- Il computer dovrebbe ora riconoscere la videocamera come webCamera.
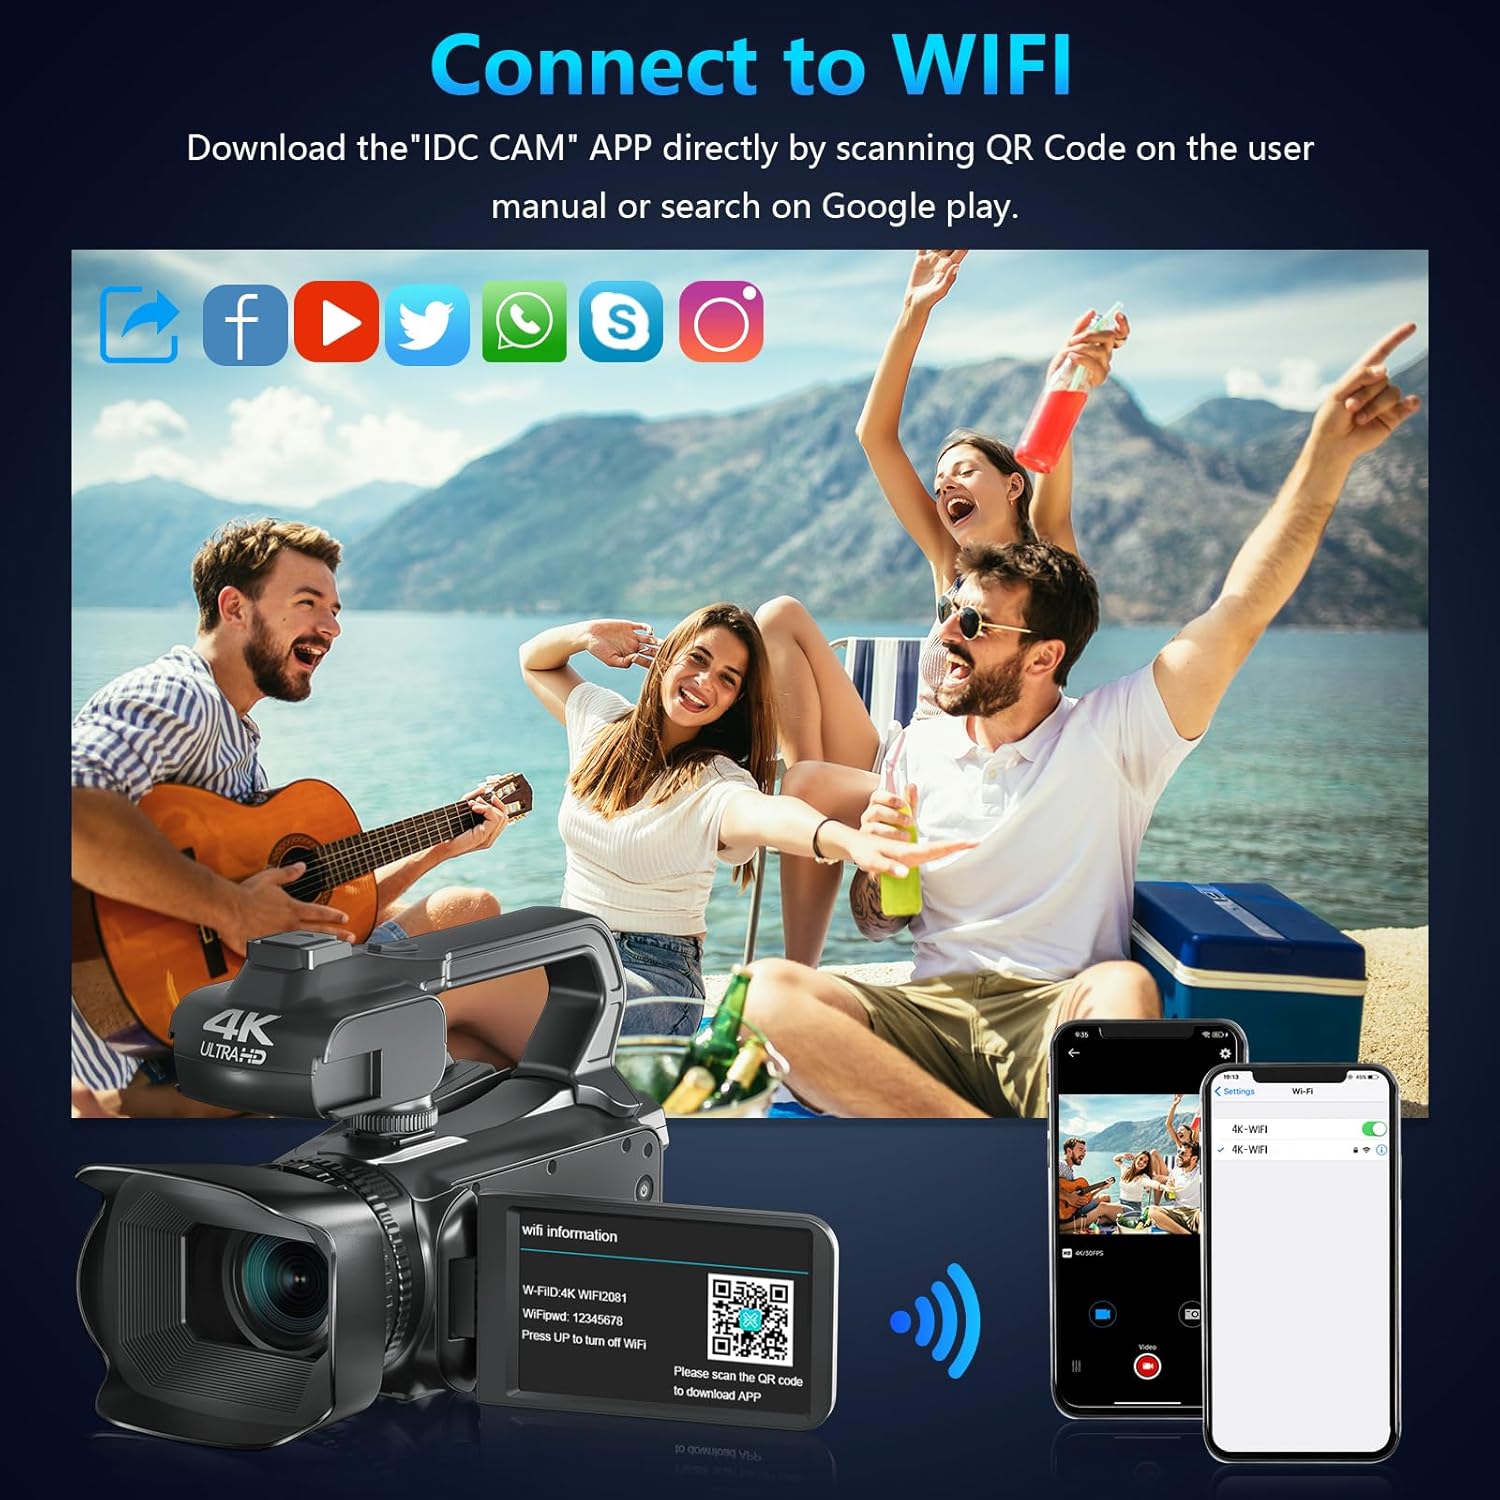
Image: The camcorder functioning as a webcam connected to a laptop, and also connected to a TV via HDMI for output.
5.8. Uscita TV HDMI
View your recorded videos and photos directly on a TV or monitor.
- Connect the camcorder to your TV using a mini HDMI cable (not included).
- Selezionare l'ingresso HDMI appropriato sulla TV.
- The camera's display will now be mirrored on your TV.

Image: The camcorder connected to a laptop for live streaming (webcam mode) and to a TV via an HDMI cable for real-time viewing di contenuti.
5.9. Caratteristiche speciali
- Registrazione durante la ricarica: Continue recording even when the battery is low by connecting the charger.
- Rallentatore: Capture dynamic scenes in slow motion.
- Lasso di tempo: Record events over an extended period and condense them into a short video.
- Autoscatto: Set a delay before capturing a photo or starting a video.
- Anti-agitazione: La stabilizzazione digitale delle immagini aiuta a ridurre la sfocatura causata dal movimento della fotocamera.
- Visione notturna: Cattura cibo chiarotage in condizioni di scarsa illuminazione.

Image: A collage demonstrating various camcorder features: recording while charging, pause function, continuous shooting, and anti-shake stabilization.

Image: A sequence of three images illustrating the time-lapse recording feature, capturing the progression of a sunset over water.
6. Manutenzione
6.1. Pulizia
- Per pulire il corpo della fotocamera, utilizzare un panno morbido e asciutto.
- Per la lente, utilizzare un panno per la pulizia delle lenti e una soluzione specifica per la pulizia delle lenti. Evitare di toccare la lente direttamente con le dita.
- Clean the touchscreen with a microfiber cloth.
6.2. Conservazione
- When not in use, store the camera in its protective bag in a cool, dry place.
- Rimuovere la batteria se si prevede di non utilizzare la fotocamera per un periodo prolungato.
7. Risoluzione Dei Problemi
| Problema | Possibile causa | Soluzione |
|---|---|---|
| La fotocamera non si accende | La batteria è scarica o non è inserita correttamente. | Caricare la batteria o reinserirla correttamente. |
| Non è possibile registrare video/scattare foto | La scheda SD è piena, non inserita o danneggiata. | Insert a new SD card, ensure it's properly inserted, or format the card (this will erase all data). |
| Poor video/image quality | L'obiettivo è sporco, l'illuminazione è insufficiente o le impostazioni non sono corrette. | Clean the lens, use the fill light, or adjust exposure/white balance settings. |
| Problemi di connessione Wi-Fi | Incorrect password, app not installed, or distance too far. | Verify password, install "IDC CAM" app, ensure close proximity to camera. |
8. Specifiche
- Marca: VETEK
- Numero modello: NPX108
- Risoluzione di acquisizione video: 4K (60 FPS)
- Risoluzione dell'immagine: 64MP
- Zoom digitale: 18X
- Dimensioni dello schermo: 4.0 Inches (270-degree rotating touchscreen)
- Connettività: Wi-Fi, USB, HDMI
- Caratteristiche speciali: Auto Focus, Recording While Charging, Slow Motion, Time-Lapse, Webcam Function, Self-Timer, HD Output, External MIC Support, Handheld Stabilizer Support, Night Vision, Anti-Shake, Face Detection
- Batteria: Polimeri di litio da 4500 mAh (inclusi)
- Magazzinaggio: Scheda SD (inclusa da 64 GB)
- Peso dell'articolo: 3.56 libbre
- Dimensioni del prodotto: 6.7 x 3.8 x 3.9 pollici
9. Garanzia e supporto
VETEK products are designed for quality and reliability. For any issues or inquiries, please refer to the following:
- Politica di ritorno: All products are eligible for a free return within 30 days of purchase.
- Assistenza clienti: VETEK offers 24-hour customer service. Please contact us for assistance.
- Piani di protezione: Sono disponibili piani di protezione estesa da acquistare (ad esempio, Piano di protezione biennale, Piano di protezione triennale, Protezione completa).

Image: The VETEK brand logo, representing quality and customer commitment.