
1. Introduzione
This manual provides essential information for the safe and efficient installation, operation, and maintenance of your SWIMLINE HYDROTOOLS Sure-Flo 120 Sq Ft Inground Pool Cartridge Filter Tank. Please read all instructions carefully before beginning installation or operation.
The Hydrotools Sure-Flo cartridge filter system is designed to provide clear and clean water for your inground pool. It features a 120 square foot filter element with silver treatment for enhanced impurity removal and is constructed from durable, weather-resistant materials.
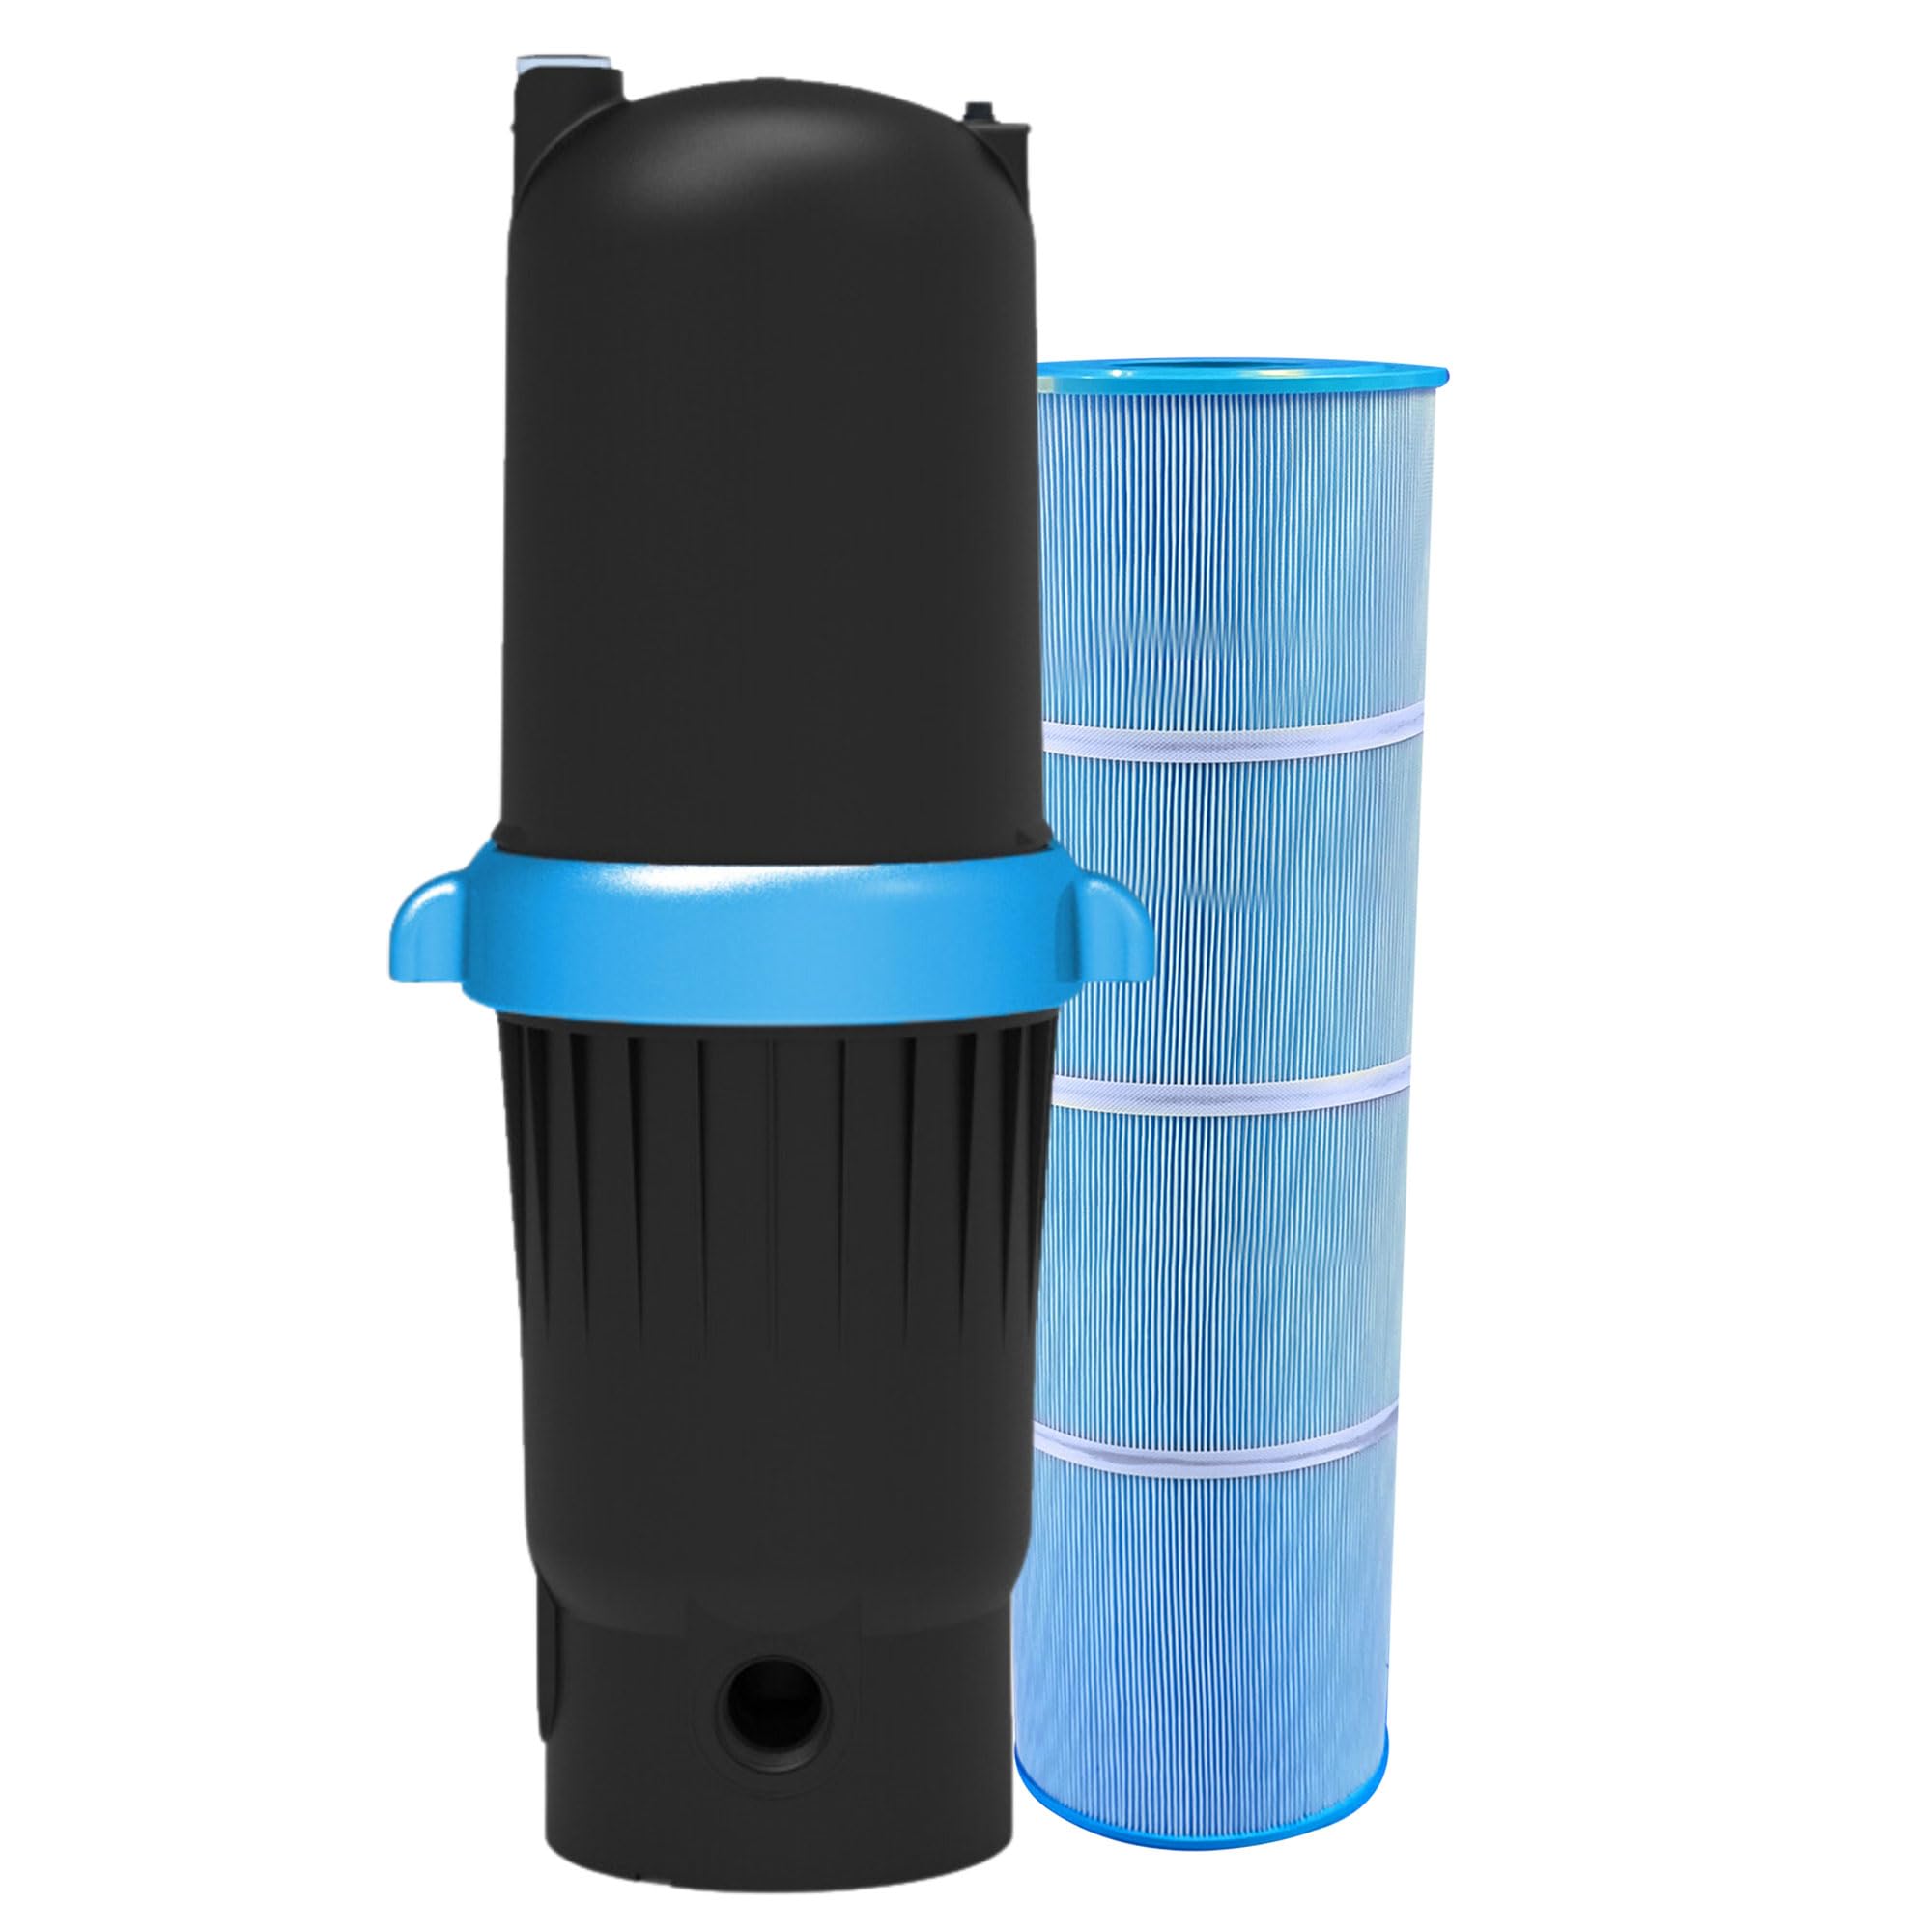
Image: The SWIMLINE HYDROTOOLS Sure-Flo 120 Sq Ft Inground Pool Cartridge Filter Tank.
2. Informazioni sulla sicurezza
Always observe basic safety precautions when installing and operating this product to reduce the risk of injury, fire, or electric shock.
- Leggi tutte le istruzioni: Familiarize yourself with the entire manual before installation or use.
- Sicurezza elettrica: Assicurarsi che tutti i collegamenti elettrici siano eseguiti da un elettricista qualificato e siano conformi alle normative locali. Scollegare l'alimentazione prima di qualsiasi intervento di manutenzione.
- Sicurezza della pressione: Do not operate the filter above the maximum recommended pressure (50 PSI / 3.5 BAR). Always relieve pressure before opening the filter tank.
- Manipolazione di prodotti chimici: Use caution when handling pool chemicals. Follow manufacturer's instructions for safe use and storage.
- Bambini: Tenere i bambini lontani dalle attrezzature della piscina durante il funzionamento e la manutenzione.
- Installazione corretta: Install the filter on a level, solid surface capable of supporting its weight when filled with water.
3. Configurazione e installazione
The SWIMLINE HYDROTOOLS Sure-Flo filter tank is designed for inground pool applications. Proper installation is crucial for optimal performance and safety.
3.1 Componenti inclusi
- 120 Sq Ft Inground Pool Cartridge Filter Tank
- Anti-Microbial Filter Element (120 Sq Ft)
- Manometro
- Locking Ring System
- Valvola di sfogo aria
- 2-inch Port In/Outlet Connectors

Image: Key components of the filter system, including the 2-inch ports, pressure gauge, locking ring, and filter element.
3.2 Passaggi di installazione
- Posizionamento: Place the filter tank on a firm, level surface, preferably concrete, near your pool pump. Ensure adequate space for maintenance.
- Collegare l'impianto idraulico: Connect the pool plumbing to the filter's inlet and outlet ports. The lower fitting is the output. Use appropriate PVC adapters and ensure all connections are watertight. Apply plumber's tape to threaded connections for a secure seal.
- Installare il manometro: Carefully screw the pressure gauge into the designated port on the filter tank. Do not overtighten.
- Install Air Relief Valve: Screw the air relief valve into its port. Tighten only by hand to prevent damage.
- Insert Filter Element: Ensure the filter element is properly seated inside the tank.
- Secure Locking Ring: Place the top of the filter tank and secure it with the locking ring system. Ensure the O-ring is clean and properly lubricated with a silicone-based lubricant to prevent leaks. Tighten the locking ring firmly.
- Controllo perdite: After installation, turn on the pump and check all connections for leaks. Address any leaks immediately.

Image: A blue filter element being lowered into the black filter tank.

Image: Detail of the locking ring system on the filter tank.
4. Istruzioni per l'uso
Once installed, operating your Sure-Flo cartridge filter is straightforward.
- Adescamento della pompa: Ensure your pool pump is properly primed according to its manufacturer's instructions before starting.
- Avvio del sistema: Open all necessary valves to allow water flow to and from the filter. Turn on your pool pump.
- Air Bleed: As the filter fills with water, open the air relief valve to allow trapped air to escape. Close the valve once a steady stream of water emerges.
- Monitorare la pressione: Note the initial pressure reading on the pressure gauge. This is your clean filter operating pressure. As the filter collects debris, the pressure will gradually rise.
- Durata: Operate your filter for a sufficient period each day to ensure proper water circulation and filtration. Consult your pool professional for recommended daily run times based on your pool size and usage.

Image: A pressure gauge indicating the system pressure.
5. Manutenzione
Regular maintenance of your cartridge filter is essential for clear water and extended product life.
5.1 Cartridge Cleaning
The filter element should be cleaned when the pressure gauge reading is 8-10 PSI above the clean filter operating pressure, or when water flow to the pool noticeably decreases.
- Spegnere la pompa: Always turn off the pool pump and close all valves to isolate the filter before performing any maintenance.
- Alleviare la pressione: Open the air relief valve to release any trapped air and pressure from the system.
- Scaricare l'acqua: If necessary, open the drain plug at the bottom of the tank to drain water.
- Remove Locking Ring: Loosen and remove the locking ring. Carefully lift the top of the filter tank.
- Rimuovere la cartuccia: Carefully lift the filter cartridge out of the tank.
- Cartuccia pulita: Use a garden hose with a strong spray nozzle to thoroughly rinse debris from between the pleats of the cartridge. For stubborn dirt or oils, use a specialized cartridge filter cleaning solution.
- Ispezionare la cartuccia: Check the cartridge for any tears, damage, or excessive wear. Replace if necessary.
- Rimontare: Place the clean cartridge back into the tank, ensuring it is properly seated. Replace the tank top and secure the locking ring. Ensure the O-ring is clean and lubricated.
- Riavvia il sistema: Follow the operating instructions to restart your filter system.

Image: Illustration of the filtration process, highlighting the silver-treated element and easy cleaning.
5.2 Manutenzione dell'O-ring
Periodically inspect the large O-ring on the filter tank for cracks or wear. Clean it and apply a silicone-based lubricant to ensure a proper seal and prevent leaks. Replace the O-ring if it shows signs of damage.
6. Risoluzione Dei Problemi
Questa sezione affronta i problemi più comuni che potresti riscontrare con il tuo sistema di filtraggio.
| Problema | Possibile causa | Soluzione |
|---|---|---|
| Basso flusso d'acqua / Alta pressione | Cartuccia del filtro intasata | Pulire o sostituire la cartuccia del filtro. |
| Bassa portata d'acqua / bassa pressione | Pump not primed, air leak in suction line, clogged skimmer/pump basket | Prime pump, check for air leaks, clean skimmer/pump baskets. |
| Perdita d'acqua dal serbatoio | Damaged or improperly seated O-ring, loose locking ring, cracked tank | Inspect, clean, and lubricate O-ring; tighten locking ring; inspect tank for damage. |
| Acqua torbida della piscina | Dirty filter, improper chemical balance, insufficient run time | Clean filter, test and adjust pool chemicals, increase filter run time. |
| Air Relief Valve Leaking/Broken | Overtightening, material fatigue | Replace valve. Avoid overtightening during installation. |
7. Specifiche
Detailed specifications for the SWIMLINE HYDROTOOLS Sure-Flo 120 Sq Ft Inground Pool Cartridge Filter Tank.
| Caratteristica | Specificazione |
|---|---|
| Marca | Linea di nuoto |
| Numero di modello | 76122 |
| Area filtro | 120 piedi quadrati |
| Maximum GPM (GPH) | 120 GPM / 7200 GPH |
| Max. Recommended Pool Size | Fino a 57,600 galloni |
| Pressione massima | 50 PSI / 3.5 BAR |
| Inlet / Outlet Port Compatibility | 2 pollici |
| Element Dimensions (Height x Diameter) | Inside: 28.19" x 3.98", Outside: 28.19" x 8.94" |
| Recommended Pump | 1 CV |
| Materiale | Plastic (Double Reinforced Glass Co-Polymer) |
| Colore | Nero / Blu |
| Codice UPC | 723815964038 |

Image: Visual representation of the filter tank with key dimensions and specifications.
8. Garanzia e supporto
8.1 Garanzia del produttore
SWIMLINE HYDROTOOLS provides a Garanzia di 1 anni contro i difetti di fabbricazione di questo prodotto. Si prega di conservare la prova d'acquisto per eventuali reclami in garanzia.
8.2 Assistenza clienti
For technical assistance, troubleshooting, or warranty inquiries, please contact Swimline customer service. Our team is based in New York, USA, and is available to assist you.
Visita il sito ufficiale Swimline Store per maggiori informazioni e contatti.