
1. Introduzione
Thank you for choosing the Plyisty HD 1080P WiFi Door Peephole Camera. This device provides enhanced security for your home by offering a clear, wide-angle view of your doorstep, accessible remotely via a mobile application. Please read this manual thoroughly before installation and use to ensure proper operation and to maximize the product's lifespan.
2. Informazioni sulla sicurezza
- Ensure the power supply is connected correctly before initial use. A red indicator light confirms successful power connection.
- Non esporre il dispositivo a temperature estreme, umidità o luce solare diretta.
- Avoid using harsh chemicals or abrasive cleaners on the camera. Use a soft, dry cloth for cleaning.
- Non tentare di smontare o riparare da soli il dispositivo. Contatta l'assistenza clienti per assistenza.
- Tenere il dispositivo fuori dalla portata dei bambini.
3. Contenuto della confezione
Verifica che tutti gli articoli elencati di seguito siano inclusi nel tuo pacchetto:
- 1 x WiFi Door Peephole Camera
- 1 x SIM Card Pin (for reset)
- 1 x Power Cable (Micro USB)
- 1 x Manuale utente

This image displays the main components included in the product package: the silver and black peephole camera unit, a black USB charging cable, and a small metal SIM card ejector pin, which is used for resetting the device.
4. Prodotto finitoview
Familiarize yourself with the different parts of your Plyisty Door Peephole Camera:
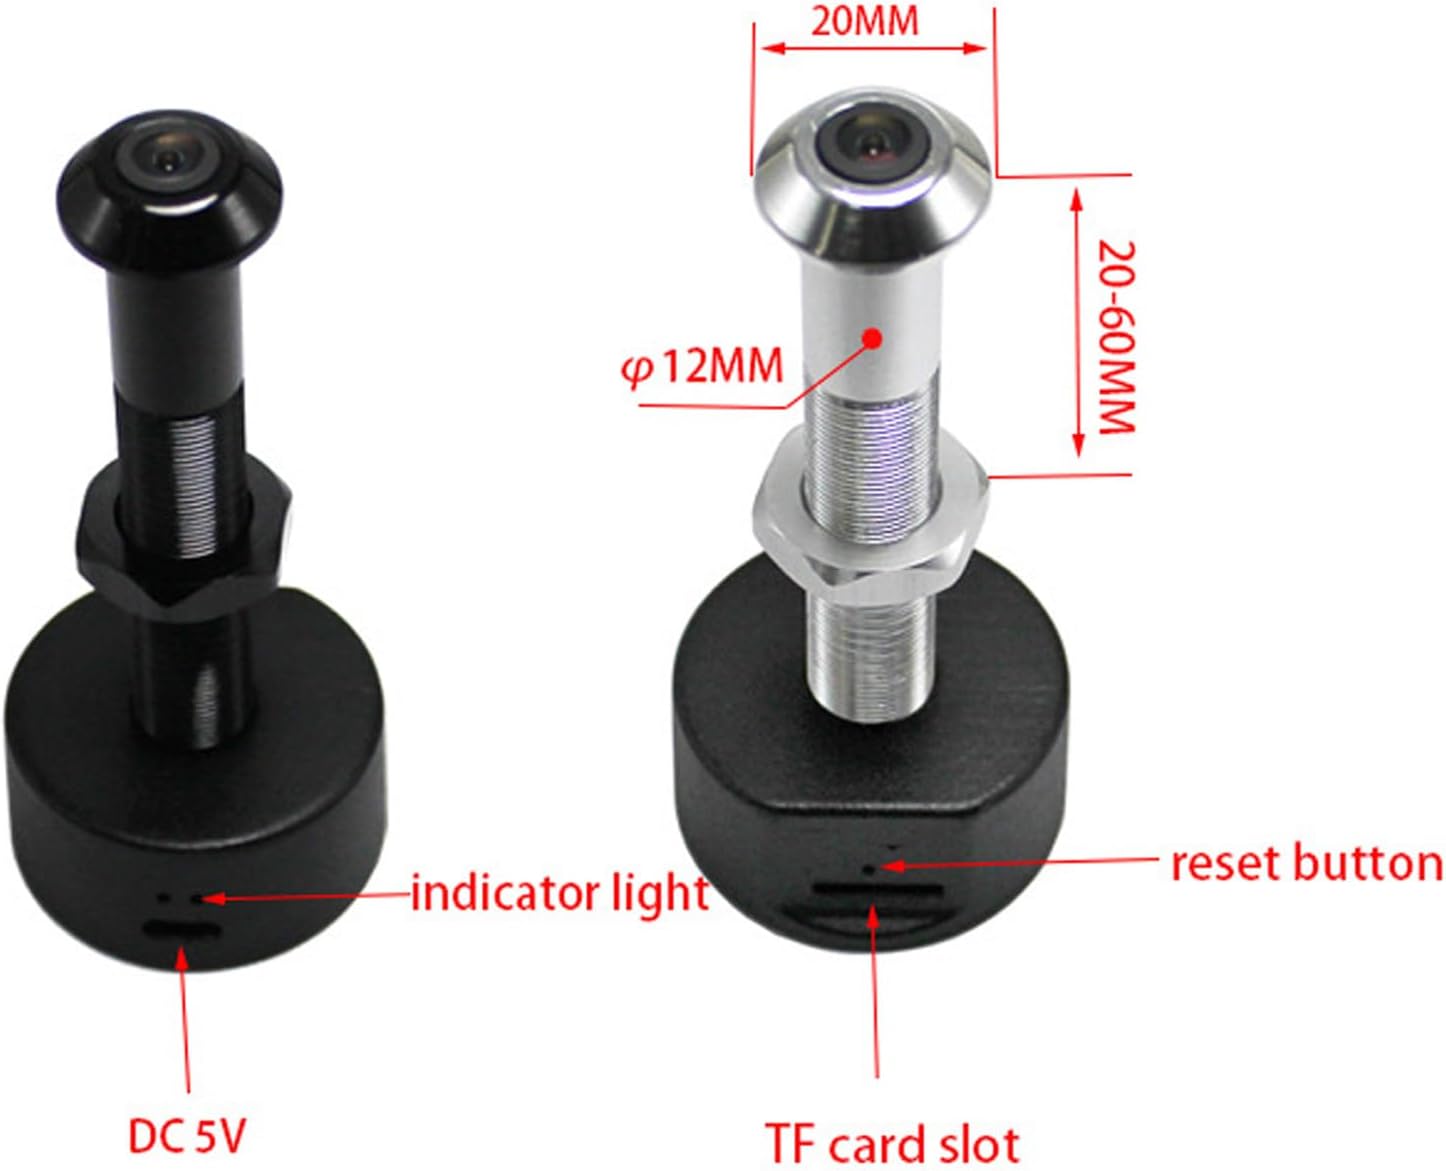
This diagram illustrates the key features of the peephole camera. It highlights the indicator light, the reset button, the DC 5V power input port, and the TF (MicroSD) card slot for local storage. Dimensions for door thickness and peephole diameter are also shown.
- Obiettivo della fotocamera: 1080P HD resolution with a 170° wide-angle view.
- Spia luminosa: Fornisce feedback sullo stato (ad esempio, alimentazione, connessione).
- Pulsante di reset: Utilizzato per ripristinare il dispositivo alle impostazioni di fabbrica.
- DC 5V Port (Micro USB): Per il collegamento elettrico.
- Slot per schede TF: Supports up to 128GB memory card for local video storage (memory card not included).
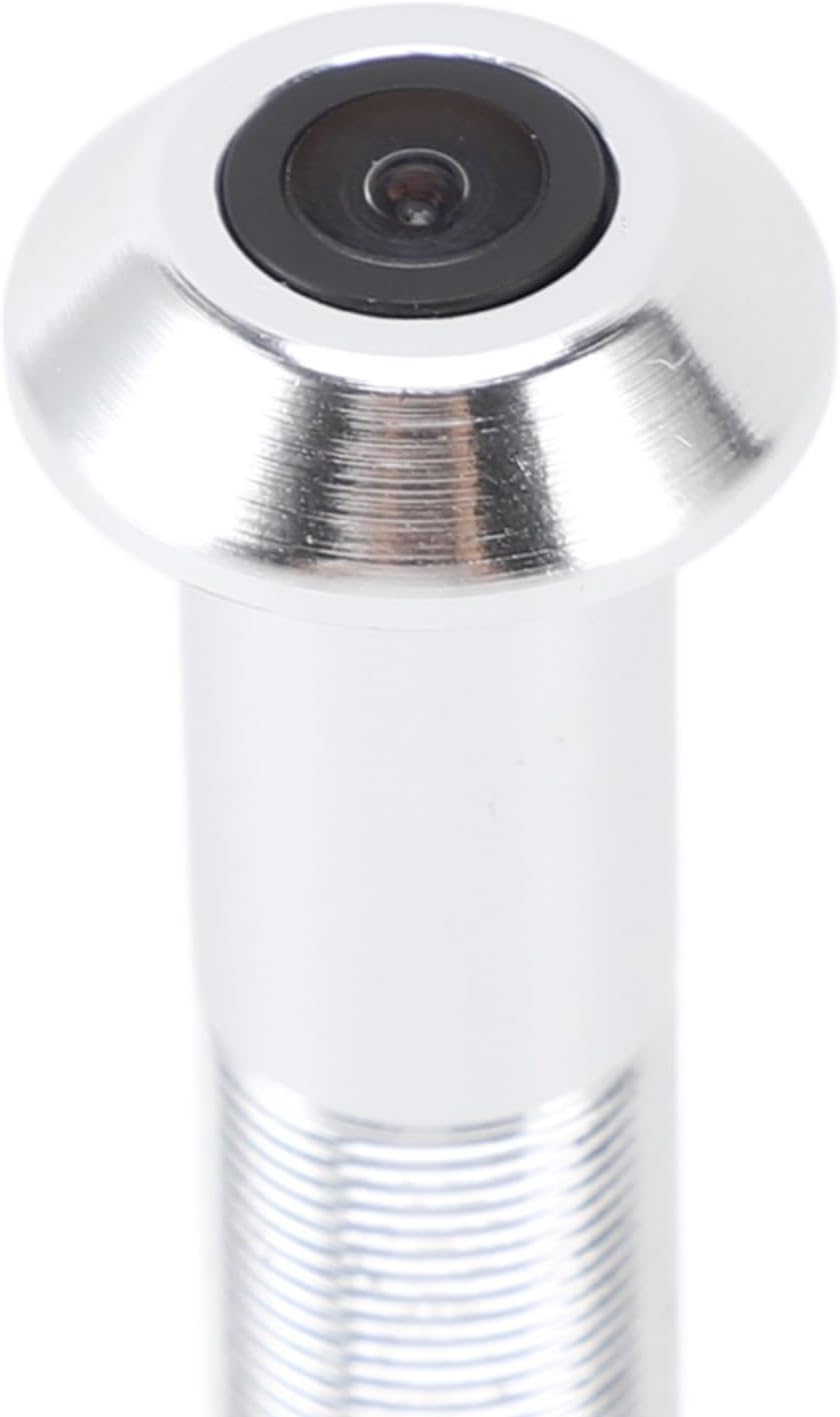
A detailed close-up of the camera lens, highlighting its compact and integrated design within the peephole unit.
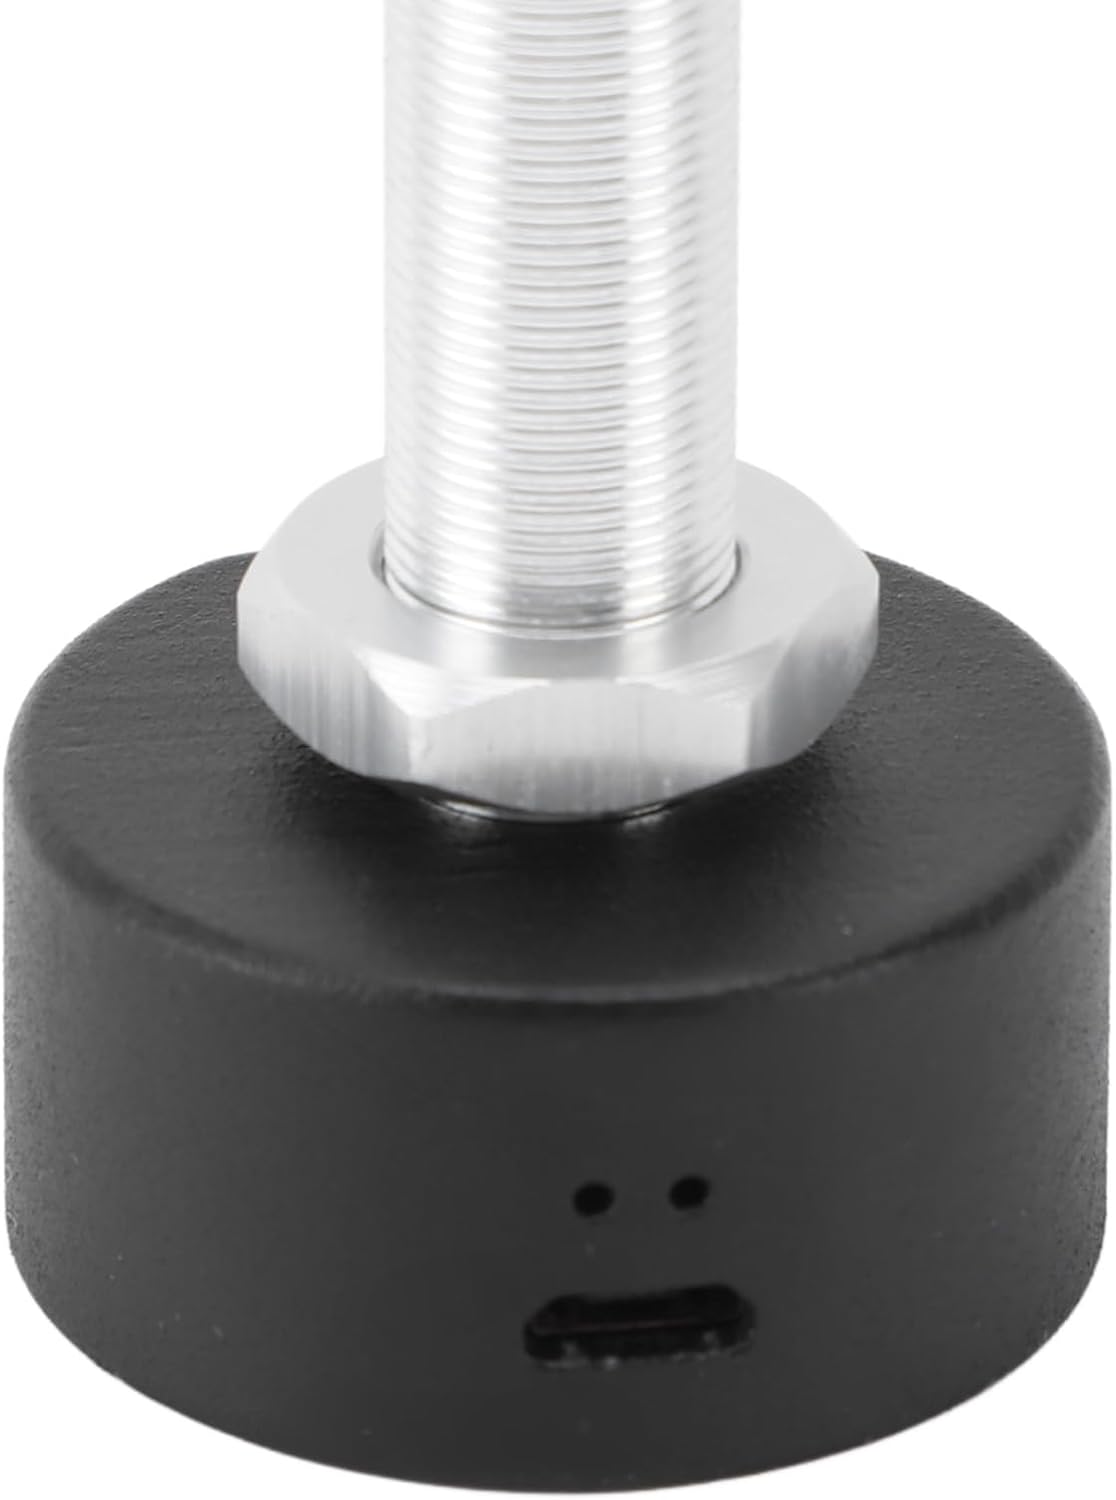
Questa immagine fornisce una chiara view of the Micro USB port located at the base of the camera unit, used for connecting the power cable.

A detailed shot of the TF (MicroSD) card slot, where a memory card can be inserted for local video storage.
5. Impostazione
5.1 Compatibilità delle porte
Prima dell'installazione, assicurati che la tua porta soddisfi le seguenti specifiche:
- Spessore della porta: Approximately 2-5.7 cm (0.8-2.2 inches).
- Peephole Opening Diameter: Approximately 14-20 mm (0.6-0.8 inches).
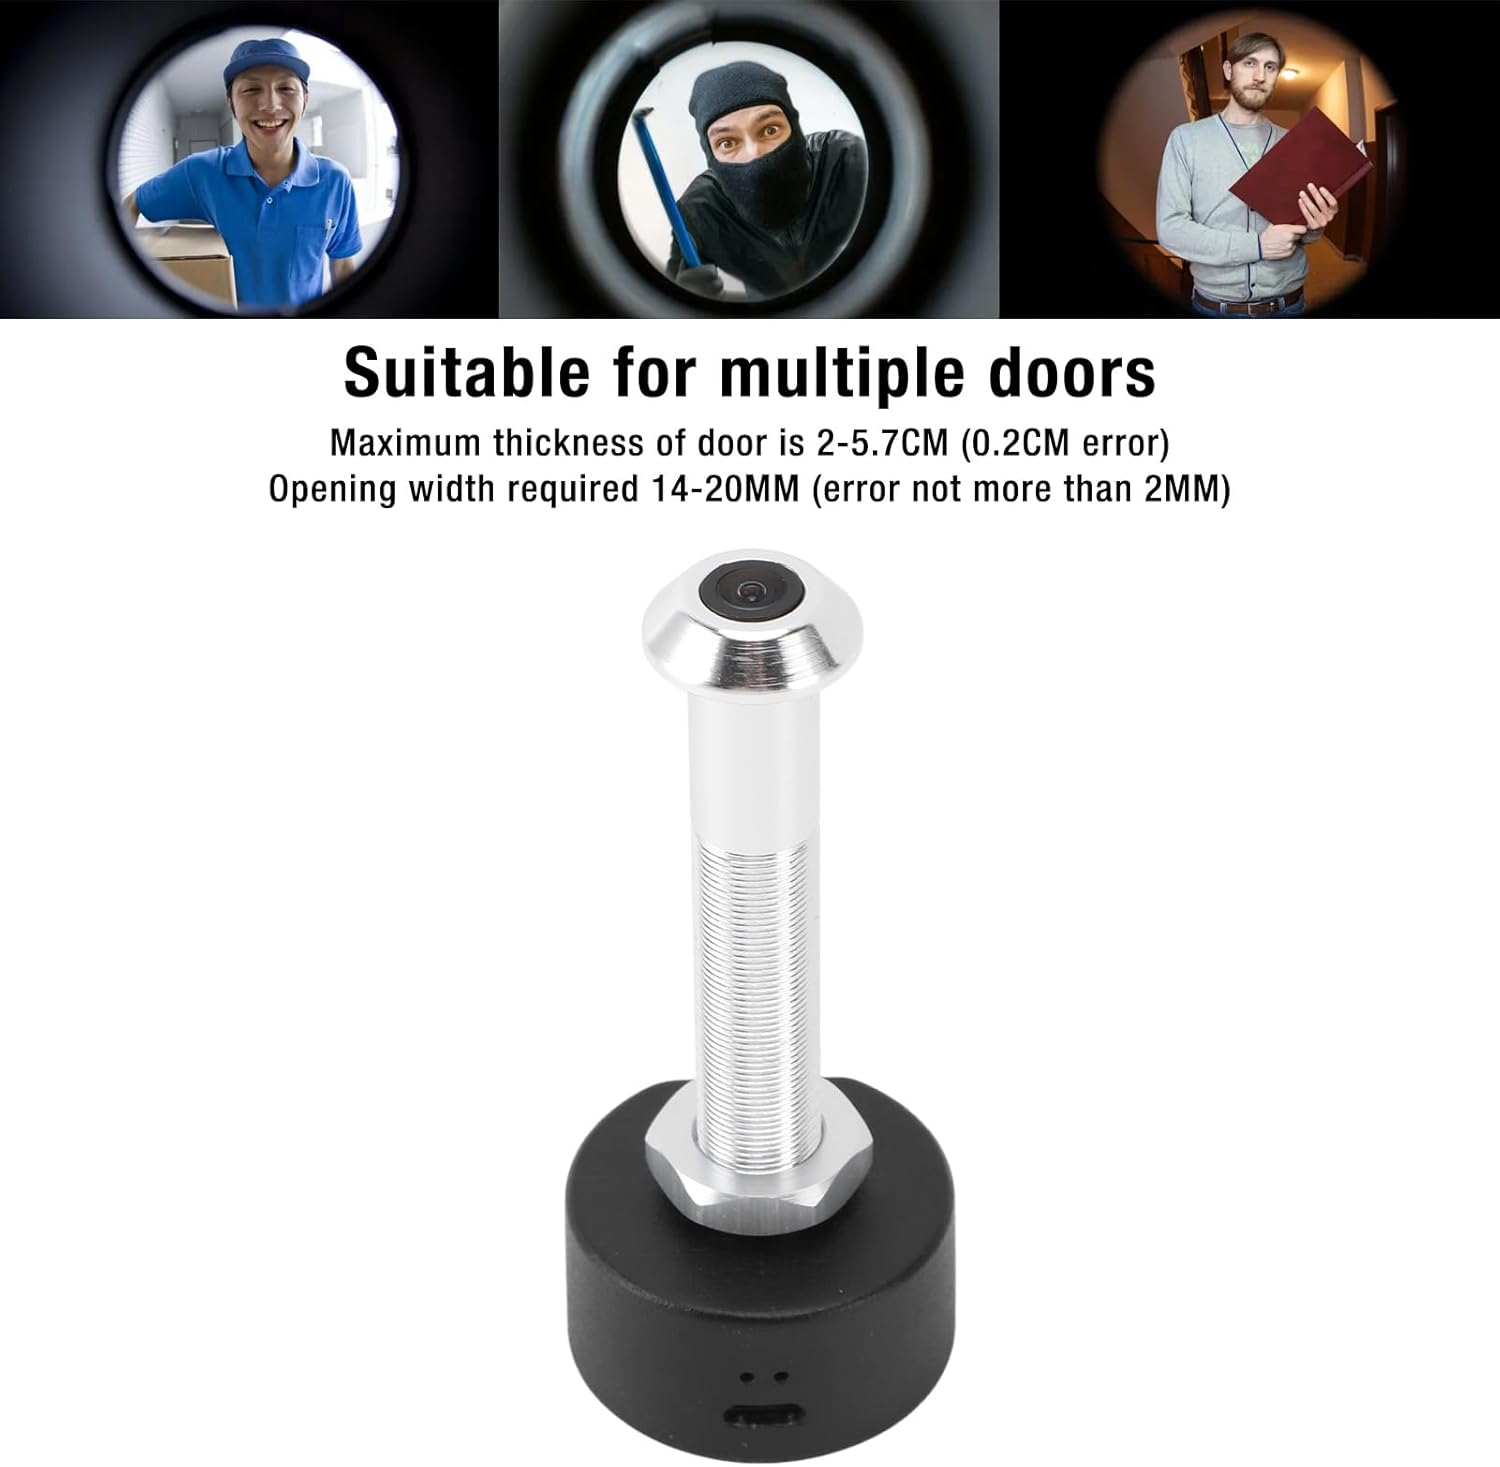
This image shows the specific dimensions required for door thickness (2-5.7 cm) and peephole opening width (14-20 mm) to ensure proper installation of the camera. It also visually depicts the camera's wide-angle view di visitatori.
5.2 Installazione fisica
Seguire questi passaggi per installare la telecamera:
- Rimuovi lo spioncino esistente viewer dalla porta.
- Insert the camera unit through the peephole from the outside of the door.
- From the inside, secure the camera by screwing on the retaining nut until it is snug.
- Connect the power cable to the DC 5V port on the camera.
- Ensure the power source is stable. A red indicator light will confirm power connection.

This image shows a person using a traditional peephole, juxtaposed with the Plyisty WiFi Door Peephole Camera, to demonstrate how the new camera replaces the old peephole for an upgraded viewesperienza di acquisizione.
5.3 App Setup (Tuya APP)
To connect your camera to your smartphone:
- Scarica il APP Tuya dall'app store del tuo smartphone (iOS o Android).
- Registrati o accedi al tuo account Tuya.
- Tap '+' to add a new device. Select 'Security & Video Surveillance' > 'Smart Camera'.
- Follow the on-screen instructions to connect the camera to your 5.0 GHz WiFi network. This typically involves resetting the camera and scanning a QR code generated by the app.
- Once connected, you can access the live feed and settings through the app.
6. Istruzioni per l'uso
6.1 Vivere View e monitoraggio
Open the Tuya APP on your smartphone to view the live feed from your door peephole camera. You can monitor your doorstep in real-time from anywhere with an internet connection.
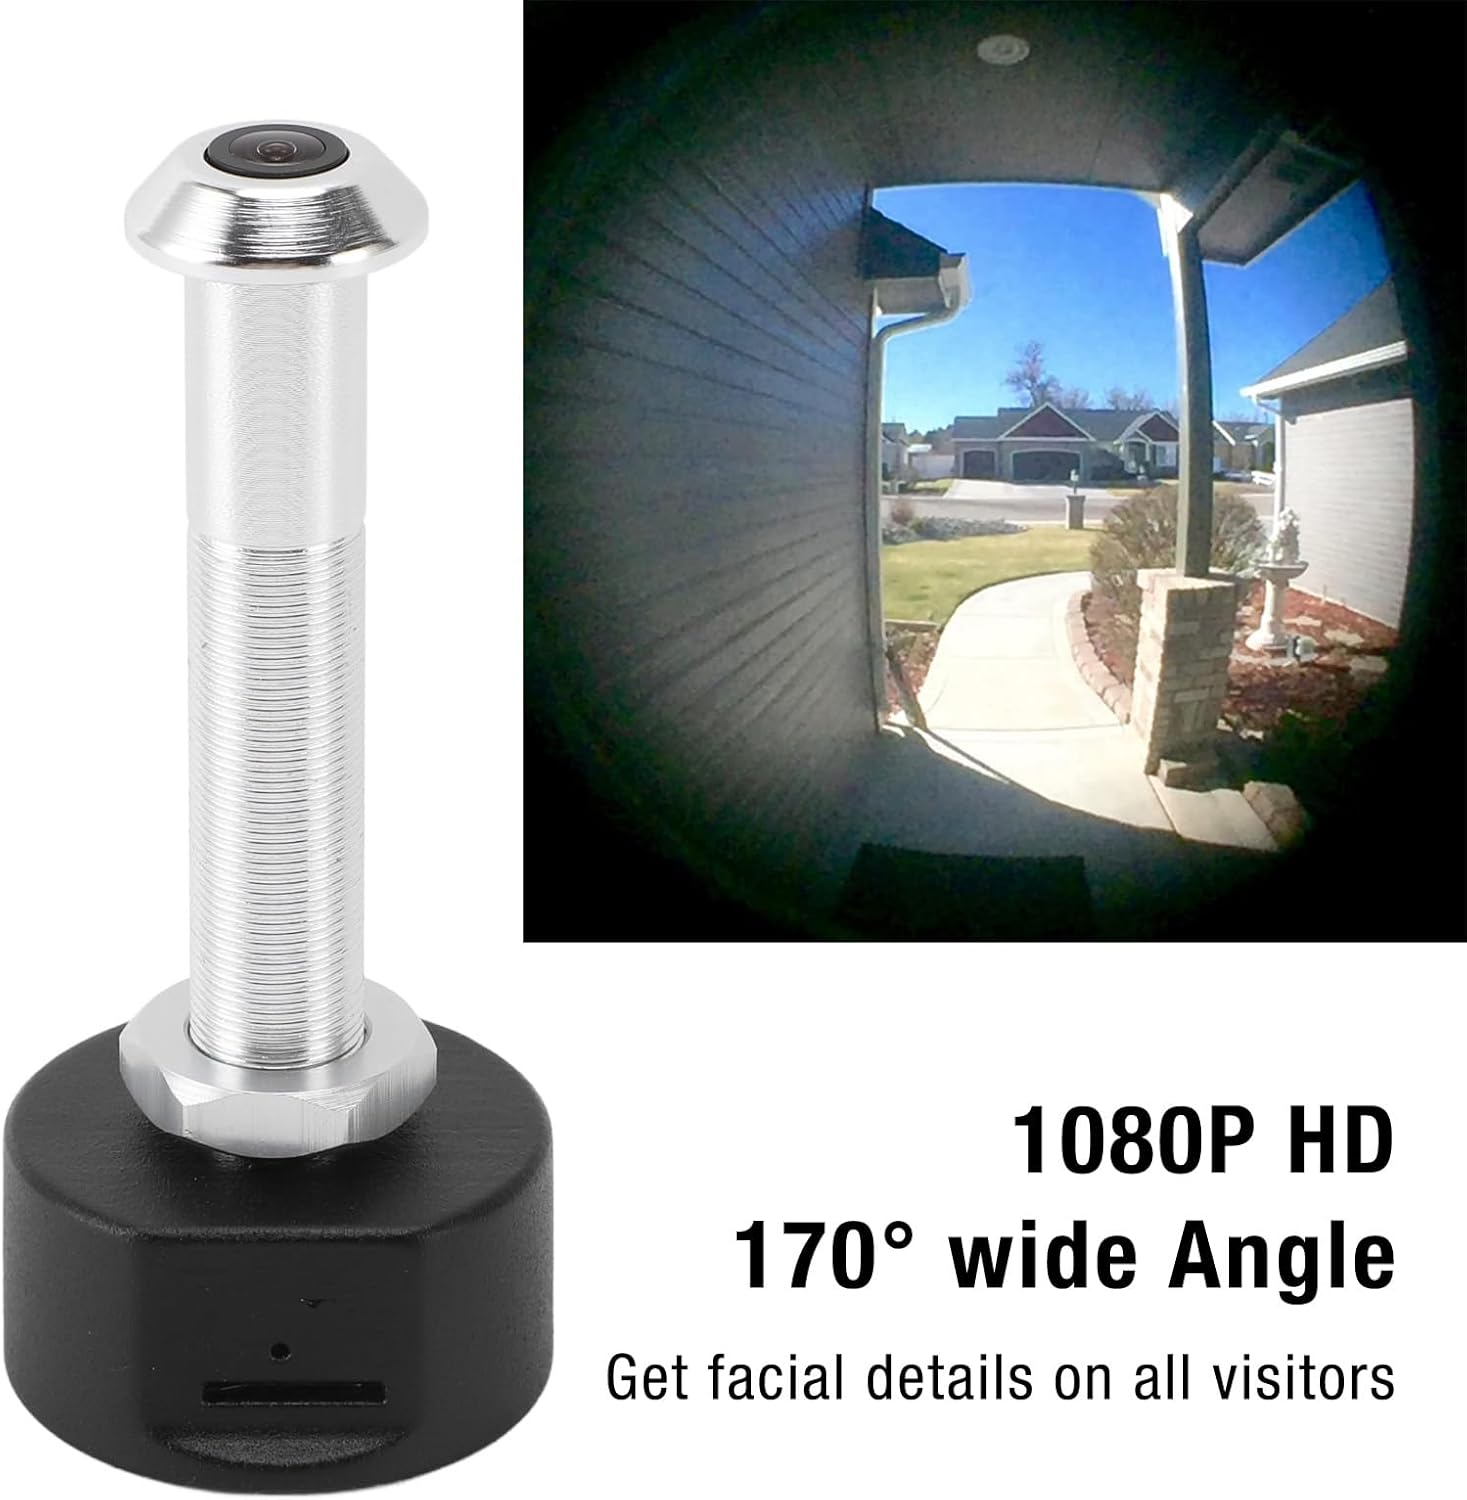
This image showcases the camera's ability to capture a 1080P HD video feed with a 170-degree wide-angle view, allowing users to see facial details of visitors and a broad area around their door.
6.2 Visione notturna
The camera is equipped with powerful infrared night vision. It automatically switches between day and night mode using an ICR infrared filter, ensuring clear visibility even in low-light or dark conditions.
6.3 Registrazione e archiviazione
La fotocamera supporta due opzioni di archiviazione:
- Archiviazione cloud: Video recordings can be stored in the cloud (subscription may be required, check Tuya APP for details).
- Memoria della scheda di memoria: Insert a TF (MicroSD) card (up to 128GB, not included) into the designated slot for local storage of recordings.
When motion is detected at your door, the camera will send a notification to your mobile phone and begin recording, enhancing your security.
7. Manutenzione
- Regularly check the camera lens for dust or smudges and clean gently with a soft, lint-free cloth.
- Assicurarsi che il cavo di alimentazione sia collegato saldamente e non danneggiato.
- Periodically check the Tuya APP for firmware updates to ensure optimal performance and security.
- If using a memory card, consider formatting it periodically to maintain recording efficiency.
8. Risoluzione Dei Problemi
| Problema | Possibile causa | Soluzione |
|---|---|---|
| La fotocamera non si accende. | Power cable loose or damaged; no power from outlet. | Check cable connection. Try a different power outlet or cable. Ensure the red indicator light is on. |
| Impossibile connettersi al Wi-Fi. | Incorrect WiFi password; camera too far from router; incompatible WiFi frequency (5.0 GHz required). | Verify WiFi password. Move camera closer to router. Ensure your router supports 5.0 GHz WiFi and the camera is connected to it. Reset the camera and try pairing again. |
| Nessuna notifica ricevuta. | App notifications disabled; motion detection settings incorrect. | Check notification settings in your phone and the Tuya APP. Adjust motion detection sensitivity in the app. |
| Qualità dell'immagine scadente. | Dirty lens; low light conditions; network issues. | Clean the camera lens. Ensure adequate lighting or verify night vision is active. Check your internet connection speed. |
| Le registrazioni non vengono salvate. | Memory card full or faulty; cloud storage not activated. | Check memory card status in the app, format or replace if necessary. Ensure cloud storage subscription is active if relying on it. |
9. Specifiche
| Caratteristica | Specificazione |
|---|---|
| Numero di modello | Plyistygi4kwto72x-12 |
| Risoluzione | 1920 x 1080 (1080P HD) |
| Angolo dell'obiettivo | Grandangolo 170° |
| Visione notturna | Supported (ICR infrared filter) |
| Connettività | Wi-Fi (5.0GHz) |
| Nome dell'app | APP Tuya |
| Opzioni di archiviazione | Cloud Storage, Memory Card (up to 128GB, not included) |
| Porta di ricarica | Micro USB |
| Energia | 1 Watt |
| Materiale | Lega di alluminio + ABS |
| Spessore porta compatibile | Circa 2-5.7 cm (0.8-2.2 pollici) |
| Required Peephole Diameter | Approx. 14-20 mm (0.6-0.8 inches) |
| Valutazione internazionale di protezione | Grado di protezione IP65 |
10. Garanzia e supporto
This product is covered by a standard manufacturer's warranty. For specific warranty details, please refer to the documentation provided with your purchase or contact the retailer.
If you encounter any issues or have questions not addressed in this manual, please contact Plyisty customer support through the retailer's platform or their official websito per assistenza.