1. Introduzione
Grazie per l'acquistoasing the Zenwire D300S Mini Projector. This manual provides essential information for the safe and efficient operation of your device. Please read it thoroughly before use and retain it for future reference.
Precauzioni di sicurezza
- Non guardare direttamente nell'obiettivo del proiettore quando lamp è acceso.
- Assicurare una ventilazione adeguata per evitare il surriscaldamento. Non bloccare le aperture di ventilazione.
- Utilizzare esclusivamente l'adattatore di alimentazione fornito.
- Tenere il proiettore lontano dall'acqua o da altri liquidi.
- Evitare di posizionare il proiettore su superfici instabili.
- Non tentare di smontare o riparare il proiettore da soli. Contattare personale di assistenza qualificato.
2. Contenuto della confezione
Si prega di verificare che tutti gli articoli siano presenti nel pacco:
- Zenwire D300S Mini Projector
- Telecomando
- Adattatore di alimentazione
- cavo AV
- Manuale dell'utente (questo documento)
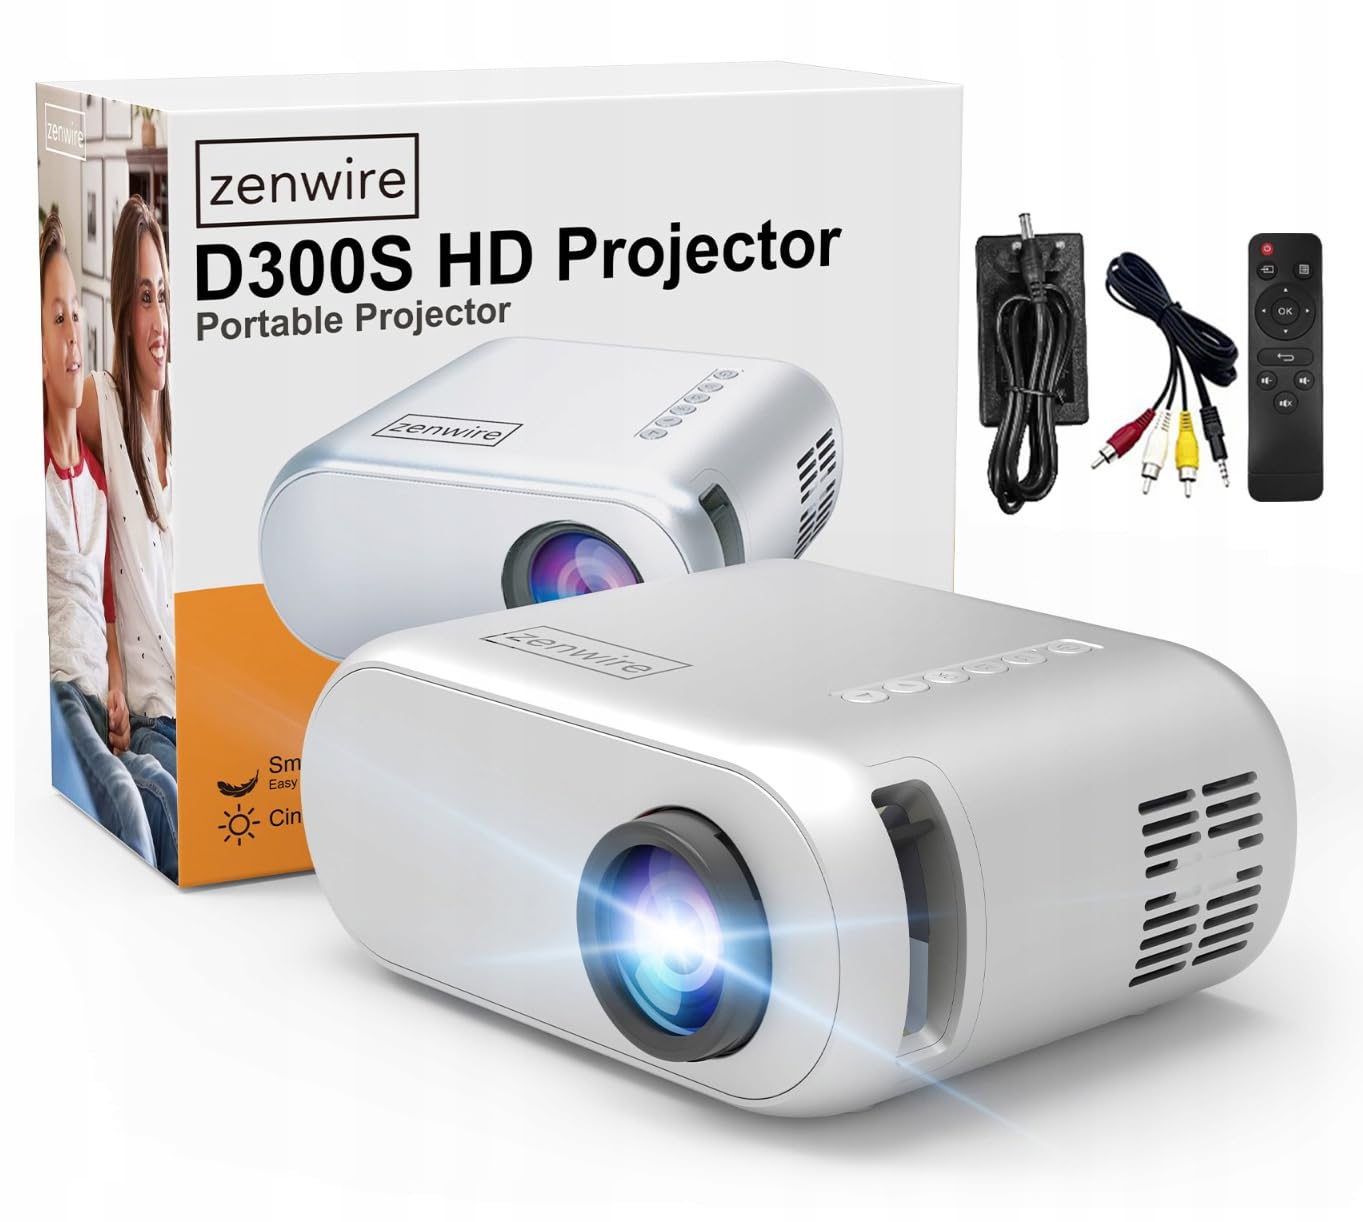
Image 2.1: Zenwire D300S Mini Projector and included accessories.
3. Prodotto finitoview
Projector Front and Top View
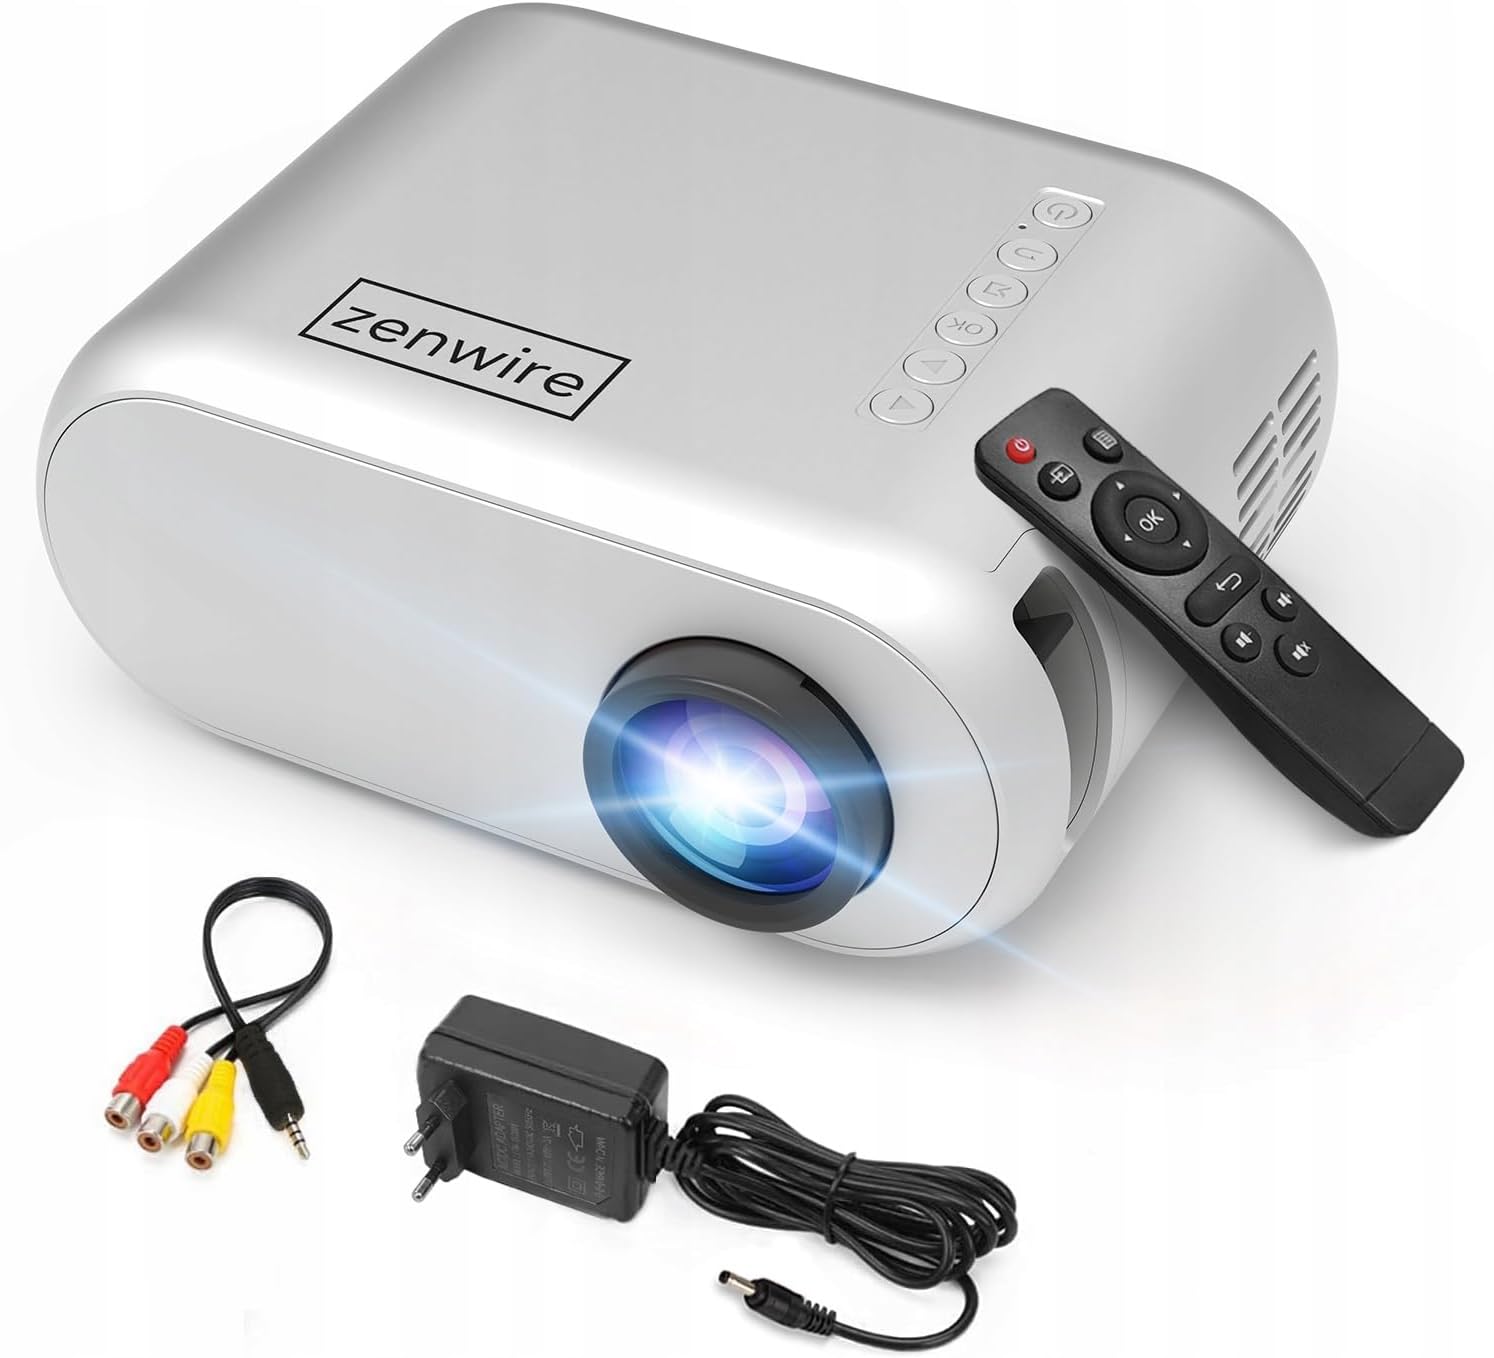
Immagine 3.1: Parte anteriore e superiore view of the projector, showing the lens and top control panel.
Rear Panel and Connectivity
The rear panel of the projector features various ports for connecting external devices:

Immagine 3.2: posteriore view del proiettore, evidenziando le porte di ingresso/uscita.
- Ingresso AV: Per collegare i dispositivi tramite il cavo AV incluso.
- Ingresso HDMI: For connecting devices such as laptops, gaming consoles, or streaming sticks.
- Porta USB: Per collegare unità flash USB per riprodurre contenuti multimediali filedirettamente.
- Uscita AUX: Per collegare altoparlanti esterni o cuffie.
- Ingresso alimentazione CC: Per collegare l'adattatore di alimentazione.
Pannello di controllo superiore
The top of the projector features a control panel for basic operations:
- Pulsante di accensione: Accende o spegne il proiettore.
- Pulsanti di navigazione (su/giù/sinistra/destra): Utilizzato per navigare nei menu.
- Pulsante OK: Conferma le selezioni.
- Pulsante Indietro: Ritorna al menu o alla schermata precedente.
- Pulsante sorgente: Selects input source (HDMI, AV, USB).
4. Impostazione
4.1 Posizionamento
Place the projector on a stable, flat surface. Ensure there is adequate space around the projector for ventilation. The projection distance affects the screen size. Refer to the image below for recommended distances and corresponding screen sizes.

Image 4.1: Recommended projection distances and screen sizes.
- For a 30-inch screen, place the projector approximately 0.9 meters away.
- For a 50-inch screen, place the projector approximately 1.5 meters away.
- For an 80-inch screen, place the projector approximately 2.4 meters away.
- For a 100-inch screen, place the projector approximately 3.0 meters away.
4.2 Collegamento di alimentazione
Connect the power adapter to the DC Power Input port on the projector, then plug the adapter into a power outlet.
4.3 Collegamento dei dispositivi
The Zenwire D300S supports various input sources:
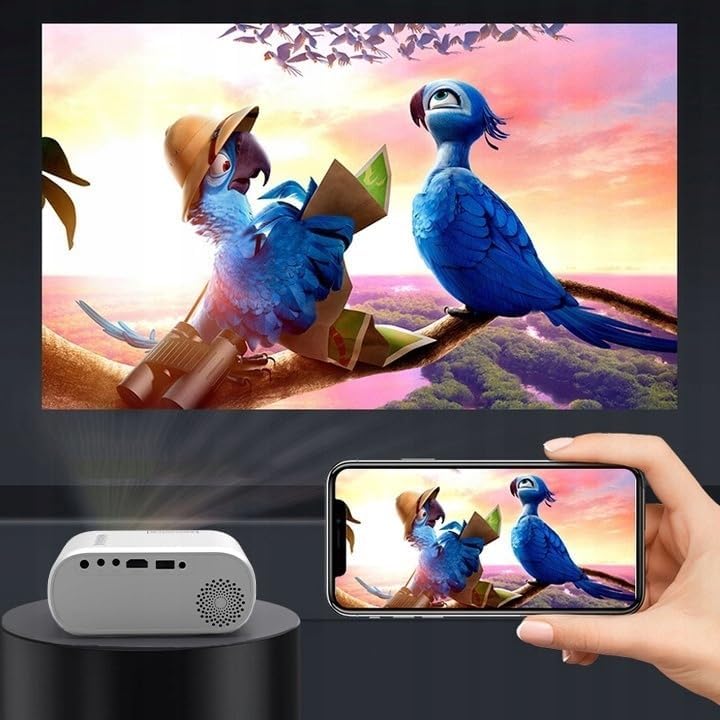
Immagine 4.2: Es.amples of devices that can be connected to the projector.
- HDMI: Connect your laptop, gaming console, or streaming device using an HDMI cable.
- USB: Inserire un'unità flash USB nella porta USB per riprodurre i contenuti multimediali filedirettamente.
- AV: Utilizzare il cavo AV in dotazione per collegare dispositivi più vecchi, come i lettori DVD.
- Audio Out (AUX): Connect external speakers or headphones to the AUX port for enhanced audio.
4.4 Regolazione della messa a fuoco
Turn on the projector. Adjust the focus ring located near the lens until the projected image is clear and sharp.
5. Istruzioni per l'uso
5.1 Accensione/spegnimento
Premere il pulsante di accensione sul proiettore o sul telecomando per accendere o spegnere il dispositivo.
5.2 Selezione della sorgente
After powering on, use the 'Source' button on the projector or remote control to select the desired input source (HDMI, AV, USB).
5.3 Navigazione nel menu
Use the navigation buttons (Up/Down/Left/Right) on the projector or remote to browse through menus. Press 'OK' to confirm a selection and 'Back' to return.
5.4 Controllo del volume
Regolare il volume utilizzando i pulsanti del volume sul telecomando.
5.5 Connecting to a Phone/Laptop
To project content from a phone or laptop:
- Per computer portatili: Connect via HDMI cable. Select HDMI as the input source on the projector.
- Per i telefoni: Depending on your phone model, you may need an adapter (e.g., USB-C to HDMI, Lightning to HDMI) to connect via HDMI. Alternatively, some phones support wireless display technologies that can be used with a compatible streaming stick connected to the projector's HDMI port.

Image 5.1: Projecting content from a smartphone to the Zenwire D300S Mini Projector.
6. Manutenzione
6.1 Pulizia della lente
Utilizzare un panno morbido e privo di lanugine, specificamente progettato per lenti ottiche, per pulire delicatamente la lente del proiettore. Non utilizzare detergenti abrasivi o esercitare una forza eccessiva.
6.2 Pulizia del corpo del proiettore
Pulire l'esterno del proiettore con un panno morbido e asciutto. Per macchie ostinate, utilizzare un panno leggermenteamp si può usare un panno, seguito da un panno asciutto.
6.3 Ventilazione
Regularly check that the ventilation openings are free from dust and obstructions to ensure proper airflow and prevent overheating.
7. Risoluzione Dei Problemi
Se riscontri problemi con il proiettore, fai riferimento ai seguenti problemi comuni e alle relative soluzioni:
| Problema | Possibile causa | Soluzione |
|---|---|---|
| Nessuna immagine proiettata | Power not connected, incorrect input source, device not sending signal. | Check power connection, select correct input source, ensure connected device is on and outputting video. |
| L'immagine è sfocata | Messa a fuoco non regolata, proiettore troppo vicino/lontano. | Adjust the focus ring, reposition the projector according to recommended distances. |
| Nessun suono | Volume troppo basso, altoparlanti esterni non collegati, formato audio non supportato. | Increase volume, connect external speakers via AUX, check audio settings on source device. |
| Il telecomando non funziona | Batterie scariche, ostruzione tra telecomando e proiettore. | Sostituire le batterie e assicurarsi che il ricevitore IR del proiettore sia ben visibile. |
8. Specifiche
- Modello: Zenwire D300S
- Risoluzione nativa: 1280 x 720p HD
- Luminosità: 3000 lumen (100 lumen ANSI)
- Connettività: HDMI, USB, AUX, AV
- Proporzioni: 16:9 / 4:3
- Distanza di proiezione: 0.9m - 3.0m (approx. 30-100 inches)
9. Garanzia e supporto
The Zenwire D300S Mini Projector comes with a standard manufacturer's warranty. Please refer to the warranty card included in your package for specific terms and conditions. For technical support or service inquiries, please contact your retailer or the Zenwire customer service department.