1. Introduzione
This manual provides essential information for the safe and efficient installation, operation, and maintenance of your HOMCOM 4:3 Electric Projector Screen, Model 001-005. Please read these instructions thoroughly before use and retain them for future reference.
The HOMCOM electric projector screen is designed for both home cinema and professional presentation environments, offering a high-quality viewing experience with convenient remote control operation.
2. Istruzioni di sicurezza
- Garantire l'alimentazione voltage matches the specifications of the projector screen (230V).
- Do not expose the screen or its electrical components to moisture or extreme temperatures.
- Keep the remote control and screen away from children.
- Scollegare sempre l'alimentazione elettrica prima di effettuare operazioni di pulizia o manutenzione.
- Non tentare di smontare o riparare lo schermo da soli. Contattare personale qualificato per assistenza.
- Ensure the mounting surface is strong enough to support the weight of the screen.
- Avoid obstructing the screen's movement path during operation.
3. Contenuto della confezione
Verificare che tutti i componenti siano presenti e integri al momento del disimballaggio:
- 1 x Electric Projector Screen (Model 001-005)
- 1 x telecomando (con 1 batteria da 12 V inclusa)
- 1 x Wired Control Panel
- Hardware di montaggio (viti, tasselli)
- 1 x Manuale di istruzioni
4. Configurazione e installazione
The projector screen can be mounted on a wall or ceiling. Choose a suitable location that allows for optimal viewing and clear projection.
4.1 Opzioni di montaggio
The screen offers flexible installation. Ensure the mounting points are level and securely fastened to a structural element.

4.2 Collegamento elettrico
Connect the screen's power cable to a standard 230V electrical outlet. Ensure the connection is secure and free from obstruction.
4.3 Screen Dimensions
The screen provides a 100-inch diagonal viewing area with a 4:3 aspect ratio. The total dimensions are 203 cm (width) x 152 cm (height) for the viewsuperficie.

5. Istruzioni per l'uso
The projector screen can be operated using the included wireless remote control or the wired control panel.
5.1 telecomando senza fili
The wireless remote control allows you to operate the screen from up to 30 meters away. It features 'Up', 'Down', and 'Stop' buttons.
- Premere il tasto UP button to retract the screen into its casing.
- Premere il tasto GIÙ button to extend the screen.
- Premere il tasto FERMARE pulsante per mettere in pausa lo schermo in qualsiasi posizione desiderata.
5.2 Wired Control Panel
The wired control panel offers an alternative method of operation, typically mounted near the screen.

5.3 Ottimale Viewing
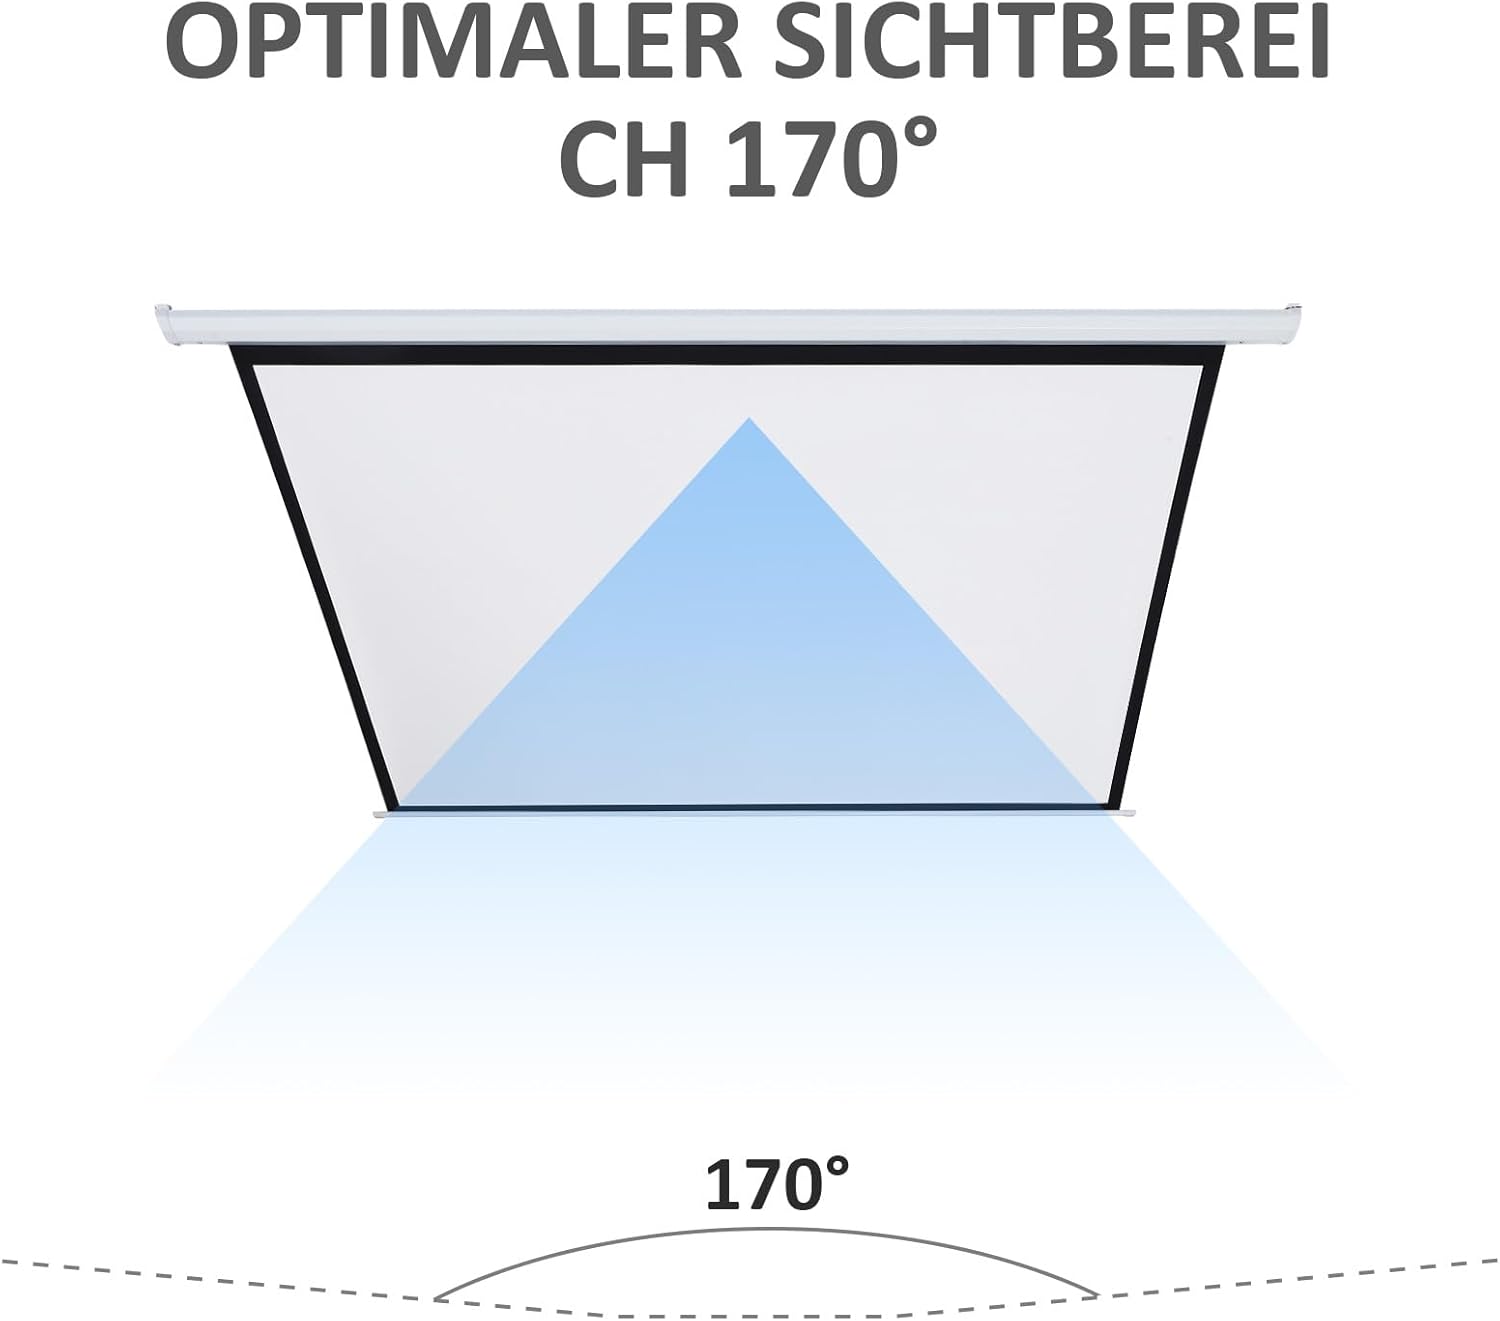
The screen features a 170° viewing angle, ensuring a clear image from various positions within the room.

6. Manutenzione
6.1 Pulizia della superficie dello schermo
To clean the screen surface, gently wipe it with a soft, damp cloth. Do not use abrasive cleaners, solvents, or harsh chemicals, as these can damage the screen material. Allow the screen to air dry completely before retracting.
6.2 Pulizia del Casing
Wipe the metal and plastic casing with a soft, dry cloth. If necessary, a slightly damp è possibile utilizzare un panno e procedere immediatamente all'asciugatura.
6.3 Sostituzione della batteria del telecomando
If the remote control's range or responsiveness decreases, replace the 12V battery. Refer to the remote control's compartment for specific battery type and replacement instructions.
7. Risoluzione Dei Problemi
- Screen does not move: Check if the power cable is securely plugged into a working outlet. Ensure the remote control battery is not depleted. Try using the wired control panel.
- Il telecomando non risponde: Replace the 12V battery in the remote control. Ensure there are no obstructions between the remote and the screen's receiver.
- Screen retracts/extends partially: Disconnect power for a few minutes, then reconnect. This may reset the motor. If the issue persists, contact customer support.
- Rumore insolito durante il funzionamento: Discontinue use and contact customer support. Do not attempt to force the screen's movement.
8. Specifiche
| Caratteristica | Specificazione |
|---|---|
| Marca | CASACOM |
| Numero di modello | 001-005 |
| Dimensioni display (L x A) | Dimensioni: 203 cm x 152 cm |
| Dimensione diagonale | 100 pollici |
| Proporzioni | 4:3 |
| Viewangolo di ing | 170° |
| Materiale | Metal, Plastic (Casing); Matte White Fabric (Screen) |
| Energia | 25 L |
| Voltage | 230V |
| Tipo di montaggio | Parete o soffitto |
| Gamma di controllo remoto | Fino a 30 metri |
| Peso dell'articolo | 7.2 kg |
| Batterie richieste | 1 x 12V (included for remote) |
9. Garanzia e supporto
Per informazioni sulla garanzia o assistenza tecnica, consultare la documentazione di acquisto o contattare il rivenditore. Conservare la prova d'acquisto per eventuali reclami in garanzia.