Introduzione
This manual provides detailed instructions for the assembly, operation, and maintenance of your CaDA Master Technik C61036W Hanma H1 Armored Off-Road Vehicle Model. This 1:8 scale building block set, comprising 3935 pieces, offers an engaging construction experience for adults. Please read all instructions carefully before beginning assembly or operation to ensure proper function and longevity of your model.

Image: The fully assembled CaDA Master Technik C61036W Hanma H1 armored off-road vehicle model.
Caratteristiche del prodotto
- Authentic 1:8 Scale Design: Based on the genuine authorized Hanma H1 off-road vehicle prototype.
- Functional Doors and Trunk: Manual opening and closing elastic doors and rear trunk.
- Modular Shell Construction: Bonnet and boot can be quickly dismantled for access.
- Funzioni di controllo avanzate: Four functions controlled by a manual button on the fuselage: tower rotation, bullet/machine gun rotation, differential lock, and bow winch function.
- Detailed Suspension System: Independent front and rear suspension for realistic movement.
- 4x4 Drivetrain: Features a 4x4 drive system for enhanced off-road capability.
- Simulated Engine: Horizontal opposite 8-cylinder engine with anchor motor, simulating vehicle transmission.
- Telaio robusto: Support beam vehicle chassis structure ensures driving stability and balance.
- Materiali di alta qualità: Constructed from 3935 pieces of high-quality, environmentally friendly ABS plastic with high toughness and full color.

Image: Key features of the model including engine hood, traction winch, elastic door, rocket artillery, elastic tailgate, and military off-road tires.

Immagine: Posteriore view highlighting tail lights, function gear lever, rear bumper, and rearview specchio.

Image: Illustration of the 4-speed gearbox functions: rocket launcher, winch control, machine gun turret rotation, and locking differential.

Image: Demonstrates manual features such as opening doors, trunk, and hood, along with the option to choose between a rocket launcher and machine gun tower.
Istruzioni di montaggio
The CaDA Master Technik C61036W model includes a professional and detailed assembly instruction manual. Please follow the step-by-step diagrams and text provided in the included booklet. Ensure all 3935 pieces are accounted for before beginning assembly. Organize pieces by type and color to streamline the building process. Some sections may require careful attention due to the intricate design and functional components.
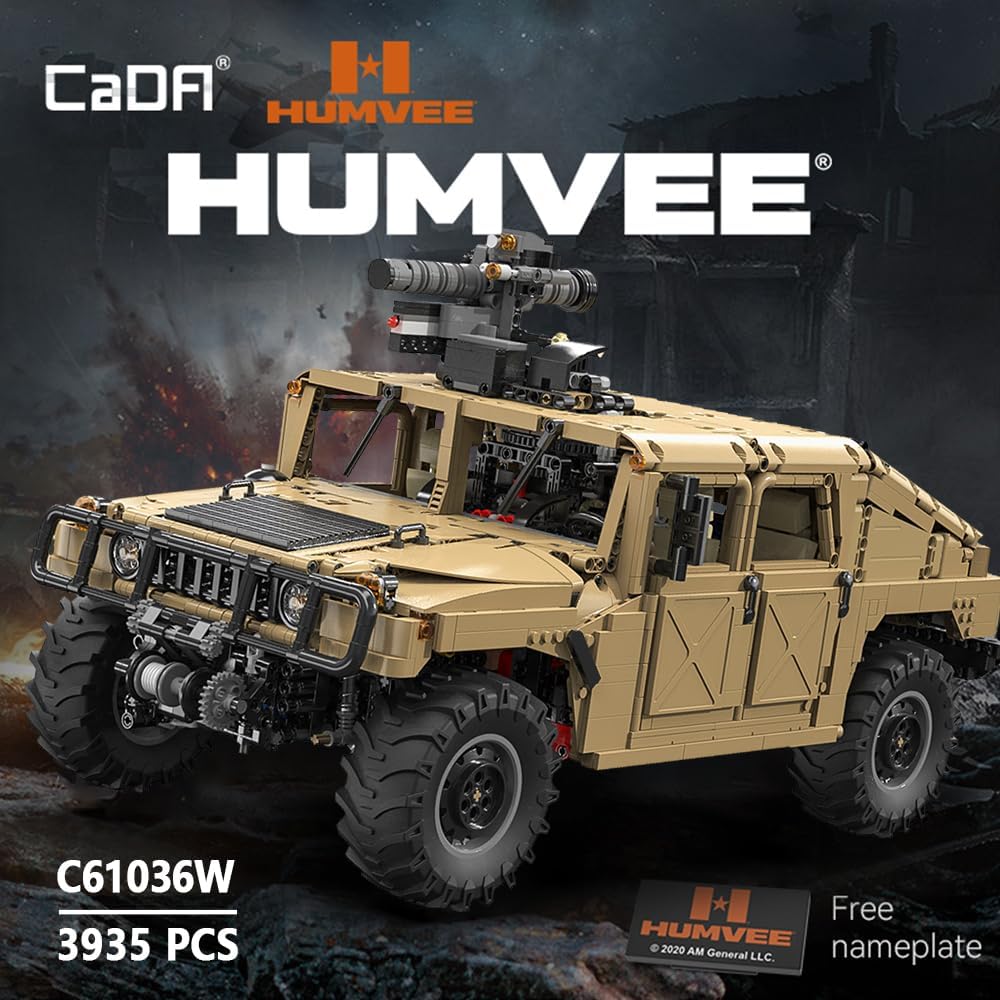
Image: The CaDA C61036W model shown alongside a real Humvee H1, illustrating its 1:8 scale accuracy.
Istruzioni per l'uso
This model is designed with various interactive features. Once assembled, you can operate the following functions:
- Manual Door and Trunk Operation: Gently open and close the elastic doors and the rear trunk.
- Modular Shell Removal: The bonnet and boot sections of the shell can be removed to reveal internal mechanisms.
- Controllo delle funzioni: Utilize the manual button on the fuselage to engage the following four functions:
- Rotazione della torre: Rotate the weapon tower.
- Weapon Rotation: Rotate the bullet/machine gun.
- Bloccaggio differenziale: Engage or disengage the differential lock for varied terrain performance.
- Bow Winch Function: Operate the front winch.
- Power Function (Remote Control): If the Power Function components are installed, refer to their specific instructions for remote control operation of the vehicle's movement and other motorized features.

Image: Components for optional motorization, including the chassis, engine, car shell, and weapon, indicating where power functions can be integrated.
Manutenzione
To ensure your CaDA Master Technik C61036W model remains in optimal condition, follow these maintenance guidelines:
- Pulizia: Utilizzare un panno morbido e asciutto per rimuovere delicatamente la polvere dal modello. Evitare l'uso di prodotti chimici aggressivi o materiali abrasivi.
- Magazzinaggio: Conservare il modello in un luogo fresco e asciutto, lontano dalla luce solare diretta e da temperature estreme, per evitare il degrado del materiale.
- Controllo dei componenti: Periodically inspect all connections and moving parts to ensure they are secure and functioning correctly. Re-attach any loose pieces as needed.
- Battery Care (if motorized): If Power Function components are installed, ensure batteries are removed during long periods of non-use to prevent leakage.
Risoluzione dei problemi
If you encounter issues with your model, consider the following common solutions:
- Pezzi mancanti: Se durante il montaggio scoprite dei pezzi mancanti, rimontateli attentamenteview the parts list in your instruction manual. Contact customer support with the specific part numbers for assistance.
- Non-Functional Motor (if motorized): Ensure batteries are correctly installed and charged. Check all electrical connections for proper seating. Verify that the remote control is paired correctly according to its instructions.
- Collegamenti allentati: If parts feel loose or unstable, re-examine the assembly steps for that section to ensure all blocks are firmly pressed together.
- Difficulty with Moving Parts: Ensure no pieces are obstructing the movement of gears, axles, or other functional components. Lubrication is generally not required for building block sets.
Specifiche
| Numero di modello | C61036W |
| Numero di pezzi | 3935 |
| Dimensioni del prodotto (L x P x A) | Dimensioni: 52.6 x 27.2 x 21.2 cm |
| Peso | 7.02 kg |
| Tipo di materiale | Acrilonitrile Butadiene Stirene (ABS) |
| Età consigliata | 8 years and up (Manufacturer recommended age: 14 years and up for optimal experience) |
| Assemblaggio richiesto | SÌ |
| Batterie richieste | Yes (for Power Function components) |
| Batterie incluse | Yes (7.4 V Li-ion battery x 1) |

Image: Visual representation of the model's dimensions: 52.6cm length, 27.2cm width, and 21.2cm height.
Garanzia e supporto
For any suggestions, questions, or support regarding your CaDA Master Technik C61036W model, please contact the manufacturer or your retailer directly. Keep your purchase receipt as proof of purchase for warranty claims. Information regarding returns and specific warranty details can be found through your point of purchase.