Introduzione
This manual provides comprehensive instructions for the assembly, operation, and maintenance of your LUXOAK Queen Bed Frame. Please read all instructions carefully before beginning assembly and retain this manual for future reference. This bed frame features a 49.6-inch bookcase headboard, four rolling storage drawers, RGB LED lighting, and an integrated charging station.
Informazioni sulla sicurezza
- Assicurarsi che tutti i componenti siano presenti e integri prima del montaggio. Non utilizzare se alcuni componenti risultano mancanti o rotti.
- Per garantire la massima sicurezza e semplicità, il montaggio richiede due persone.
- Do not overtighten screws during assembly to prevent damage to the wood.
- Keep fingers, hands, and feet away from moving parts during assembly and operation to avoid injury.
- Posizionare la struttura del letto su una superficie piana.
- The bed frame is designed to support a maximum weight of 1200 lbs. Do not exceed this weight limit.
- Use a mattress between 8 and 16 inches in height for optimal fit with the headboard.
Specifiche del prodotto
| Caratteristica | Dettaglio |
|---|---|
| Misurare | Regina |
| Dimensioni del prodotto | 83 cm L x 61.4 cm P x 49.6 cm A |
| Capacità di peso | 1200 libbre |
| Materiale | MDF, Metallo |
| Colore | Bianco afflitto |
| Caratteristiche speciali | 4 Drawers, Charging Station, No Box Spring Needed, RGB LED, Slide Out Bedside Storage |
| Componenti inclusi | Bedside Storage Racks, Bookcase Headboard, Charging Station, Drawer, RGB LED |
| Dimensioni del materasso compatibili | Queen, 60" X 80" |
| Distanza da terra all'oggetto | 9 pollici |
The bed frame is shipped in two packages, which may arrive on different days.

Image: Detailed product specifications for the bed frame.
Installazione e assemblaggio
For a visual guide, please refer to the official assembly video below. Detailed step-by-step instructions are also provided.
Video: Official assembly guide for the 49.6" Bookcase Bed Frame (Model BPB003).
Istruzioni di montaggio passo dopo passo
- Step 1: Attach LED Strip to Headboard Panel. Secure the LED light strip (K1) to the designated panel (13) using the provided clips and screws (ST3.2x12). Ensure the strip is firmly attached and the wiring is routed correctly.
- Step 2: Install Cam Locks and Dowels on Headboard Panel. Insert cam locks (K) and wooden dowels (L) into the pre-drilled holes on panel (13).
- Step 3: Attach Front Headboard Panel. Connect the front headboard panel (12) to the panel from Step 2 using screws (M5x40) and wooden dowels (φ6x40).
- Step 4: Assemble Middle Shelf Supports. Attach the middle shelf (18) to the vertical supports (16 and 17) using cam locks (K) and wooden dowels (L).
- Step 5: Attach Bottom Headboard Panel. Secure the bottom headboard panel (19) to the assembled middle shelf supports using cam locks (K) and wooden dowels (L).
- Step 6: Assemble Top Headboard Panel. Attach the top headboard panel (15) to the main headboard structure using wooden dowels (L) and screws (φ6x40).
- Step 7: Assemble Side Headboard Panels. Attach the side headboard panels (20 and 21) to the main headboard structure using cam locks (K) and wooden dowels (L).
- Step 8: Secure Headboard Top. Connect the top section of the headboard to the side panels using cam locks (K).
- Step 9: Attach Headboard Back Panel. Secure the back panel (25) to the headboard structure using screws (M8x20) and cam locks (K).
- Step 10: Install Headboard Legs and Brackets. Attach the headboard legs (2 and 3) and the central support panels (28 and 29) to the headboard using screws (M8x12) and brackets (10). Do not fully tighten screws C at this stage.
- Step 11: Attach Side Headboard Supports. Connect the side headboard supports (26 and 27) to the main headboard structure using cam locks (K).
- Step 12: Secure Side Headboard Supports. Fasten the side headboard supports using screws (M5x40). Then, fully tighten all screws (C) from Step 10.
- Step 13: Install Headboard Top Brackets. Attach the top brackets (42) to the headboard using screws (ST3.2x12).
- Step 14: Assemble Drawer Fronts. Attach the drawer front panels (33) to the side panels (32 and 35) using screws (M5x25).
- Step 15: Install Drawer Wheels. Secure the wheels (V) to the bottom of the drawer side panels using screws (ST4.2x12).
- Step 16: Assemble Drawer Side Panels. Connect the remaining drawer side panels (30, 31, 36, 37) using wooden dowels (L).
- Step 17: Assemble Drawer Boxes. Combine the assembled drawer front and side panels to form the drawer boxes using cam locks (K). Attach the back panels (34) to complete the boxes.
- Step 18: Attach Drawer Bottoms. Secure the bottom panels to the assembled drawer boxes using screws (ST3.2x12).
- Step 19: Assemble Bed Frame Side Rails. Attach the brackets (11) to the side rails (40 and 41) using screws (M8x12).
- Step 20: Attach Bed Frame End Rails. Connect the end rails (38 and 39) to the side rails using screws (M8x12 and M8x18).
- Step 21: Prepare Metal Slats. Ensure the metal slats (1) are correctly oriented and ready for installation.
- Step 22: Assemble Central Support Beams. Connect the central support beams (7) with the vertical support (8) using screws (M8x40). Attach the support legs (9) to the ends of the central support beams.
- Step 23: Attach Side Rails to Footboard. Connect the assembled side rails (1) to the footboard (38 and 39) using screws (M8x18).
- Fase 24: Fissare le guide laterali alla testiera. Connect the assembled side rails (1) to the headboard (22 and 23) using screws (M8x40).
- Step 25: Install Cross Support Beams. Attach the cross support beams (6) to the bed frame using screws (M8x40).
- Step 26: Install Central Cross Support Beams. Attach the central cross support beams (7) to the bed frame using screws (M8x18).
- Step 27: Install Main Central Support. Secure the main central support (4) to the bed frame using screws (M8x55). Install the power outlet unit (U) into the headboard using screws (ST4.2x12).
- Step 28: Place Slats. Lay the metal slats (5) onto the bed frame.
- Step 29: Assemble Storage Baskets. Fold and assemble the wire storage baskets (T2*4).
- Step 30: Attach Baskets to Drawer Fronts. Secure the assembled wire baskets (Z) to the drawer front panels using screws (M8x14) and clips (T1).
- Step 31: Install Wheels on Baskets. Attach the wheels (V) to the bottom of the wire baskets using screws (M4x10).
- Step 32: Insert Drawers and Side Racks. Slide the assembled drawers into the bed frame. Insert the detachable side racks into their designated slots on the headboard.
- Step 33: Connect LED Power. Connect the LED light strip power cable (K1) to the main power unit.
- Step 34: Plug in Bed Frame. Plug the bed frame's power cord into a wall outlet.
Istruzioni per l'uso
Illuminazione a LED RGB
The integrated RGB LED lights in the headboard offer customizable ambiance with over 1000 color options. Control the lights using the provided remote control or a compatible mobile application.
- Telecomando: Use the remote to turn the lights on/off, change colors, adjust brightness, and select various lighting modes (e.g., music mode, timing mode).
- Applicazione mobile: Download the designated app (refer to packaging for QR code or app name) to control the lights via Bluetooth. The app provides advanced customization options.
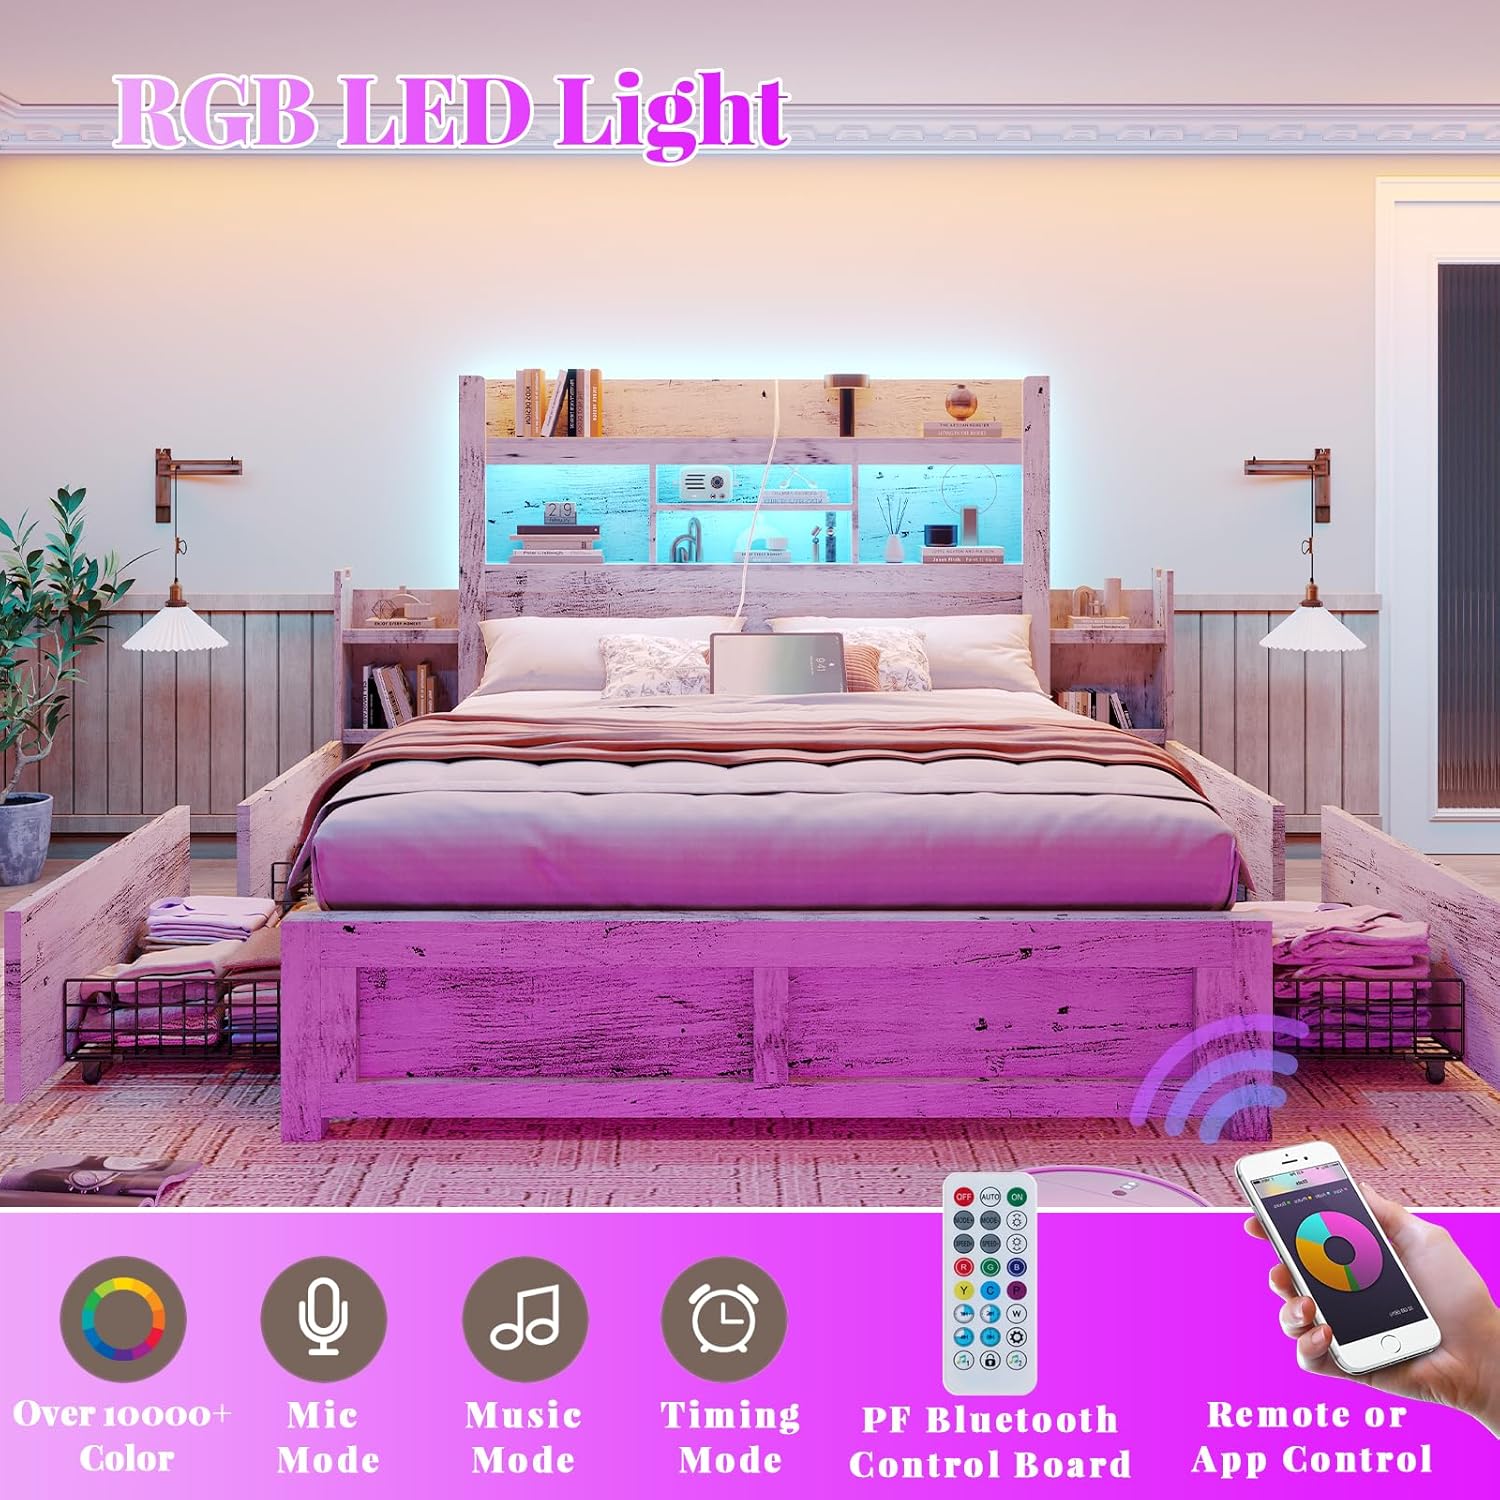
Image: RGB LED lighting features with remote and app control.
Stazione di ricarica integrata
The headboard includes a convenient charging station to keep your devices powered and within reach.
- Porte: The station features 1 Type-C (5V/3A) port, 1 USB (5V/2.4A) port, and 2 AC outlets (120V/12A).
- Utilizzo: Simply plug your devices into the appropriate ports. Ensure the bed frame is plugged into a wall outlet for the charging station to function.

Image: Bookcase headboard with integrated charging station.
Caratteristiche di archiviazione
The bed frame offers multiple storage solutions to maximize your space.
- Testiera della libreria: The 49.6" headboard provides varied shelf heights for books, decor, and personal items.
- Detachable Side Racks: Two removable side racks can be integrated into the headboard or used as freestanding bedside tables.
- Rolling Drawers: Four foldable rolling drawers are located under the bed. Each drawer has a secure latch to keep it in place.
Video: Oltreview of the bookcase bed frame with LED light, racks, and drawers.

Image: Detachable side rack functioning as a hidden storage shelf.

Image: Under-bed rolling storage drawers.
Manutenzione
- Pulizia: Pulire le superfici in legno con un panno morbido eamp panno. Evitare prodotti chimici aggressivi o detergenti abrasivi che potrebbero danneggiare la finitura.
- Luci LED: If the LED lights malfunction, check the power connection and remote control batteries. If issues persist, contact customer support.
- Stazione di ricarica: Assicurarsi che la stazione di ricarica sia asciutta. Non sovraccaricare le prese.
- Cassetti: Periodically check the wheels and latches on the storage drawers for smooth operation. Clean any debris that may hinder movement.
- Stabilità del telaio: Regularly inspect all screws and connections to ensure they remain tight. Retighten if necessary to maintain stability and prevent noise.
Risoluzione dei problemi
- Luci LED non funzionanti: Check if the power cord is securely plugged into the wall and the LED strip is connected to the power unit. Replace remote control batteries if needed.
- Stazione di ricarica non funzionante: Verify the bed frame's main power cord is plugged into a live outlet. Ensure devices are correctly inserted into the ports.
- Drawers Sticking/Not Rolling Smoothly: Check for obstructions under the bed or in the drawer tracks. Ensure the wheels are clean and free of debris. If on carpet, consider a smooth surface for the wheels.
- Bed Frame Noise: Tighten all assembly screws, especially those connecting the frame and slats. The platform bed frame features sound-absorbing material, but loose connections can cause noise.
- Materasso scorrevole: The embedded design helps prevent mattress sliding. Ensure the mattress fits snugly within the frame.
Garanzia e supporto
Please inspect the item for any damage upon receipt. For any issues, missing parts, or concerns, please contact LUXOAK customer support. Information regarding specific warranty periods can typically be found on the product packaging or the retailer's website at the time of purchase.
Per l'assistenza clienti, visitare il sito Negozio LUXOAK su Amazon oppure fare riferimento alle informazioni di contatto fornite al momento dell'acquisto.