
1. Introduzione
Thank you for choosing the addlon 80-inch Ceiling Fan with Light. This manual provides essential information for the safe installation, operation, and maintenance of your new ceiling fan. Please read all instructions carefully before beginning installation and retain this manual for future reference.
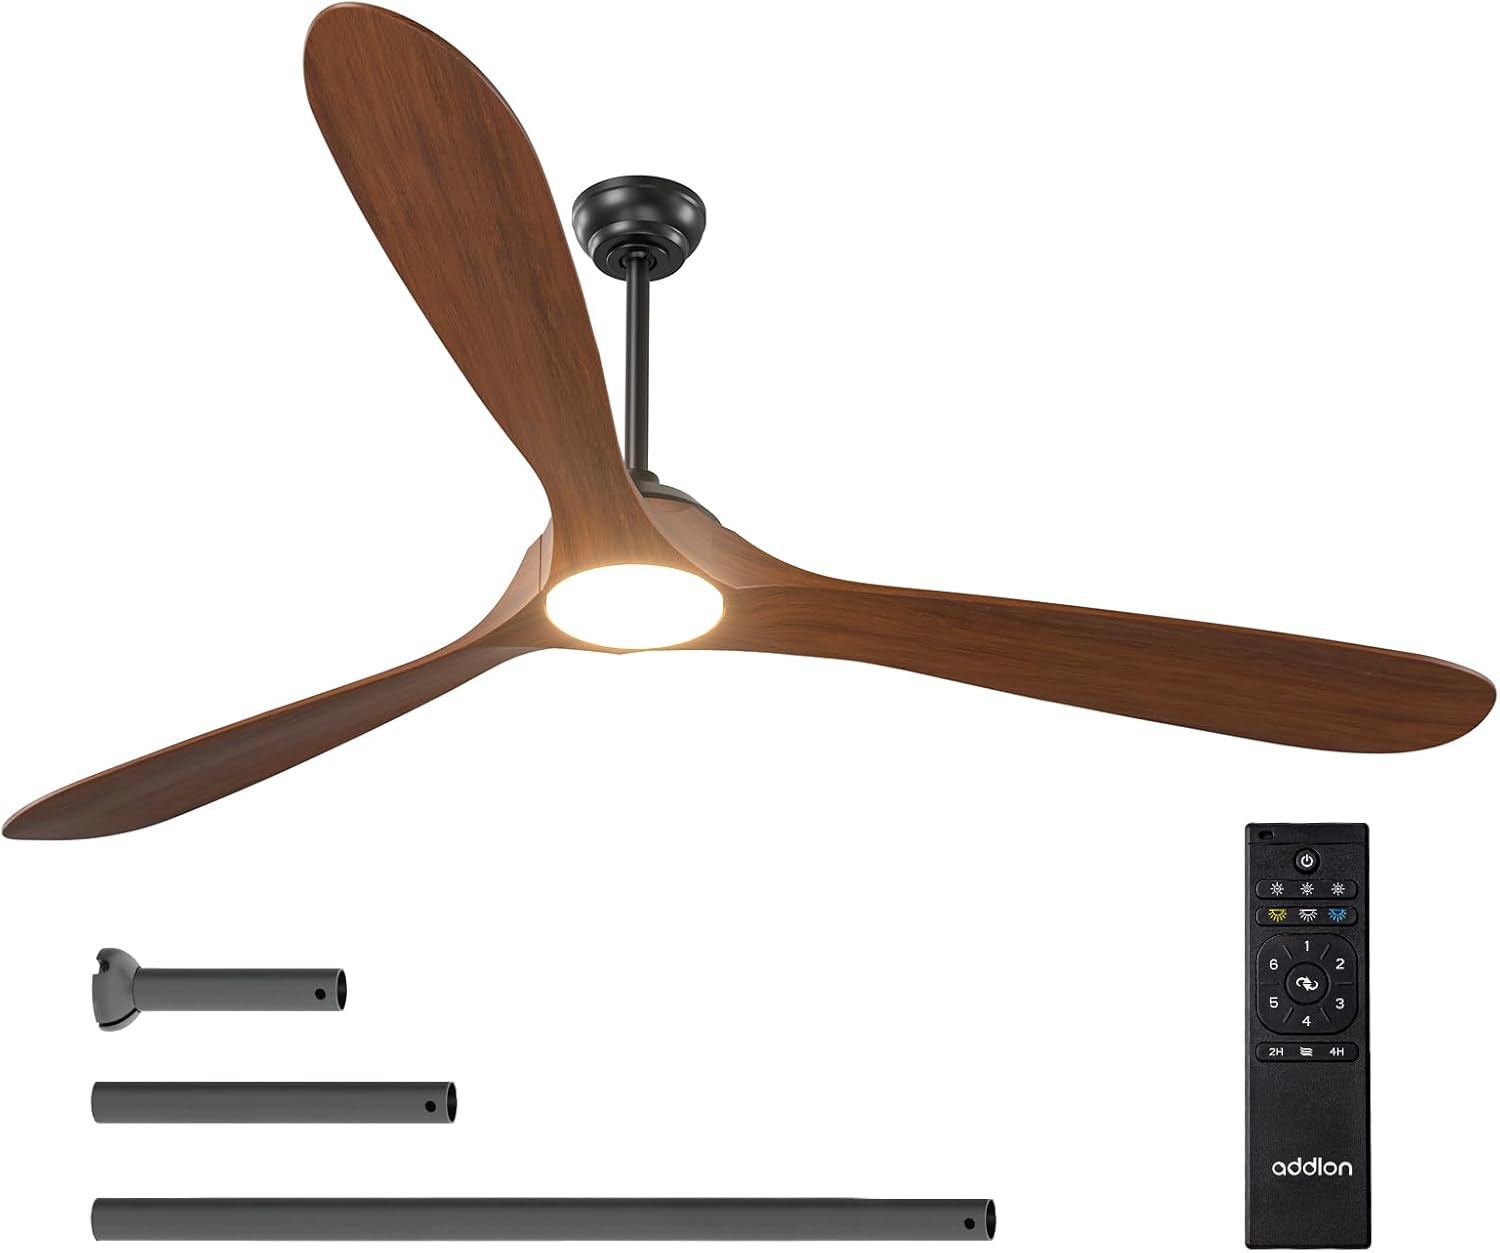
Figure 1.1: The addlon 80-inch ceiling fan with light, remote control, and various downrod lengths.
2. Informazioni importanti sulla sicurezza
AVVERTENZA: Rischio di scossa elettrica
- Before installing or servicing this ceiling fan, always disconnect the power supply by turning off the circuit breaker at the main electrical panel.
- Tutti i collegamenti elettrici devono essere conformi agli standard locali e nazionali del Codice elettrico (NEC) e ANSI/NFPA 70.
- Se non si ha familiarità con i collegamenti elettrici corretti, consultare un elettricista qualificato.
- Non modificare, spostare o rimuovere i cavi se non si riscontrano problemi con il prodotto.
- Double-check all connections and screws to ensure they are tight and correct.
- Verificare che il volume di fornituratage è corretto confrontandolo con le informazioni sul prodotto.
- To avoid fire, shock, and serious personal injury, please read all instructions carefully.
- Ensure the installation site allows a minimum of 7.5 feet from the blades to the floor.
- This fan is designed for indoor/outdoor use, but avoid direct rain exposure.
3. Contenuto della confezione
Verify that all components listed below are included in your package. If any parts are missing or damaged, please contact addlon customer support.

Figure 3.1: All components of the addlon ceiling fan laid out for inspection.
- Alloggiamento motore
- 3 Wood Blades
- Light Kit (LED panel and cover)
- Telecomando con supporto
- Tiranti (varie lunghezze)
- Staffa di fissaggio
- Canopy and Canopy Cover
- Pacchetto hardware (viti, dadi, rondelle)
- Manuale di istruzioni
4. Configurazione e installazione
This section guides you through the installation process. For a visual guide, please refer to the installation videos provided.
4.1. Passaggi di pre-installazione
- Scollegare l'alimentazione: Turn off the circuit breaker to the fan location.
- Rimuovi apparecchio esistente: Carefully remove any existing light fixture or ceiling fan.
- Preparare la staffa di montaggio: Separate the mounting bracket from the canopy. Secure the mounting bracket to the ceiling junction box using appropriate screws for your ceiling type.
4.2. Assemblaggio della ventola
- Remove Motor Protection Plates: Unscrew and remove the three motor protection plates from the motor assembly.
- Collegare il Downrod: Thread the electrical wires from the motor through the downrod. Insert the downrod into the motor housing and secure it with the provided pin and screws. Tighten all screws firmly.
- Hang Motor Assembly: Carefully lift the motor assembly and hang it onto the ceiling mounting bracket. Ensure the downrod ball engages the ridge on the hanger bracket for secure placement.
4.3. Collegamenti elettrici
Make sure all connections are tight and secure. Match wire colors as follows:
- Filo verde: Connect to the Ground wire.
- filo bianco: Collegare al filo neutro.
- Filo nero: Connect to the Live wire.
Note: Both the fan and the light are powered by a controller and DC motor. It is not possible to control the light/fan independently with multiple wall switches. If you have more than one live wire, connect one of them and insulate the other.

Figure 4.1: Illustration of proper wiring connections for the ceiling fan.
4.4. Fissaggio delle lame e del kit luci
- Installare le lame: Attach each wood blade to the motor using two screws and spacers for each. Ensure all screws are tightened to prevent wobbling.
- Connect Light Kit: Plug the terminal pairs of the LED panel tightly. Secure the LED panel to the motor housing with the provided screws.
- Installare la copertura della luce: Attach the light cover to the light kit by twisting it clockwise until it snaps into place.
4.5. Video di installazione
For detailed visual instructions, please refer to the following official installation videos:
Video 4.1: Installation guide for addlon Wood Blades Ceiling Fan with Light. This video demonstrates the full installation process.
Video 4.2: Installation guide for addlon 52-inch Wood Ceiling Fan with Light. While for a 52-inch model, many steps are similar to the 80-inch version.
5. Istruzioni per l'uso
Your addlon ceiling fan is operated via the included remote control. Familiarize yourself with the remote's functions for optimal use.

Figura 5.1: Oltreview of the multi-function remote control for the addlon ceiling fan.
5.1. Funzioni di controllo remoto
- Accensione/spegnimento: Premere il pulsante di accensione per accendere o spegnere la ventola e la luce.
- Velocità della ventola: Select from 6 adjustable wind speeds (Level 1-2 for comfortable wind, Level 3-4 for natural wind, Level 5-6 for high cooling wind).
- Controllo della luce:
- Regolazione della luminosità: Dimmerabile dal 10% al 100%.
- Temperatura del colore (CCT): Choose from 3000K (warm white), 4000K (nature white), or 6000K (cold white).
- Funzione reversibile: Switch between forward mode (cooler air in summer) and reverse mode (improved air circulation in winter).
- Impostazione del timer: Impostare lo spegnimento automatico della ventola dopo 2 o 4 ore.
- Funzione di memoria: The fan retains the last settings for speed, direction, and light when turned off via a wall switch.
5.2. Fan Features Overview
Video 5.1: Oltreview of the addlon Wood Ceiling Fan Series, highlighting key features and benefits.
Video 5.2: Features of addlon 60/72/80-inch Wood Blades Ceiling Fans with Lights, including speed, light, and reversible functions.
6. Manutenzione
Una manutenzione regolare garantisce prestazioni ottimali e longevità del ventilatore da soffitto.
- Pulizia: Utilizzare un morbido, damp panno per pulire le pale della ventola e l'alloggiamento del motore. Non utilizzare detergenti abrasivi o solventi.
- Stringere le viti: Controllare periodicamente il serraggio di tutte le viti e dei collegamenti. Serrare nuovamente se necessario.
- Bilanciamento della lama: If the fan wobbles, ensure all blades are securely attached and balanced. A balancing kit (not included) may be used if needed.
7. Risoluzione Dei Problemi
Se riscontri problemi con la ventola, fai riferimento ai seguenti problemi comuni e alle relative soluzioni:
| Problema | Possibile causa | Soluzione |
|---|---|---|
| La ventola non si avvia | Nessuna alimentazione al ventilatore; Collegamenti dei cavi allentati; Batteria del telecomando scarica. | Controllare l'interruttore automatico; verificare che tutti i collegamenti dei cavi siano saldi; sostituire la batteria del telecomando. |
| La ventola traballa | Viti delle lame allentate; Lame sbilanciate; Staffa di montaggio allentata. | Tighten all blade screws; Use a balancing kit; Ensure mounting bracket is securely fastened. |
| La luce non funziona | Loose wire connection to light kit; Faulty LED panel. | Check light kit wiring; Contact customer support for replacement LED panel. |
| Il telecomando non funziona | Low battery; Remote not paired. | Replace battery; Refer to remote pairing instructions (usually in a separate quick start guide). |
| La ventola è rumorosa | Viti allentate; problema al motore. | Controllare e serrare tutte le viti; se il rumore persiste, contattare l'assistenza clienti. |
8. Specifiche
| Caratteristica | Dettaglio |
|---|---|
| Marca | addlon |
| Nome del modello | KDM80WOO06R1 |
| Misurare | 80 pollici |
| Dimensioni del prodotto | 79.92"P x 79.92"L x 19.69"A |
| Peso dell'articolo | 17.86 libbre |
| Fonte di alimentazione | AC |
| Cosatage | 100 watt |
| Tipo di motore | DC |
| Numero di livelli di potenza | 6 |
| Metodo di controllo | Remoto |
| Caratteristiche speciali | 6 Speeds, Adjustable Color Temperature (3CCT), Dimmable (10%-100%), Remote Controlled, Reversible, Noiseless |
| Uso interno/esterno | Indoor (avoid direct rain for outdoor use) |
| Codice UPC | 850067050629 |
9. Garanzia e supporto
addlon offers comprehensive support for your product:
- Garanzia del motore: Up to 120 months (10 years).
- Garanzia su altre parti: 2 anni.
- Assistenza clienti: 24-hour customer support is available. Please feel free to contact us with any questions you may have during installation or use.