
1. Introduzione
Thank you for choosing the LiebeWH ZT-300AB Wireless Digital Multimeter. This device is a high-precision, 6000-count True RMS multimeter designed for a wide range of electrical measurements. It features wireless connectivity, allowing real-time data recording, analysis, and processing via a mobile application. This manual provides essential information for the safe and effective use of your multimeter.
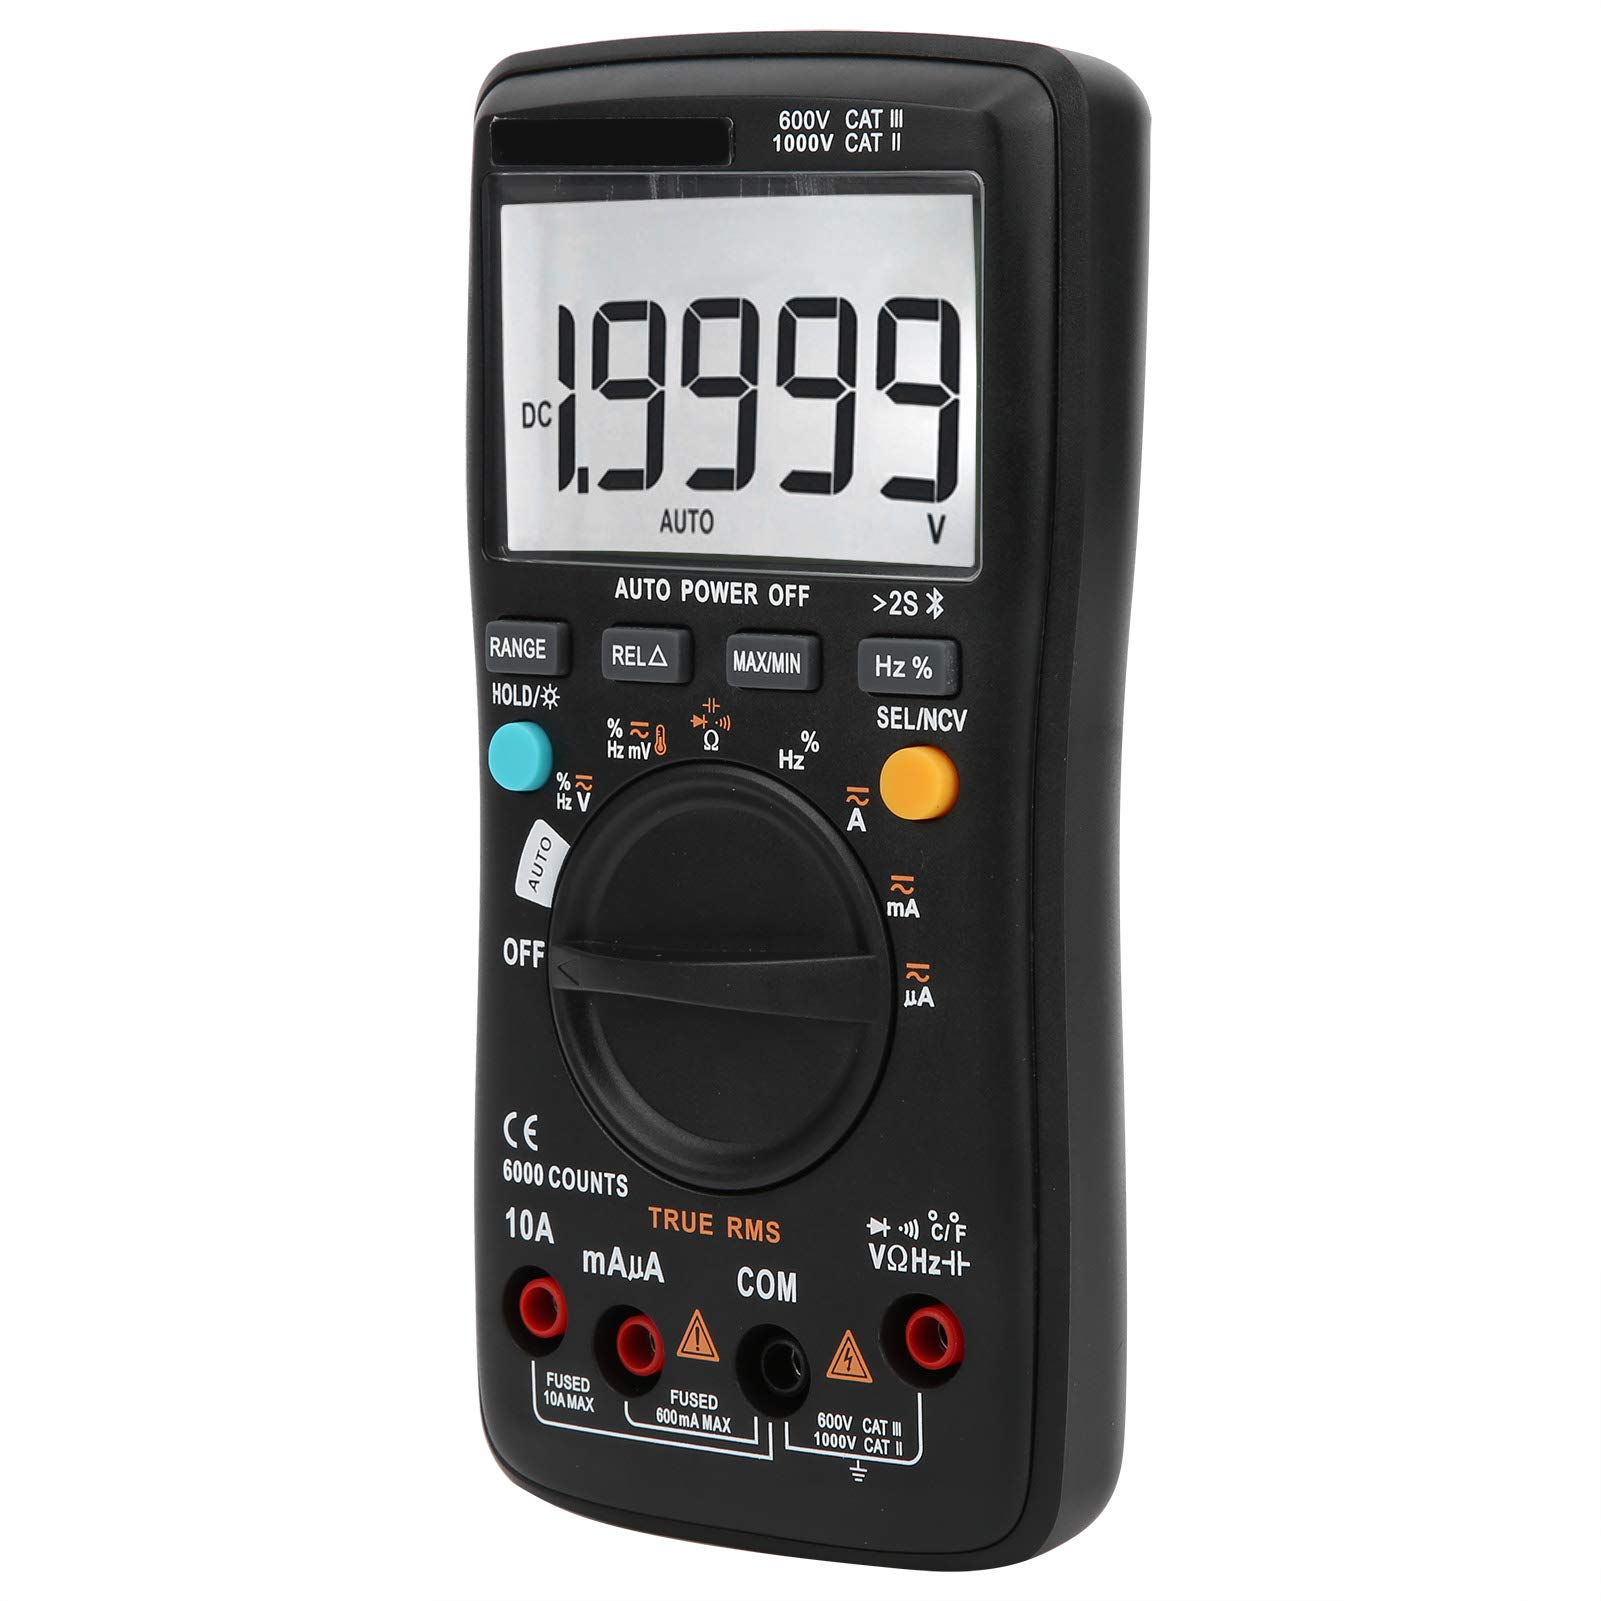
Immagine 1.1: anteriore view of the LiebeWH ZT-300AB Wireless Digital Multimeter, showing the large LCD display and function dial.
2. Informazioni sulla sicurezza
Per garantire un funzionamento e una manutenzione sicuri dello strumento, seguire queste istruzioni. La mancata osservanza di queste avvertenze può provocare lesioni gravi o morte.
- Prima di modificare le funzioni, scollegare sempre i puntali di prova dal circuito.
- Non applicare più del volume nominaletage, come indicato sul contatore, tra terminali o tra qualsiasi terminale e terra.
- Prestare attenzione quando si lavora con voltagsuperiori a 30 V CA RMS, 42 V di picco o 60 V CC. Tale voltagrappresentano un rischio di scossa elettrica.
- Always use the proper terminals, function, and range for your measurements.
- Non utilizzare il misuratore se appare danneggiato o se la custodia è aperta.
- Sostituire la batteria non appena appare l'indicatore di batteria scarica per evitare letture errate.
- Non utilizzare il misuratore in ambienti con presenza di gas, vapori o polveri esplosivi.
- Ensure test leads are in good condition, with no damaged insulation.
3. Impostazione
3.1 Contenuto della confezione
Verifica che il pacco contenga i seguenti articoli:
- LiebeWH ZT-300AB Digital Multimeter
- Cavi di prova (rosso e nero)
- Sonda di temperatura
- Manuale d'uso

Image 3.1: The multimeter shown with its included test leads and temperature probe.
3.2 Installazione della batteria
Il multimetro necessita di batterie per funzionare. Per installare o sostituire le batterie:
- Assicurarsi che il multimetro sia spento e scollegare tutti i puntali di prova.
- Individuare il coperchio del vano batterie sul retro dell'unità.
- Utilizzare un cacciavite per aprire il vano batteria.
- Inserire le nuove batterie rispettando la polarità corretta (+ e -).
- Riposizionare il coperchio del vano batteria e fissarlo con la vite.
3.3 Collegamento dei puntali di prova
Collegare i puntali di prova agli appositi jack di ingresso sul multimetro:
- Collegare il nero puntale di prova per il COM (comune) jack.
- Collegare il rosso puntale di prova per il VΩHz jack per volumetage misure di resistenza, frequenza, capacità, diodi e continuità.
- Per le misurazioni di corrente (mA/µA), collegare il rosso puntale di prova per il mAμA cricco.
- Per misurazioni di corrente elevata (fino a 10 A), collegare il rosso puntale di prova per il 10A cricco.
3.4 Wireless Function and Mobile App
The ZT-300AB can connect to your smartphone via its wireless function for real-time data monitoring and analysis.
- Download the dedicated mobile application from your device's app store. (App name not specified, refer to product packaging or manufacturer's webposto).
- Enable wireless on your smartphone and the multimeter.
- Open the app and follow the on-screen instructions to pair your multimeter.
- The app allows real-time data display, recording, and curve graphing. It can connect to and monitor up to four wireless multimeters simultaneously.

Image 3.2: The multimeter displaying a reading, with a smartphone screen showing the companion application for data monitoring.
4. Istruzioni per l'uso
4.1 Accensione/spegnimento
Turn the rotary dial from the OFF position to any measurement function to power on the multimeter. To power off, turn the dial back to the OFF position. The multimeter also features an automatic power-off function to conserve battery life.
4.2 Selezione della funzione
Ruotare la manopola centrale per selezionare la funzione di misurazione desiderata (ad esempio, V~ per AC Voltage, V- per DC Voltage, Ω for Resistance, A~ for AC Current, A- for DC Current, Temp for Temperature, etc.).
4.3 Funzioni dei pulsanti
- RANGE: Switches between automatic and manual ranging. In manual range, press repeatedly to cycle through available ranges.
- HOLD/☀: Press once to hold the current reading on the display. Press again to release. Long press to activate/deactivate the backlight.
- REL△: Relative measurement mode. Displays the difference between the current reading and a stored reference value.
- MASSIMO/MIN: Records and displays the maximum and minimum values measured during a session.
- Hz%: Per misurazioni di frequenza e ciclo di lavoro.
- SEL/NCV: Selects between different sub-functions within a dial position (e.g., AC/DC, Diode/Continuity). Long press to activate Non-Contact Voltage rilevamento (NCV).
4.4 Esecuzione delle misurazioni
Always ensure the test leads are connected to the correct jacks and the function dial is set to the appropriate measurement type before connecting to a circuit.
- Voltage Misurazione (AC/DC): Select V~ for AC or V- for DC. Connect test leads in parallel with the circuit or component.
- Misurazione della corrente (CA/CC): Select A~ for AC or A- for DC. Connect test leads in series with the circuit. Ensure the correct current jack (mAµA or 10A) is used.
- Misurazione della resistenza (Ω): Select Ω. Connect test leads across the component when it is de-energized.
- Misurazione della capacità: Select the capacitance function. Connect test leads across the capacitor when it is de-energized.
- Prova del diodo: Selezionare la funzione diodo. Collegare i puntali di prova al diodo.
- Test di continuità: Select the continuity function. Connect test leads across the circuit. A beep indicates continuity.
- Frequenza (Hz) / Ciclo di lavoro (%): Select the Hz% function. Connect test leads to the signal source.
- Misura della temperatura: Connect the temperature probe to the appropriate jacks (usually VΩHz and COM). Select the temperature function.
- Volume senza contattotage(NCV): Long press the SEL/NCV button. Bring the top of the multimeter near an AC voltage sorgente. Il misuratore indicherà la presenza di voltage senza contatto diretto.
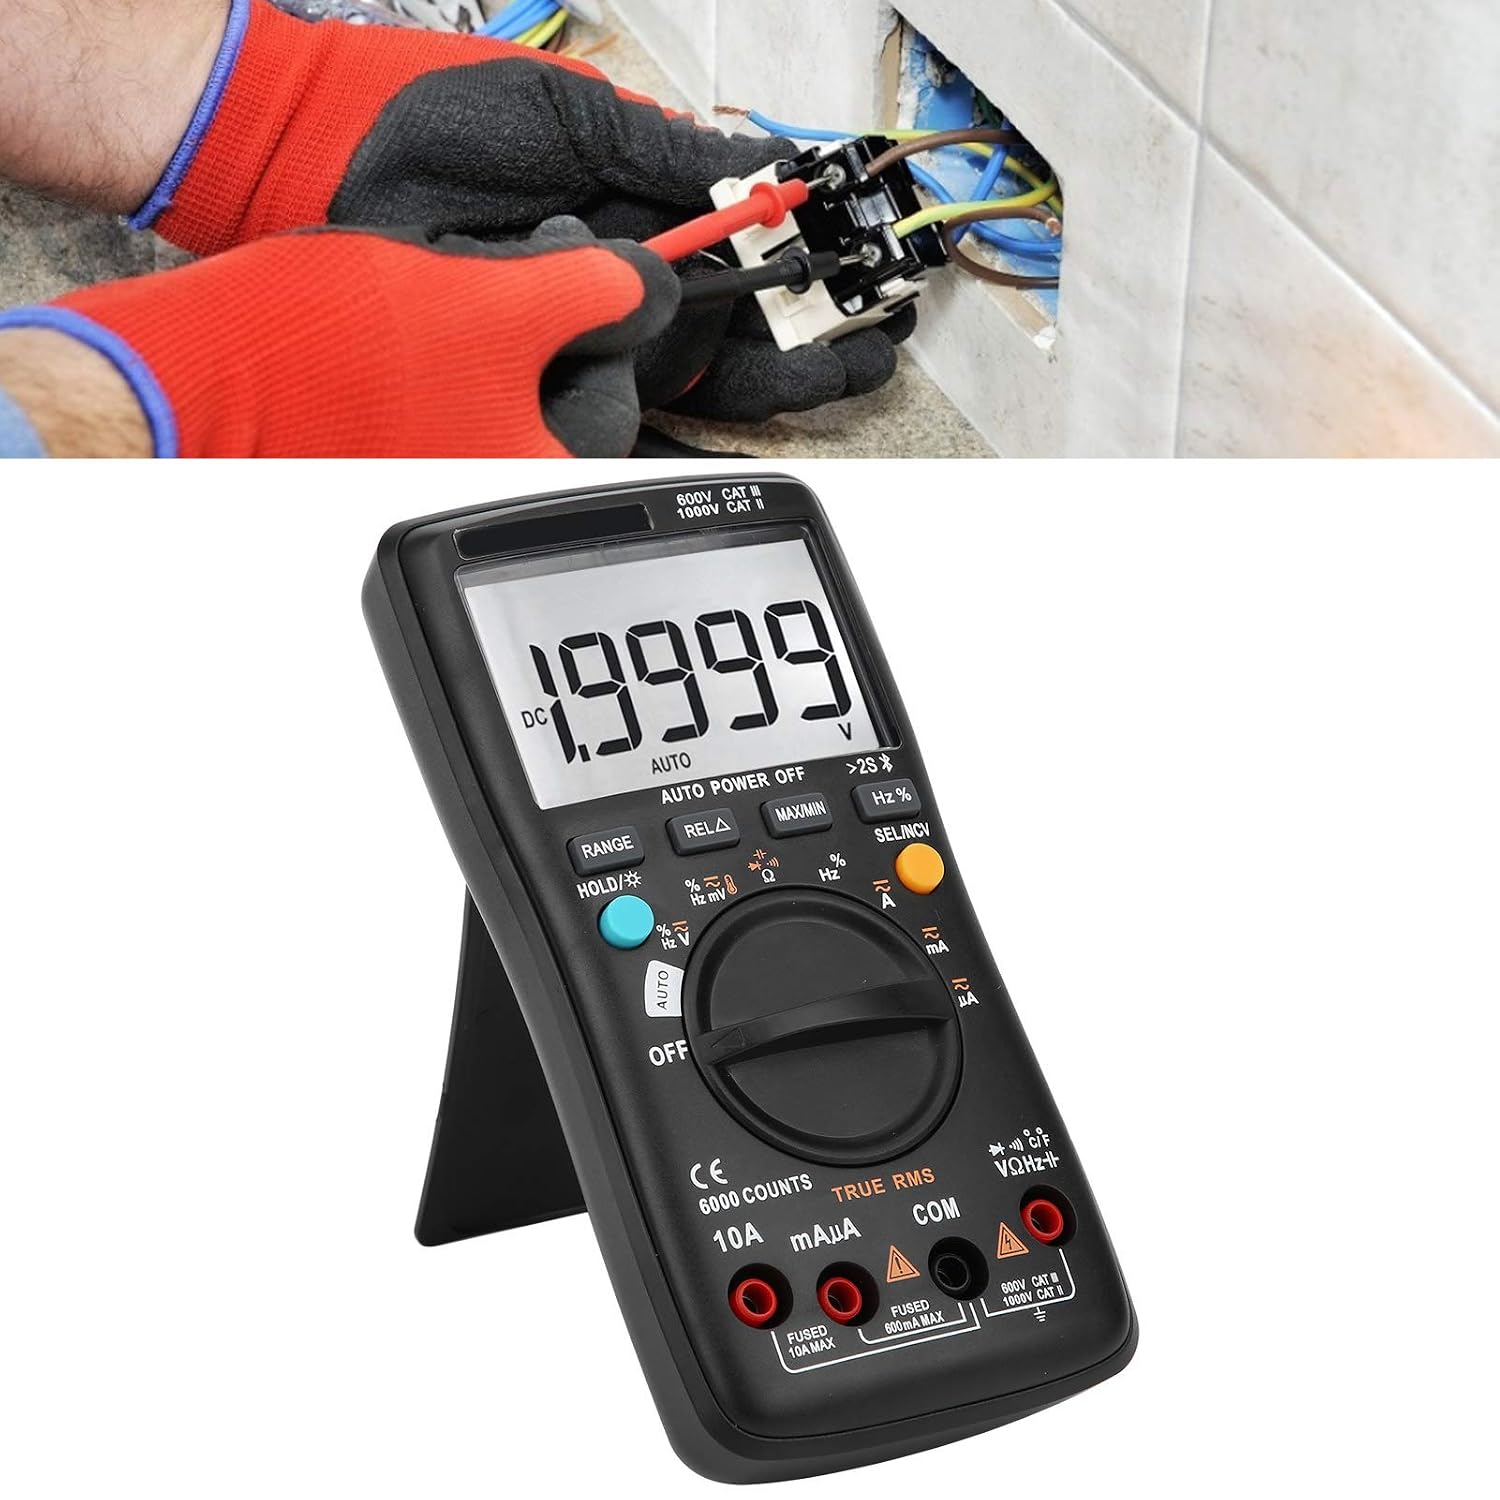
Image 4.1: The multimeter in use, positioned on its integrated kickstand for convenient viewdurante le misurazioni.
5. Manutenzione
5.1 Pulizia
Pulisci la custodia con l'adamp panno e detergente delicato. Non utilizzare abrasivi o solventi. Mantenere i terminali puliti da sporco e umidità.
5.2 Sostituzione della batteria
Per le istruzioni sulla sostituzione delle batterie, fare riferimento alla Sezione 3.2. Sostituire le batterie tempestivamente quando sul display compare l'indicatore di batteria scarica.
5.3 Sostituzione del fusibile
If the current measurement functions stop working, the fuse may need replacement. Fuses are located inside the multimeter. Fuse specifications are typically printed near the current input jacks (e.g., FUSED 10A MAX, FUSED 600mA MAX). To replace a fuse:
- Assicurarsi che il multimetro sia spento e scollegare tutti i puntali di prova.
- Open the back case of the multimeter (this may require removing screws).
- Individuare e rimuovere con attenzione il fusibile bruciato.
- Replace it with a fuse of the exact same type and rating. Using an incorrect fuse can damage the meter or pose a safety hazard.
- Rimontare il multimetro, assicurandosi che tutte le viti siano ben serrate.
6. Risoluzione Dei Problemi
- Nessun display o display debole: Controllare l'installazione della batteria e il livello di carica. Sostituire le batterie se necessario.
- Letture errate: Ensure test leads are properly connected to the correct jacks. Verify the function dial is set to the appropriate measurement type and range. Check for damaged test leads.
- Misurazione della corrente non funzionante: Check the fuse (refer to Section 5.3). Ensure the red test lead is connected to the correct current input jack (mAµA or 10A).
- Problemi di connessione wireless: Ensure wireless is enabled on both the multimeter and your smartphone. Restart both devices and try pairing again. Check the mobile app for troubleshooting tips.
- Il contatore non risponde: Turn the meter off and then on again. If the issue persists, remove batteries for a few minutes and then reinsert them.
7. Specifiche
| Caratteristica | Specificazione |
|---|---|
| Display | 6000 Conteggi |
| Distanza | Automatico/Manuale |
| Samptasso di ling | 3 secondi/tempo |
| Vero RMS | Supportato |
| Conservazione dei dati | Supportato |
| Retroilluminazione | Supportato |
| Indicazione di batteria scarica | Supportato |
| Spegnimento automatico | Supportato |
| Volume DCtage(V) | 6 V, 60 V, 600 V, 1000 V. |
| Volume DCtage(mV) | 60mV |
| Dimensioni | 20 x 12 x 5 cm (7.9 x 4.7 x 2 pollici) |
| Peso | 374 g (0.82 libbre) |
| Produttore | LiebeWH |
| Numero di modello del prodotto | LiebeWHso0iq29gfn |

Image 7.1: Dimensions of the LiebeWH ZT-300AB Multimeter, showing its compact size.
8. Garanzia e supporto
For warranty information and technical support, please refer to the documentation included with your purchase or contact the manufacturer directly. Contact details can typically be found on the product packaging or the official LiebeWH websito.