Introduzione
This manual provides detailed instructions for the installation, maintenance, and care of the Jpbaisqic Replacement Accessories Kit for the Lubluelu L20 Robot Vacuum Cleaner. This kit is designed to help maintain the optimal performance of your robot vacuum by providing essential replacement parts.

Figure 1: Complete Replacement Accessories Kit for Lubluelu L20 Robot Vacuum Cleaner.
Contenuto della confezione
Il kit di sostituzione include i seguenti componenti:
- 1 x Main Brush Roller
- Spazzole laterali 4 x
- 4 filtri HEPA
- 2 x panni per mocio
Compatibilità
This accessory kit is specifically designed for and compatible with the Lubluelu L20 Robot Vacuum Cleaner.
Guida all'installazione
Follow these steps to replace the components in your Lubluelu L20 Robot Vacuum Cleaner.
1. Main Brush Roller Installation
The main brush is made of high-quality rubber and brush materials, designed for effective cleaning with low noise. To replace:
- Capovolgere il robot aspirapolvere.
- Individuare il coperchio della spazzola principale, solitamente fissato tramite chiavistelli o viti.
- Open or remove the cover.
- Lift out the old main brush roller.
- Insert the new main brush roller into its slot, ensuring the ends align with the corresponding openings.
- Close or reattach the main brush cover securely.

Figure 2: Main Brush Roller.
2. Installazione della spazzola laterale
The side brushes are durable and made of rubber, designed to reach deep into corners and edges. To replace:
- Capovolgere il robot aspirapolvere.
- Locate the side brushes. They are typically held in place by a single screw or snap mechanism.
- Remove the screw (if present) or gently pull the old side brush upwards to detach it.
- Align the new side brush with the corresponding post on the robot.
- Press down firmly or reattach the screw to secure the new side brush in place.

Figure 3: Side Brushes.
3. Installazione del filtro HEPA
The HEPA filters are designed for efficient filtration, capturing up to 99% of dust, particles, and pet hair. To replace:
- Open the dustbin compartment on your robot vacuum cleaner.
- Rimuovere la pattumiera.
- Individuare il gruppo filtro all'interno del contenitore della polvere.
- Rimuovere il vecchio filtro HEPA.
- Insert the new HEPA filter into the designated slot, ensuring it fits snugly.
- Reinsert the dustbin into the robot vacuum cleaner and close the compartment.
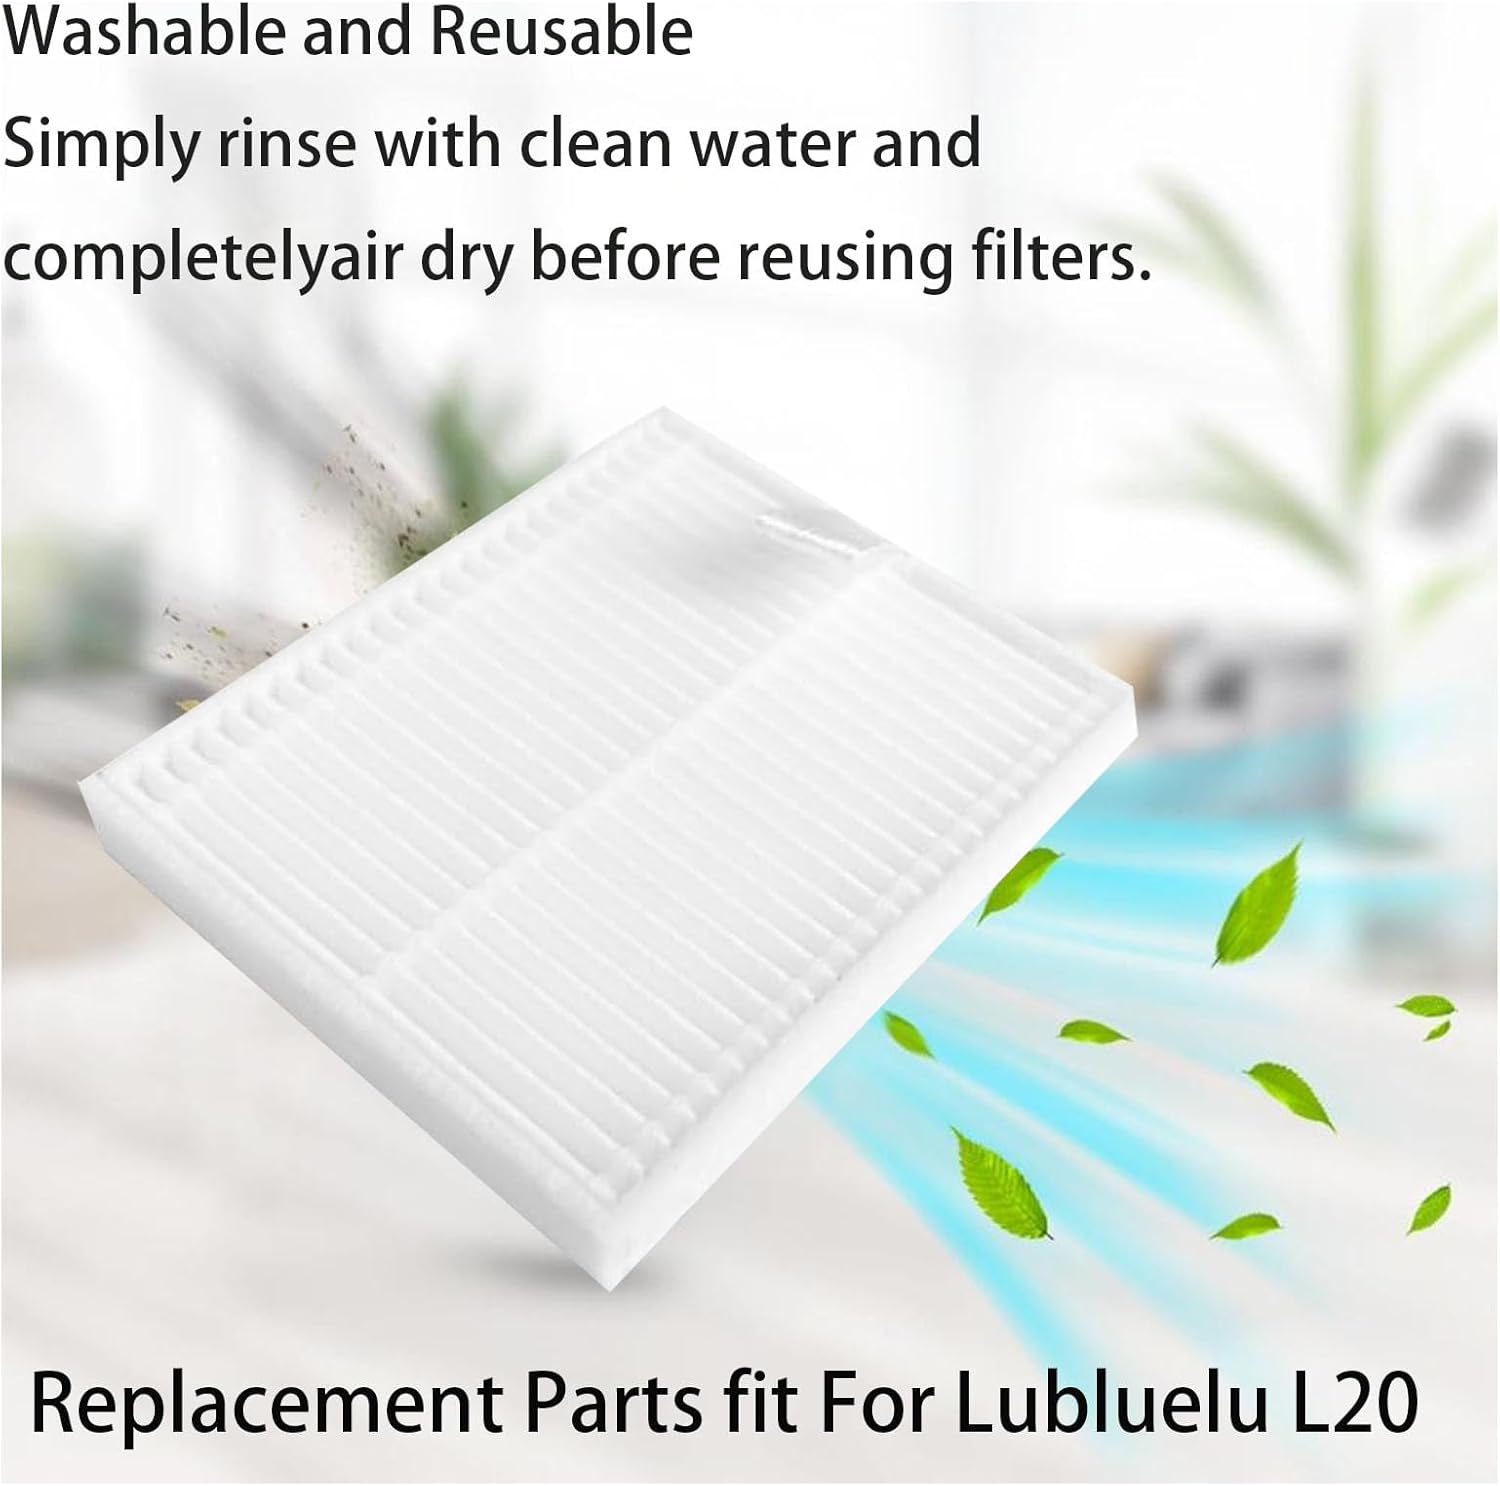
Figura 4: Filtro HEPA.
4. Installazione del panno per mocio
The mop pads are made from a selection of microfibers, designed not to scratch the floor and suitable for various hard floor types. To attach:
- Locate the mop pad attachment area on the underside of the robot vacuum cleaner or its water tank.
- Align the new mop pad with the hook-and-loop fasteners or clips on the attachment area.
- Press the mop pad firmly onto the fasteners to secure it in place.

Figure 5: Mop Pads.
Manutenzione e cura
Regular maintenance of your replacement parts ensures your robot vacuum operates at peak performance and extends the lifespan of the components.
General Replacement Schedule
It is recommended to replace the kits every 3-6 months, depending on the frequency of use. For heavy usage, replacement may be needed sooner.
Pulizia del rullo della spazzola principale
Periodically remove hair and debris tangled around the main brush. Use the cleaning tool provided with your robot vacuum to cut and remove tangled hair. The main brush can also be rinsed with water if heavily soiled, but ensure it is completely dry before reinstallation.
Pulizia delle spazzole laterali
Remove any tangled hair or debris from the side brushes. If a side brush becomes bent or curly due to transportation or use, soak it in warm water for a few seconds to help it recover its original shape. Ensure they are dry before reattaching.
Pulizia dei filtri HEPA
The HEPA filters are washable and reusable. To clean:
- Rimuovere il filtro dal contenitore della polvere.
- Per rimuovere la polvere, picchiettare delicatamente il filtro su un cestino della spazzatura.
- Rinse the filter under clean running water.
- Allow the filter to air dry completely for at least 24 hours before reinstalling. Do not use a dryer or direct heat.
Pulizia dei mop pad
The mop pads are washable and reusable. After each use, remove the mop pad and rinse it with clean water. For deeper cleaning, they can be machine washed with similar colors. Allow them to air dry completely before reattaching to the robot.
Risoluzione dei problemi
Bent or Curly Side Brush
If you receive a side brush that appears bent or curly due to packaging or transportation, simply soak it in warm water for approximately 10-15 seconds. This will help the rubber material regain its original shape. Allow it to cool and dry before installation.
Specifiche
| Caratteristica | Dettaglio |
|---|---|
| Numero di modello | Compatible With Lubluelu L20 |
| Dimensioni del pacco | 7 x 3 x 2 pollici |
| Peso dell'articolo | 9.6 once |
| Produttore | JIN PENG |
| ASIN | B0DHTTHFDY |
| Batterie richieste | NO |
Garanzia e supporto
For any issues encountered after purchase or during use, please contact the seller's after-sales team via email. They aim to reply and resolve your problems within 24 hours.
Please refer to your original product purchase documentation for specific warranty terms and conditions.