1. Introduzione
This manual provides essential information for the safe and efficient operation of your PowMr Pure Sine Wave Solar Inverter, Model LVM3K-24V. This device is designed to convert 24V DC power from batteries or solar panels into 110/120V AC power, suitable for various household and office loads. It features a built-in 80A MPPT charge controller and supports multiple charging and output modes.
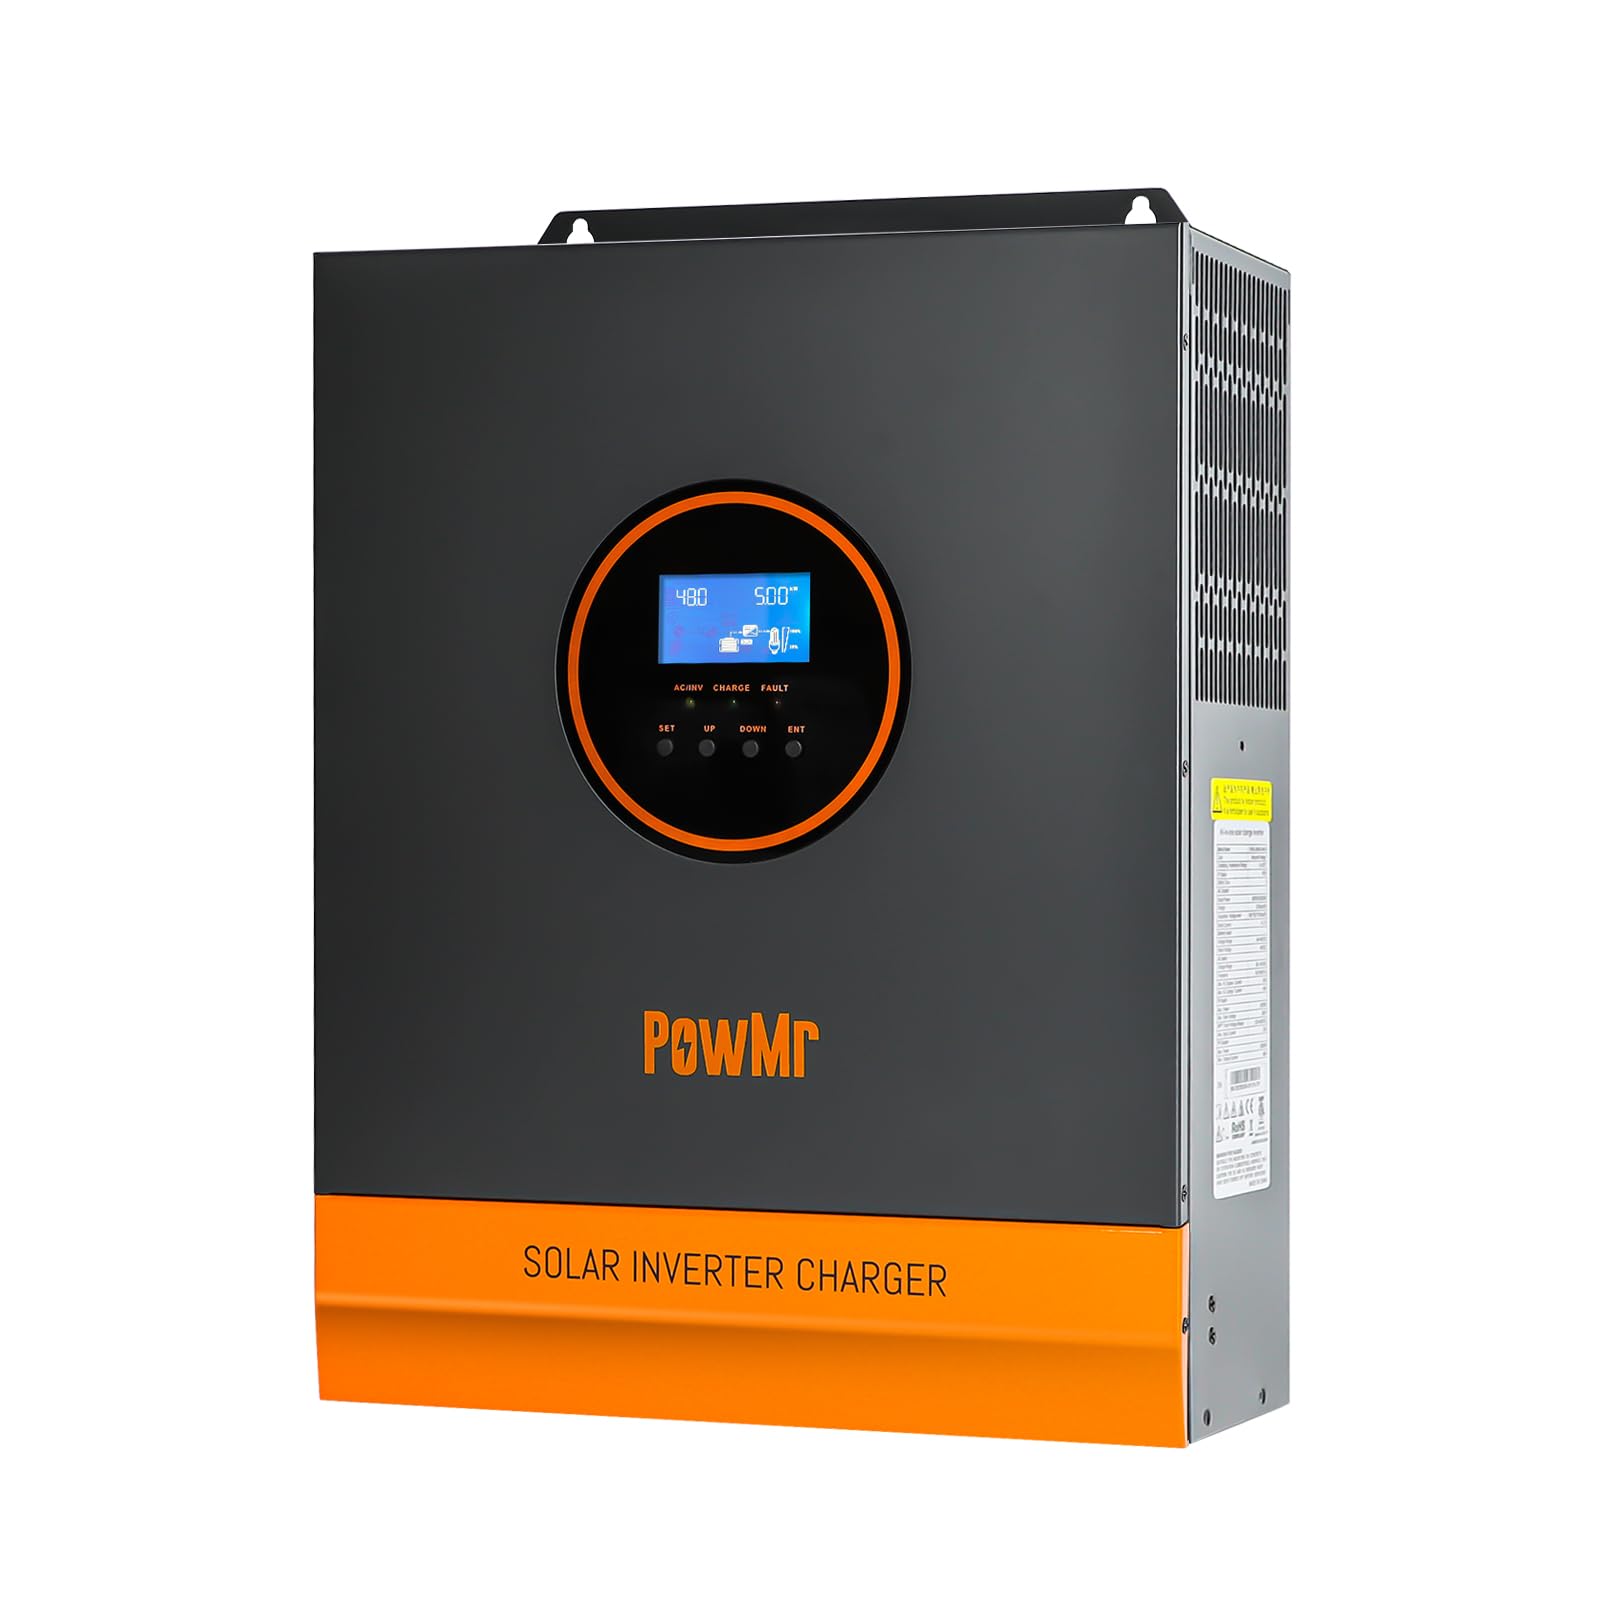
Immagine: Frontale view of the PowMr 3KW Solar Inverter, highlighting its key features and design.
2. Istruzioni di sicurezza
Please read and follow all safety instructions carefully before installation and operation. Failure to do so may result in electric shock, fire, or serious injury.
- L'installazione deve essere eseguita da personale qualificato.
- Garantire la corretta messa a terra dell'inverter.
- Non smontare l'inverter. All'interno non ci sono parti riparabili dall'utente.
- Tenere l'inverter lontano da materiali infiammabili, umidità e luce solare diretta.
- Assicurare un'adeguata ventilazione attorno all'inverter per evitare il surriscaldamento.
- Prima di applicare l'alimentazione, verificare che tutti i collegamenti siano sicuri e corretti.
- Scollegare sempre l'alimentazione prima di effettuare qualsiasi operazione di manutenzione o cablaggio.
3. Prodotto finitoview
Familiarize yourself with the various ports and indicators on your inverter.
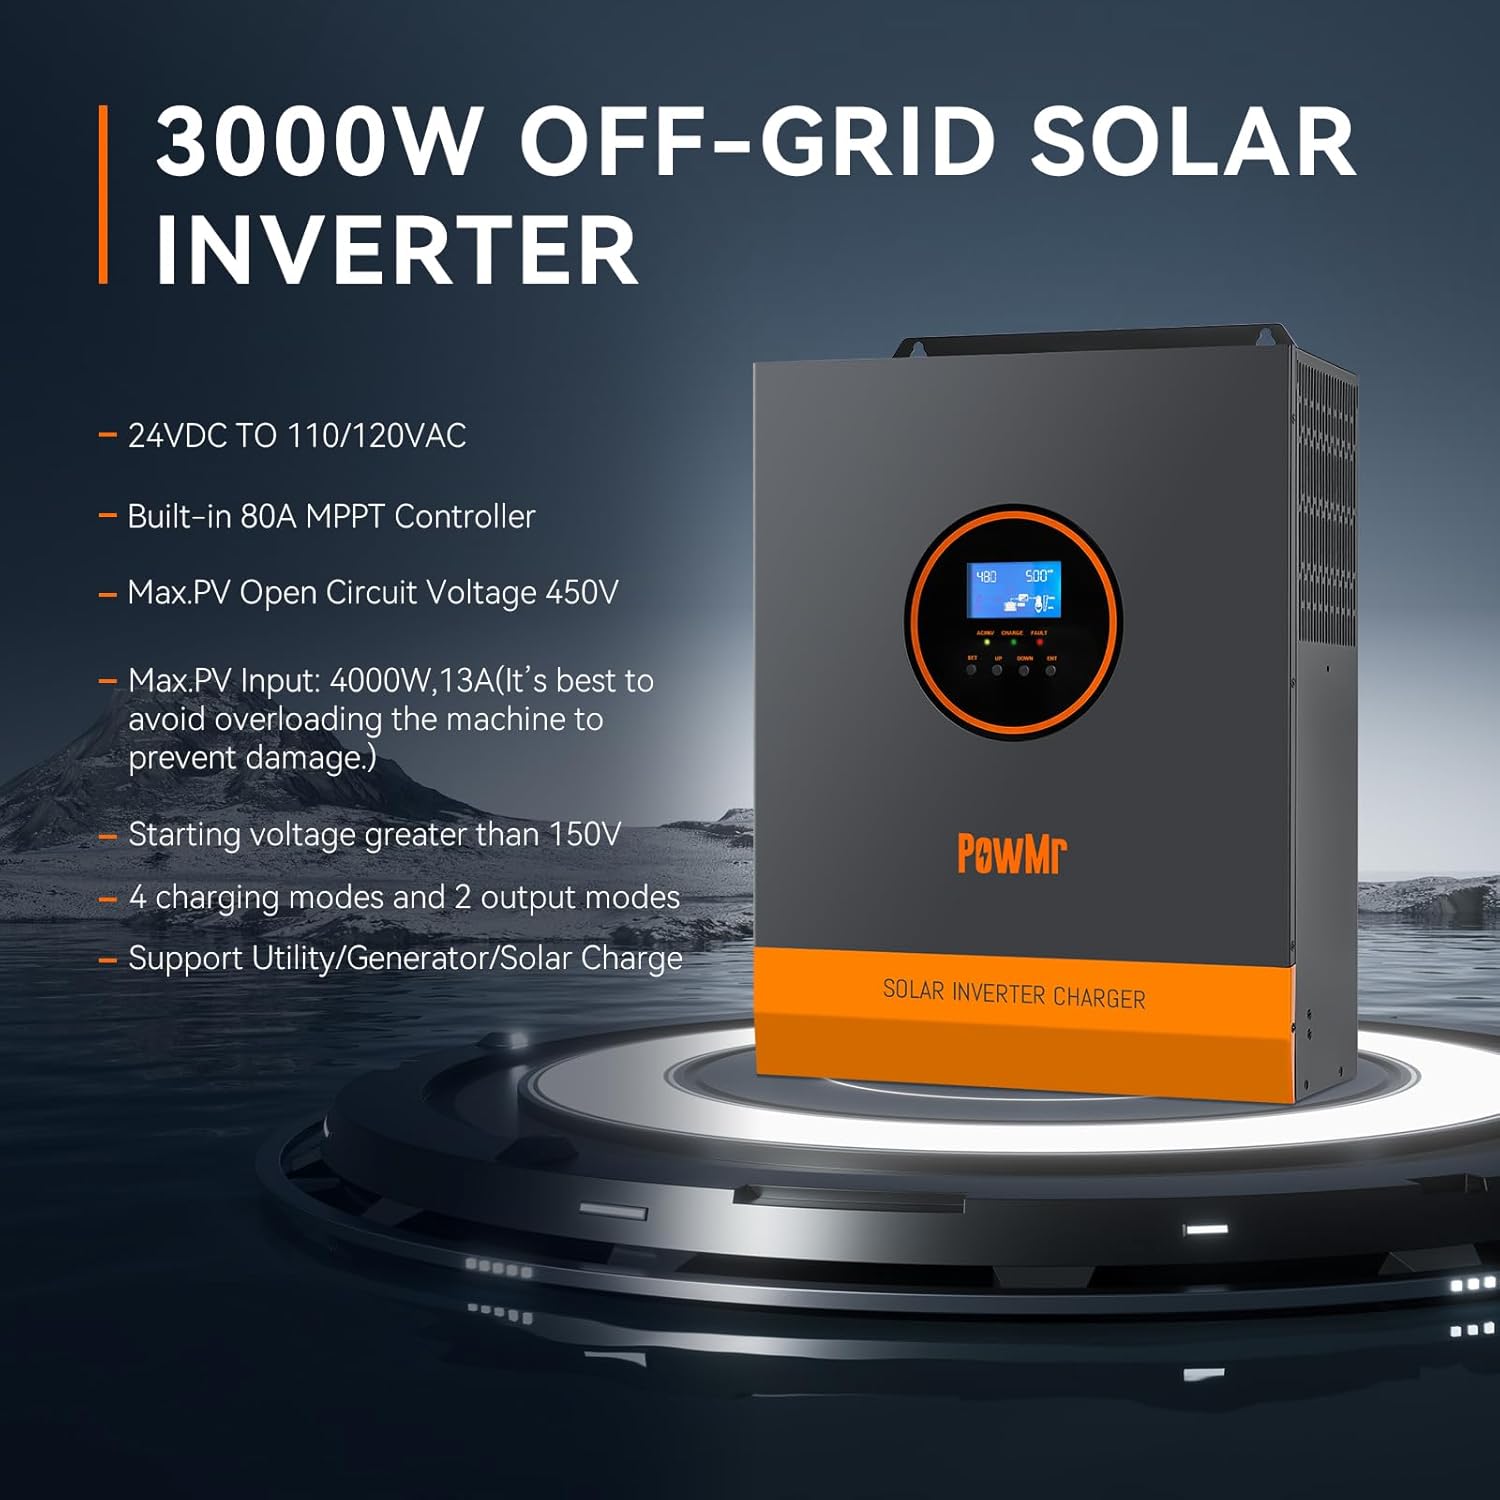
Immagine: posteriore e laterale view of the PowMr 3KW Solar Inverter with numbered labels for each port and indicator.
- Porta di ingresso AC: Connects to grid utility or generator AC power.
- Porta di uscita CA: Connects to AC loads (e.g., appliances).
- CAN communication port: Per comunicazioni avanzate.
- USB communication port: For data monitoring and configuration.
- Porta di comunicazione RS485: For data monitoring and configuration.
- Porta di contatto a secco: Per controllo o segnalazione esterna.
- Grounding screw hole: For connecting the system ground.
- Protezione da sovraccarico: Interruttore automatico per la protezione da sovraccarico.
- Battery port: Connects to the battery bank (24V DC).
- Ventilatore: Dissipa il calore durante il funzionamento.
- ON/OFF rocker switch: Interruttore di alimentazione principale per l'inverter.
- PV port: Si collega al pannello solare.
- Tasto touch: For navigating the LCD display.
- Indicatore LED: Visualizza lo stato operativo.
- Schermo a cristalli liquidi: Displays system data and settings.
4. Configurazione e installazione
4.1 Schema elettrico
Refer to the following diagram for proper wiring connections. Ensure all connections are secure and follow local electrical codes.

Image: Detailed wiring diagram showing connections for solar panels, battery, AC input (utility/generator), and AC output (loads).
- Connessione al pannello solare: Max PV Input Power 4000W, Max PV Input Current 13A. Total Open Circuit Voltage (Voc) ≤ 450V. Start-up voltage needs to be greater than 150V. Use 12AWG PV wire. At least 4-6 solar panels are typically needed to meet the starting voltage, depending on individual panel specifications.
- Collegamento della batteria: Compatible with 24V Lithium/Lead-acid batteries. Recommended battery capacity: 200AH. Use 2AWG battery wire. The battery must be connected for the system to operate.
- Connessione ingresso CA: Connect to 120Vac±5% utility or generator. Frequency: 50Hz/60Hz. Max AC Bypass Current: 40A. Max AC Charge Current: 40A. Use 10 AWG AC wire. Be sure to connect the PE protective conductor (ground) first.
- Collegamento di uscita CA: Max Output Power ≤ 3000W. Rate Voltage: 120Vac±5%. Corrente nominale: 27.5A.
4.2 Compatibilità della batteria
The inverter is compatible with a wide range of 24V battery types.

Image: Graphic illustrating compatibility with various battery types including AGM, GEL, FLD (Flooded), LI (Lithium), and SLD (Sealed Lead-Acid).
- Lead-Acid Batteries (Sealed, AGM, Gel, Flooded)
- Batterie al litio
Ensure the correct battery type is selected in the inverter settings for optimal charging and discharge performance.
5. Modalità operative
The inverter offers flexible operating modes to suit different application requirements.
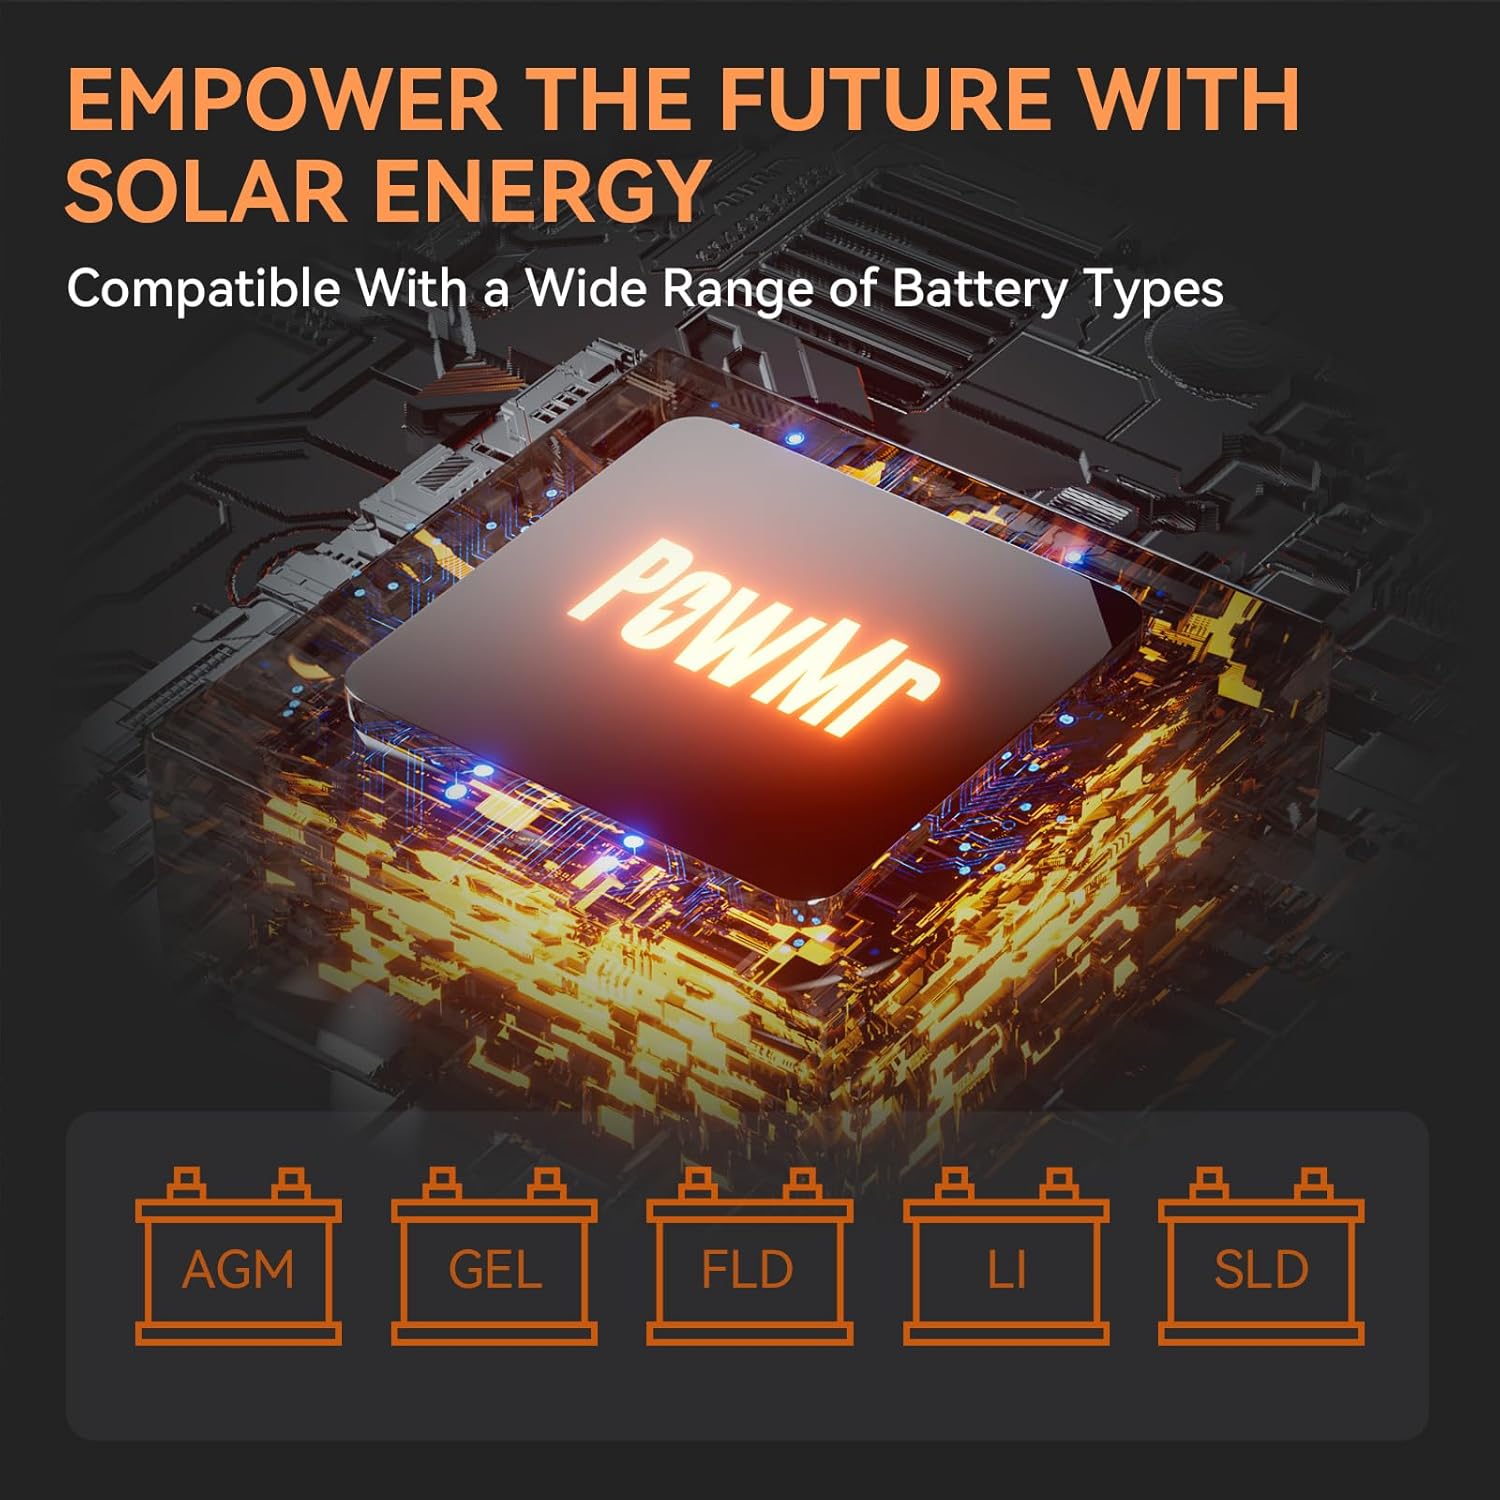
Image: Diagram showing the four charging modes and three load output working modes of the inverter.
5.1 modalità di ricarica
- PV Priority (Solar Charging): Per la ricarica della batteria viene data priorità all'energia solare.
- Utility Priority (Electricity Utility Priority): Grid power is prioritized for charging the battery.
- Ricarica ibrida: A combination of solar and utility power is used for charging.
- Solo ricarica solare: Only solar power is used for charging the battery.
5.2 Modalità di lavoro dell'uscita di carico
- Priorità PV: Solar power is prioritized to supply the loads.
- Priorità di utilità: Grid power is prioritized to supply the loads.
- Modalità inverter: Battery power is used to supply the loads via the inverter.
These modes can be configured via the LCD display to optimize energy usage based on your specific needs.
6. Display LCD e indicatori
The inverter features an LCD display and three LED indicators for real-time monitoring of system data and operational status.
- Schermo LCD: Provides detailed information such as input/output voltage, current, power, battery status, and selected operating modes. Use the touch keys to navigate through the menus.
- Indicatori LED: Provide quick visual status updates (e.g., power on, fault, charging status). Refer to the user manual for specific LED patterns and their meanings.
An intelligent variable speed fan is integrated to efficiently dissipate heat, extending the system's lifespan.
7. Funzionalità di protezione
The PowMr Solar Inverter is equipped with comprehensive protection mechanisms to ensure safe and reliable operation:
- Protezione da cortocircuito: Previene i danni causati dai cortocircuiti.
- oltre il volumetage Protezione: Misure di salvaguardia contro la volemia eccessivatage ingresso.
- Sotto il volumetage Protezione: Protegge le batterie dalla scarica profonda.
- Protezione da sovraccarico: Previene i danni quando i carichi collegati superano la capacità dell'inverter.
- Protezione inversa: Protegge dal collegamento errato della polarità della batteria.
8. Manutenzione
Una manutenzione regolare garantisce la longevità e le prestazioni ottimali del vostro inverter.
- Pulizia: Periodically clean the inverter's exterior and ventilation openings to prevent dust buildup. Ensure the inverter is off and disconnected from all power sources before cleaning.
- Connessioni: Annually check all electrical connections (PV, battery, AC input/output) for tightness and corrosion.
- Ambiente: Assicurarsi che l'ambiente di installazione rimanga entro gli intervalli di temperatura e umidità specificati.
- Stato della batteria: Monitor battery health and perform maintenance as recommended by the battery manufacturer.
9. Risoluzione Dei Problemi
If the inverter is not operating as expected, refer to the following basic troubleshooting steps. For complex issues, contact customer support.
- Nessun potere: Check the ON/OFF switch, battery connections, and battery voltage. Ensure the overload protector has not tripped.
- Nessuna uscita CA: Verify AC output connections and ensure no overload condition exists. Check if the inverter is in a fault state indicated by LEDs or LCD.
- Nessuna ricarica solare: Check PV panel connections, ensure PV voltage è superiore al volume inizialetage (150V), and verify sufficient sunlight.
- Avviso di sovraccarico: Ridurre il carico collegato. L'inverter potrebbe riavviarsi automaticamente dopo un periodo di raffreddamento.
- Codici di errore: Consult the full user manual for specific error codes displayed on the LCD and their corresponding solutions.
10. Specifiche
| Caratteristica |
Specificazione |
| Marca |
Potente Signor |
| Nome del modello |
LVM3K-24V |
| Cosatage |
3000 watt |
| Potenza di uscita massima |
4000 watt |
| Ingresso volumetage |
24 Volt (CC) |
| Volume di uscitatage |
110/120 Vca |
| Forma d'onda di uscita elettrica |
Onda sinusoidale pura |
| Massima potenza FV in ingresso |
4000W |
| Max ingresso PV Voltage (circuito aperto) |
450V |
| Vol. iniziale PVtage |
>150 V |
| Built-in Charge Controller |
MPPT 80A |
| Dimensioni articolo (L x P x A) |
11.02 cm L x 4 cm P x 14.88 cm A |
| Peso dell'articolo |
8 chilogrammi |
| Usi consigliati |
Home, Recreational Vehicle, Travel |
11. Garanzia e supporto
11.1 Informazioni sulla garanzia
This PowMr Solar Inverter comes with a Garanzia di 1 anno dalla data di acquisto. La garanzia copre difetti di materiali e fabbricazione in condizioni di normale utilizzo. Non copre danni causati da installazione impropria, uso improprio, incidenti o modifiche non autorizzate.
11.2 Assistenza clienti
For technical assistance, troubleshooting beyond this manual, or warranty claims, please contact PowMr customer support. Have your model number (LVM3K-24V) and purchase information ready when contacting support.
You can find contact information on the official PowMr websito o tramite il tuo rivenditore.
