1. Introduzione
Thank you for choosing the TechniSat DIGITRADIO 52 BT. This DAB+ FM alarm clock radio is designed to provide reliable timekeeping, radio reception, and Bluetooth audio streaming. This manual will guide you through the setup, operation, and maintenance of your device.
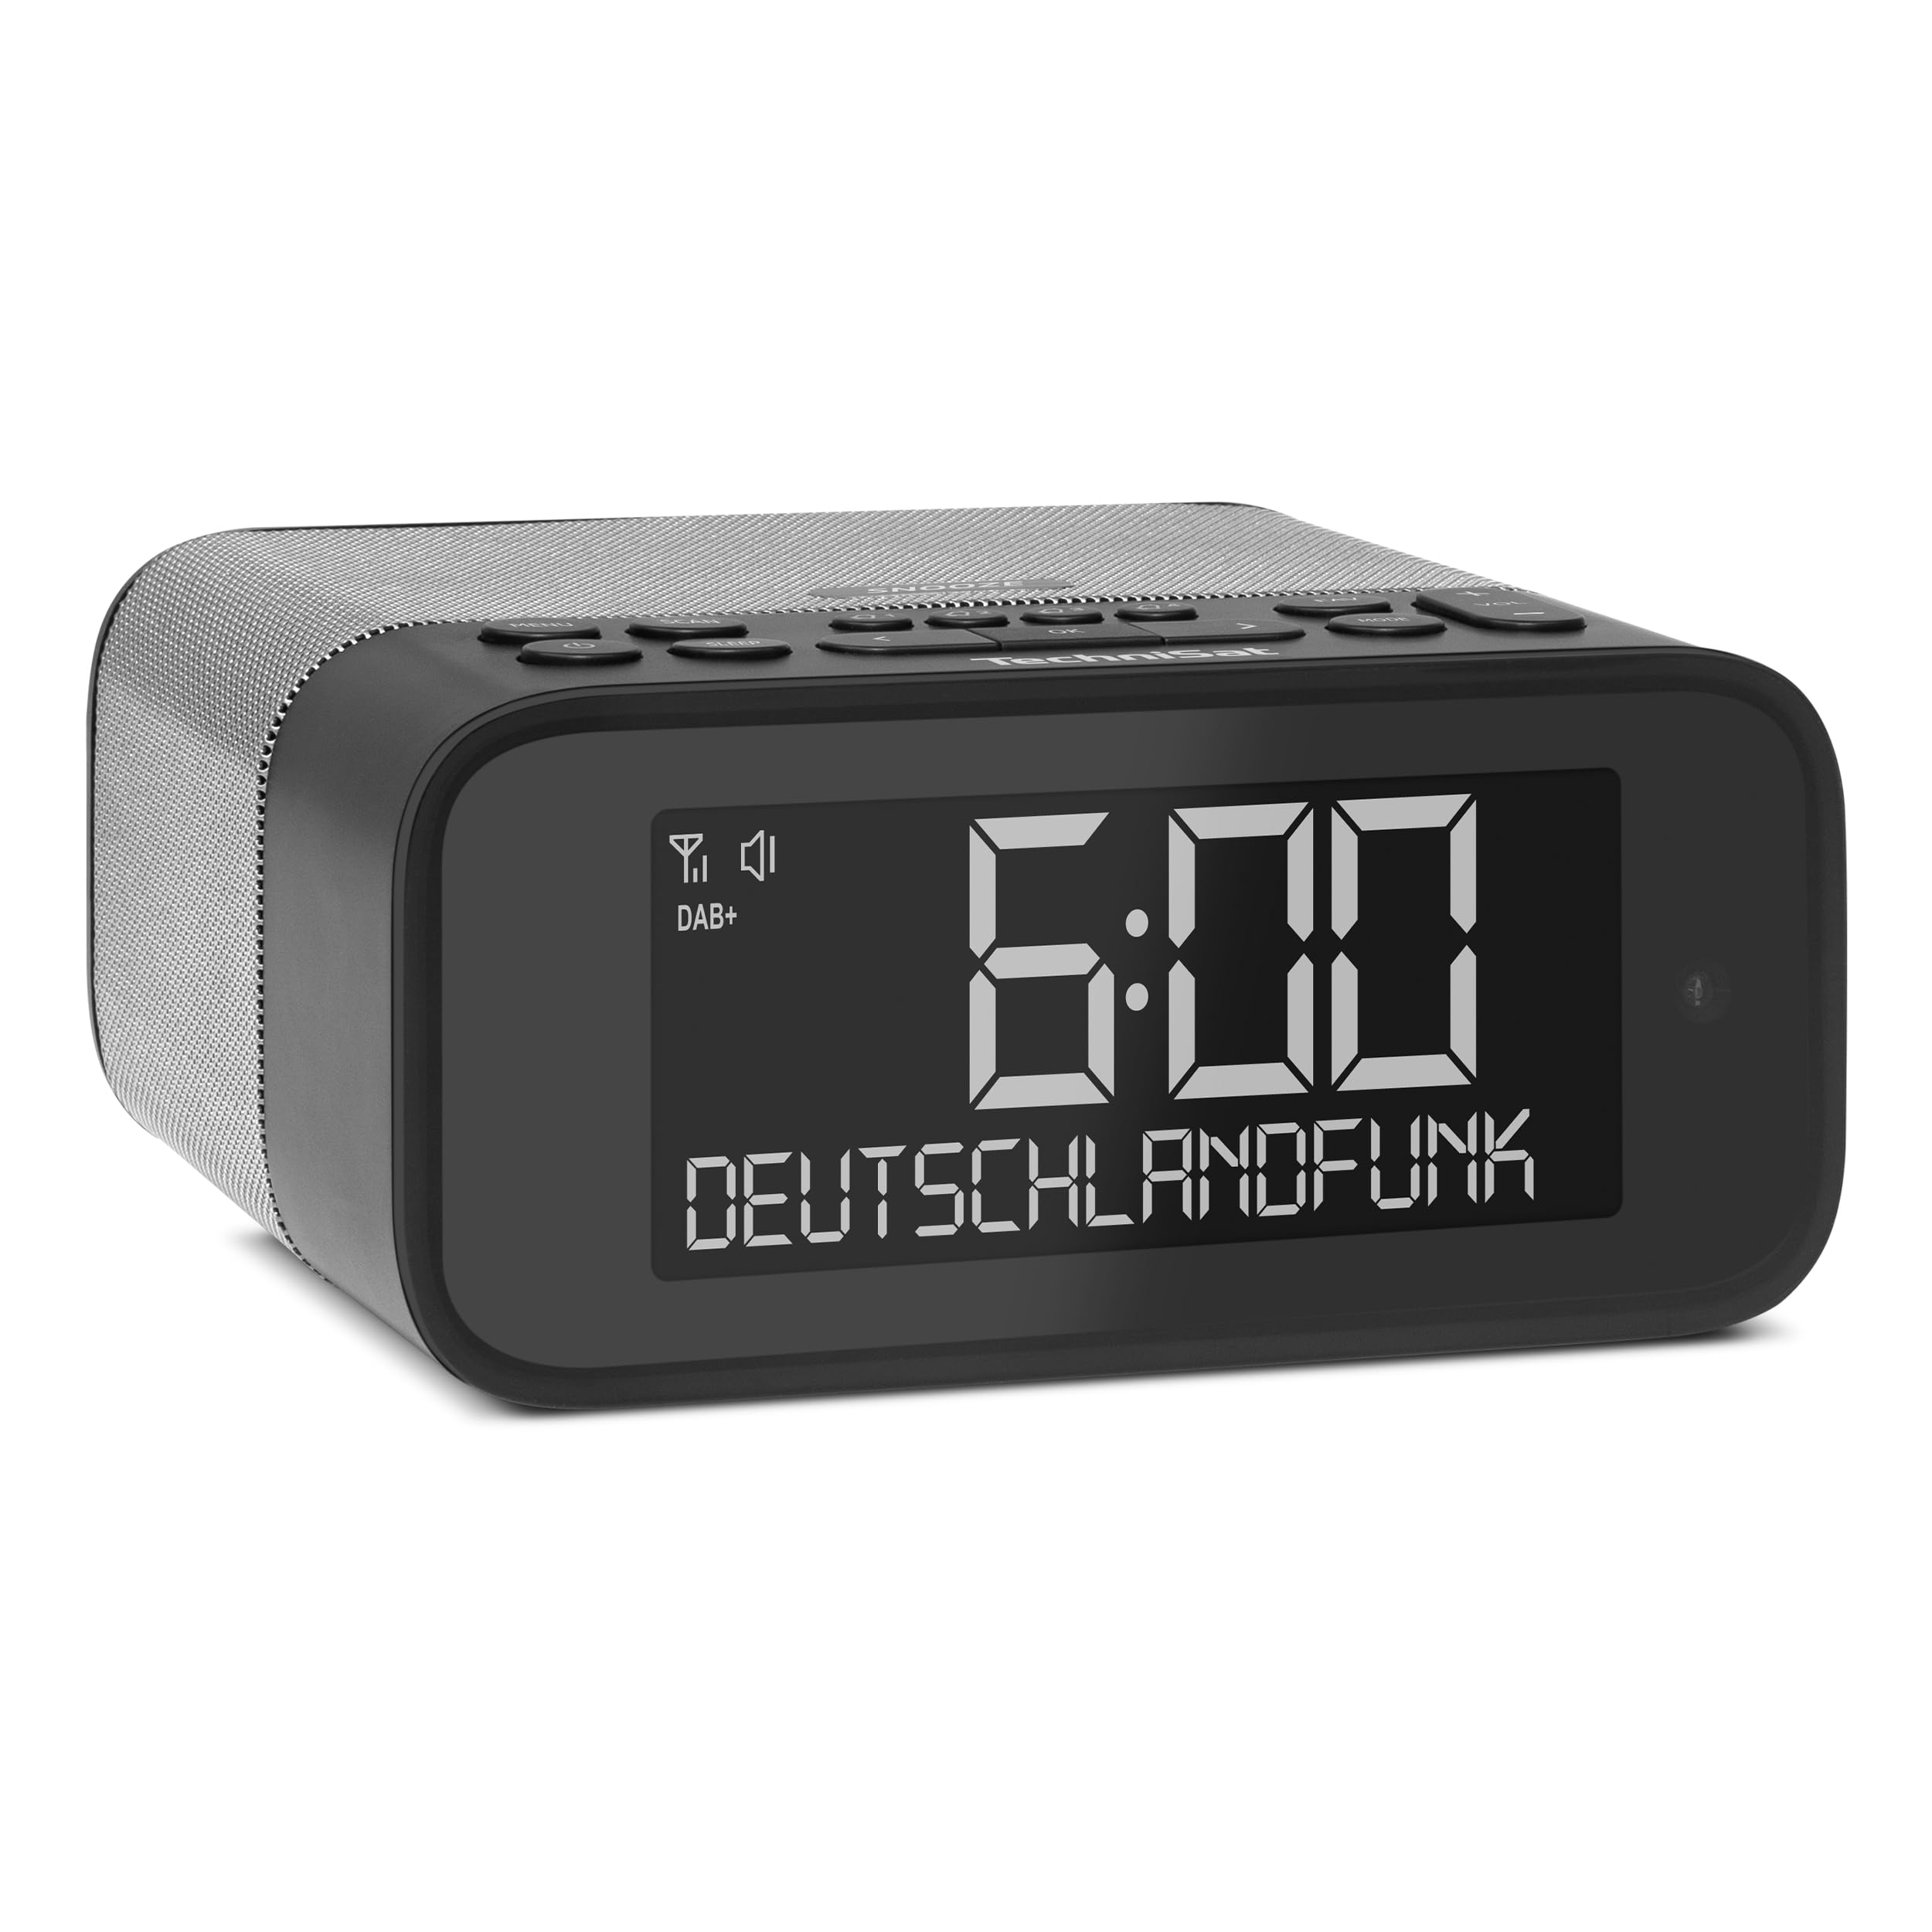
Immagine 1: anteriore view of the TechniSat DIGITRADIO 52 BT. The device is black with a large digital display showing "6:00" and "DEUTSCHLANDFUNK". Control buttons are visible on the top panel.
2. Informazioni sulla sicurezza
- Leggere attentamente tutte le istruzioni prima dell'uso.
- Tenere il dispositivo lontano da acqua, umidità e fonti di calore dirette.
- Non tentare di smontare o modificare il dispositivo. Per qualsiasi intervento di manutenzione, rivolgersi a personale qualificato.
- Utilizzare esclusivamente l'adattatore di alimentazione fornito.
- Garantire un'adeguata ventilazione intorno al dispositivo.
- Pulire il dispositivo con un panno morbido e asciutto. Non utilizzare detergenti liquidi.
3. Contenuto della confezione
Si prega di controllare la confezione per verificare la presenza dei seguenti elementi:
- TechniSat DIGITRADIO 52 BT unit
- Adattatore di alimentazione
- Manuale d'uso
4. Prodotto finitoview
4.1. Controlli e display
The DIGITRADIO 52 BT features an intuitive layout for easy access to all functions.

Image 2: Close-up of the large display with integrated light sensor. The display shows "6:00". The light sensor automatically adjusts screen brightness based on ambient light.
4.2. Collegamenti del pannello posteriore
The rear panel provides essential connectivity options.
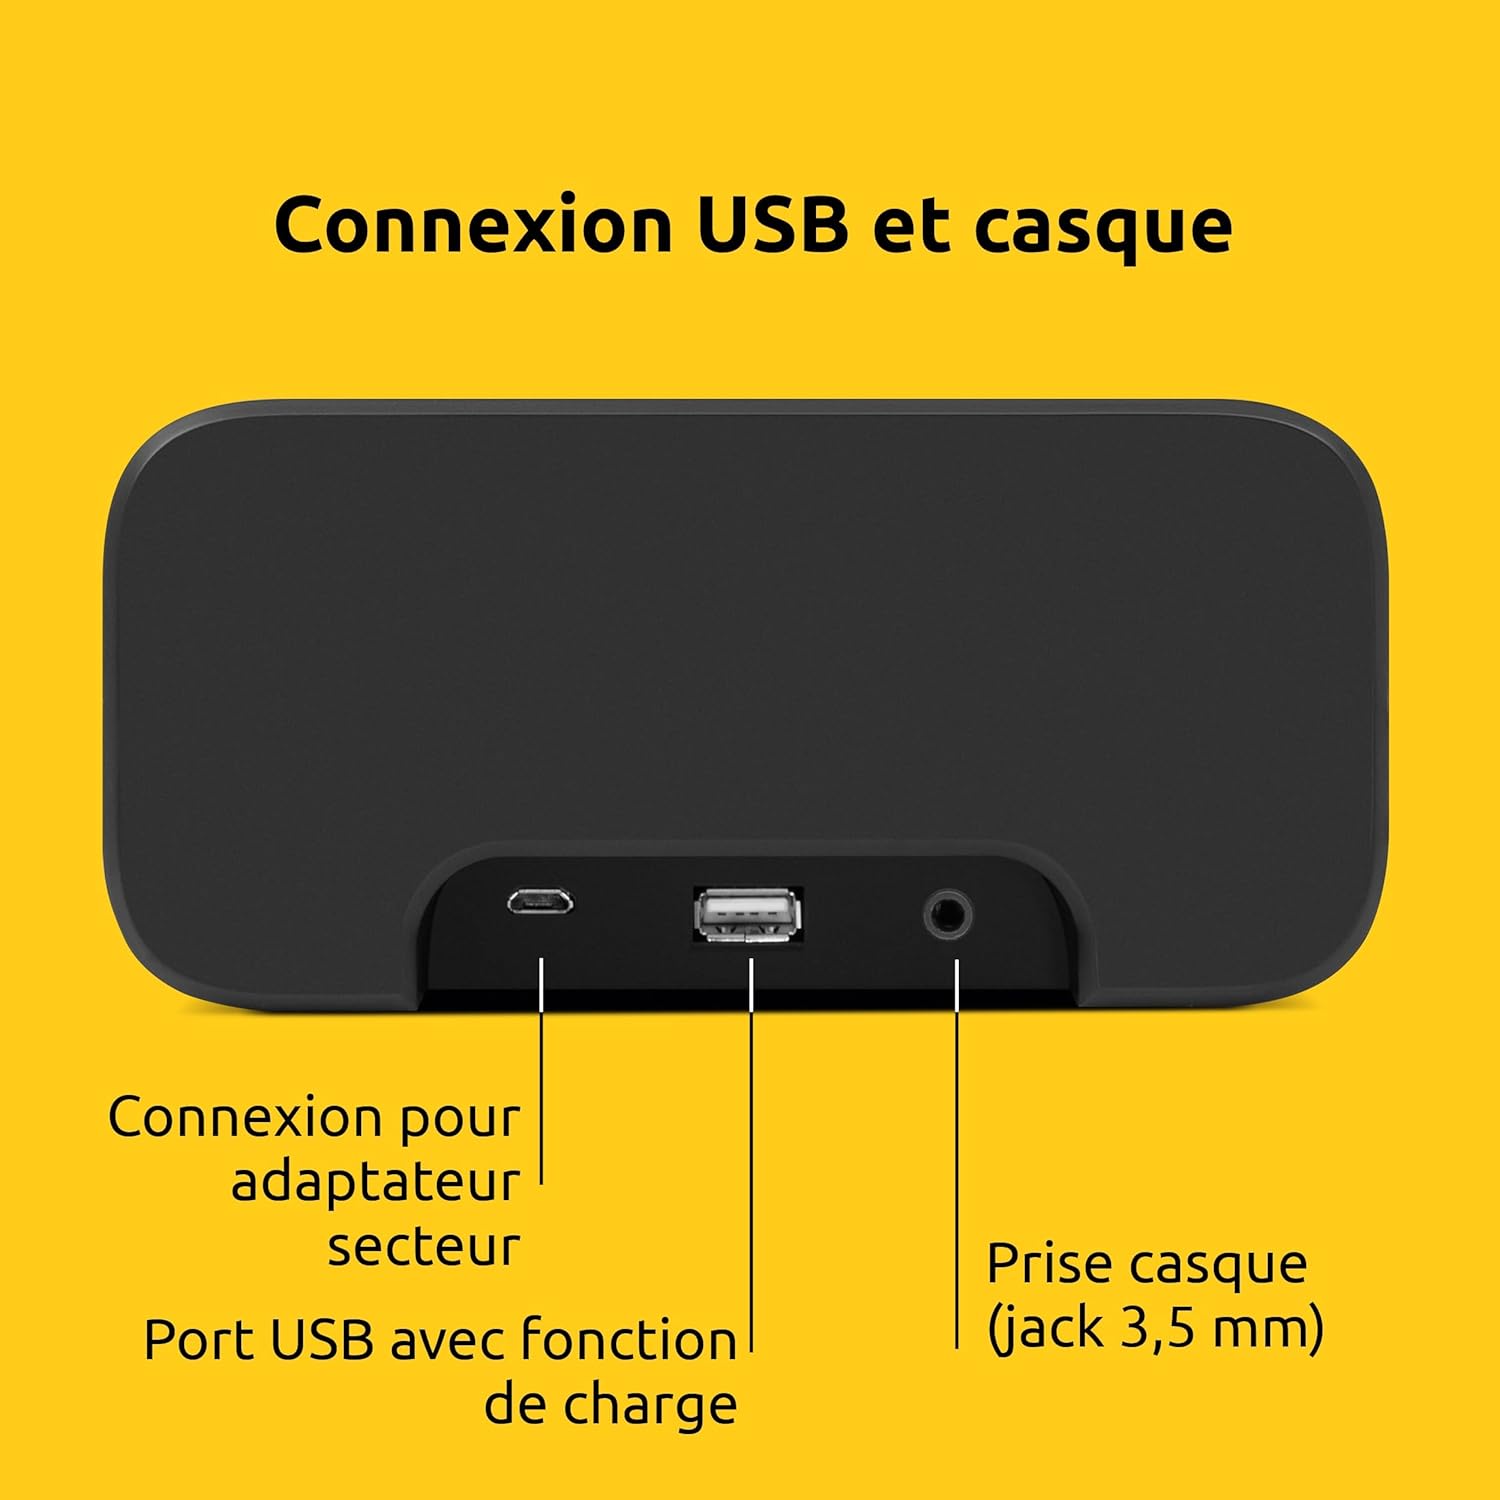
Immagine 3: posteriore view of the device showing the power adapter connection, a USB port with charging function, and a 3.5mm headphone jack.
- Collegamento elettrico: Collegare qui l'adattatore di alimentazione in dotazione.
- Porta USB: Per caricare dispositivi esterni (ad esempio smartphone, tablet).
- Jack per cuffie (3.5 mm): Per l'ascolto privato.
5. Impostazione
5.1. Collegamento elettrico
- Connect the power adapter to the DC input on the rear of the DIGITRADIO 52 BT.
- Collegare l'adattatore di alimentazione a una presa a muro standard (230 Volt).
- The device will power on and enter standby mode or begin initial setup.
5.2. Initial Scan (DAB+ and FM)
Upon first power-on, the radio will automatically scan for available DAB+ and FM stations. This process may take a few minutes.

Image 4: The radio display showing "DAB+" and "6:00 DEUTSCHLANDFUNK", indicating successful reception of a DAB+ station.
5.3. Impostazione di ora e data
The time and date are usually synchronized automatically via DAB+ or FM signals. If manual adjustment is needed, refer to the "Operating" section for menu navigation.
6. Funzionamento
6.1. Accensione/spegnimento e standby
- Premere il tasto Energia pulsante per accendere o spegnere il dispositivo.
- In standby mode, the display shows the current time.
6.2. Radio Tuning (DAB+ / FM)
- Premere il tasto Modalità button to select DAB+ or FM radio.
- Utilizzare il Sintonizza/Seleziona knob or buttons to scan for stations.
- Per salvare una stazione preferita, tenere premuto il tasto Preimpostato pulsante, quindi selezionare un numero preimpostato.
- Per richiamare una stazione preferita, premere il tasto Preimpostato button, then select the desired preset number. Up to 20 favorite stations can be stored for both DAB+ and FM.
6.3. Streaming audio Bluetooth
- Premere il tasto Modalità pulsante per selezionare la modalità Bluetooth. Il display mostrerà "Bluetooth Pairing".
- On your Bluetooth-enabled device (e.g., smartphone, tablet), search for "DIGITRADIO 52 BT" in the Bluetooth settings.
- Select the device to pair. Once paired, you can stream audio from your device to the radio.
6.4. Controllo del volume
- Utilizzare il Volume buttons or knob to adjust the audio output level.
7. Funzioni di allarme
The DIGITRADIO 52 BT supports up to four programmable alarms, a snooze function, and a sleep timer.

Image 5: Visual representation of the alarm features: 4 adjustable alarms, adjustable alarm rhythm, sleep timer, and a tactile snooze button.
7.1. Impostazione degli allarmi
- Premere il tasto Allarme pulsante per accedere alla configurazione dell'allarme.
- Select one of the four available alarms (Alarm 1-4).
- Set the desired alarm time, alarm source (radio or beep), and alarm volume.
- Choose the alarm rhythm: daily, weekdays (Mon-Fri), or weekends (Sat-Sun).
- Confermare le impostazioni per attivare l'allarme.
7.2. Funzione snooze
- When an alarm sounds, gently touch the Posticipare area on the top of the device to temporarily silence the alarm. The alarm will sound again after a set interval.
7.3. Timer di spegnimento
- Premere il tasto Sonno pulsante per attivare il timer di spegnimento.
- Select the desired duration (e.g., 15, 30, 60 minutes). The radio will play for the set duration and then automatically switch to standby.
8. Impostazioni display
The large display's brightness can be adjusted manually or automatically.
- Luminosità automatica: The integrated light sensor automatically adjusts the display brightness based on ambient light conditions. This ensures comfortable viewing during the day and minimal disturbance at night.
- Luminosità manuale: Access the display settings through the menu to manually set the desired brightness level.
9. Ricarica USB
The USB port on the rear panel can be used to charge external devices.
- Connect your smartphone, tablet, or other USB-powered device to the USB port using a compatible charging cable.
- Il dispositivo inizierà a caricarsi automaticamente.
10. Risoluzione Dei Problemi
| Problema | Possibile causa | Soluzione |
|---|---|---|
| Nessun potere | Adattatore di alimentazione non collegato o presa difettosa. | Assicurarsi che l'adattatore di corrente sia collegato saldamente e che la presa elettrica sia funzionante. |
| Scarsa ricezione radio | Weak signal, antenna position. | Adjust the antenna position. Try moving the radio to a different location. Perform a new station scan. |
| Associazione Bluetooth non riuscita | Device not in pairing mode, out of range, or already paired. | Ensure the radio is in Bluetooth pairing mode. Move your device closer. Disconnect from other Bluetooth devices. |
| L'allarme non suona | Alarm not activated, volume too low. | Check alarm settings to ensure it is enabled and the volume is adequate. |
| Display troppo scuro/luminoso | Automatic brightness setting, manual override needed. | Adjust manual brightness settings or ensure the light sensor is not obstructed. |
11. Specifiche
| Caratteristica | Dettaglio |
|---|---|
| Marca | Tecnico Sat |
| Modello | DR 52 (0000/2938) |
| Sintonizzatore radio | DAB+, FM |
| Bluetooth | Sì (Bluetooth 5) |
| Potenza di uscita | 3W RMS (mono) |
| Display | 4.2-inch Dimmable LCD with Light Sensor |
| Allarmi | 4 programmable alarms (radio/beep) |
| Funzione snooze | Yes (tactile button) |
| Timer di spegnimento | SÌ |
| Connettività | USB (charging), 3.5mm Headphone Jack |
| Fonte di alimentazione | Electric Cable (230V input) |
| Dimensioni (L x A x P) | Dimensioni: 15 cm x 7 cm x 14 cm |
| Peso | 606 grammi |
| Materiale | Plastica |

Image 6: The compact design of the radio with its dimensions indicated as 15 cm (length), 7 cm (height), and 14 cm (depth).
12. Garanzia e supporto
12.1. Garanzia del produttore
The TechniSat DIGITRADIO 52 BT comes with a Garanzia limitata di 2 anno dalla data di acquisto. La presente garanzia copre i difetti di materiali e fabbricazione in condizioni di normale utilizzo. Si prega di conservare la prova d'acquisto per eventuali reclami in garanzia.
12.2. Assistenza clienti
For technical assistance, troubleshooting, or warranty inquiries, please contact TechniSat customer support. Refer to the official TechniSat websito per i dettagli di contatto e ulteriori informazioni.
Note: Software updates are not guaranteed. Information on spare parts availability is not provided.