1. Prodotto finitoview
The Acouto XC12 is a 12.2-inch portable monitor designed for enhanced visual experience and versatility. It features a high-quality IPS panel with WUXGA (1920x1200) resolution, supporting approximately 16.7 million colors and offering a wide 178-degree viewing angle for consistent image quality from various positions. The monitor incorporates blue light reduction and flicker-free technology to minimize eye strain during extended use. Connectivity is streamlined with USB Type-C (supporting DisplayPort Alt Mode for single-cable video and power) and Mini-HDMI ports, ensuring broad compatibility with various devices including laptops, smartphones, gaming consoles (PS5, Switch, XBOX), cameras, and tablets. Its lightweight and slim design, coupled with a foldable smart case that doubles as a stand, makes it highly portable. The monitor also supports VESA 75x75mm mounting for flexible setup options.
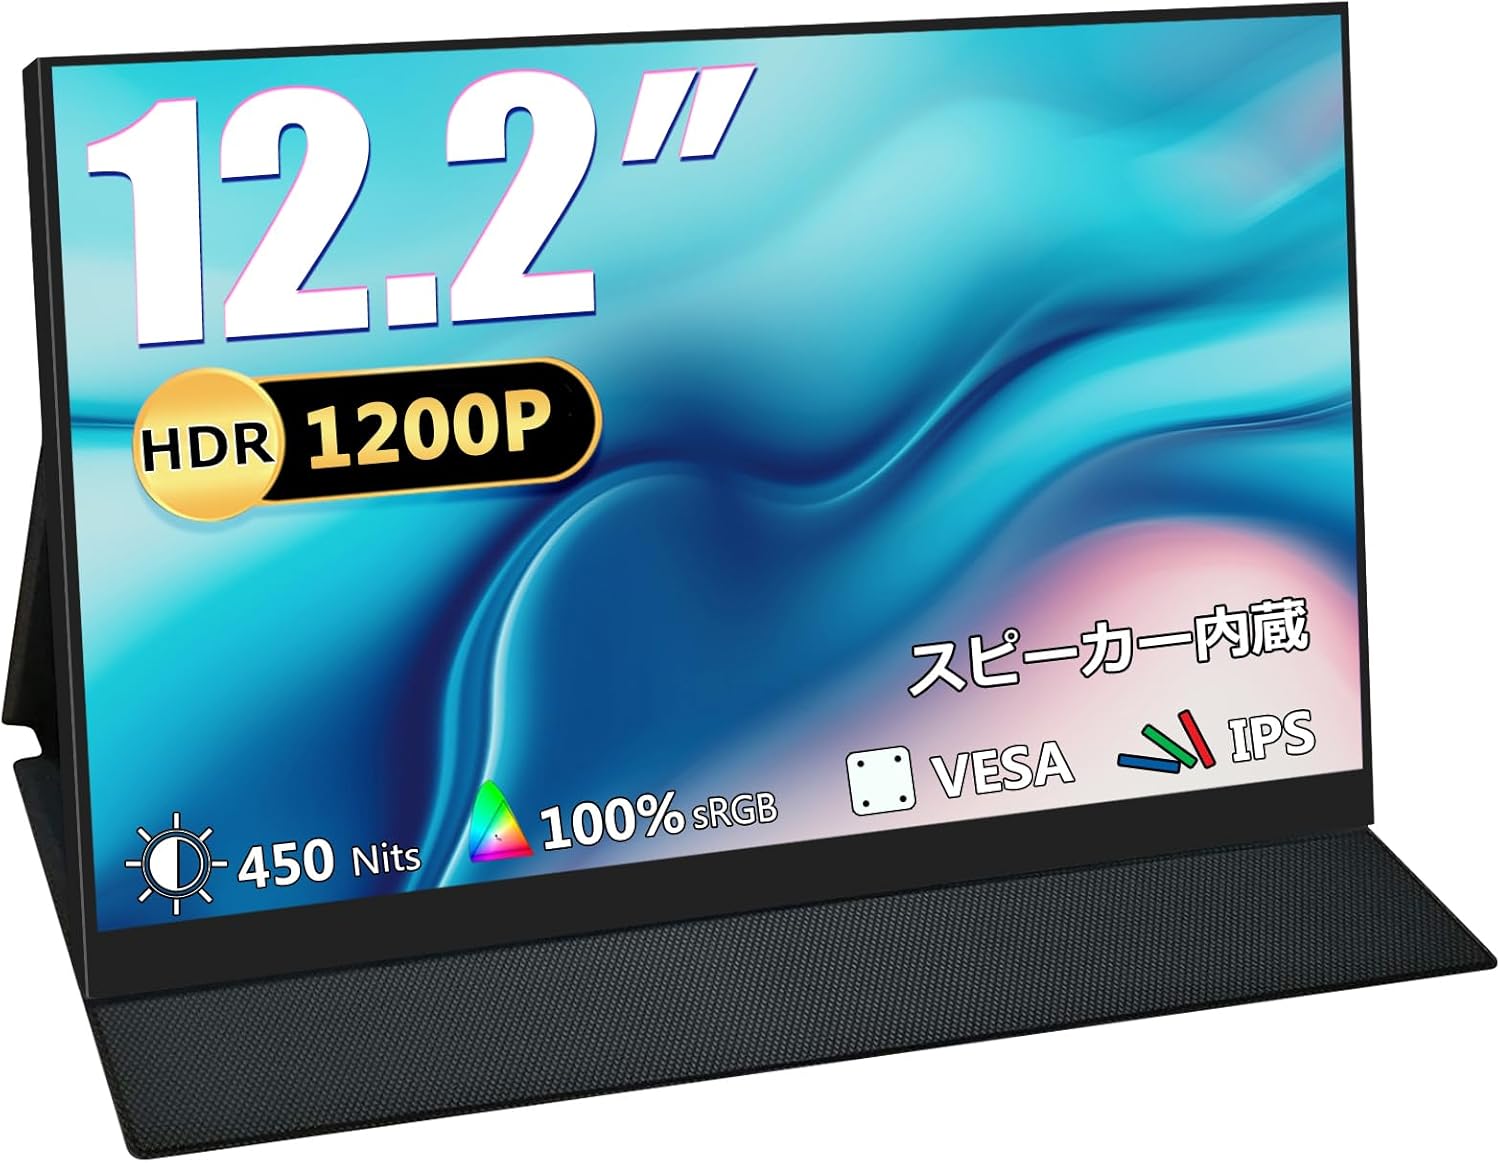
Figure 1: Acouto XC12 Portable Monitor. A sleek, black portable monitor with a minimalist design, shown with its integrated stand.
2. Contenuto della confezione
Dopo aver aperto la confezione, assicurarsi che siano presenti tutti gli articoli:
- Acouto XC12 Portable Monitor
- Cavo USB da tipo C a tipo C
- Mini-HDMI to HDMI Cable
- USB Type-A to Type-C Cable (for power supply)
- Adattatore di alimentazione
- Foldable Smart Case (doubles as a stand)
- Manuale d'uso
Video 1: Unboxing and initial setup of a portable monitor. This video demonstrates the contents of the package and the first steps to prepare the monitor for use.
3. Configurazione e connessioni
3.1 Componenti e porte del monitor
Familiarizzare con le porte e i controlli del monitor:
- Pulsante di accensione: Accende/spegne il monitor.
- Menu Button/Roll Key: Navigates the On-Screen Display (OSD) menu and adjusts settings.
- Jack per cuffie da 3.5 mm: Per l'uscita audio.
- Porta mini HDMI: For video input from devices like gaming consoles or PCs.
- USB Type-C (completo di funzionalità): For video input and power delivery from compatible devices (e.g., laptops, smartphones with DisplayPort Alt Mode).
- USB Type-C (Power only): For external power supply to the monitor.
- Altoparlanti incorporati: Per l'uscita audio.

Figura 2: lato view of the Acouto XC12 monitor, highlighting the various input/output ports and control buttons.
3.2 Collegamento a un laptop/PC
The monitor offers flexible connection options for laptops and PCs:
- Using a single USB Type-C cable: If your laptop/PC has a full-featured USB Type-C port (supporting DisplayPort Alt Mode), connect one end of the provided USB Type-C to Type-C cable to your device and the other end to the monitor's full-featured USB Type-C port. This single cable will transmit both video and power.
- Using HDMI and USB Type-C for power: Connect the Mini-HDMI to HDMI cable from your device to the monitor's Mini-HDMI port. Then, connect the USB Type-A to Type-C cable from your device's USB-A port (or a power adapter) to the monitor's power-only USB Type-C port for power supply.

Figure 3: Diagram illustrating the single USB Type-C cable connection for video and power between a laptop and the portable monitor.
Video 2: Demonstration of connecting the portable monitor to a laptop using a single USB Type-C cable and adjusting brightness. The video shows the monitor displaying a desktop extension.
3.3 Connessione a uno smartphone
For compatible smartphones with a full-featured USB Type-C port (supporting DisplayPort Alt Mode), connect the USB Type-C to Type-C cable directly from your phone to the monitor. This enables screen mirroring or extended display functionality.

Figure 4: A smartphone connected to the portable monitor, displaying mirrored content. This setup is ideal for mobile entertainment or productivity.
Video 3: A demonstration of connecting a smartphone to the portable monitor via USB-C, showing the phone's display mirrored on the monitor. The video also highlights the monitor's compact size and portability.
3.4 Connessione alle console di gioco
Connect gaming consoles like PS5, Nintendo Switch, or XBOX via the Mini-HDMI port. Ensure the monitor is powered using the USB Type-C power port if the HDMI connection does not provide sufficient power.

Figure 5: The portable monitor connected to a gaming console, providing an immersive gaming experience on the go.
3.5 Installazione con montaggio VESA
The monitor is equipped with standard VESA 75x75mm screw holes on the back, allowing it to be mounted on a wall bracket or an arm bracket. This provides flexibility for optimal placement in various environments.
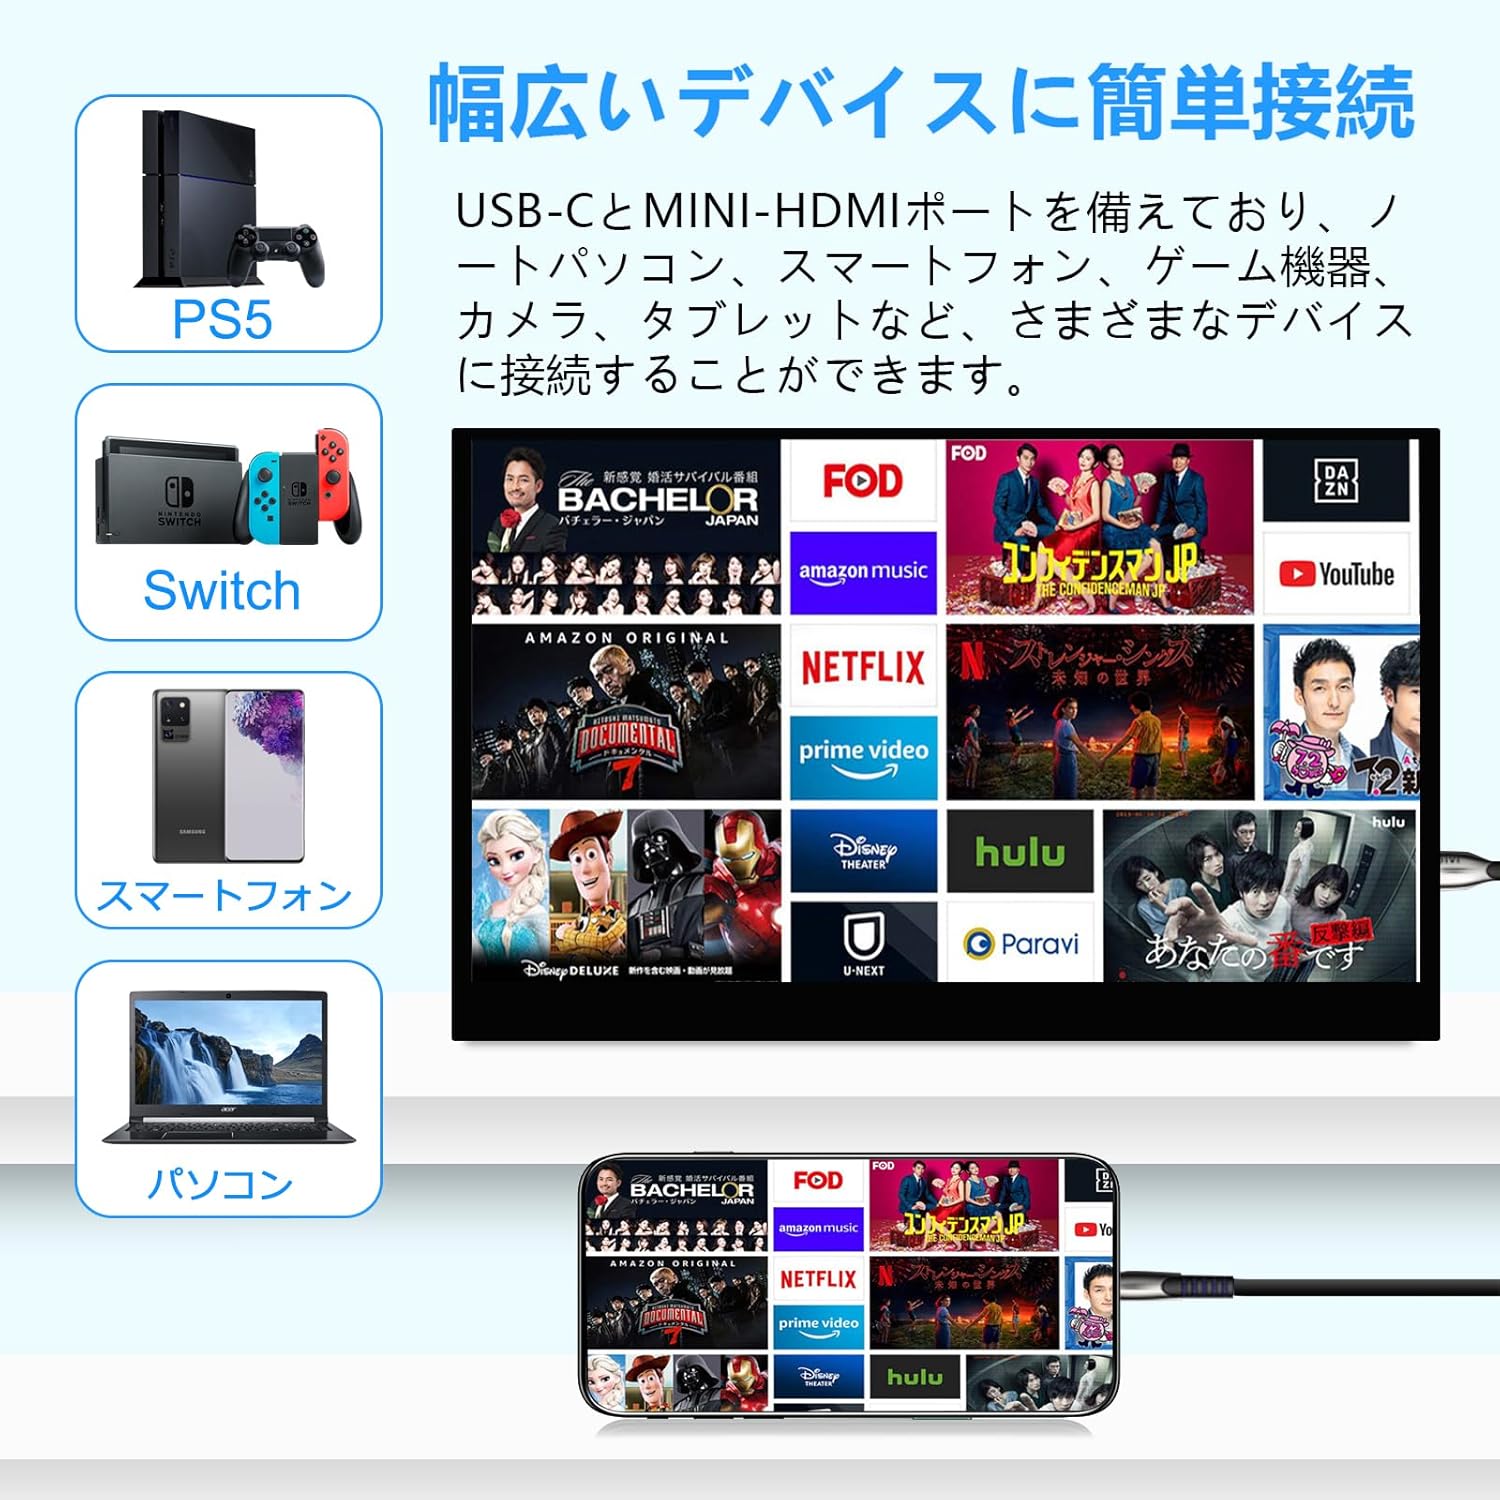
Figura 6: Posteriore view of the monitor showing the VESA 75x75mm mounting holes for attachment to compatible brackets.
Video 4: A short clip demonstrating the VESA mount compatibility of a portable monitor, showing it attached to a monitor arm.
4. Istruzioni per l'uso
4.1 Accensione/spegnimento
Per accendere o spegnere il monitor, tenere premuto il pulsante di accensione situato sul lato del monitor.
4.2 Navigazione nel menu OSD
Use the Menu Button/Roll Key to access and navigate the On-Screen Display (OSD) menu. This menu allows you to adjust various display settings.
4.3 Regolazione della luminosità e del volume
Within the OSD menu, select the 'Brightness' option to adjust the screen's luminance. The monitor also features built-in speakers, and their volume can be adjusted through the OSD menu or directly from the connected device.
Video 5: A demonstration of adjusting the brightness and other settings via the OSD menu on the portable monitor. The video also shows the monitor connected to a laptop and a smartphone.
4.4 Display Modes (Blue Light Reduction / Flicker-Free)
The Acouto XC12 features blue light reduction and flicker-free technology to enhance viewing comfort and reduce eye strain. These modes can typically be enabled or adjusted through the OSD menu.

Figure 7: Visual representation of the blue light reduction feature, showing how it filters harmful blue light for eye protection.
4.5 Orientamento dello schermo
The monitor can be used in both landscape and portrait orientations, supported by its foldable smart case or a VESA mount. Adjust the orientation as needed for your tasks.

Figure 8: The monitor shown in various adjustable positions, demonstrating its flexibility for both landscape and portrait modes using the smart case.
5. Manutenzione
5.1 Pulizia del monitor
Per pulire lo schermo del monitor, strofinarlo delicatamente con un panno morbido e privo di lanugine. Per le macchie ostinate, strofinare leggermenteampImmergere il panno in acqua o in una soluzione detergente per schermi. Evitare l'uso di prodotti chimici aggressivi o materiali abrasivi.
5.2 Conservazione
When not in use, store the monitor in its protective foldable smart case to prevent scratches and damage. Keep it in a cool, dry place away from direct sunlight and extreme temperatures.

Figure 9: The portable monitor being placed into a bag while protected by its smart case, demonstrating its ease of portability.
6. Risoluzione Dei Problemi
6.1 Nessun segnale visualizzato
- Ensure all cables (USB Type-C or HDMI) are securely connected to both the monitor and your device.
- Verify that your device's USB Type-C port supports DisplayPort Alt Mode if using a single USB Type-C cable for video.
- Check if the monitor is receiving sufficient power. If using a single USB Type-C cable and the device cannot provide enough power, connect an external power adapter to the monitor's power-only USB Type-C port.
- Confirm that your device's display settings are configured to output to an external monitor.
6.2 Problemi di alimentazione
- If the monitor does not power on, ensure the power adapter is correctly connected and the power outlet is functional.
- If using a single USB Type-C cable, try connecting the external power adapter to the monitor's power-only USB Type-C port to ensure adequate power supply.
6.3 Problemi di qualità dell'immagine
- Adjust the brightness and contrast settings via the OSD menu.
- Ensure the display resolution on your connected device matches the monitor's native resolution (1920x1200) for optimal clarity.
7. Specifiche
| Marca | Acuto |
| Numero di modello | XC12 |
| Dimensioni dello schermo | 12.2 pollici |
| Risoluzione | 1920x1200 pixel (WUXGA) |
| Proporzioni | 16:10 |
| Tipo di pannello | IPS, antiriflesso |
| Dimensioni del prodotto | Dimensioni: 1.2 x 27.1 x 18.6 cm |
| Peso del prodotto | 495 grammi |
| Porte USB 2.0 | 1 |
| Porte HDMI | 1 (Mini-HDMI) |
| Batteria integrata | NO |
| Compatibilità VESA | 75x75mm |
8. Garanzia e supporto
The Acouto XC12 portable monitor comes with a standard warranty. An extended warranty of 12 months is available upon registration. For warranty extension requests, please provide your order number and contact us at the after-sales service email address. For any issues or support needs, please contact our customer service team.
Indirizzo e-mail del servizio post-vendita: support@dopesplay.com
Video 6: A short promotional video highlighting the product's value and warranty information, encouraging users to contact support for assistance.