
1. Prodotto finitoview
The Rosewill Helium NAS Black ATX Mid Tower Computer Case is engineered for optimal performance and extensive storage capabilities, making it suitable for DIY NAS, media servers, and small business applications. Its design prioritizes airflow, efficient cooling, and versatile component compatibility.
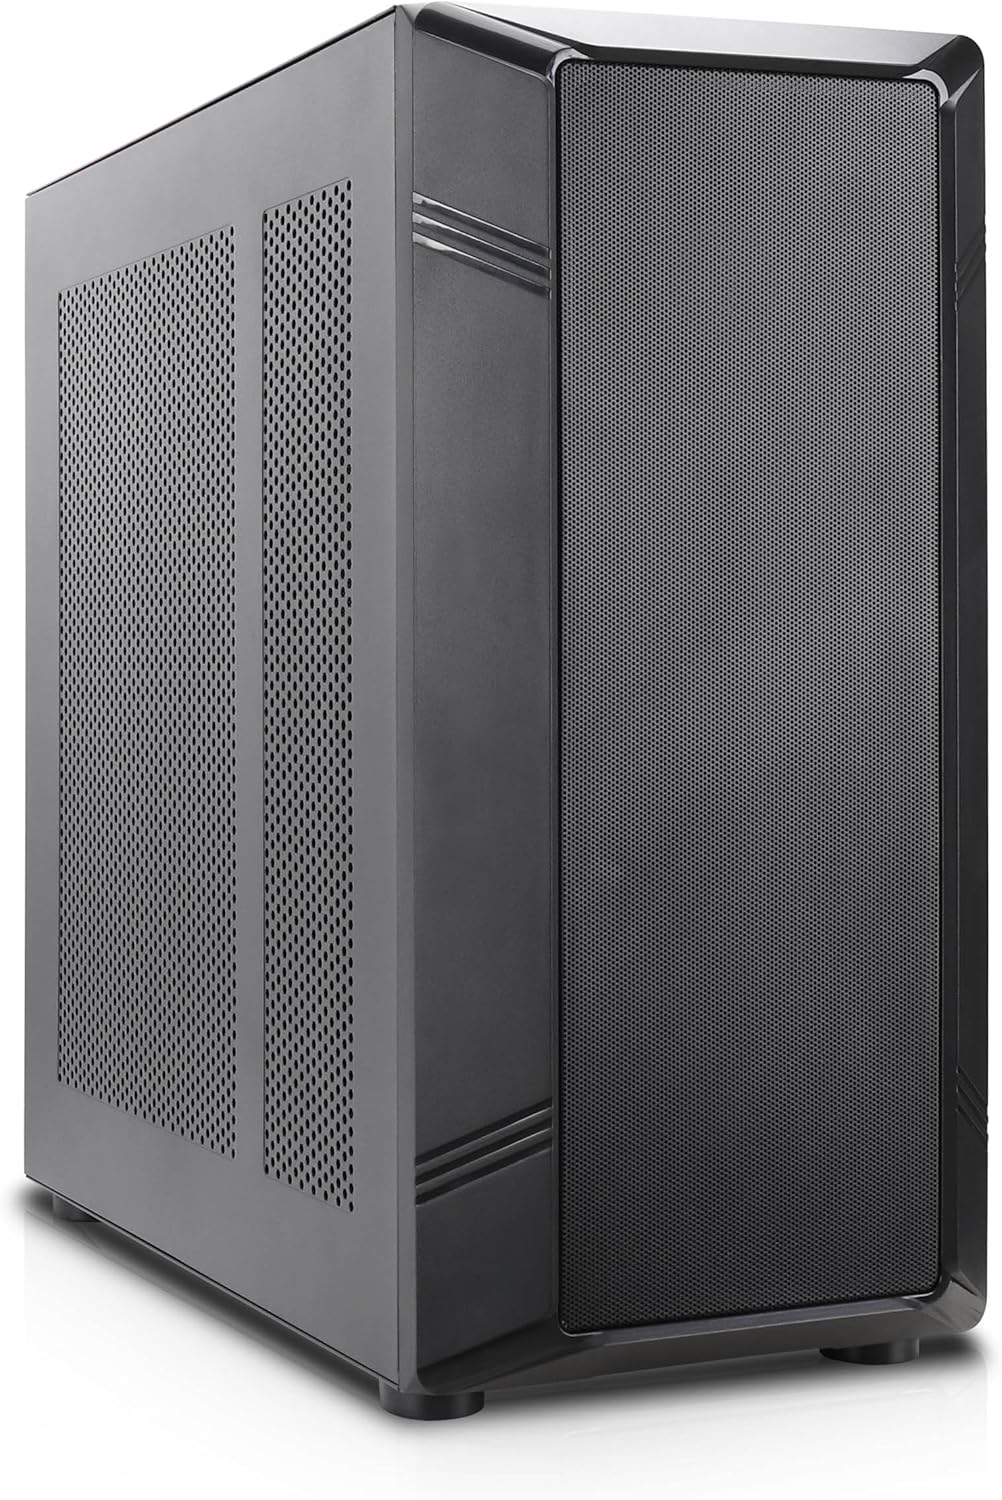
Figura 1: Fronte angolato view of the Rosewill Helium NAS Black ATX Mid Tower Computer Case.
Caratteristiche principali:
- Maximized Airflow: All-mesh side panels ensure unrestricted airflow for optimal cooling and prevention of thermal throttling.
- Quiet, Efficient Cooling: Four pre-installed 140mm PWM fans provide silent and efficient cooling, maintaining system stability under heavy workloads.
- Enorme capacità di archiviazione: Supports up to 10 x 3.5" HDDs and 3 x 2.5" SSDs, ideal for large media libraries, virtual machines, and data-intensive applications.
- Compatibilità versatile: Supports ATX motherboards and 360 AIO Radiators, offering flexibility for various system configurations and high-performance cooling solutions.
2. Configurazione e installazione
Follow these steps for proper installation of your computer components.
2.1 Preparazione del caso
- Posizionare la custodia su una superficie piana e stabile.
- Rimuovere i pannelli laterali svitando le viti a testa zigrinata sul retro e facendo scorrere i pannelli verso l'esterno.

Figure 2: Interior layout of the Rosewill Helium NAS case, showing component mounting areas.
2.2 Installazione della scheda madre
- Installare la schermatura I/O nell'apertura del vassoio della scheda madre.
- Align your ATX motherboard with the standoffs inside the case.
- Fissare la scheda madre con le viti fornite.
2.3 Installazione dell'unità di archiviazione
The case supports up to 10 x 3.5" HDDs and 3 x 2.5" SSDs. Utilize the dedicated drive cages for secure mounting.
Video 1: Demonstration of hard drive cage installation and cabling. This video illustrates the process of securing and connecting multiple hard drives within a PC case, which is applicable to the Rosewill Helium NAS case's storage capabilities.
- For 3.5" HDDs, slide the drives into the designated bays within the drive cages and secure them with screws.
- For 2.5" SSDs, mount them in the dedicated SSD trays, typically located behind the motherboard tray or on top of the HDD cages, and secure with screws.
- Collegare i cavi di alimentazione e dati SATA a ciascuna unità installata.
2.4 Installazione dell'alimentatore
- Mount the power supply unit (PSU) in the bottom rear compartment of the case.
- Fissare l'alimentatore con le viti dalla parte posteriore del case.
- Route the necessary power cables to your motherboard and other components.
2.5 Installazione della scheda grafica e della scheda di espansione
- Rimuovere le coperture degli slot PCIe necessari dalla parte posteriore del case.
- Inserire la scheda grafica o altre schede di espansione negli slot PCIe appropriati sulla scheda madre.
- Fissare le schede con le viti.
2.6 Gestione dei cavi
Utilize the cable routing cutouts and tie-down points behind the motherboard tray to organize cables. This improves airflow and aesthetics. Zip ties are included for assistance.
3. Istruzioni per l'uso
3.1 I/O del pannello frontale

Figure 3: Front panel I/O ports located on the top of the case.
- Pulsante di accensione: Premere per accendere/spegnere il sistema.
- Pulsante di reset: Premere per riavviare il sistema.
- Porta USB 3.1 di tipo C: Per il trasferimento dati ad alta velocità.
- Porte USB: 3.0 For connecting USB 3.0 compatible devices.
- Porte USB: 2.0 For connecting USB 2.0 compatible devices.
- Jack audio HD: Per collegare cuffie e microfoni.
3.2 Accensione iniziale
- Ensure all components are securely installed and cables are properly connected.
- Collegare il cavo di alimentazione all'alimentatore e a una presa a muro.
- Premere il pulsante di accensione sul pannello frontale per avviare il sistema.
4. Manutenzione
Regular maintenance ensures optimal performance and longevity of your computer case and components.
4.1 Pulizia dei filtri antipolvere
The Rosewill Helium NAS case features removable dust filters on the top and bottom for easy cleaning.
- Gently pull out the bottom dust filter.
- The top mesh panel is magnetic and can be easily lifted off.
- Clean the filters using compressed air or a soft brush to remove accumulated dust.
- Reinstall the filters once clean.
4.2 Pulizia generale
- Utilizzare un panno morbido e asciutto per pulire le superfici esterne della custodia.
- For interior cleaning, use compressed air to remove dust from fans and components. Ensure the system is powered off and unplugged before cleaning.
5. Risoluzione Dei Problemi
Questa sezione fornisce soluzioni ai problemi più comuni che potresti riscontrare.
- Il sistema non si accende:
- Check all power connections, including the PSU, motherboard, and front panel power switch cables.
- Assicurarsi che l'interruttore dell'alimentatore sia in posizione "ON".
- Componenti surriscaldati:
- Verify all case fans are spinning correctly.
- Pulire i filtri antipolvere e i componenti interni per migliorare il flusso d'aria.
- Assicurarsi che il dissipatore della CPU e le ventole della GPU funzionino.
- Rumore eccessivo della ventola:
- Check for loose cables or obstructions hitting fan blades.
- Ensure fans are securely mounted.
- Adjust fan speeds through motherboard BIOS or software if supported.
- I/O del pannello frontale non funzionanti:
- Verify that all front panel cables (USB, Audio, Power, Reset) are correctly connected to the motherboard headers.
6. Specifiche
| Caratteristica | Specificazione |
|---|---|
| Marca | Rosato |
| Serie | Helium NAS |
| Nome del modello | Helium NAS |
| Numero modello articolo | B0DP3PQFKW |
| Tipo di caso | Mid Tower |
| Compatibilità della scheda madre | ATX |
| Colore | Nero |
| Materiale | Alluminio, acciaio inossidabile |
| Peso dell'articolo | 19.71 libbre |
| Dimensioni del prodotto (LxWxH) | 25 x 24.41 x 12.68 pollici |
| 3.5" HDD Support | Fino a 10 |
| 2.5" SSD Support | Fino a 3 |
| Ventole preinstallate | 4 ventole PWM da 140 mm |
| Metodo di raffreddamento | Air, Water (360 AIO Radiator Support) |
| Front Panel USB 2.0 Ports | 2 |
| Front Panel USB 3.0 Ports | 2 |
| Usi consigliati | AI Server, Media Server, NAS, Workstation |
7. Garanzia e supporto
For warranty information, technical support, or further assistance, please refer to the official Rosewill webo contattare il servizio clienti. Conservare la ricevuta d'acquisto per eventuali reclami in garanzia.