1. Introduzione
This manual provides essential information for setting up, operating, and maintaining your GenMachine Mini PC AMD Ryzen 7 7735HS. Please read this manual thoroughly before using the device to ensure proper functionality and safety.
2. Informazioni sulla sicurezza
Per evitare danni al dispositivo o lesioni personali, attenersi alle seguenti linee guida di sicurezza:
- Non esporre il dispositivo ad acqua, umidità o temperature estreme.
- Assicurare una ventilazione adeguata per evitare il surriscaldamento. Non bloccare le aperture di ventilazione.
- Utilizzare esclusivamente l'adattatore di alimentazione fornito.
- Evitare di far cadere o sottoporre il dispositivo a forti impatti.
- Non tentare di aprire o riparare il dispositivo da soli. Per qualsiasi intervento di assistenza, rivolgersi a personale qualificato.
3. Contenuto della confezione
Verificare che tutti gli articoli siano presenti nel pacco:
- Mini PC GenMachine
- Manuale d'uso
- Adattatore di alimentazione
- Cavo HDMI
- Staffa di montaggio (con viti)

Immagine: Contenuto della confezione. This image displays the items included in the GenMachine Mini PC box: the Mini PC unit, user manual, power adapter, HDMI cable, and a mounting bracket with screws.
4. Prodotto finitoview
The GenMachine Mini PC is a compact, high-performance computer designed for various applications, from home office tasks to multimedia consumption. Its small footprint allows for versatile placement.

Immagine: Frontale View of GenMachine Mini PC. This image shows the front panel of the GenMachine Mini PC, featuring the power button, USB-C port, audio jack, and two USB 3.0 ports.
4.1 Pannello frontale
- Pulsante di accensione: Premere per accendere/spegnere il dispositivo.
- Porta USB-C: Per il trasferimento dei dati e l'output del display.
- Jack audio: Per cuffie o altoparlanti esterni.
- Porte USB 3.0 (x2): Per collegare periferiche come tastiere, mouse o dispositivi di archiviazione esterni.
4.2 Pannello posteriore

Immagine: Posteriore View of GenMachine Mini PC. This image illustrates the rear panel of the Mini PC, highlighting the power input, HDMI ports, Ethernet ports, and additional USB ports.
- Ingresso alimentazione (DC IN): Collegare qui l'alimentatore.
- Porte HDMI (x2): Connect to monitors or TVs for video output. Supports 4K resolution.
- Porte Ethernet (x2): For wired network connections (Dual 2.5G).
- Porte USB 2.0 (x2): Per collegare vari dispositivi USB.
4.3 Design e dimensioni

Image: GenMachine Mini PC Size Comparison. This image compares the compact size of the GenMachine Mini PC to a traditional tower chassis, illustrating its space-saving design. Dimensions are shown as 126mm x 130mm x 40mm.
The GenMachine Mini PC features an ultra-durable, lightweight metal casing. Its compact design (approximately 126 x 130 x 40 mm) makes it significantly smaller than traditional desktop computers, ideal for any work environment.
5. Impostazione
5.1 Collegamento delle periferiche
- Connect your monitor(s) to the HDMI ports or the USB-C port using appropriate cables.
- Collega la tastiera e il mouse USB alle porte USB disponibili.
- If using wired internet, connect an Ethernet cable to one of the Ethernet ports.
- Connect the power adapter to the DC IN port on the Mini PC, then plug it into a power outlet.
5.2 Accensione
Press the power button on the front panel of the Mini PC. The power indicator light will illuminate, and the system will begin to boot.
5.3 Configurazione iniziale del sistema operativo
Upon first boot, you will be guided through the operating system setup process (e.g., Windows 11). Follow the on-screen instructions to configure language, region, network, and user accounts.
6. Istruzioni per l'uso
6.1 Connettività di rete
- Wifi: During initial setup or via the operating system's network settings, select your Wi-Fi network and enter the password. The Mini PC supports Wi-Fi 6 for faster and more stable wireless connections.
- Collegamento Ethernet: If an Ethernet cable is connected, the system should automatically detect and connect to the wired network. The Mini PC features dual 2.5G network ports for enhanced connectivity.
6.2 Dispositivi Bluetooth
The Mini PC supports Bluetooth 5.2. To pair a Bluetooth device (e.g., headphones, keyboard, mouse):
- Enable Bluetooth on your device and set it to pairing mode.
- On the Mini PC, go to the operating system's Bluetooth settings.
- Cercare and select your device from the list, then follow any on-screen prompts to complete pairing.
6.3 Configurazione multi-display
The GenMachine Mini PC supports up to four displays simultaneously, utilizing its two HDMI ports and one full-function USB-C port (which supports 4K display output).
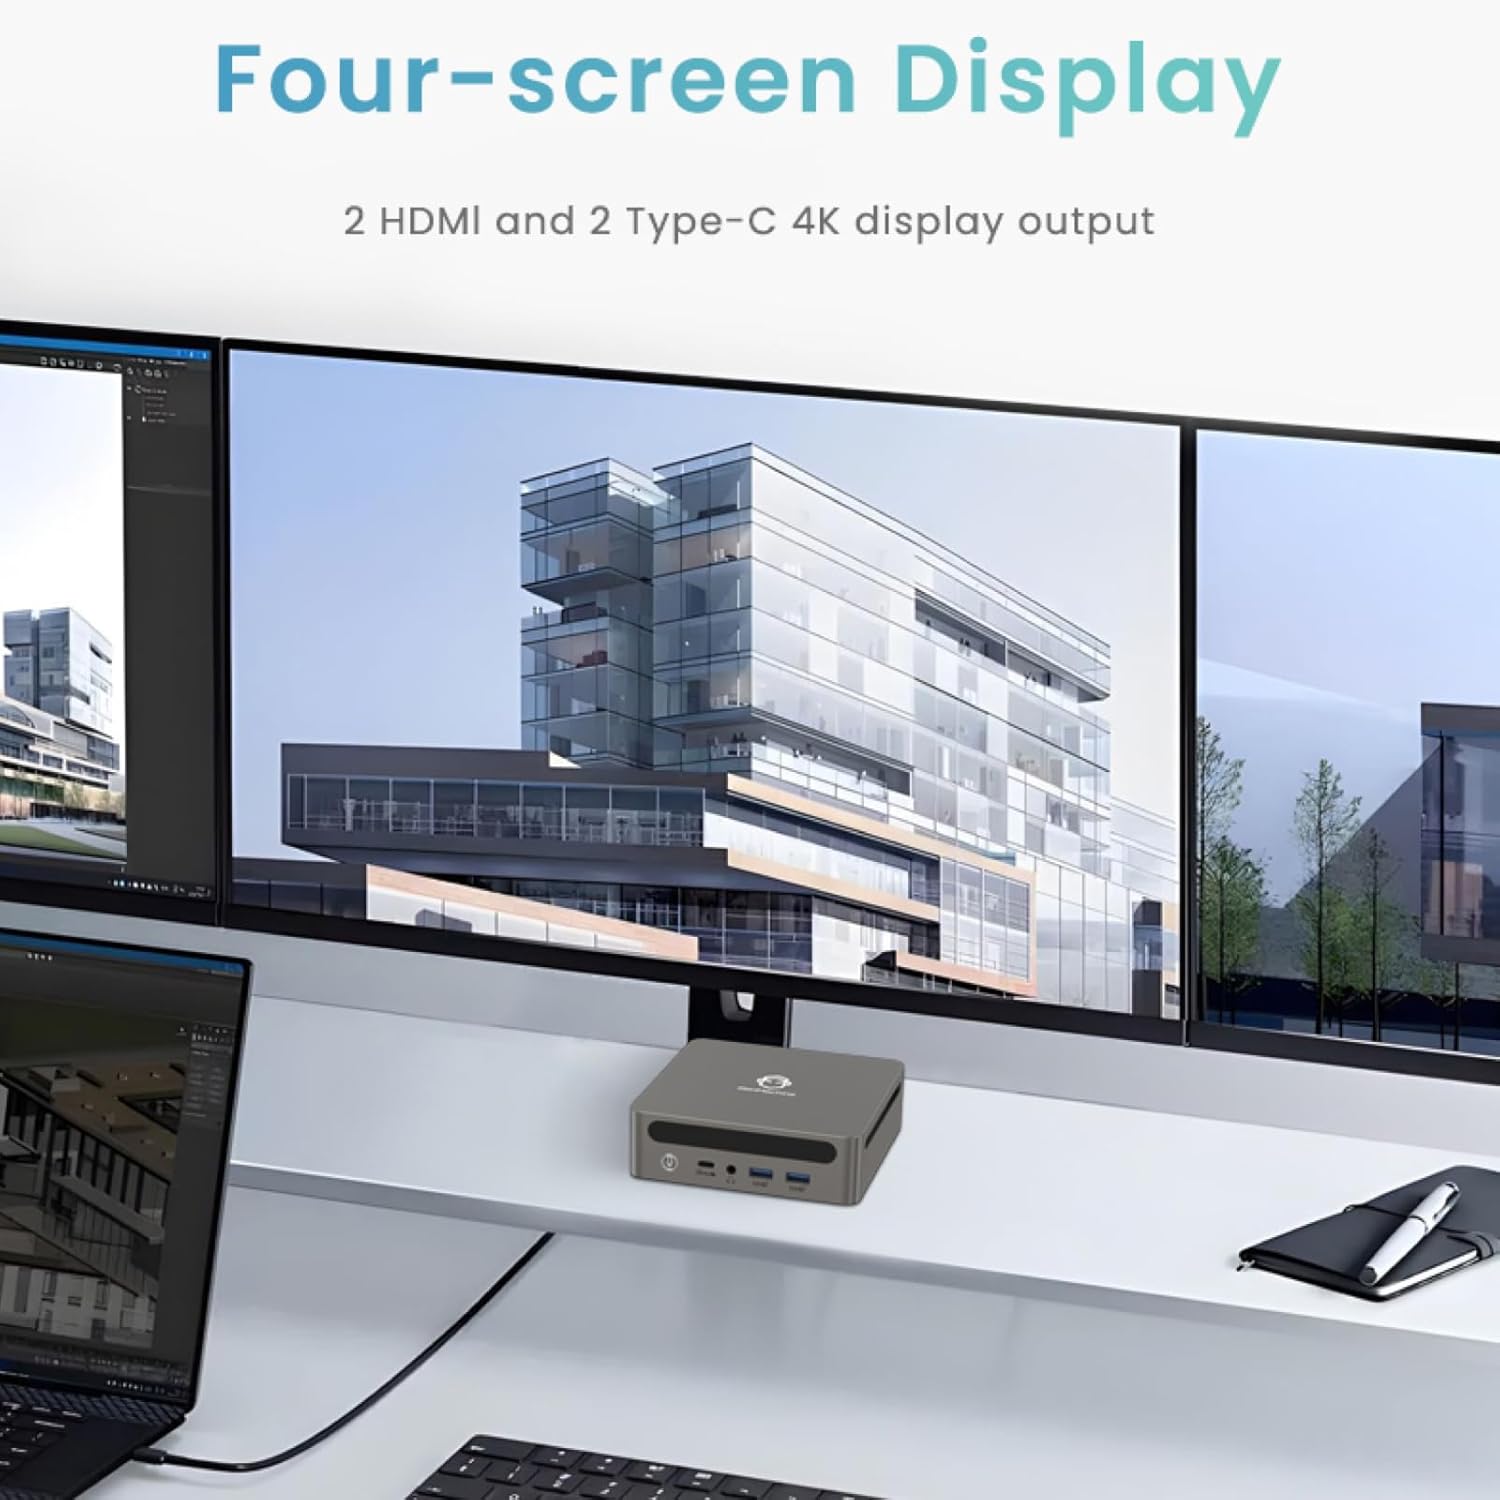
Image: Four-Screen Display Setup. This image demonstrates the GenMachine Mini PC connected to four monitors, showcasing its multi-display capabilities for enhanced productivity.
To configure multiple displays, connect your monitors and then adjust display settings within your operating system (e.g., Extend, Duplicate, or Second screen only).
7. Manutenzione
7.1 Pulizia
Regularly clean the exterior of the Mini PC with a soft, dry cloth. For stubborn dirt, slightly dampen the cloth with water. Do not use harsh chemicals or abrasive cleaners. Ensure ventilation openings are free of dust buildup.
7.2 Aggiornamenti software
Keep your operating system and drivers updated to ensure optimal performance and security. Check for updates regularly through your operating system's settings.
7.3 Conservazione
When not in use for extended periods, store the Mini PC in a cool, dry place, away from direct sunlight and extreme temperatures.
8. Risoluzione Dei Problemi
| Problema | Possibile causa | Soluzione |
|---|---|---|
| Nessun potere | Adattatore di alimentazione non collegato; presa di corrente difettosa. | Ensure power adapter is securely connected to the Mini PC and a working power outlet. Try a different outlet. |
| Nessuna visualizzazione sul monitor | Monitor non collegato; sorgente di ingresso selezionata sul monitor errata; cavo difettoso. | Check HDMI/USB-C cable connections. Ensure the monitor is set to the correct input source. Try a different cable or monitor. |
| Wi-Fi non connesso | Incorrect password; router issue; Wi-Fi adapter driver issue. | Verify Wi-Fi password. Restart your router. Check operating system settings for Wi-Fi adapter status and drivers. |
| Il sistema è lento o non risponde | Too many applications running; insufficient free storage; outdated drivers. | Close unnecessary applications. Free up disk space. Update operating system and drivers. Restart the Mini PC. |
9. Specifiche
The following table details the technical specifications of the GenMachine Mini PC AMD Ryzen 7 7735HS:
| Caratteristica | Dettaglio |
|---|---|
| Processore | AMD Ryzen 7 7735HS (3.2 GHz, 8 Cores, 16 Threads, up to 4.75 GHz Max Boost Clock) |
| Grafica | AMD Radeon Graphics (Integrated, 680 MB RAM) |
| Memoria RAM | 32GB LPDDR5 (up to 6400 Mb/s) |
| Magazzinaggio | 512GB 2280 SSD (PCIE x 16 interface) |
| Sistema operativo | OS (Windows 11 typically pre-installed) |
| Uscita video | 2x HDMI (4K @ 60Hz), 1x USB-C (4K display output), supports up to 3 displays |
| Porte USB | 2x USB 3.0, 2x USB 2.0, 1x USB-C (full-function USB 4.0 port) |
| Fare rete | Wi-Fi 6, Bluetooth 5.2, Dual 2.5G Ethernet |
| Audio | Presa audio |
| Dimensioni | 6.34 x 6.3 x 3.62 pollici (circa 16.1 x 16 x 9.2 cm) |
| Peso | 2.4 libbre (circa 1.09 kg) |
| Colore | scheggia |

Image: AMD Ryzen 7 7735HS Processor. This image highlights the specifications of the AMD Ryzen 7 7735HS processor, including its 8 cores, 16 threads, and up to 4.75 GHz max boost clock.

Image: LPDDR5 Memory Performance. This image illustrates the enhanced speed of LPDDR5 RAM, showing a 50% increase in maximum DRAM bandwidth compared to LPDDR4X, reaching up to 6400 Mb/s.
10. Garanzia e supporto
For warranty information and technical support, please refer to the documentation included with your purchase or visit the official GenMachine websito. Conservare la prova d'acquisto per eventuali reclami in garanzia.
For further assistance, you may contact GenMachine customer service through their official channels.