
CYCPLUS M2 + Z3
Manuale utente del computer da bici GPS CYCPLUS M2 + supporto per bici Z3
Comprehensive guide for your CYCPLUS M2 GPS Bike Computer and Z3 Bike Mount.
1. Introduzione
This manual provides detailed instructions for the setup, operation, and maintenance of your CYCPLUS M2 GPS Bike Computer and Z3 Bike Mount. Please read this manual thoroughly before using the product to ensure optimal performance and longevity.
2. Prodotto finitoview
The CYCPLUS M2 GPS Bike Computer is designed to provide comprehensive cycling data, while the Z3 Bike Mount ensures secure and optimal positioning on your integrated handlebar.
2.1 Componenti inclusi
- Computer da bici GPS CYCPLUS M2 (1 unità)
- CYCPLUS Z3 Bike Mount (1 unit)
2.2 Caratteristiche principali
- Design unico: Equipped with a 2.5-inch anti-dazzling LCD screen for clear readability.
- Visualizzazione completa dei dati: Displays up to 12 different data points across 3 switchable tables, including Odometer, Current Speed, Max Speed, Average Speed, Cadence, Heart Rate, Ascent, Power, Altitude, Gradient, and more.
- Compatibilità ANT+: Compatible with all ANT+ devices for expanded sensor integration.
- Durata prolungata della batteria: È dotato di una batteria al litio da 1000 mAh, che garantisce fino a 70 ore di utilizzo con una singola carica completa.
- IPX6 impermeabile: Designed to withstand rainy weather conditions.
- Z3 Mount Compatibility: Specifically designed for integrated handlebars, compatible with CYCPLUS, Garmin, Igpsport, and XOSS cycling computers.

Figura 2.1: The CYCPLUS M2 GPS Bike Computer and the Z3 Bike Mount. The M2 computer features a round display with various data fields, while the Z3 mount is a sleek, forward-extending bracket.

Figura 2.2: Dimensions of the CYCPLUS M2 computer (69mm diameter, 22mm thickness) and a summary of its key features: 10s GPS Positioning, 70h+ Battery Endurance, 2.5" Large Screen, IPX6 Waterproof, Auto Backlight, and ANT+ & Bluetooth connectivity.

Figura 2.3: Illustration of the 2.5-inch large screen displaying various data metrics such as Current Speed, Max Speed, Average Speed, Cadence, Heart Rate, Power, Altitude, Gradient, Ascent, Odometer, Trip Time, Trip Distance, Temperature, Clock, Lap, GPS status, LED Backlight status, Bluetooth, and ANT+ connection indicators.
3. Impostazione
3.1 Installing the Z3 Bike Mount
The Z3 bike mount is designed for integrated handlebars. Ensure your handlebar is compatible before installation. It is not suitable for round tube or split handlebars. For those, consider the CYCPLUS Z1 mount.
- Identify the appropriate mounting position on your integrated handlebar, typically centered.
- Secure the Z3 mount to the handlebar using the provided screws, ensuring it is firmly attached and does not obstruct your view o controlli.
- Verify the mount is stable and does not wobble.

Figura 3.1: The Z3 bike mount shown with a CYCPLUS computer, demonstrating its compatibility with various cycling computers including Garmin, Igpsport, and XOSS. The image highlights the secure attachment mechanism of the mount.
3.2 Collegamento del ciclocomputer M2
- Align the back of the M2 bike computer with the mounting interface on the Z3 mount.
- Gently push and twist the M2 computer clockwise until it clicks securely into place.
- Ensure the computer is firmly locked and does not rotate freely.
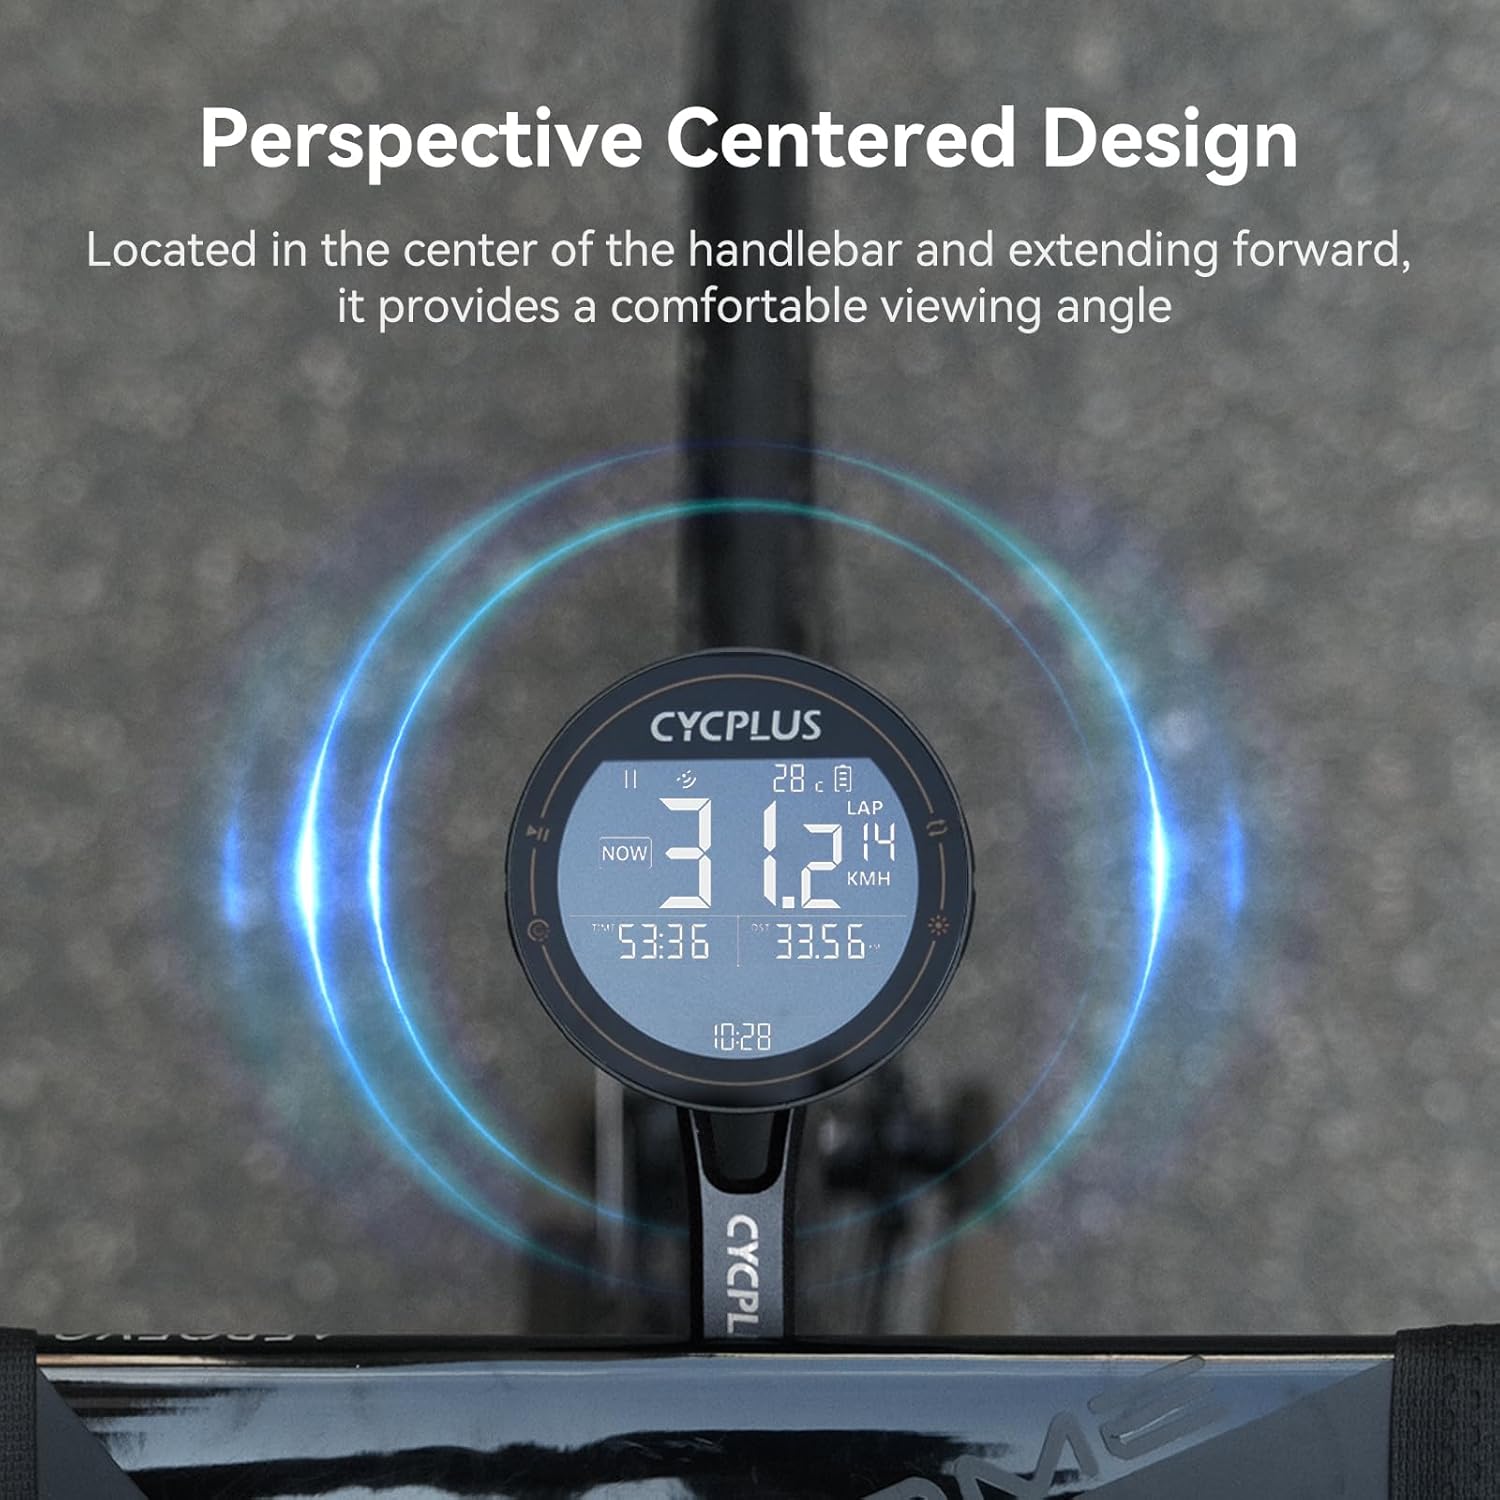
Figura 3.2: The CYCPLUS M2 computer mounted centrally on a handlebar, illustrating its perspective-centered design for optimal viewing angle during rides.
3.3 Initial Power On and GPS Positioning
Upon first power-on, the device will attempt to acquire a GPS signal. For accurate and rapid positioning, ensure you are in an open, unobstructed environment.

Figura 3.3: The CYCPLUS M2 computer demonstrating its ability to achieve accurate GPS positioning within 10 seconds when in an open environment, allowing for effortless journey tracking.
4. Istruzioni per l'uso
4.1 Funzionamento di base
- Accensione/spegnimento: Press and hold the power button (location typically on the side or bottom) to turn the device on or off.
- Navigazione sullo schermo: Use the designated buttons (refer to device layout) to switch between the 3 available data display tables.
- Retroilluminazione: The device features an auto-backlight function for improved visibility in varying light conditions.
4.2 Collegamento dei sensori ANT+
The M2 computer supports ANT+ connectivity, allowing you to pair with external sensors such as heart rate monitors, cadence sensors, and power meters. Once paired, the device will automatically connect to these sensors when in range.

Figura 4.1: The CYCPLUS M2 computer demonstrating its compatibility with ANT+ sensors, allowing connection to multiple sensors simultaneously for data such as heart rate (BPM), cadence (RPM), and power (W).
4.3 Using the CYCPLUS FIT App
Enhance your cycling experience by connecting your M2 computer to the CYCPLUS FIT app. The app allows for data synchronization, analysis, and viewing of your sports data. Download the "CYCPLUS Fit" app from the App Store or Google Play.

Figura 4.2: Screenshot of the CYCPLUS FIT app interface, highlighting features such as Data Synchronization, Data Analysis, and Viewing Sports Data. The app is available on Google Play and the App Store.
The app also supports uploading and analyzing data, and can synchronize data to Strava for comprehensive ride tracking.
5. Manutenzione
5.1 Ricarica del dispositivo
The M2 computer is equipped with a 1000 mAh lithium battery. To charge, connect the device to a power source using a standard USB Type-C cable. A full charge provides approximately 70 hours of usage.

Figura 5.1: The CYCPLUS M2 computer highlighting its 70-hour battery endurance, suitable for long outdoor rides. The image also shows the Type-C charging port.
5.2 Impermeabilizzazione
The device has an IPX6 waterproof rating, meaning it is protected against powerful water jets. While it can withstand rain, avoid submerging the device in water.
5.3 Pulizia
Wipe the device and mount with a soft, damp panno. Non usare detergenti abrasivi o solventi.
6. Risoluzione Dei Problemi
| Problema | Possibile causa | Soluzione |
|---|---|---|
| Il dispositivo non si accende. | Batteria scarica. | Caricare completamente il dispositivo utilizzando il cavo USB Type-C in dotazione. |
| Segnale GPS non acquisito. | Ostruito view of sky; indoor use. | Spostarsi in un'area esterna aperta con una chiara view of the sky. Wait for 10-30 seconds for signal acquisition. |
| ANT+ sensor not connecting. | Sensor not active; out of range; battery low on sensor. | Ensure sensor is active and within range. Check sensor battery. Re-pair the sensor if necessary. |
| Data not syncing with app. | Bluetooth off; app not open; device not paired. | Ensure Bluetooth is enabled on your phone and the M2. Open the CYCPLUS FIT app. Confirm device is paired in the app settings. |
7. Specifiche
| Caratteristica | Dettaglio |
|---|---|
| Marca | CICLUS |
| Modello | M2 (Computer) + Z3 (Mount) |
| Tipo di visualizzazione | LCD, 2.5-inch anti-dazzling |
| Durata della batteria | Fino a 70 ore |
| Capacità della batteria | Litio da 1000 mAh |
| Tipo di sensore | Sensore GPS |
| Connettività | ANT +, Bluetooth |
| Grado di impermeabilità | Grado di protezione IPX6 |
| Tipo di montaggio | Handlebar Mount (Z3 for integrated handlebars) |
| Input dell'interfaccia umana | Pulsanti |
| Colore | Nero |
8. Garanzia e supporto
8.1 Informazioni sulla garanzia
This product is typically covered by a return policy allowing for refunds or replacements within 30 days of purchase. Please refer to your purchase documentation or retailer's policy for specific warranty terms and conditions.
8.2 Assistenza clienti
For technical assistance, troubleshooting, or product inquiries, please contact CYCPLUS customer support. You can often find contact information on the official CYCPLUS websito o tramite la tua piattaforma di acquisto.
Visit the official CYCPLUS Store: Negozio CYCPLUS su Amazon
Ask a question about this manual
Ask about setup, troubleshooting, compatibility, parts, safety, or missing instructions. Manuals+ will review the question and use this page’s manual context to help answer it.