Introduzione
Thank you for choosing the Lulive Fluted 3-Drawer Nightstand. This modern side table is designed to enhance your bedroom or living space with its elegant fluted design and practical features, including an integrated charging station. This manual provides detailed instructions for assembly, operation, maintenance, and safety to ensure you get the most out of your new furniture.
Informazioni sulla sicurezza
Si prega di leggere attentamente tutte le istruzioni prima del montaggio e dell'uso. Conservare queste istruzioni per riferimento futuro.
- Sicurezza antiribaltamento: To prevent serious injury, this furniture must be securely attached to the wall using the provided anti-tip hardware. Always ensure the dresser is stable and cannot tip over, especially in households with children.
- Capacità di peso: Do not overload drawers or the top surface. Refer to specifications for maximum weight limits.
- Montaggio: Assembly should be performed by two adults. Ensure all fasteners are tightened securely before use. Periodically check and re-tighten fasteners as needed.
- Sicurezza elettrica: The integrated charging station is for indoor use only. Do not expose to moisture. Ensure the power cord is not pinched or damaged.
- Protezioni angolari: Optional corner protectors are included to prevent accidental bumps and scratches.
Contenuto della confezione
Verify that all components listed below are present before beginning assembly. If any parts are missing or damaged, please contact customer service.

Figure 1: All components included in the package, laid out for inspection.
The package includes various wooden panels, drawer slides, hardware (screws, dowels, cam locks), wooden legs, a power strip with USB ports, and an assembly guide. A screwdriver and Allen wrench are typically provided.
Istruzioni di montaggio
Seguire attentamente questi passaggi per un corretto montaggio. È disponibile un video di montaggio per guida visiva.
Video 1: Detailed assembly steps for the Lulive 3-Drawer Nightstand, provided by the manufacturer.
Step 1: Prepare Drawer Slides
Separate the inner and outer parts of the drawer slides. Locate the latch position, press it, and split the slide into two sections. You will have 3 sets of slides, each with an inner (J1) and outer (J2) part.
Step 2: Attach Outer Slides to Side Panels
Attach the outer parts of the drawer slides (J1) to the designated side panels (labeled 1 and 2) using screws (C). Ensure they are aligned correctly with the pre-drilled holes.
Fase 3: collegare i pannelli laterali
Insert wooden dowels (K) and cam lock screws (A) into the side panels (1 and 2). Connect the middle support panel (labeled 3) between the two side panels using cam locks (B). Turn the cam locks 160-180 degrees to tighten.
Step 4: Attach Bottom Panel
Secure the bottom panel (labeled 5) to the assembled frame using cam lock screws (N) and cam locks (L). Ensure the panel is oriented correctly.
Step 5: Install Wooden Legs
Attach the four wooden legs (H) to the metal plates on the bottom panel (5). Twist them clockwise until securely fastened.
Fase 6: Fissare il pannello superiore
Place the top panel (labeled 7) onto the frame. Secure it using cam lock screws (A) and cam locks (B). Ensure the cutout for the charging station is at the back.
Step 7: Install Charging Station
Insert the power strip (F) into the cutout on the top panel. Secure it with screws (C). Route the power cord through the circular hole in the back panel. Use the adhesive covers (M) to conceal visible screw heads.
Fase 8: assemblare i cassetti
For each of the three drawers: Connect the side panels (8, 9, 10) and the bottom panel (11) using screws (I). Attach the fluted front panel (12) to the drawer box using cam lock screws (A) and cam locks (B). Secure the metal handles (G) to the front panels with screws (C).
Fase 9: Inserire i cassetti
Attach the inner parts of the drawer slides (J2) to the sides of each assembled drawer. Carefully align the drawer slides with the corresponding slides in the main frame and push the drawers in until they click into place.
Video 2: Demonstration of drawer slide adjustment and smooth operation.
Step 10: Anti-Tip Installation
Attach the anti-tip brackets to the back of the nightstand and to a wall stud using appropriate hardware. This is a critical safety step.
Istruzioni per l'uso
Utilizzo della stazione di ricarica
The integrated power panel features 2 standard AC outlets (125V/12A) and 2 USB ports (5V/2.1A). Plug the nightstand's main power cord into a wall outlet. You can then plug in and charge multiple devices directly from the top surface of the nightstand.

Figure 2: The integrated charging station provides convenient power access for various devices.
Funzionamento del cassetto
The drawers are equipped with 3-section full extension ball-bearing slides, ensuring smooth and silent operation. To open, gently pull the metal handle. To close, push the drawer firmly until it is fully recessed.

Figure 3: Spacious drawers with smooth and silent sliding mechanisms.
Manutenzione e cura
To maintain the appearance and longevity of your Lulive nightstand, follow these care instructions:
- Pulizia: Pulisci le superfici con la pubblicitàamp cloth, then dry immediately with a clean, dry cloth. Avoid abrasive cleaners or harsh chemicals.
- Fuoriuscite: Pulire immediatamente eventuali fuoriuscite per evitare macchie o danni alla finitura del legno.
- Calore e umidità: Avoid placing hot items directly on the surface. Use coasters under drinks to prevent water rings.
- Luce solare: L'esposizione prolungata alla luce solare diretta può causare sbiadimento o scolorimento.
Risoluzione dei problemi
Se riscontri problemi con il tuo comodino, fai riferimento alle seguenti soluzioni comuni:
- I cassetti non scorrono fluidamente: Verificare che le guide dei cassetti siano installate correttamente e libere da ostruzioni. Assicurarsi che tutte le viti sulle guide siano serrate.
- Drawers misaligned: Verify that the main frame is assembled squarely and that the drawer front panels are attached evenly. Adjust the drawer slides as shown in Video 2 if necessary.
- La stazione di ricarica non funziona: Ensure the main power cord is securely plugged into a functional wall outlet. Check that devices are properly connected to the USB ports or AC outlets.
- Oscillazione: Ensure all assembly screws and cam locks are fully tightened. Check that the wooden legs are securely attached.
Specifiche
- Marca: Lulive
- Nome modello: HI1519
- Dimensioni del prodotto: 15"P x 19.7"L x 26.3"A
- Numero di cassetti: 3
- Materiale: Wood, Metal (FSC-certified panels)
- Colore: Bianco
- Tipo di finitura: Lucido
- Ciabatta elettrica: 2 prese CA (125 V/12 A), 2 porte USB (5 V/2.1 A)
- Lunghezza del cavo di alimentazione: 4.9 piedi
- Tipo di montaggio: Montaggio a pavimento
- Caratteristiche aggiuntive: Space Saving, Fluted Design
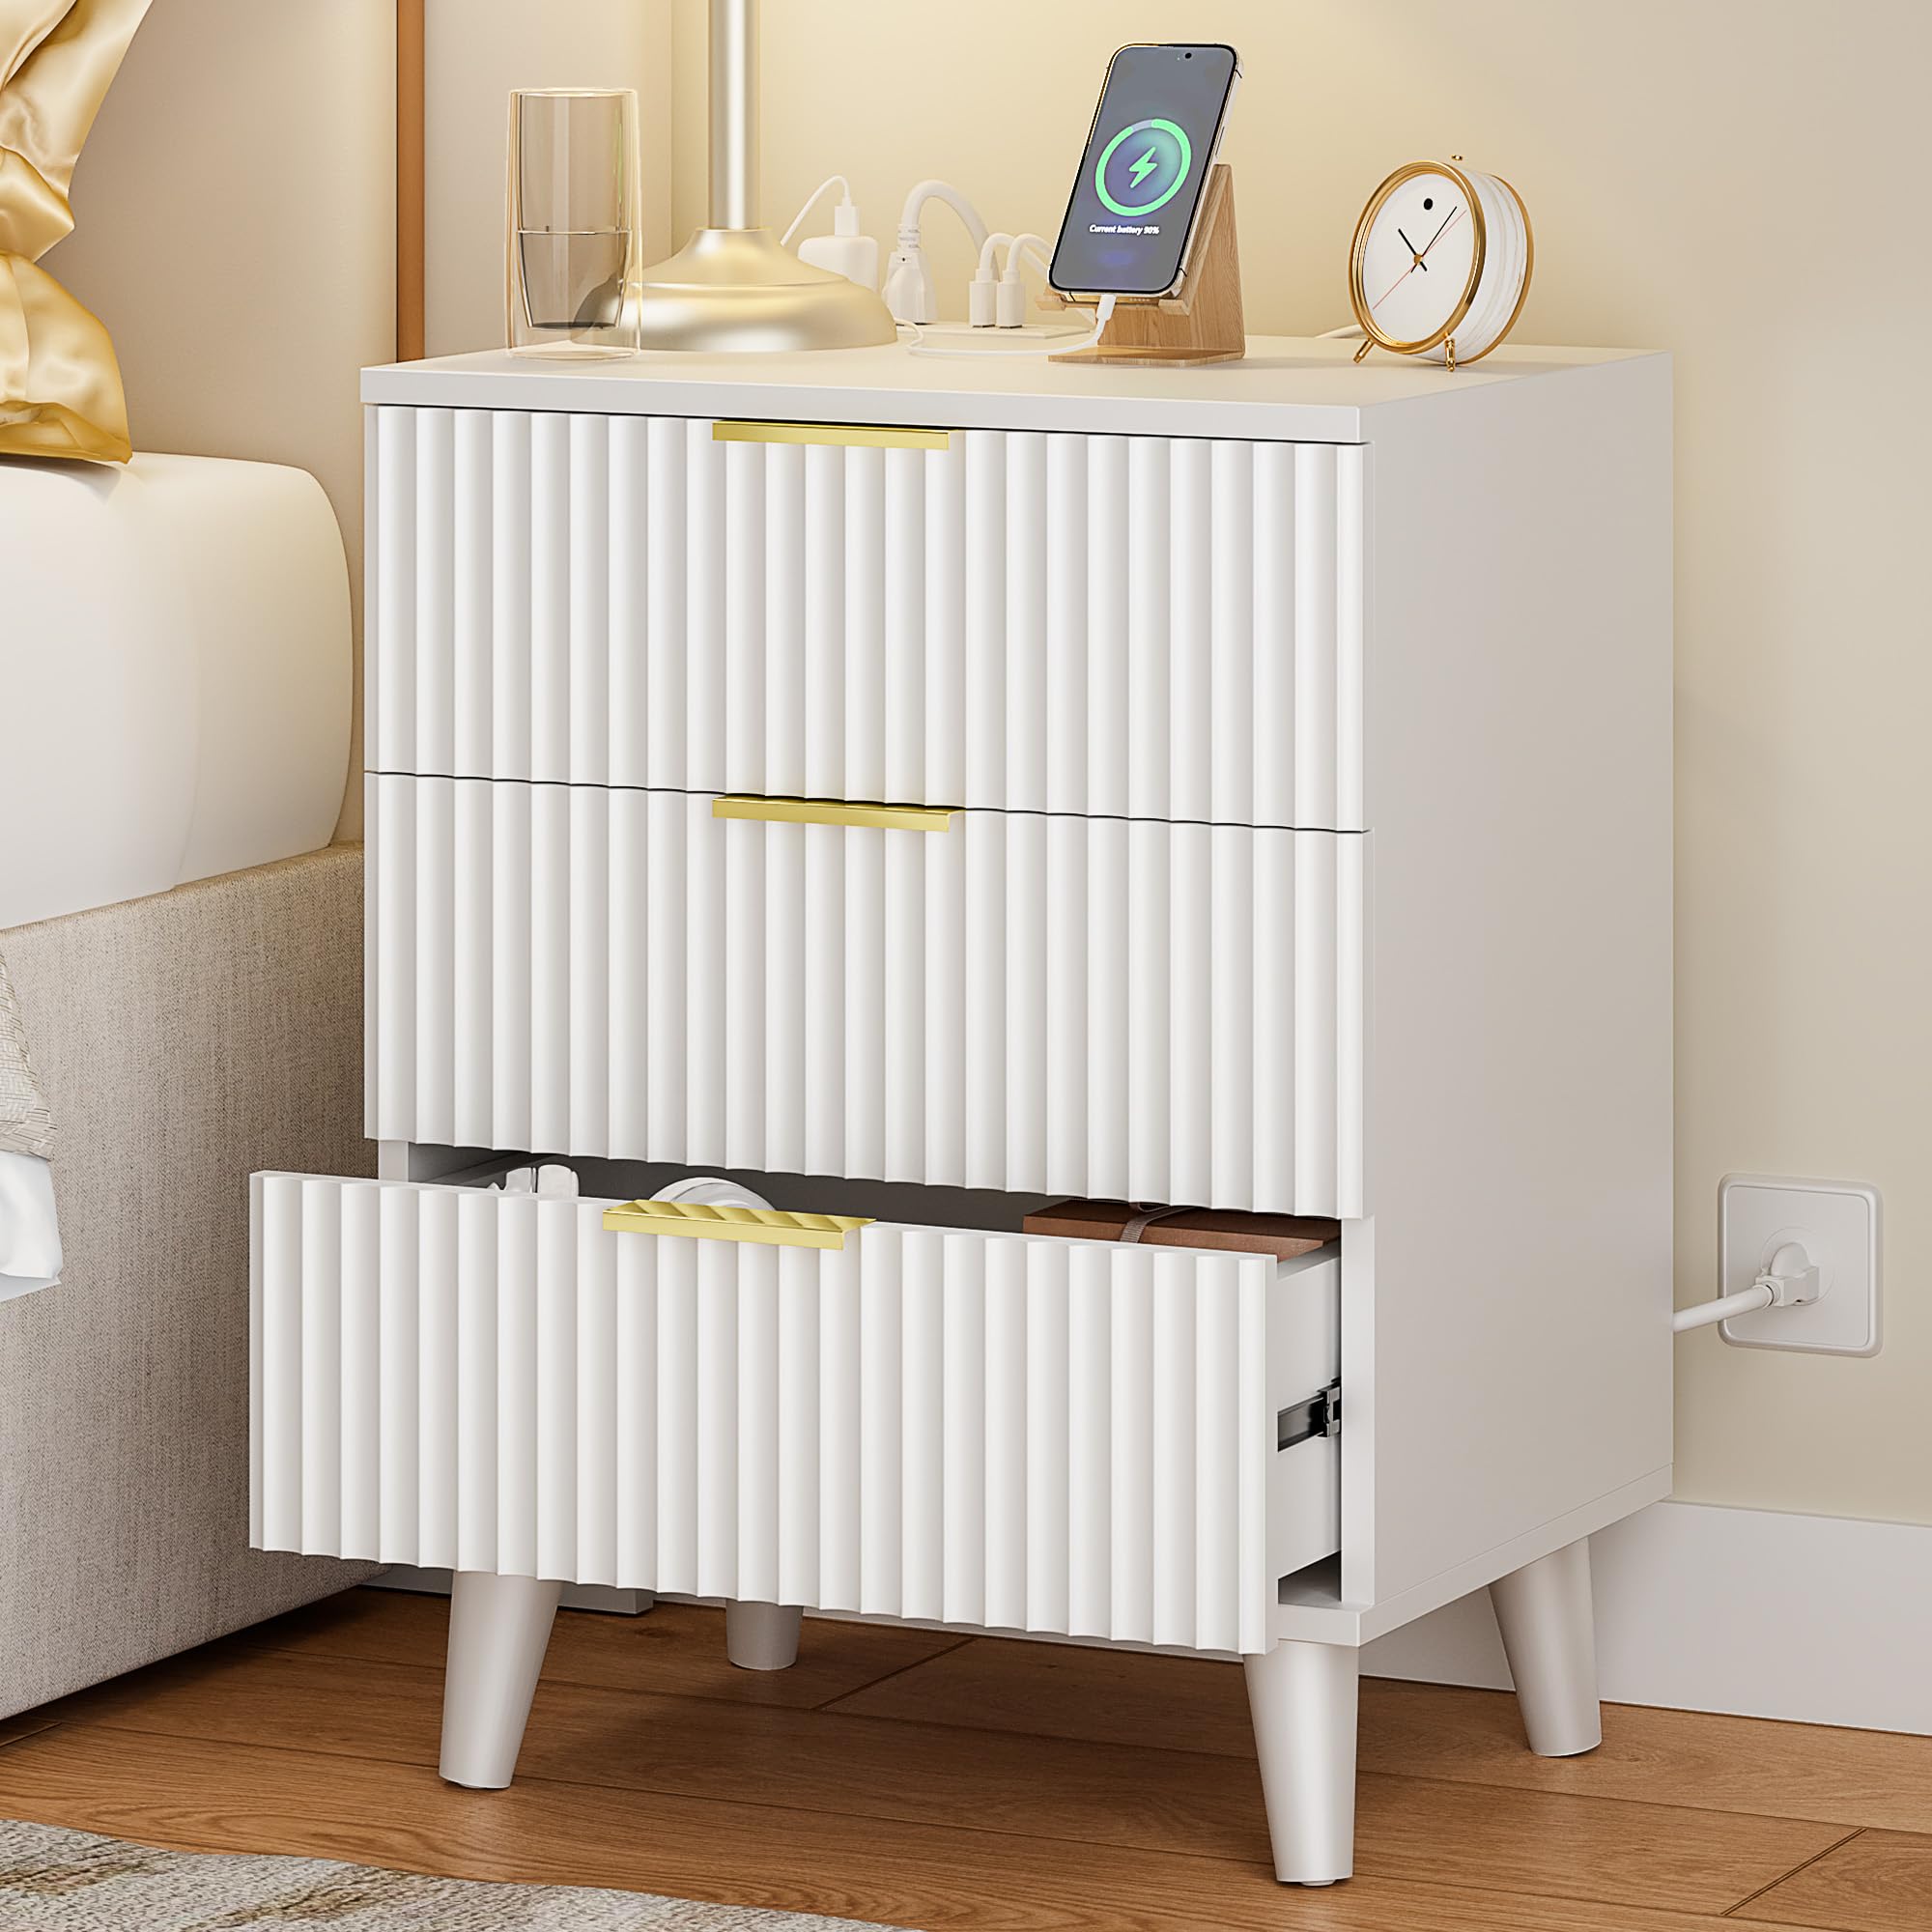
Figure 4: Key product dimensions and features.
Garanzia e supporto
Lulive products come with a Garanzia di 1 anno against manufacturing defects. For any questions, missing parts, or assistance with assembly, please contact our customer service team.
- Orari del servizio clienti: Lun-ven 9:6-XNUMX:XNUMX (PST)
- Telefono: Numero di parte 1-833-449-5777
- E-mail: VIPService68@outlook.com

Figure 5: Lulive Customer Support and Warranty Information.