1. Prodotto finitoview
This document provides essential information for the installation and maintenance of your new Generic replacement control board. This control board is designed to restore proper functionality to a range of refrigerators from brands including KitchenAid, Maytag, Whirlpool, Jenn-Air, Ikea, and Inglis.
The control board is a critical component that manages various refrigerator functions, such as temperature regulation, defrost cycles, and compressor operation. Replacing a faulty control board can resolve common issues like inconsistent cooling, non-functional lights, or error codes.
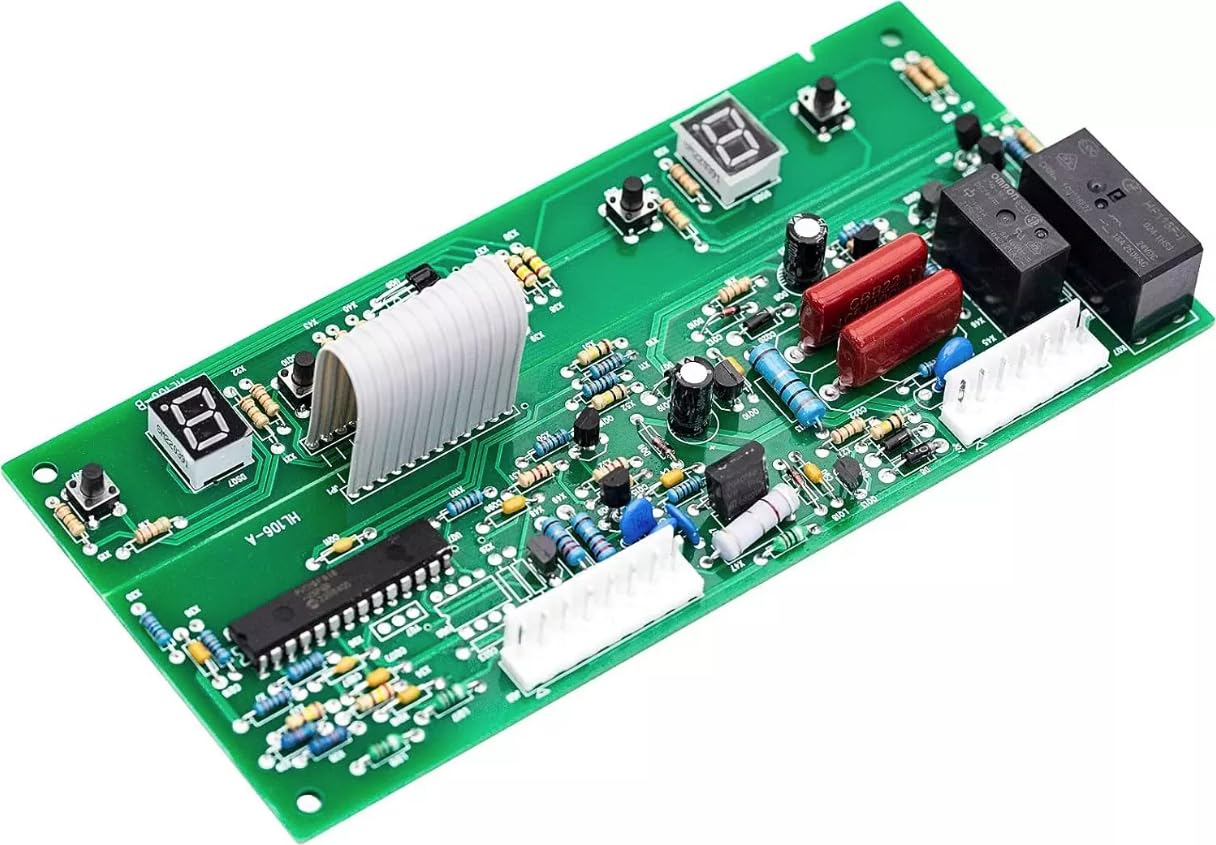
Image 1.1: Generic Replacement Control Board. This image displays the replacement control board, showing its connectors and electronic components. It is designed to replace the original control board in compatible refrigerator models.
2. Informazioni sulla sicurezza
AVVERTIMENTO: Before attempting any installation or repair, always disconnect the refrigerator from its power source to prevent electric shock or injury. Failure to do so can result in serious injury or death.
- Ensure the refrigerator is unplugged from the wall outlet.
- Se non ti senti a tuo agio nell'eseguire riparazioni elettriche, ti consigliamo vivamente di chiedere assistenza a un tecnico qualificato.
- Se necessario, indossare adeguati dispositivi di protezione individuale, come i guanti.
- Handle the new control board carefully to avoid damage to its electronic components.
3. Configurazione e installazione
This replacement control board is intended for direct replacement of the original part. The installation process typically involves accessing the refrigerator's control board compartment, disconnecting the old board, and connecting the new one. Due to variations in refrigerator models, specific steps may differ.
Passaggi generali di installazione:
- Scollegare l'alimentazione: Scollegare il frigorifero dalla presa elettrica.
- Accedi al Pannello di Controllo: Locate the control board compartment, typically at the back of the refrigerator or behind a kick plate. You may need a screwdriver to remove access panels.
- Collegamenti ai documenti: Before disconnecting any wires, take clear photos or make a diagram of all wire connections to the old control board. This will serve as a reference for connecting the new board.
- Scollegare i fili: Carefully disconnect all wire harnesses and connectors from the old control board. Note that some connectors may have locking tabs that need to be pressed or released.
- Rimuovere la vecchia scheda: Svitare o sganciare la vecchia scheda di controllo dalle staffe di montaggio.
- Installa la nuova scheda: Position the new replacement control board in the same location and secure it with screws or clips.
- Ricollegare i fili: Using your photos or diagram as a guide, carefully reconnect all wire harnesses and connectors to the new control board. Ensure all connections are secure and properly seated.
- Pannelli di accesso sicuri: Riposizionare eventuali pannelli di accesso o coperture rimossi.
- Ripristina alimentazione: Ricollegare il frigorifero alla presa elettrica.
- Funzionalità di prova: Monitor the refrigerator for proper operation, including cooling, lighting, and any display functions.
If you encounter any difficulties during installation, consult your refrigerator's specific service manual or contact a professional technician.
4. Principi operativi
The control board acts as the central processing unit for your refrigerator. Once installed and powered, it will automatically manage the refrigerator's various systems based on internal sensors and user settings. There are no direct 'operating' instructions for the control board itself, as its function is to enable the normal operation of the refrigerator.
- It regulates the compressor to maintain desired temperatures in the fresh food and freezer compartments.
- It controls the defrost cycle to prevent ice buildup on the evaporator coils.
- It manages the operation of fans, lights, and other electrical components.
- It processes input from temperature sensors and user interface controls.
If your refrigerator is not operating as expected after the control board replacement, refer to the troubleshooting section.
5. Manutenzione
The replacement control board itself requires no routine maintenance. Its longevity is primarily dependent on stable power supply and proper installation. To ensure the overall health of your refrigerator and its components:
- Ensure the refrigerator is plugged into a properly grounded outlet.
- Avoid overloading the refrigerator, which can strain components.
- Keep the condenser coils clean to ensure efficient operation and prevent overheating of internal components.
- Regularly check door seals for proper closure to maintain temperature and reduce workload on the control board.
6. Risoluzione Dei Problemi
If your refrigerator is not functioning correctly after replacing the control board, consider the following common troubleshooting steps:
Problemi comuni e soluzioni:
- Refrigerator Not Turning On:
- Controllare che il frigorifero sia collegato correttamente a una presa elettrica funzionante.
- Verify the circuit breaker for the refrigerator has not tripped.
- Ensure all wire connections to the new control board are secure.
- Inconsistent Cooling or No Cooling:
- Verificare che le impostazioni della temperatura siano corrette.
- Check if the condenser coils are clean and free of obstructions.
- Assicurarsi che le porte del frigorifero siano ben sigillate.
- Listen for the compressor running. If it's not, there might be an issue with the compressor or a related component, or the control board might not be sending the correct signal.
- Luci non funzionanti:
- Check if the light bulbs are functional.
- Verify connections to the light circuit on the control board.
- Codici di errore visualizzati:
- Consult your refrigerator's user manual for the meaning of specific error codes.
- Some error codes may indicate issues with sensors or other components connected to the control board.
If troubleshooting steps do not resolve the issue, it is advisable to contact a qualified appliance repair technician for further diagnosis.
7. Specifiche
| Attributo | Dettaglio |
|---|---|
| Tipo di prodotto | Scheda di controllo sostitutiva |
| Marca | Generico |
| Numero modello articolo | KBRS19KTWH00 |
| Componenti inclusi | Sostituzione della scheda di controllo |
| Compatibilità | Compatible with numerous KitchenAid, Maytag, Whirlpool, Jenn-Air, Ikea, and Inglis refrigerator models. Examples include KitchenAid KBRS19KTSS01, KBRS19KTSS2, KBRS19KTSS3, KBRS19KTSS4, KBRS19KTSS5, KBRS19KTWH00, KBRS19KTWH01, KBRS19KTWH2, KBRS19KTWH3, KBRS19KTWH4, KBRS19KTWH5; Maytag MSD2357HEQ, MSD2357HES, MSD2357HEW; Whirlpool GX5SHTXVQ00, GX2FHDXVQ03, GX5FHDXVY06, and many more. Refer to the product listing for a comprehensive list of compatible models. |
8. Garanzia e supporto
As a Generic brand replacement part, warranty coverage and support are typically provided by the seller or distributor. Please refer to your purchase documentation or contact the seller directly for information regarding warranty periods, return policies, and technical support.
It is recommended to retain your proof of purchase for any warranty claims or support inquiries.


