
sonecesiya YES0237M
sonecesiya Accessories Kit Instruction Manual for Dreame W10 / W10 Pro Robot Vacuum Cleaner
Model: YES0237M
Introduzione
This instruction manual provides detailed guidance for the installation, maintenance, and replacement of components within the sonecesiya Accessories Kit for Dreame W10 and W10 Pro Robot Vacuum Cleaners. Proper use and maintenance of these replacement parts will help ensure your robot vacuum operates efficiently and maintains optimal cleaning performance.
Prodotto finitoview
The sonecesiya Accessories Kit (Model YES0237M) is designed to provide essential replacement parts for your Dreame W10 or W10 Pro robot vacuum cleaner. The kit includes:
- 1 Spazzola principale
- 2 spazzole laterali
- 2 Filtri
- 2 tamponi per mop
- 1 strumento di pulizia

Image: All components included in the sonecesiya Accessories Kit, featuring one main brush, two side brushes, two filters, two mop pads, and a cleaning tool.
Compatibilità
This accessory kit is specifically compatible with the following robot vacuum cleaner models:
- Dreame W10 Robot Vacuum Cleaner
- Dreame W10 Pro Robot Vacuum Cleaner
Ensure your robot vacuum model matches one of the listed models for proper fit and function.
Istruzioni per l'installazione
1. Main Brush Installation
- Turn off the robot vacuum cleaner and place it upside down on a flat surface.
- Locate the main brush cover, usually secured by latches or screws. Open or remove the cover.
- Rimuovere la vecchia spazzola principale.
- Insert the new main brush into its designated slot, ensuring the ends align with the brush bearings.
- Chiudere bene il coperchio della spazzola principale.
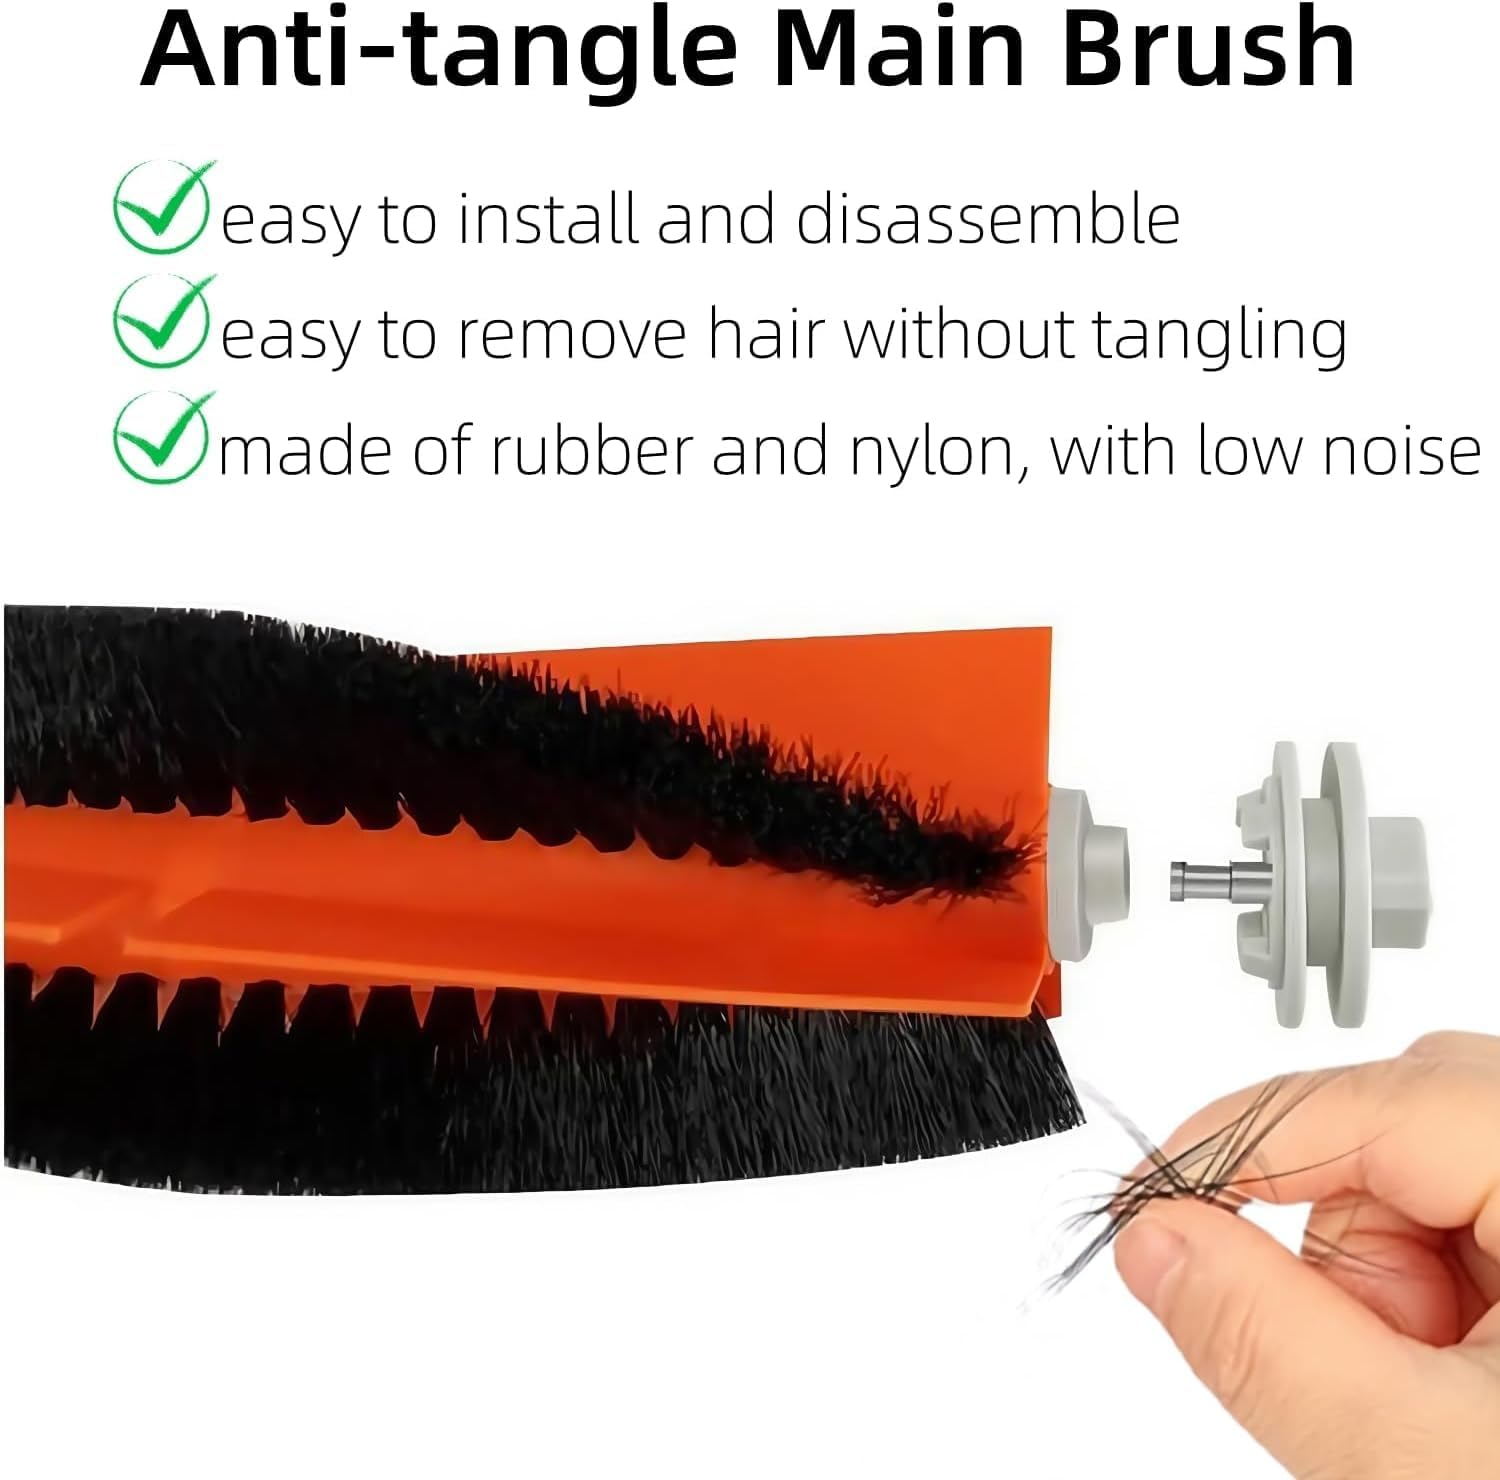
Image: The main brush, highlighting its anti-tangle design and ease of installation and disassembly. It is constructed from rubber and nylon for reduced noise.

Immagine: Un dettaglio view of the main brush, showing its bristles and orange core, ready for installation.
2. Installazione della spazzola laterale
- Turn off the robot vacuum cleaner and place it upside down.
- Individuare le spazzole laterali. Di solito sono tenute in posizione da una vite.
- Svitare e rimuovere la vecchia spazzola laterale.
- Allineare la nuova spazzola laterale al montante e fissarla con la vite.
3. Installazione del filtro
- Aprire il vano del contenitore della polvere del robot aspirapolvere.
- Rimuovere la pattumiera.
- Locate the filter within the dustbin. Remove the old filter.
- Insert the new filter into the dustbin, ensuring it is seated correctly.
- Chiudere il contenitore della polvere e reinserirlo nell'aspirapolvere.

Image: A high-efficiency particulate arrestance filter, designed to capture 99.97% of particles as small as 0.3 microns, preventing them from re-entering the air.

Immagine: un primo piano view of the filter, showing its pleated design for maximum surface area and filtration efficiency.
4. Installazione del panno per mocio
- Locate the mop pad attachment area on the underside of the robot vacuum.
- Remove the used mop pads.
- Attach the new mop pads, ensuring they are securely fastened, typically via Velcro or a clip mechanism.
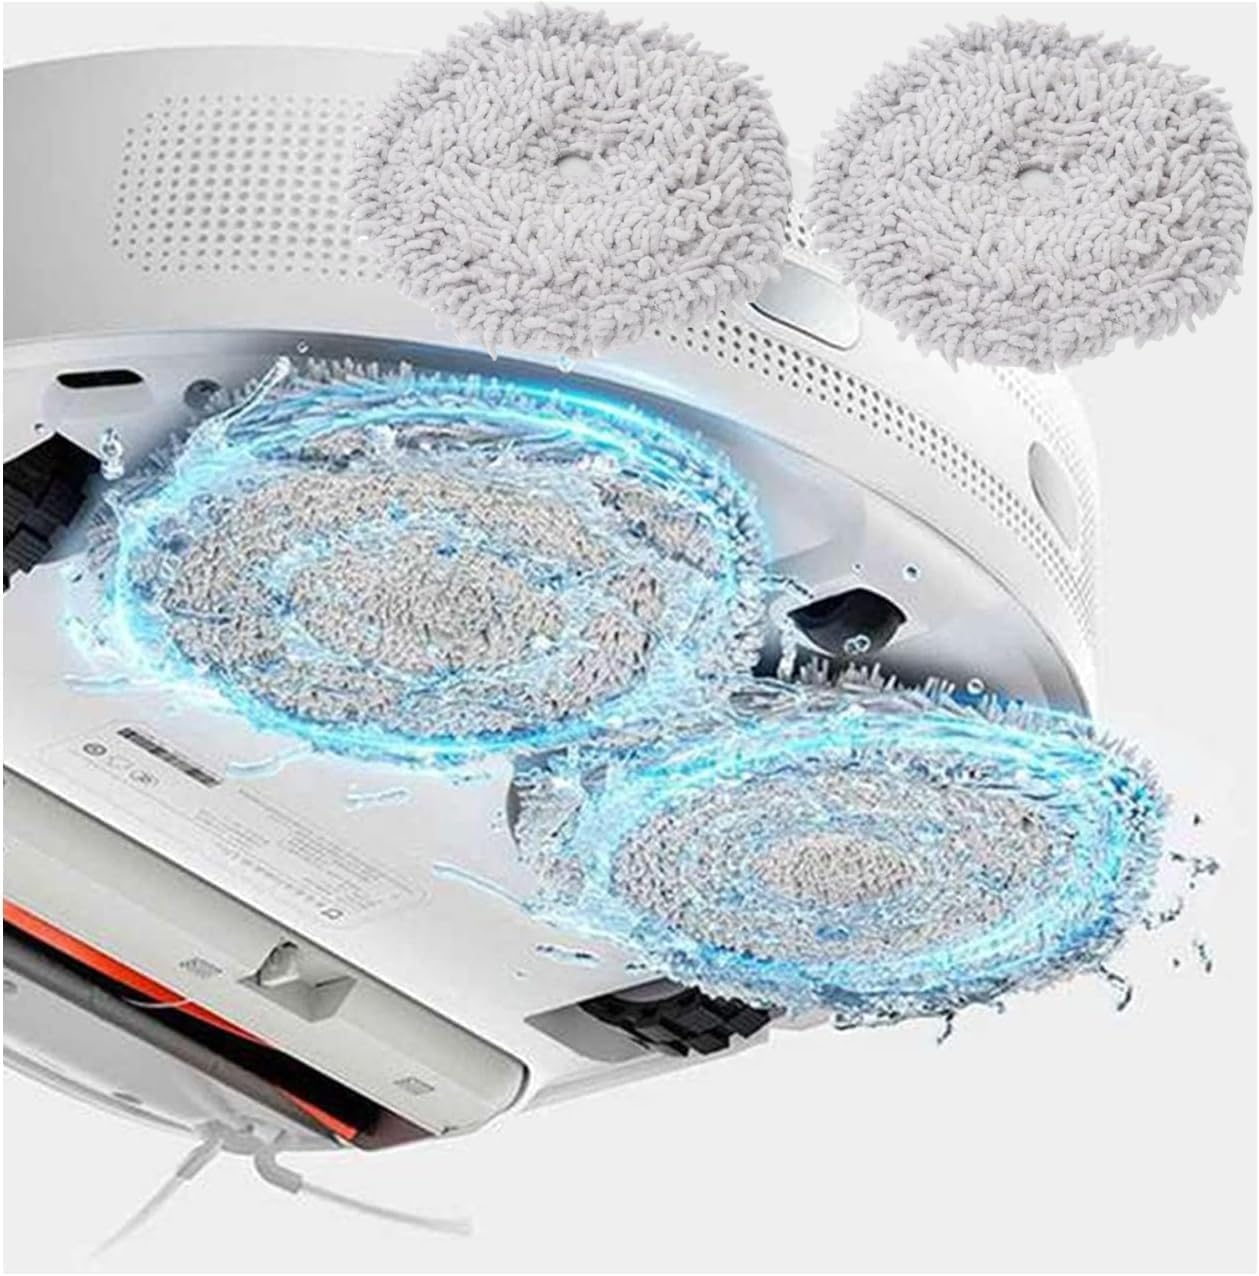
Image: Two mop pads attached to the underside of a robot vacuum, illustrating their placement for effective floor cleaning.
Manutenzione
Regular maintenance of your robot vacuum's accessories is crucial for optimal performance and longevity. Always turn off and unplug the robot vacuum before performing any maintenance.
1. Pulizia della spazzola principale
- Remove the main brush as described in the installation section.
- Use the provided cleaning tool to remove hair, debris, and tangled threads from the brush bristles.
- If necessary, rinse the brush under running water. Ensure it is completely dry before reinstallation.
- Inspect the brush for wear and tear. Replace if bristles are significantly damaged or worn.
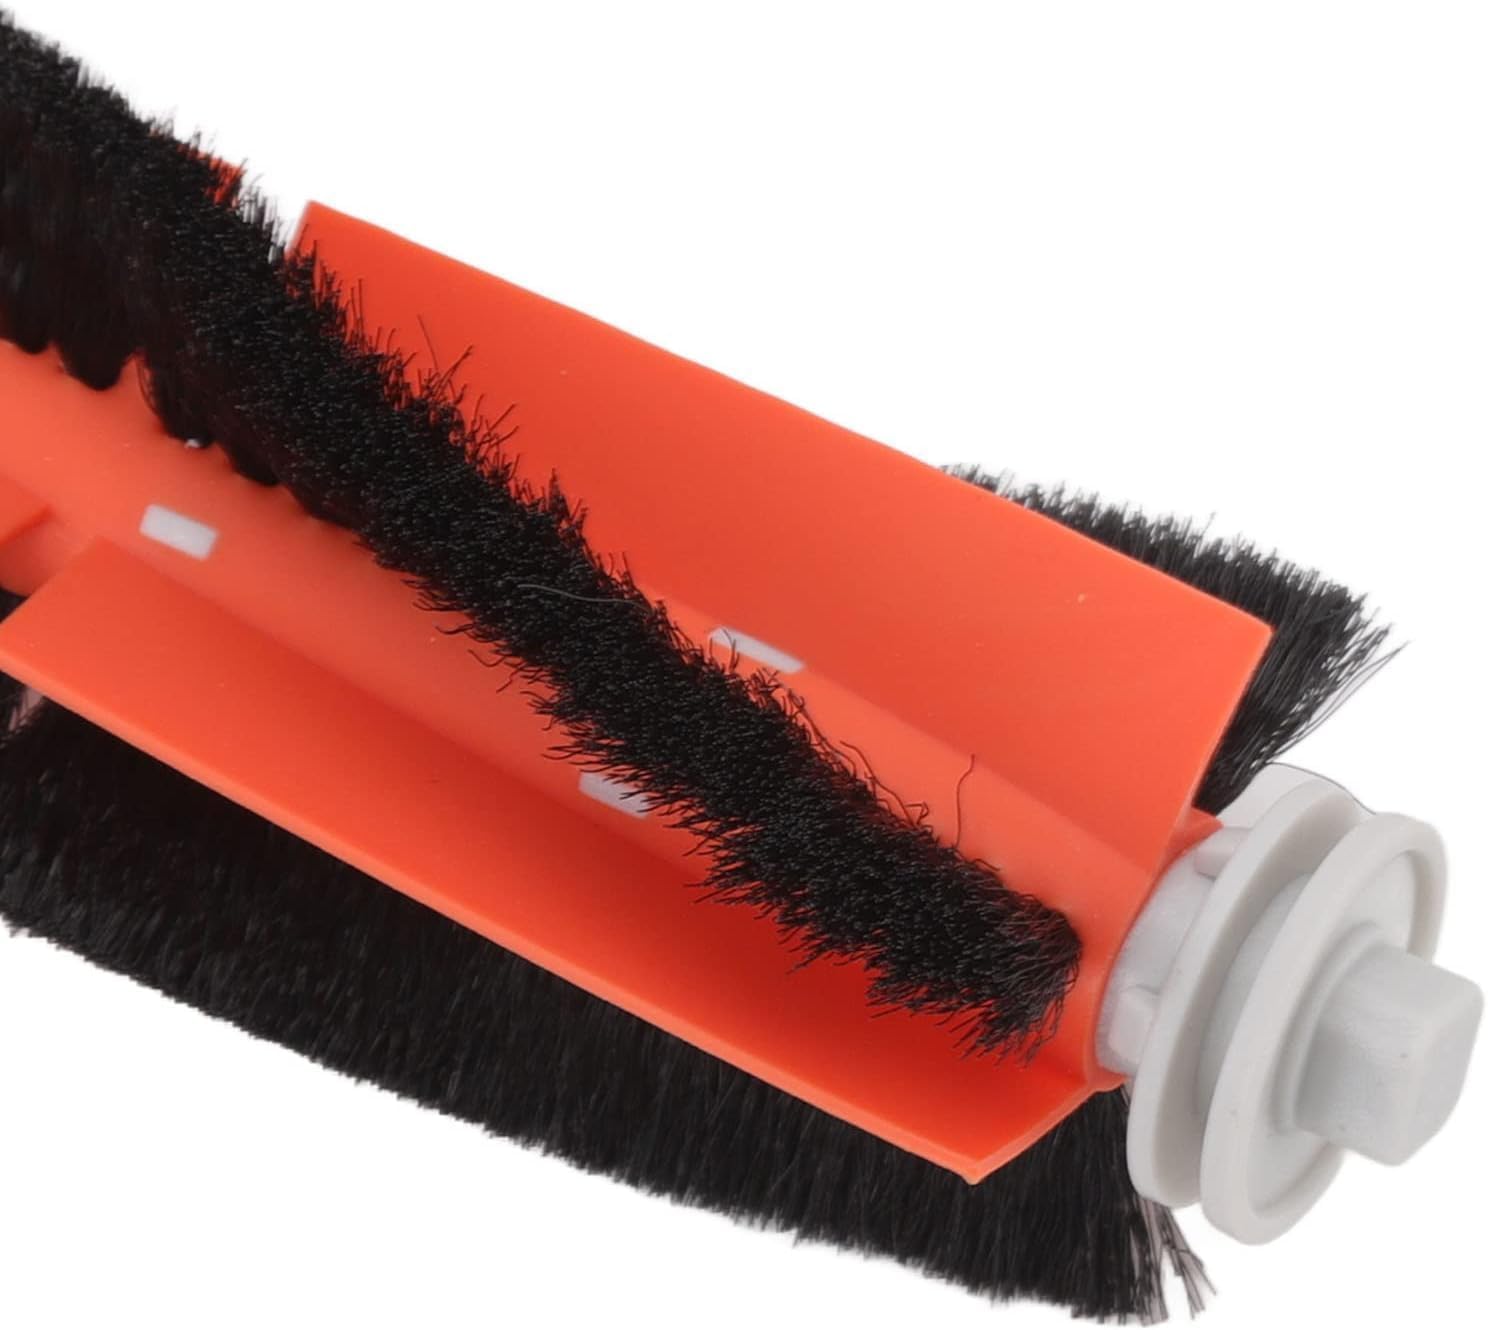
Image: A close-up of the main brush, showing how hair and debris can accumulate and be removed, emphasizing the importance of regular cleaning.
2. Pulizia delle spazzole laterali
- Rimuovere le spazzole laterali.
- Remove any hair or debris tangled around the bristles or the brush base.
- If bristles are bent, you can soak them in warm water for a few minutes to help them regain their shape.
- Replace side brushes if bristles are excessively worn or damaged.
3. Pulizia e sostituzione dei filtri
- Rimuovere il filtro dal contenitore della polvere.
- Picchiettare delicatamente il filtro su un cestino della spazzatura per rimuovere polvere e detriti.
- The filters in this kit are washable. Rinse the filter under cool, running water until the water runs clear. Do not use detergent.
- Allow the filter to air dry completely for at least 24 hours before reinstallation. Do not expose to direct sunlight or heat.
- Replace filters every 2-3 months, or more frequently depending on usage and environment, to maintain optimal filtration performance.

Image: Two filters being rinsed under water, demonstrating their washable and reusable nature. This helps prevent secondary pollution.
4. Pulizia dei panni per mocio
- Remove the mop pads from the robot vacuum.
- Wash the mop pads by hand or machine wash with similar colors. Do not use bleach.
- Air dry completely before reattaching to the vacuum.
- Replace mop pads when they show signs of significant wear, reduced absorbency, or damage.
Specifiche
| Materiale | Acrylonitrile Butadiene Styrene (ABS), Non-woven Fabric, Nylon, Microfiber |
| Main Brush Size | 11 cm (lunghezza) |
| Dimensione del filtro | Dimensioni: 14 x 4.9 x 1.2 cm |
| Lunghezza spazzola laterale | 4 + 8.5 cm (total length of arms) |
| Numero di modello | YES0237M |
| Componenti inclusi | 1 Main Brush, 2 Side Brushes, 2 Filters, 2 Mop Pads, 1 Cleaning Brush |
Risoluzione dei problemi
Se riscontri problemi dopo aver sostituito delle parti, tieni presente quanto segue:
- Prestazioni di pulizia ridotte: Ensure all brushes are free of tangles and debris. Check that filters are clean and properly seated.
- Rumori insoliti: Verify that the main brush and side brushes are correctly installed and not obstructed.
- Parti non adatte: Double-check that the kit is compatible with your specific Dreame W10 or W10 Pro model. Refer to the "Compatibility" section.
- Vacuum Error Messages: Consult your Dreame W10/W10 Pro robot vacuum's original user manual for specific error code interpretations.
Garanzia e supporto
For any questions regarding the sonecesiya Accessories Kit, or if you experience issues not covered in this manual, please contact sonecesiya customer support. Refer to your purchase documentation for specific warranty details and contact information.
Spesso puoi trovare informazioni di supporto sul sito ufficiale del marchio websito o tramite il rivenditore presso il quale è stato acquistato il prodotto.
Ask a question about this manual
Ask about setup, troubleshooting, compatibility, parts, safety, or missing instructions. Manuals+ will review the question and use this page’s manual context to help answer it.