
1. Introduzione
This manual provides detailed instructions for the installation, operation, and maintenance of your Eonon Android 14 Car Stereo Navigation system, model DGRMX7. Please read this manual thoroughly before use to ensure proper functionality and to maximize your user experience. This unit is designed to enhance your vehicle's infotainment capabilities with advanced navigation, multimedia, and connectivity features.

Figure 1.1: Eonon Android 14 Car Stereo Navigation DGRMX7 unit with included accessories.
2. Veicoli compatibili
The Eonon DGRMX7 car stereo is specifically designed for the following vehicle models:
- Dodge RAM 1500/2500/3500 (2013-2018) with Manual AC
- Dodge RAM 1500 Classic (2019-2024) with Manual AC
Important Note: This car stereo is only suitable for installation in vehicles equipped with manual air conditioning. It is not compatible with models that have automatic air conditioning.

Figure 2.1: Compatible vehicle dashboards with manual AC controls.
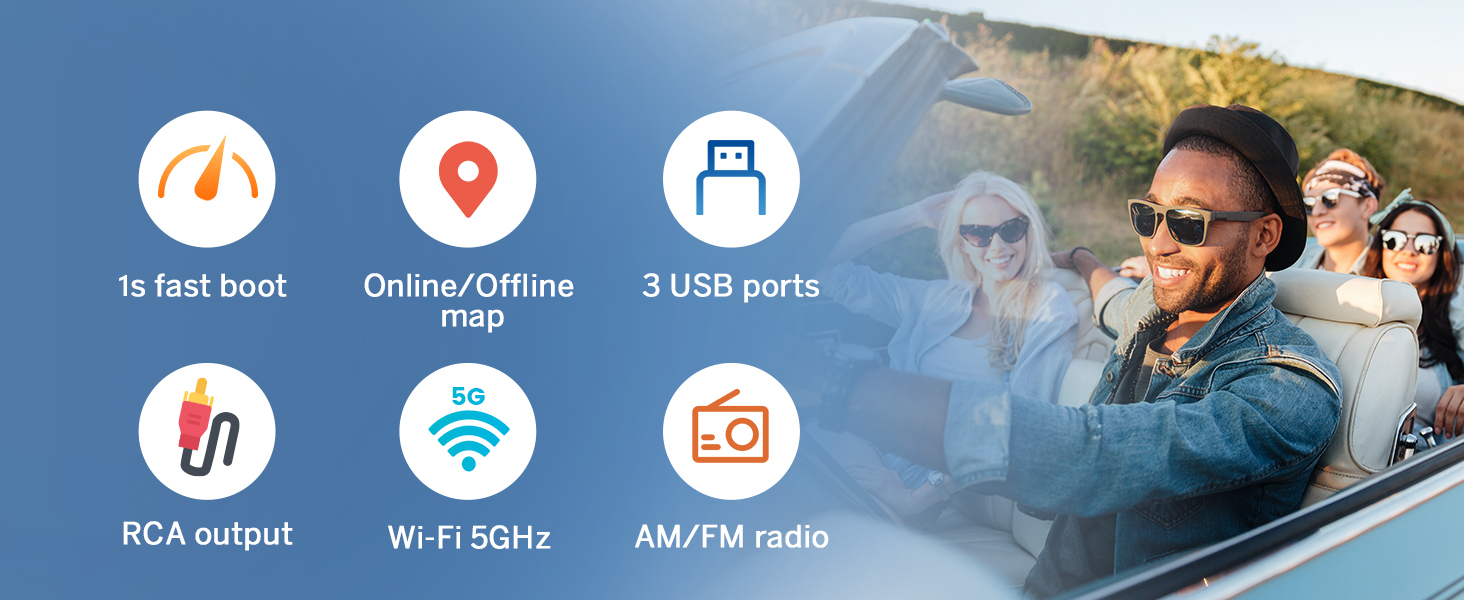
Figure 2.2: Incompatible vehicle dashboards with automatic AC controls.
3. Cosa c'è nella scatola
The following components are included with your Eonon DGRMX7 unit:

Figure 3.1: Contents of the Eonon DGRMX7 package.
- Eonon DGRMX7 Head Unit
- Audio Video Adapter Cables (x2)
- CarPlay & Android Auto USB Adapter Cable (x1)
- Cavo adattatore USB (x1)
- Backup Camera Video Input Cable (x1)
- Radio Antenna Adapter Cable (x1)
- Cavo di alimentazione (x1)
- Antenna GPS (x1)
- Microfono esterno (x1)
- Altoparlante (x1)
- Cavo adattatore USB (x1)
- CAN Bus (x1)
- Spare Fuse (x1)
- Adhesive Pad (x1)
- Manuale utente (x1)
- Backup Camera (A0125)
4. Configurazione e installazione
Installation of the Eonon DGRMX7 unit requires careful attention to wiring and vehicle disassembly. It is recommended to consult a professional if you are unfamiliar with car stereo installations.
4.1. Fasi generali di installazione
- Scollegare la batteria: Before starting, disconnect both positive and negative terminals of your vehicle's battery to prevent electrical shorts.
- Rimuovere la radio di fabbrica: Carefully remove the dashboard trim and the existing factory radio unit. Refer to your vehicle's service manual for specific instructions on trim removal.
- Collegare il cablaggio: Collegare il cablaggio fornito al cablaggio originale del veicolo. Assicurarsi che tutti i collegamenti siano ben saldi.
- Installare l'unità principale: Mount the Eonon DGRMX7 head unit into the dashboard opening. Secure it with screws.
- Ricollegare la batteria: Una volta effettuati tutti i collegamenti e fissata l'unità, ricollegare la batteria del veicolo.
- Funzionalità di prova: Power on the unit and test all functions, including audio, navigation, Bluetooth, and steering wheel controls.
4.2. Schema elettrico

Figure 4.1: Eonon DGRMX7 Wiring Diagram.
4.3. Guida video all'installazione
Per una guida visiva al processo di installazione, fare riferimento al seguente video:
Video 4.1: Installazione finitaview for the Eonon car stereo in a Dodge RAM 1500. This video demonstrates the removal of the stock radio, installation of the new head unit, wiring connections, and testing of features like the backup camera and audio equalizer.
5. Istruzioni per l'uso
5.1. Funzionamento di base
- Accensione/spegnimento: Tenere premuto il pulsante di accensione sull'unità oppure utilizzare l'accensione del veicolo.
- Interfaccia touchscreen: The 9-inch IPS HD touchscreen (1280x720 resolution) provides a responsive and clear interface for all functions.
- Controllo del volume: Per regolare il volume, utilizzare i pulsanti fisici o i controlli sullo schermo.

Figure 5.1: 9-inch IPS HD Touchscreen display.
5.2. Integrazione smartphone (CarPlay e Android Auto)
The DGRMX7 supports both wireless and wired Apple CarPlay and Android Auto.
5.2.1. Connessione wireless Apple CarPlay
- Click the Zlink5 app on the car stereo.
- Attiva il Wi-Fi e il Bluetooth sul tuo iPhone.
- Trova 'EONON' nell'elenco dei dispositivi Bluetooth del tuo telefono e associalo.
- Once connected, tap 'Use CarPlay' and wait a few seconds for the connection to complete.

Figura 5.2: Passaggi per la connessione wireless ad Apple CarPlay.
5.2.2. Connessione automatica Android wireless
- Click the Zlink5 app on the car stereo.
- Attiva il Wi-Fi e il Bluetooth sul tuo telefono Android.
- Trova 'EONON' nell'elenco dei dispositivi Bluetooth del tuo telefono e associalo.
- Wait a few seconds for the connection to complete.

Figura 5.3: Passaggi per la connessione wireless ad Android Auto.
5.3. Mirroring dello schermo
Project your phone's screen onto the car stereo display.
5.3.1. Screen Mirroring for iOS
- Click the Zlink5 app on the car stereo. Set the car stereo to iPhone wireless screen mirroring mode.
- Attiva l'hotspot dell'iPhone e connettiti all'autoradio.
- Attiva la funzione di mirroring dello schermo dell'iPhone e seleziona "zj-airplay".
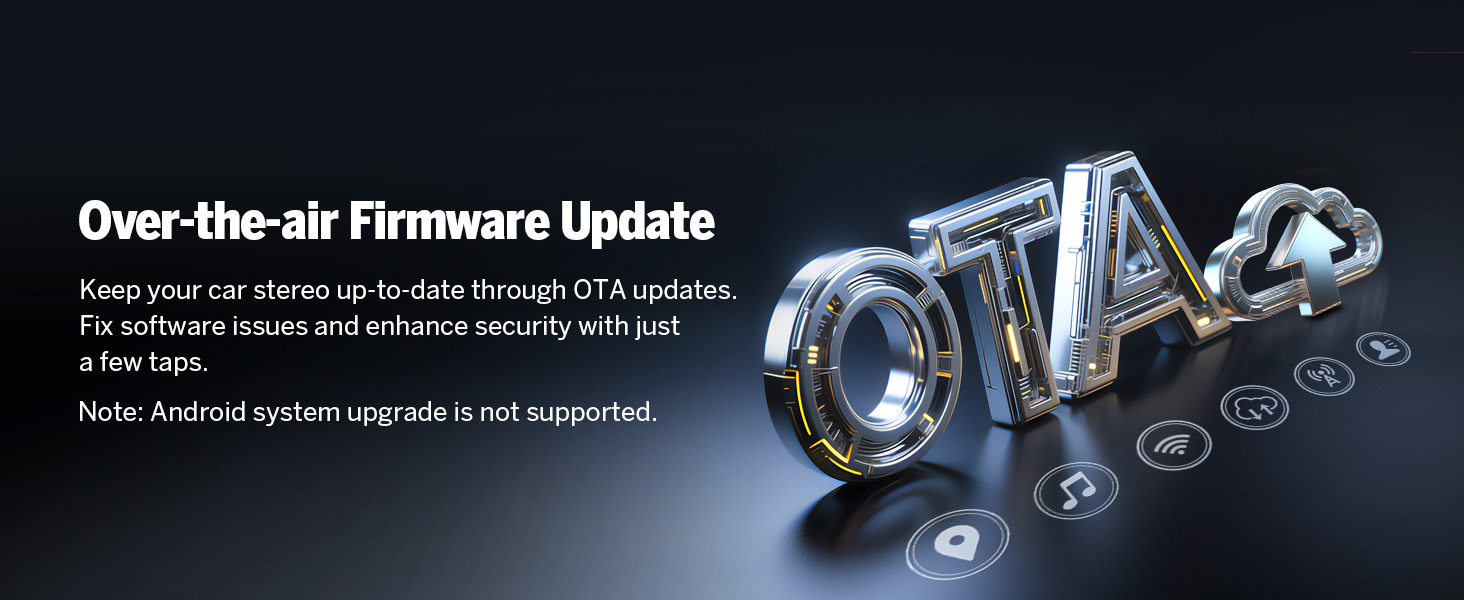
Figure 5.4: iOS Screen Mirroring steps.
5.3.2. Screen Mirroring for Android
- Click the Zlink5 app on the car stereo. Set the car stereo to Android wireless screen mirroring mode.
- Turn on your phone's hotspot and connect to the car stereo.
- Installa l'app Zplus sul tuo telefono. Avvia l'app e seleziona "connessione wireless".

Figure 5.5: Android Screen Mirroring steps.
5.4. Impostazioni audio ed equalizzatore
The unit features a professional 32-bit DSP with FFT Acceleration and a 48-band EQ with 3D Surround & Virtual Bass for optimized sound. You can customize audio profilesecondo le tue preferenze.

Figure 5.6: Audio Equalizer interface with preset modes.
5.5. Navigazione
The unit supports both online and offline GPS navigation. You can use pre-installed maps or download your preferred navigation apps from the Google Play Store.
5.6. Connettività Bluetooth
Equipped with an independent Bluetooth module and an extra Bluetooth antenna, the DGRMX7 offers quick and stable connections, noise reduction, crystal-clear call quality, and high-quality music streaming via Bluetooth 5.4.
- Chiamate in vivavoce: Effettua e ricevi chiamate direttamente dallo stereo.
- Sincronizzazione dei contatti: Sincronizza i contatti del tuo telefono per accedervi facilmente.
- Riproduzione musicale: Riproduci in streaming l'audio dal tuo dispositivo abilitato Bluetooth.

Figura 5.7: Funzionalità di connettività Bluetooth.
5.7. Radio
The unit includes a high-quality FM/AM radio with RDS support.
5.8 Personalizzazione
Personalize your stereo's appearance and functionality:
- Temi dell'interfaccia utente: Choose from 3 customizable UI themes.
- Logo dello stivale: Customize the startup logo.
- Colore del pulsante: Adjust the color of the physical buttons.
- Carta da parati: Imposta sfondi personalizzati.

Figure 5.8: Customization options for the user interface.
5.9. Retained OEM Features
The DGRMX7 is designed for plug-and-play installation, retaining several factory features of your Dodge RAM:
- Comandi al volante
- Door Information Display
- Driving Data Display
- Display informativo AC

Figure 5.9: Retained factory features.
6. Manutenzione
6.1. Aggiornamenti software (OTA)
The Eonon DGRMX7 supports Over-The-Air (OTA) firmware updates. These updates help fix software issues and enhance security, ensuring your head unit remains up-to-date. Updates are for software improvements and do not upgrade the Android system version.

Figure 6.1: Over-The-Air (OTA) Firmware Update process.
7. Risoluzione Dei Problemi
- Nessun potere: Ensure all power cables are securely connected and the vehicle's battery is properly reconnected. Check the fuse.
- Nessun suono: Verify speaker connections and audio settings. Check the equalizer settings.
- Backup Camera 'No Signal': If your vehicle has a factory backup camera and you see 'no signal' when in reverse, you may need to sync it with the new unit. While in reverse and the 'no signal' message is displayed, press and hold your finger on the screen until a new smaller screen appears. This interface allows you to pair the rear camera. Remember to save any changes.
- Problemi di connettività Bluetooth: Assicurati che il Bluetooth sia abilitato sia sullo stereo che sul telefono. Prova a disaccoppiare e riassociare i dispositivi.
- Perdita del segnale GPS: Assicurarsi che l'antenna GPS sia installata correttamente e che abbia una visuale libera verso il cielo.
8. Specifiche
| Caratteristica | Specificazione |
|---|---|
| Sistema operativo | Androide 14 |
| Processore | Rockchip (High performance, low power consumption) |
| Memoria RAM | 3 GB |
| ROM (memoria interna) | 32 GB |
| Dimensioni dello schermo | 9 pollici |
| Tipo di visualizzazione | Schermo IPS HD touchscreen |
| Risoluzione | 1280x720 |
| CarPlay e Android Auto | Senza fili/cablato |
| Versione Bluetooth | 5.4 |
| Connettività Wi-Fi | Yes (5GHz support) |
| GPS | Online/Offline Navigation (Worldwide map type) |
| Radio | FM/AM con RDS |
| Potenza di uscita audio | ST 4 x 45W Amp |
| Controllo di Produzione | Professional 32-bit with FFT Acceleration |
| Equalizzatore | 48-Band EQ with 3D Surround & Virtual Bass |
| Porte USB | 3 |
| Supporto per telecamera di backup | 720P AHD (A0125 included) |
| Dashcam Support | Eonon A100 (not included) |
| Supporto OBD2 | V0056 (not included) |
| Peso dell'articolo | 5.1 libbre (2.32 chilogrammi) |
| Dimensioni del pacco | 13.62 x 12.52 x 6.65 pollici |
9. Garanzia e supporto
The Eonon DGRMX7 comes with a Garanzia del produttore di 2 anno. For technical support, troubleshooting assistance, or warranty claims, please contact Eonon customer service through their official websito o rivenditore presso cui è stato acquistato il prodotto.
Sono disponibili per l'acquisto ulteriori piani di protezione:
- Piano di protezione biennale
- Piano di protezione biennale
- Complete Protect (abbonamento mensile)


