1. Introduzione
This manual provides essential instructions for the installation, operation, and maintenance of your PowMr 5000W Off-Grid Hybrid Solar Inverter. Please read this manual thoroughly before installation and operation to ensure proper use and to prevent damage to the unit or injury to personnel. Keep this manual for future reference.
2. Istruzioni di sicurezza
WARNING: This section contains important safety instructions that must be followed during installation and operation of the inverter. Failure to follow these instructions may result in severe injury or death.
- Assicurarsi che tutti i cablaggi siano eseguiti da personale qualificato.
- Non tentare di smontare o riparare l'inverter. All'interno non sono presenti parti riparabili dall'utente.
- Disconnect all power sources (PV array, battery, AC input) before performing any wiring or maintenance.
- Indossare dispositivi di protezione individuale (DPI) adeguati, tra cui guanti isolanti e protezioni per gli occhi.
- Installare l'inverter in un'area ben ventilata, lontano da materiali infiammabili e gas corrosivi.
- Garantire la corretta messa a terra dell'inverter.
- The battery bank must be properly sized and protected with appropriate circuit breakers or fuses.
3. Prodotto finitoview
3.1 Caratteristiche
- 5000W low-frequency pure sine wave inverter with 15000W peak power.
- Regolatore di carica solare MPPT da 120 A integrato.
- Compatible with 48V AGM, Gel, Lead-acid, Lithium-ion, and LiFePO4 batteries.
- Supports 4 charging modes: Only Solar, Mains Priority, Solar Priority, and Hybrid (Mains & Solar).
- Offers 2 output modes: Mains bypass and Inverter output.
- LCD display and 3 LED indicators for real-time monitoring and fault code display.
- Toroidal transformer design for stable and reliable operation.
- Intelligent variable-speed fan for efficient heat dissipation.
- Comprehensive battery protection features including short circuit, over/under voltage protection, and lithium activation.
3.2 Identificazione dei componenti
The PowMr 5000W Solar Inverter features a robust design with clearly labeled connection points and an intuitive display panel.
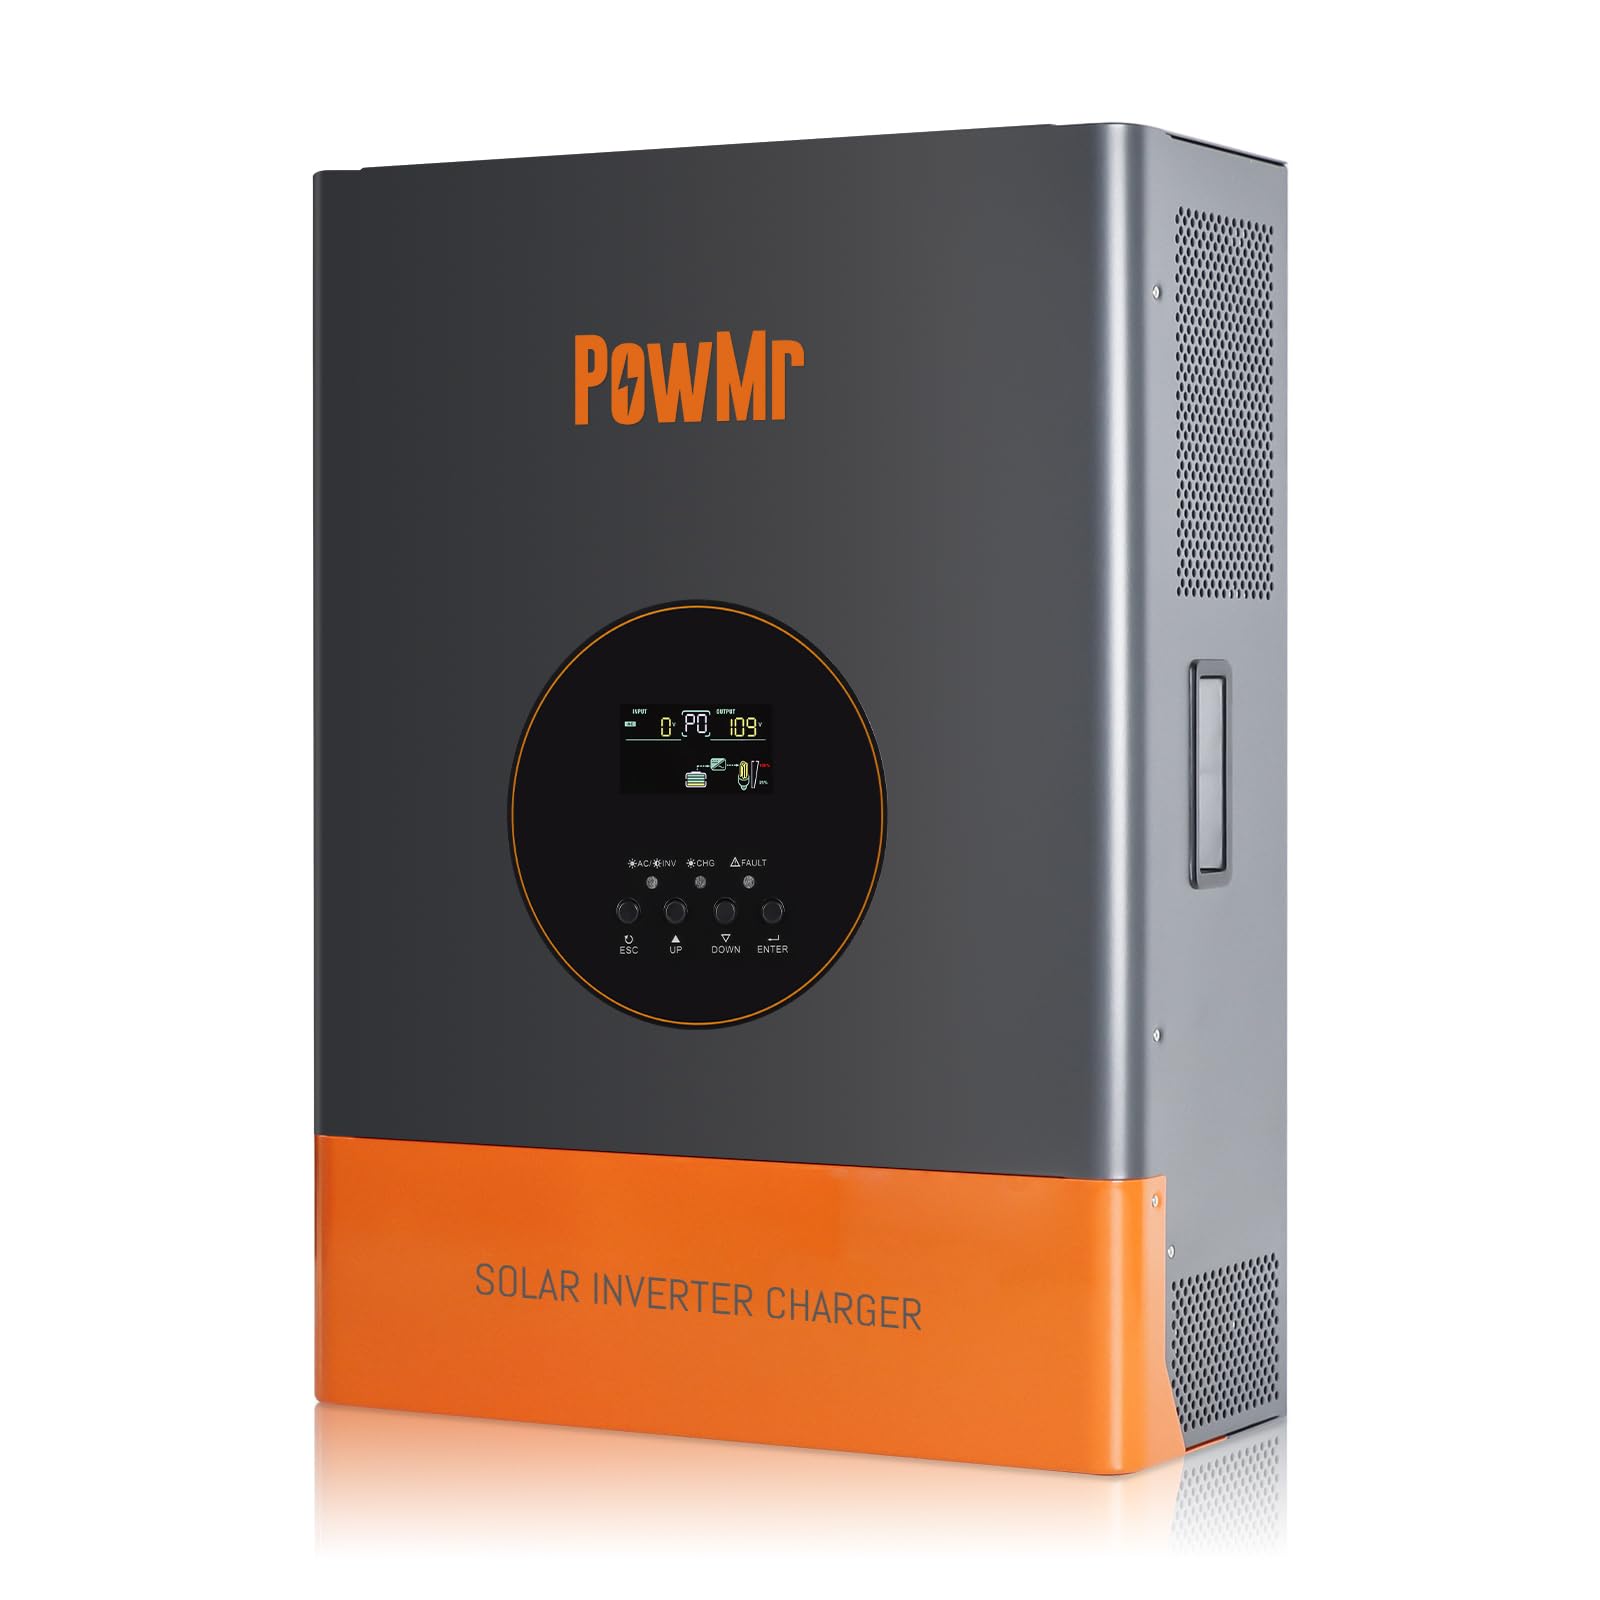
Immagine 1: anteriore view of the PowMr 5000W Solar Inverter. This image displays the main unit, highlighting its compact form factor and the location of the LCD display and control buttons on the front panel. The cooling fins are visible on the sides, indicating its heat dissipation design.
- Pannello frontale: LCD display, LED indicators (Power, Fault, Charge), function buttons.
- Pannello posteriore: AC input/output terminals, PV input terminals, Battery terminals, Communication ports, Cooling fan.
4. Impostazione
4.1 Selezione del sito
- Mount the inverter indoors, away from direct sunlight, rain, and moisture.
- Ensure ambient temperature is between 0°C and 55°C (32°F and 131°F).
- Maintain at least 20 cm (8 inches) clearance around the inverter for proper airflow.
- The mounting surface must be strong enough to support the inverter's weight (approximately 59.4 lbs).
4.2 Montaggio dell'inverter
- Mark the positions for the mounting screws on the wall.
- Se necessario, praticare dei fori e inserire i tasselli a muro.
- Securely mount the inverter to the wall using appropriate screws.
4.3 Collegamenti di cablaggio
IMPORTANT: All wiring must comply with local and national electrical codes. Ensure all connections are tight and secure.
- Collegamento della batteria: Connect the 48V battery bank to the inverter's battery terminals. Ensure correct polarity (positive to positive, negative to negative). Use appropriate cable gauges and fuses/breakers.
- Collegamento del pannello fotovoltaico: Collegare il pannello solare ai terminali di ingresso del pannello fotovoltaico. Verificare che la tensione a circuito aperto del pannello fotovoltaicotage (Voc) does not exceed 150Vdc and the MPPT voltage range is 60~150Vdc. Ensure correct polarity.
- Connessione ingresso CA: Connect the utility grid or generator AC power to the AC input terminals. Install an external circuit breaker for protection.
- Collegamento di uscita CA: Connect your AC loads to the AC output terminals. Install an external circuit breaker for protection.
- Messa a terra: Collegare il terminale di terra dell'inverter a una messa a terra affidabile.
5. Operativo
5.1 Avvio iniziale
- Dopo aver effettuato e verificato tutti i collegamenti, accendere l'interruttore della batteria.
- Accendere l'interruttore del pannello fotovoltaico.
- Switch on the AC input breaker (if connected).
- Press and hold the power button on the inverter for a few seconds to turn it on.
- The LCD display will illuminate, and the inverter will begin its self-test sequence.
5.2 Display LCD e indicatori
The LCD display provides real-time system data such as input/output voltage, current, frequency, battery status, and operating mode. The three LED indicators show:
- LED di potenza: Indicates inverter power status.
- LED di guasto: Illuminates when a fault occurs, displaying a corresponding fault code on the LCD.
- LED di carica: Indica lo stato di carica della batteria.
Use the function buttons to navigate through the display menus and configure settings such as charging modes and output modes.
Modalità operative 5.3
L'inverter supporta diverse modalità operative per ottimizzare il consumo energetico:
- Modalità di ricarica: Only Solar, Mains Priority, Solar Priority, Hybrid (Mains & Solar). Select the mode that best suits your energy needs and grid availability.
- Modalità di uscita: Mains bypass (loads powered directly by grid/generator) and Inverter output (loads powered by inverter from battery/PV).
5.4 Procedura di spegnimento
- Turn off all AC loads connected to the inverter.
- Press and hold the power button on the inverter to turn it off.
- Spegnere l'interruttore di ingresso CA.
- Switch off the PV array breaker.
- Spegnere l'interruttore della batteria.
6. Manutenzione
6.1 Controlli regolari
- Controllare periodicamente tutti i collegamenti elettrici per verificarne la tenuta e l'assenza di segni di corrosione.
- Check the inverter's ventilation openings for dust or obstructions.
- Controllare il display LCD per eventuali messaggi di avviso o di errore.
6.2 Pulizia
- Ensure the inverter is powered off and all power sources are disconnected before cleaning.
- Use a soft, dry cloth to wipe the exterior of the inverter.
- Non utilizzare detergenti liquidi o solventi.
- Clean the cooling fan vents to ensure proper heat dissipation.
6.3 Manutenzione della batteria
Refer to your battery manufacturer's guidelines for specific maintenance procedures. Ensure battery terminals are clean and free of corrosion. For lead-acid batteries, check electrolyte levels periodically if applicable.
7. Risoluzione Dei Problemi
If the inverter is not operating correctly, refer to the following common issues and solutions. For persistent problems, contact technical support.
| Problema | Possibile causa | Soluzione |
|---|---|---|
| L'inverter non si accende | Nessuna connessione alla batteria o batteria scaricatage | Controllare i collegamenti della batteria e il voltage. Caricare la batteria se è scarica. |
| Nessuna uscita CA | Overload, short circuit, or fault condition | Reduce load, check for short circuits, refer to LCD fault code. |
| Batteria non in carica | Array fotovoltaico disconnesso, basso volume fotovoltaicotage, or charger fault | Check PV connections, ensure sufficient sunlight, verify PV voltage. |
| Fault LED illuminated | Internal fault or protection triggered | Note the fault code on the LCD display and consult the specific fault code section in the full manual (if available) or contact support. |
8. Specifiche
| Parametro | Valore |
|---|---|
| Potenza di uscita nominale | 5000W |
| Potenza di picco | 15000W |
| Volume di uscita nominaletage Gamma | 110Vac ± 10% |
| Ingresso CC nominale Voltage | 48 Vcc |
| Max. Potenza del campo fotovoltaico | 6400W |
| Vol. ingresso MPPTtage Gamma | 60~150 Vcc |
| Massimo. Impianto fotovoltaico a circuito aperto voltage | 150 Vcc |
| Corrente di carica CA massima | 29A |
| Massimo. Corrente di carica FV | 120A |
| Efficienza | >98% |
| Dimensioni del prodotto (L x P x A) | 15 x 7 x 20 pollici |
| Peso dell'articolo | 59.4 libbre |
| Numero di modello | POW-RELAB-5KU |
| Produttore | Potente Signor |
9. Garanzia e supporto
This PowMr inverter comes with a manufacturer's warranty. Please refer to the warranty card included with your product for detailed terms and conditions, including warranty period and coverage.
For technical support, troubleshooting assistance, or warranty claims, please contact PowMr customer service through the retailer where the product was purchased or visit the official PowMr websito per le informazioni di contatto.