TOMLOV DM301 Max
Manuale utente del microscopio digitale TOMLOV DM301 Max
Model: DM301 Max | Brand: TOMLOV
1. Introduzione
The TOMLOV DM301 Max is an advanced digital microscope designed for detailed observation and analysis of microscopic specimens. Featuring a 7-inch IPS display, X-Y stage, and multiple connectivity options, it is suitable for educational, hobbyist, and professional use. This manual provides essential information for the proper setup, operation, and maintenance of your DM301 Max microscope.
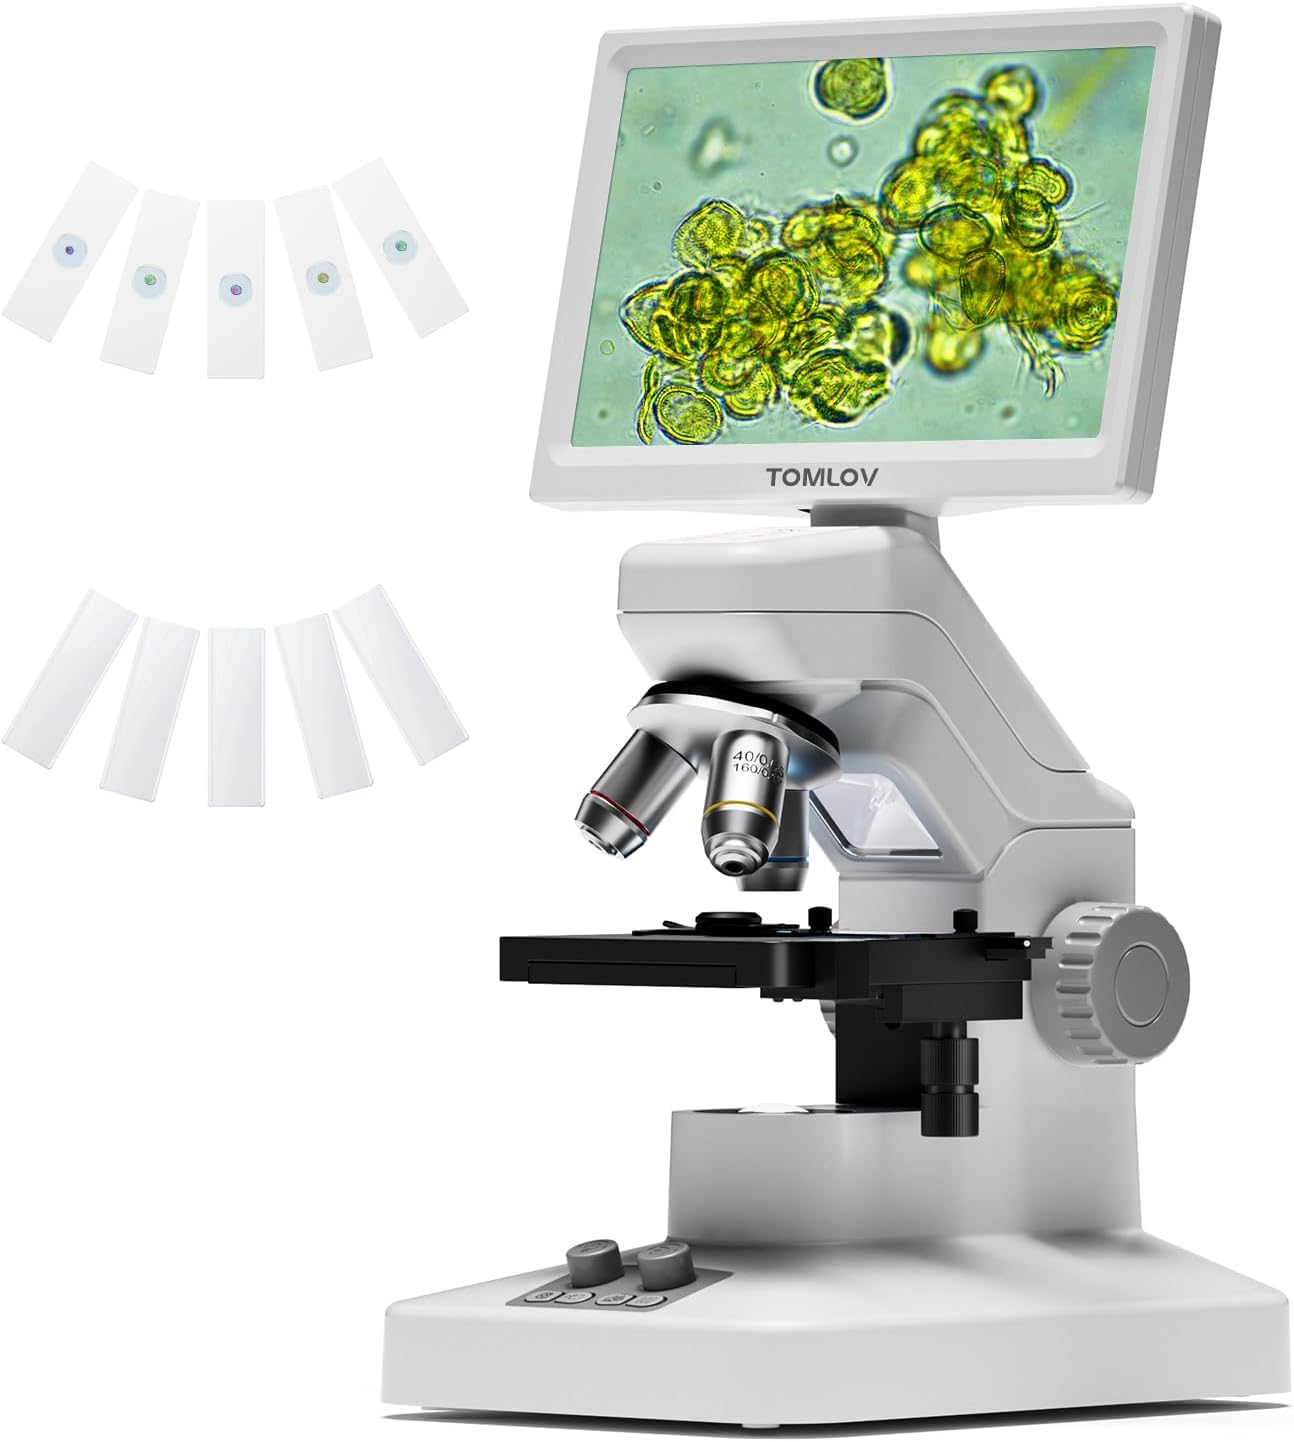
Figure 1.1: The TOMLOV DM301 Max Digital Microscope with included slides.
2. Cosa c'è nella scatola
Si prega di verificare che tutti gli articoli elencati di seguito siano presenti nel pacco:
- 1 X TOMLOV DM301 Max Biological Digital Microscope with Screen
- Cavo di alimentazione 1 X
- Cavo HDMI 1 X
- Alimentatore 1 X
- 5 X Prepared Slides
- 5 X Blank Slides
- 1 X 32GB Micro SD Card
- 1 X Carrying Case

Figure 2.1: All components included with the TOMLOV DM301 Max microscope.
3. Guida all'installazione
3.1 Assemblaggio fisico
- Rimuovere con attenzione tutti i componenti dalla confezione.
- Posizionare la base del microscopio su una superficie piana e stabile.
- Ensure the 7-inch IPS display is securely attached to the microscope body. The display can be adjusted for optimal viewangolo di ing.
3.2 Collegamento di alimentazione
- Connect the power cable to the microscope's power input port.
- Collega l'alimentatore a una presa elettrica standard.
- The microscope has a built-in 2000mAh rechargeable battery, allowing for cordless use for up to 3 hours once fully charged.
3.3 Initial Power On and Display Adjustment
- Press and hold the power button on the microscope to turn it on. The 7-inch IPS display will illuminate.
- Adjust the angle of the display for comfortable viewing. The display offers a 178-degree viewing angle to reduce eye strain during prolonged use.

Figure 3.1: The 7-inch IPS display provides a comfortable viewesperienza di acquisizione.
4. Istruzioni per l'uso
4.1 Osservazione di base
- Place a prepared slide or specimen on the metal stage. Ensure it is centered under the objective lens.
- Adjust the focus knob (typically the larger knob on the side) to bring the specimen into sharp focus on the display.
4.2 Regolazione dell'ingrandimento
The DM301 Max features 3 achromatic lenses, providing up to 1200X magnification. Rotate the revolving nosepiece to select the desired objective lens (e.g., 4X, 10X, 40X). The total magnification is the product of the objective lens magnification and the digital magnification.
4.3 Controllo dell'illuminazione
The microscope is equipped with both top and bottom LED lights for versatile illumination:
- Luce superiore: Used for observing opaque objects or surfaces.
- Luce inferiore: Utilizzato per viewing transparent or translucent slide specimens.
Adjust the brightness of each light source using the dedicated control knobs on the base of the microscope to achieve optimal clarity and contrast.

Figure 4.1: Top and bottom LED illumination for various specimen types.
4.4 X-Y Stage Operazione
The metal X-Y stage allows for precise movement of the specimen. Use the stage control knobs to move the slide horizontally (X-axis) and vertically (Y-axis) to scan the specimen area and center the region of interest. The stage includes 1.0mm scale divisions for accurate positioning.

Figure 4.2: Precise X-Y stage movement for specimen navigation.
4.5 Connectivity (WiFi & App)
The DM301 Max supports WiFi connectivity for real-time viewing, capturing, and sharing via a mobile app (available for Android and iOS). Download the official TOMLOV app from your device's app store. Follow the in-app instructions to connect your microscope wirelessly. Images and videos can be saved directly to your phone and the inserted SD card.

Figure 4.3: Wireless viewing and control via the mobile app.
4.6 External Display (HDMI & USB)
Per i più grandi viewing or collaborative demonstrations, the microscope can be connected to external displays without driver installation:
- Uscita HDMI: Connect an HDMI cable from the microscope to a TV or projector.
- Uscita USB: Connect a USB cable from the microscope to a laptop or PC.

Figure 4.4: Connecting the microscope to external displays via HDMI or USB.
4.7 Capturing Images & Videos
The microscope features an 8MP imaging sensor for photos and 1080P video recording. Use the dedicated buttons on the microscope or the mobile app to capture observations. Captured media is saved to the inserted 32GB Micro SD card.

Figure 4.5: Capturing and saving microscopic observations.
4.8 Funzione di misurazione
The DM301 Max includes an on-screen measuring overlay for precise readings at different magnification levels. Additionally, when connected to a PC, specialized software can be used for more advanced measurement and analysis.

Figure 4.6: Two-way measurement capabilities of the microscope.
5. Manutenzione
5.1 Pulizia
- Lenses and Display: Use a soft, lint-free cloth specifically designed for optical surfaces. For stubborn smudges, a small amount of lens cleaning solution can be applied to the cloth (never directly to the lens).
- Corpo: Wipe the microscope body with a soft, dry cloth. Avoid using abrasive cleaners or solvents.
- Ensure no liquids enter the microscope's internal components.
5.2 Conservazione
- When not in use, store the microscope in its carrying case or cover it with a dust cover to protect it from dust and debris.
- Conservare in un luogo fresco e asciutto, lontano dalla luce solare diretta e da temperature estreme.
5.3 Cura della batteria
- Per prolungare la durata della batteria, evitare di scaricarla completamente regolarmente.
- Se si prevede di non utilizzare la batteria per un periodo prolungato, caricarla a circa il 50% prima di riporla.
6. Risoluzione Dei Problemi
| Problema | Possibile causa | Soluzione |
|---|---|---|
| Il microscopio non si accende. | Nessuna connessione di alimentazione o batteria scarica. | Ensure power adapter is securely connected and plugged in. Charge the battery if operating wirelessly. |
| L'immagine è sfocata o fuori fuoco. | Incorrect focus adjustment or objective lens. | Adjust the focus knob. Ensure the correct objective lens is selected and properly clicked into place. Clean the lens if smudged. |
| No image on external display (HDMI/USB). | Cable not connected properly or incorrect input selected on display. | Check HDMI/USB cable connections. Select the correct input source on your TV/monitor. |
| Problemi di connessione WiFi. | Incorrect app settings or network interference. | Ensure WiFi is enabled on the microscope and your mobile device. Restart both devices. Refer to the app's help section for specific connection steps. |
| Le luci LED non funzionano. | Brightness set to minimum or malfunction. | Adjust the brightness control knobs. If still not working, contact customer support. |
7. Specifiche
| Caratteristica | Dettaglio |
|---|---|
| Nome del modello | DM301 Max |
| Display | 7'' IPS Display |
| Ingrandimento massimo | 1200 volte |
| Lenti dell'obiettivo | 3 Achromatic Lenses |
| Tipo di sorgente luminosa | LED (Top and Bottom) |
| Connettività | Wi-Fi, USB, HDMI |
| Sensore di immagini | 8MP (Photos), 1080P (Video) |
| Stagtipo e | Metallo Stage with X-Y Axis |
| Batteria | 2000mAh Lithium Ion (up to 3 hours runtime) |
| Dimensioni del prodotto | 7.31 x 5.3 x 12.5 pollici |
| Peso dell'articolo | 4.9 libbre |
| Materiale | 7'' IPS Display + ABS Stand |
| Colore | Bianco |
8. Garanzia e supporto
TOMLOV products are designed for reliability and performance. For information regarding warranty coverage, technical support, or service inquiries, please refer to the warranty card included in your product packaging or visit the official TOMLOV websito. Conservare la prova d'acquisto per eventuali reclami in garanzia.
Ask a question about this manual
Ask about setup, troubleshooting, compatibility, parts, safety, or missing instructions. Manuals+ will review the question and use this page’s manual context to help answer it.