1. Introduzione
This manual provides detailed instructions for the installation, operation, and maintenance of your maXpeedingrods 2-inch Rear Lowering Springs. These springs are designed to lower the rear of your vehicle by 2 inches, enhancing both its aesthetic appeal and handling characteristics. Please read this manual thoroughly before beginning installation to ensure proper procedure and safety.
2. Informazioni sulla sicurezza
Automotive suspension work requires specialized tools and knowledge. Improper installation can lead to serious injury or vehicle damage. It is highly recommended that installation be performed by a qualified professional. If you choose to install these springs yourself, ensure you have the necessary tools, follow all safety precautions, and consult a service manual for your specific vehicle model.
- Indossare sempre dispositivi di protezione individuale adeguati, tra cui occhiali e guanti di sicurezza.
- Ensure the vehicle is securely supported on jack stands on a level surface before working underneath it. Never rely solely on a jack.
- Do not compress springs without proper spring compressors.
- Tenere le mani e gli indumenti lontani dalle parti in movimento.
- Refer to your vehicle's factory service manual for torque specifications and additional safety guidelines.
3. Contenuto della confezione
Prima di procedere con l'installazione, verificare che tutti i componenti siano presenti e integri.
- 2 x maXpeedingrods Rear Lowering Coil Springs

Image: Contents of the maXpeedingrods 2-inch Rear Lowering Springs package, showing two black coil springs and a small manual.
4. Specifiche
| Caratteristica | Specificazione |
|---|---|
| Altezza di caduta | 2 inches (Rear) |
| Lunghezza della molla | 394 mm / 15.51 pollici |
| Indice di rigidezza | 4kg/mm (223.98lb/in) |
| Materiale | High-Strength 55CrSi Steel |
| Costruzione | Chromium-Silicon Cold-Wound Structure |
| Trattamento superficiale | Anti-Corrosion Coating |
| Numero di parte | TZ66LN |

Immagine: dettagliata view of the spring's construction, emphasizing its durable materials and anti-corrosion properties.
5. Compatibility / Fitment
These maXpeedingrods 2-inch Rear Lowering Springs are compatible with the following vehicle models:
- Dodge Ram 1500 RWD & 4WD (Model Years: 2009, 2010, 2011, 2012, 2013, 2014, 2015, 2016, 2017, 2018)
- Ram 1500 Classic RWD & 4WD (Model Years: 2019, 2020, 2021, 2022, 2023, 2024)
Please ensure your vehicle matches these specifications before installation.
6. Configurazione e installazione
The installation of lowering springs involves replacing the factory rear coil springs. This process typically requires lifting the vehicle, removing the wheels, disconnecting suspension components, and using a spring compressor. Due to the complexity and safety risks involved, professional installation is strongly recommended.
General Installation Steps (Consult a professional or vehicle service manual for detailed steps):
- Safely lift the rear of the vehicle and support it with jack stands.
- Rimuovere le ruote posteriori.
- Carefully disconnect any components that restrict the suspension's downward travel, such as shock absorbers or sway bar links, as per your vehicle's service manual.
- Lower the axle assembly slowly until the factory coil springs can be removed.
- Install the maXpeedingrods lowering springs in the same orientation as the factory springs. Ensure they are properly seated in the upper and lower spring perches.
- Slowly raise the axle assembly, ensuring the springs remain correctly seated.
- Reconnect all previously disconnected suspension components, tightening to factory torque specifications.
- Reinstallare le ruote e abbassare il veicolo.
- Perform a wheel alignment after installation to ensure proper handling and tire wear.
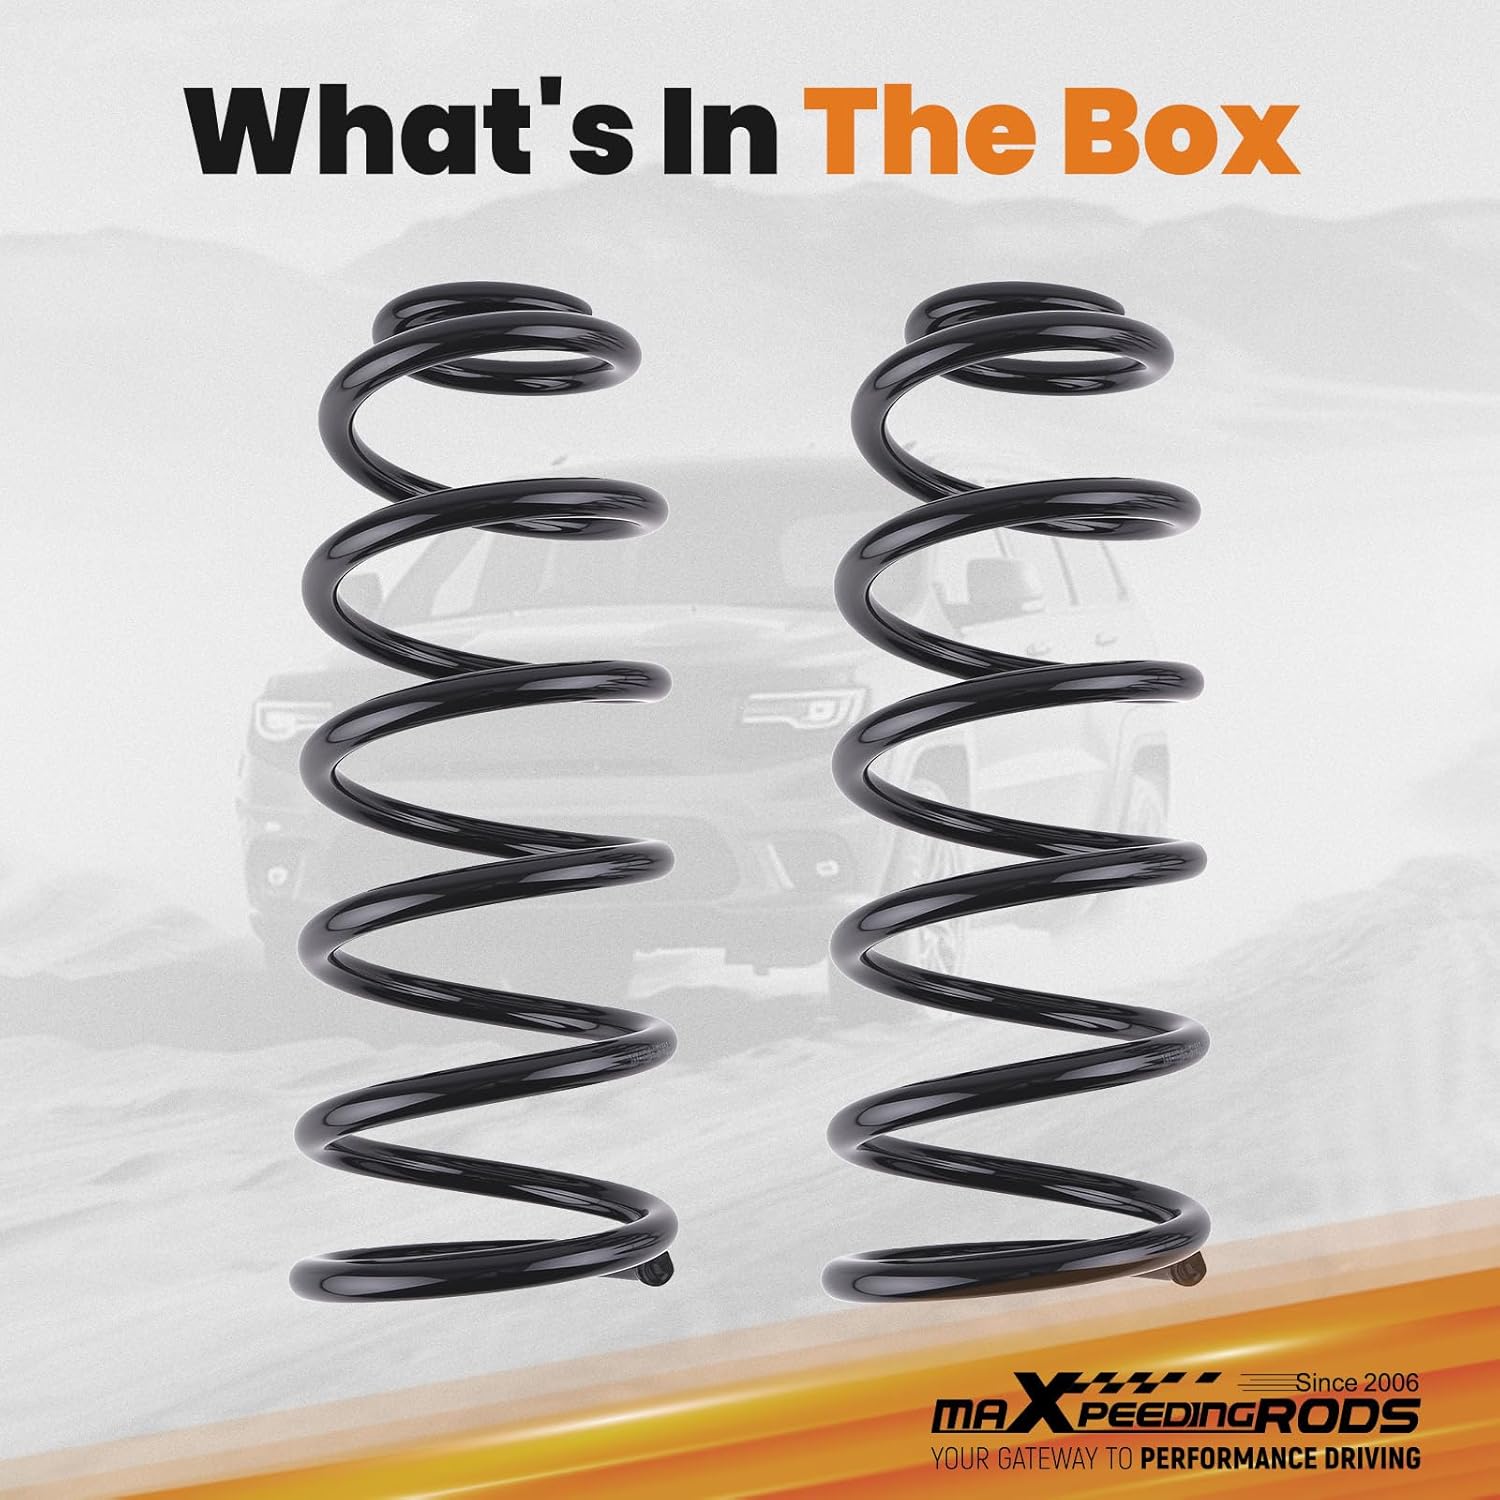
Image: Conceptual diagram of coil spring installation, indicating a straightforward bolt-on process for experienced installers.
7. Caratteristiche operative e prestazioni
These 2-inch rear lowering springs are designed to provide a noticeable change in your vehicle's stance and driving dynamics.
- Lowered Stance: The vehicle's rear will be lowered by approximately 2 inches, contributing to a more aggressive and streamlined appearance.
- Enhanced Handling: A lower center of gravity can improve vehicle stability and reduce body roll during cornering.
- Qualità di guida: While designed for performance, these springs aim to maintain a comfortable ride quality. However, changes in ride feel are inherent with suspension modifications.

Image: Visual comparison demonstrating the 2-inch rear drop achieved by installing the lowering springs.
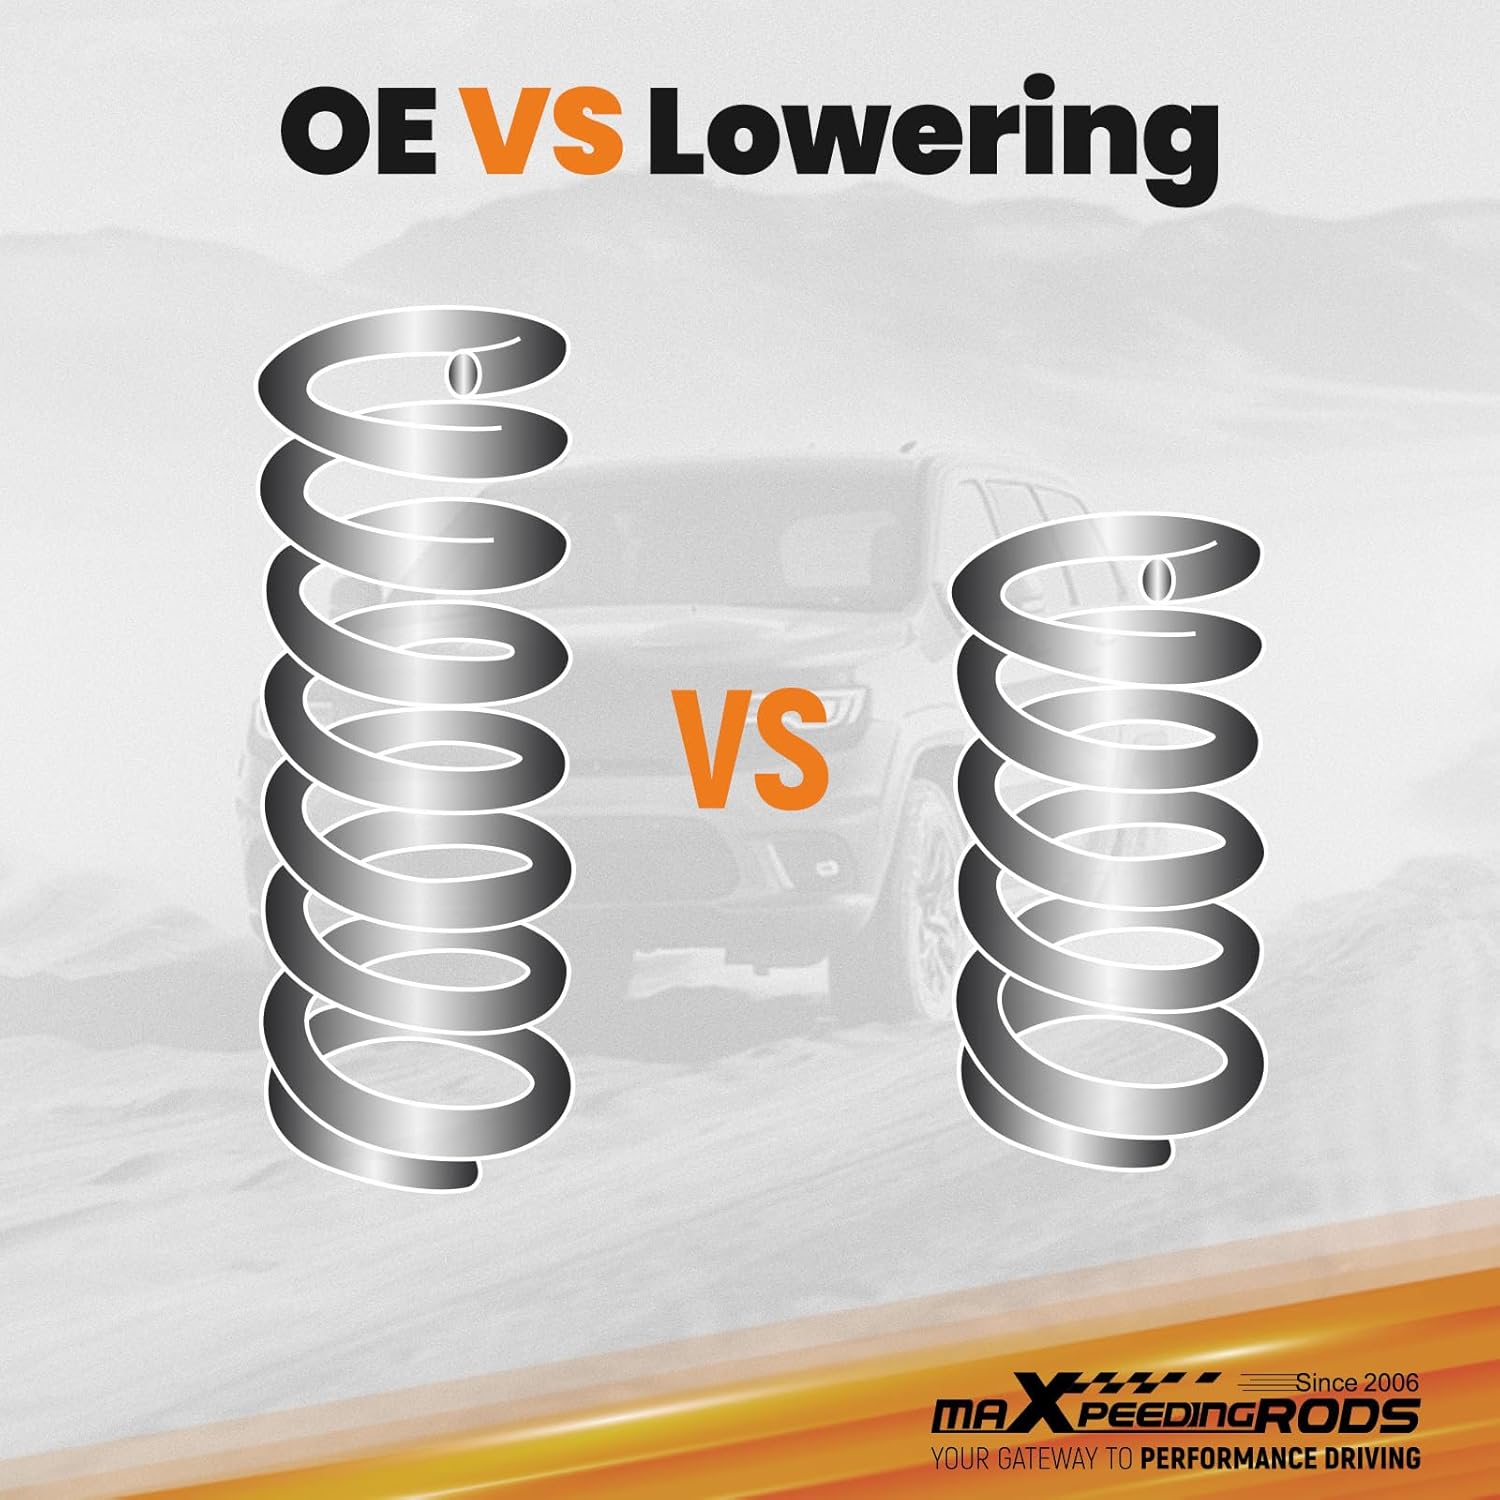
Image: Side-by-side illustration comparing the length of an OEM spring with a maXpeedingrods lowering spring.
8. Manutenzione
These lowering springs are designed for durability and require minimal maintenance. However, regular inspection of your vehicle's suspension components is crucial for safety and performance.
- Ispezione periodica: Regularly inspect the springs for any signs of damage, corrosion, or fatigue. Check for proper seating in the spring perches.
- Pulizia: Keep the suspension area clean from excessive dirt, salt, and debris, which can accelerate corrosion.
- Associated Components: Inspect other suspension components such as shocks, bushings, and control arms for wear, as these can affect the performance and longevity of your new springs.
9. Risoluzione Dei Problemi
If you experience any issues after installing your lowering springs, consider the following common troubleshooting steps:
- Altezza di marcia irregolare: Verify that both springs are correctly installed and seated. Ensure all suspension components are properly tightened. A post-installation alignment is critical.
- Rumori insoliti (tonfi/cigolii): Check all bolts and nuts for proper torque. Inspect for any contact between suspension components or other vehicle parts. Ensure springs are seated correctly and not rubbing.
- Corsa dura: While a firmer ride is expected, an excessively harsh ride might indicate an issue with shock absorbers or improper installation. Ensure your shocks are compatible with a 2-inch drop.
- Maneggevolezza scadente: An immediate wheel alignment is necessary after any suspension modification to correct camber, caster, and toe angles.
If problems persist, consult a qualified automotive technician.
10. Garanzia e supporto
maXpeedingrods fornisce il seguente supporto per questo prodotto:
- Garanzia: A 1-year limited warranty covers quality issues from the date of purchase.
- Supporto tecnico: Per tutti i prodotti maXpeedingrods è disponibile un supporto tecnico a vita.
For warranty claims, technical assistance, or any other inquiries, please contact maXpeedingrods customer service through their official channels or the retailer where the product was purchased.


