
1. Introduzione
Grazie per l'acquistoasing the CROSSIO 23'' Outdoor Ceiling Fan with Lights. This manual provides essential information for the safe installation, operation, and maintenance of your new fan. Please read these instructions thoroughly before installation and retain them for future reference.
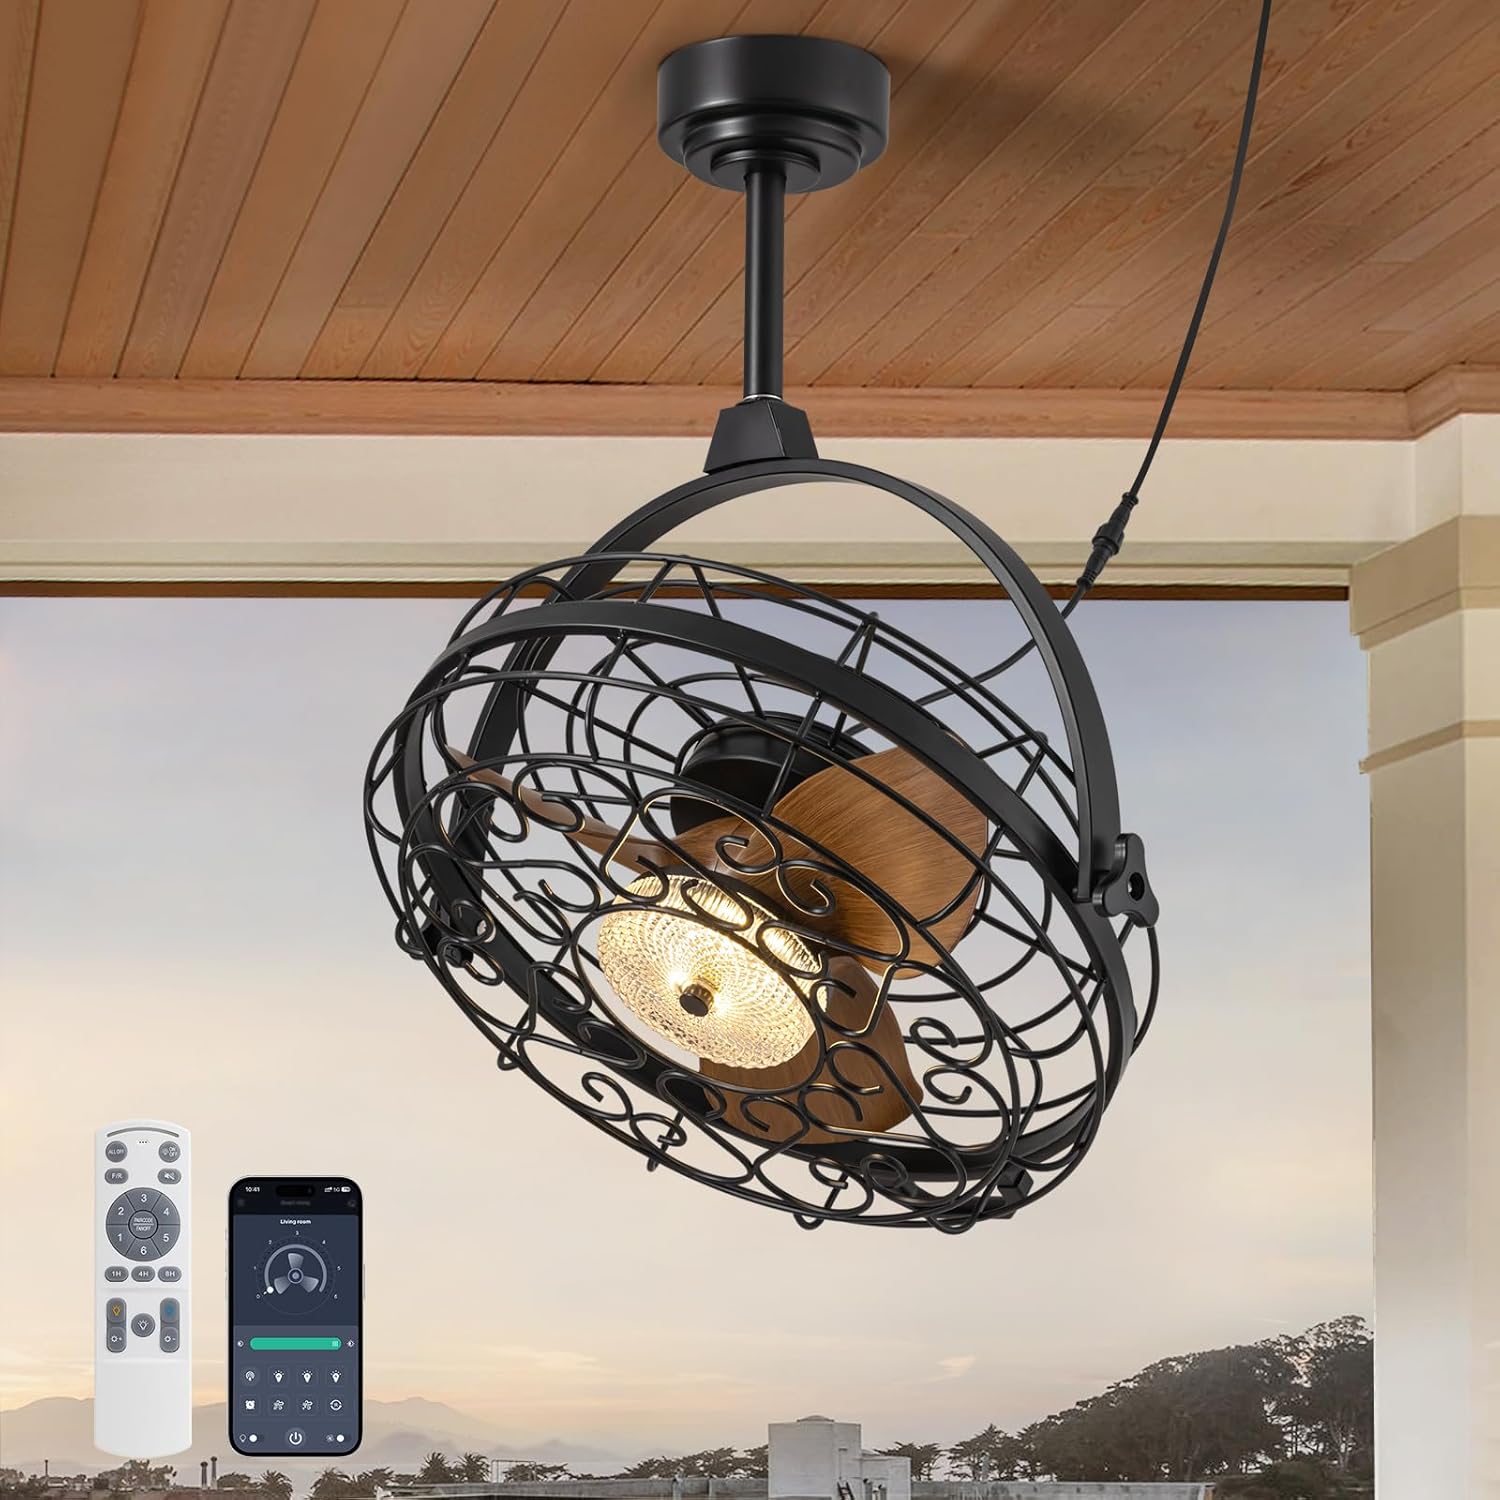
Image 1.1: The CROSSIO 23-inch outdoor ceiling fan, showcasinil suo design, il telecomando e l'interfaccia dell'app per smartphone.
Caratteristiche principali:
- Outdoor & Indoor Ready: Wet-rated design suitable for patios, gazebos, covered porches, living rooms, and bedrooms. Features a sealed motor and rust-proof materials for safe operation in wet conditions.
- Dimmable Fan Light: Integrated LED light with three adjustable color temperatures (Warm 3000K, Natural 4500K, Cool 6000K) and seamless dimming from 10% to 100%.
- Multiple Ceiling Compatibility: Designed for various mounting options including hanging with hooks, fixing to solid wood ceilings, or mounting to an outlet box. Includes two down rod lengths for flexible installation heights.
- Dual 360° Rotation & Reversible Motor: Manual 360° vertical and horizontal adjustment to direct airflow. Reversible motor function provides downdraft cooling in summer and updraft warm air circulation in winter.
- 6-Speed & Timer Function: Six customizable fan speeds and a convenient timer function (1, 4, or 8 hours) for automatic shut-off.
- Metodi di controllo: Operable via included remote control and a dedicated smartphone application.
2. Informazioni sulla sicurezza
Please observe the following safety precautions to reduce the risk of fire, electric shock, or personal injury.
- Leggere attentamente tutte le istruzioni prima dell'installazione e dell'uso.
- Prima dell'installazione o della manutenzione, assicurarsi che l'alimentazione elettrica sia scollegata dall'interruttore automatico.
- All electrical connections must be in accordance with local codes, ordinances, and the National Electric Code (NEC). If you are unfamiliar with electrical wiring, consult a qualified electrician.
- The fan must be mounted to a structure capable of supporting a minimum of 35 lbs (15.9 kg).
- Non utilizzare il ventilatore con un cavo o una spina danneggiati.
- Evitare di mettere le dita o altri oggetti nelle pale del ventilatore mentre è in funzione.
- This fan is wet-rated for outdoor use in covered areas. Do not expose to direct heavy rain or submerge in water.
- Assicurarsi che il ventilatore sia installato a un'altezza tale che le pale siano ad almeno 7 piedi (2.13 metri) dal pavimento.
- Utilizzare solo parti di ricambio specificate dal produttore.
3. Contenuto della confezione
Verificare che tutti i componenti siano presenti e integri prima di iniziare l'installazione. Se qualche componente risulta mancante o danneggiato, contattare l'assistenza clienti.
- Ceiling Fan Unit (with integrated light)
- Telecomando
- Mounting Hardware Kit (screws, anchors, brackets)
- Down Rods (2 lengths)
- Manuale di istruzioni (questo documento)
4. Specifiche
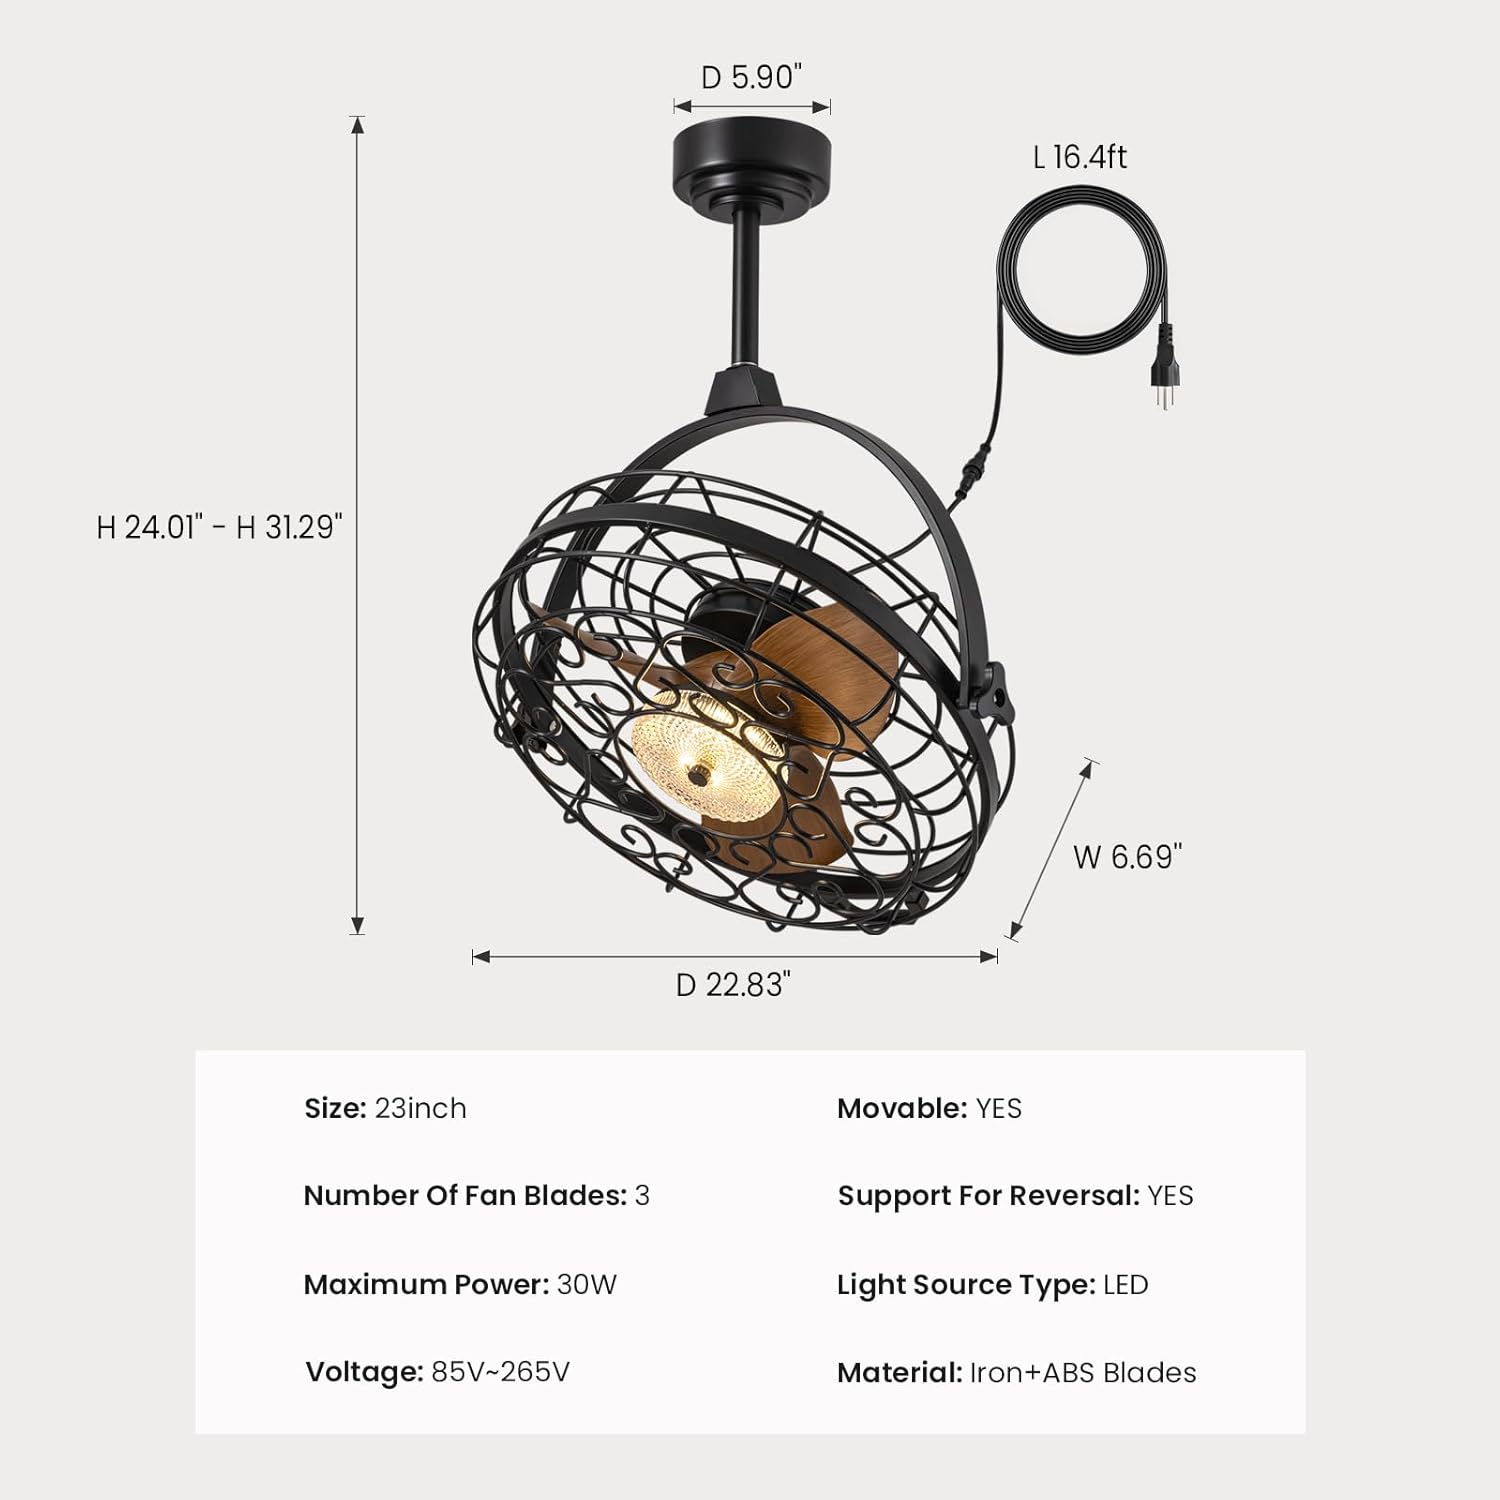
Image 4.1: Detailed dimensions of the fan unit, including height, width, and depth.
| Caratteristica | Specificazione |
|---|---|
| Nome del modello | FS8912-01 |
| Marca | CROSSIO |
| Misurare | 23 pollici |
| Dimensioni del prodotto | 5"P x 20"L x 20"A |
| Peso dell'articolo | 22.5 libbre |
| Numero di pale del ventilatore | 3 |
| Potenza massima | 30W |
| Voltage | 85V-265V |
| Fonte di alimentazione | AC |
| Tipo di sorgente luminosa | GUIDATO |
| Materiale | Iron + ABS Blades |
| Metodo di controllo | Applicazione, remoto |
| Uso interno/esterno | Interno, esterno (resistente all'acqua) |
| Caratteristiche speciali | Adjustable Color Temperature, Dimmable, Timer, Waterproof, 360° Rotation, Reversible Motor |
| Codice UPC | 733241251473 |
5. Istruzioni per l'installazione
Before installation, ensure the power is turned off at the circuit breaker. Follow these steps for your chosen mounting method.

Image 5.1: Three available installation options: mounting to an outlet box, fixing to solid wood, or hanging with a ceiling hook.
General Steps for All Installations:
- Preparare la posizione di montaggio: Ensure the ceiling structure can support the fan's weight (minimum 35 lbs).
- Montare l'asta di discesa: Attach the desired length of down rod to the fan motor housing.
- Collegare il cavo di alimentazione: The fan comes with a 16ft flexible cord and a 3-prong plug. Ensure the power outlet is within reach and properly grounded.

Image 5.2: The 16ft flexible power cord with a 3-prong plug for easy connection.
Option 1: Outlet Box Mounting
- Secure the mounting bracket to a UL-listed outlet box (not included) that is rated for fan support.
- Attach the fan's down rod assembly to the mounting bracket.
- Make electrical connections (live, neutral, ground) from the fan to the outlet box wiring.
Option 2: Solid Wood Ceiling Mounting
- Drill pilot holes into the solid wood ceiling beam.
- Secure the mounting bracket directly to the wood using appropriate screws (provided in hardware kit).
- Attach the fan's down rod assembly to the mounting bracket.
Option 3: Ceiling Hook Hanging
- Install a sturdy ceiling hook (provided in hardware kit) into a secure ceiling joist or beam.
- Hang the fan unit from the ceiling hook using the integrated hanging mechanism.

Image 5.3: The fan is designed for easy hanging and removal, particularly with the ceiling hook option.
6. Istruzioni per l'uso
The CROSSIO ceiling fan can be controlled using the included remote control or a smartphone application.

Image 6.1: The remote control and smartphone application provide comprehensive control over fan and light functions.
Funzioni del telecomando:
- Interruttore della luce: Accende/spegne la luce.
- Wind Speed Adjustment (1-6): Aumenta o diminuisce la velocità della ventola.
- Timer Button (1H/4H/8H): Imposta lo spegnimento automatico della ventola dopo 1, 4 o 8 ore.
- Regolazione della temperatura del colore: Cycles through Warm (3000K), Natural (4500K), and Cool (6000K) light.
- Regolazione della luminosità (+/-): Dims or brightens the light from 10% to 100%.
- F/R (Forward/Reverse) Button: Cambia la direzione di rotazione delle pale del ventilatore.
Controllo tramite app per smartphone:
Download the CROSSIO app from your device's app store. Follow the in-app instructions to pair your fan. The app provides all the functions available on the remote control, plus additional smart features.
Impostazioni della velocità della ventola:
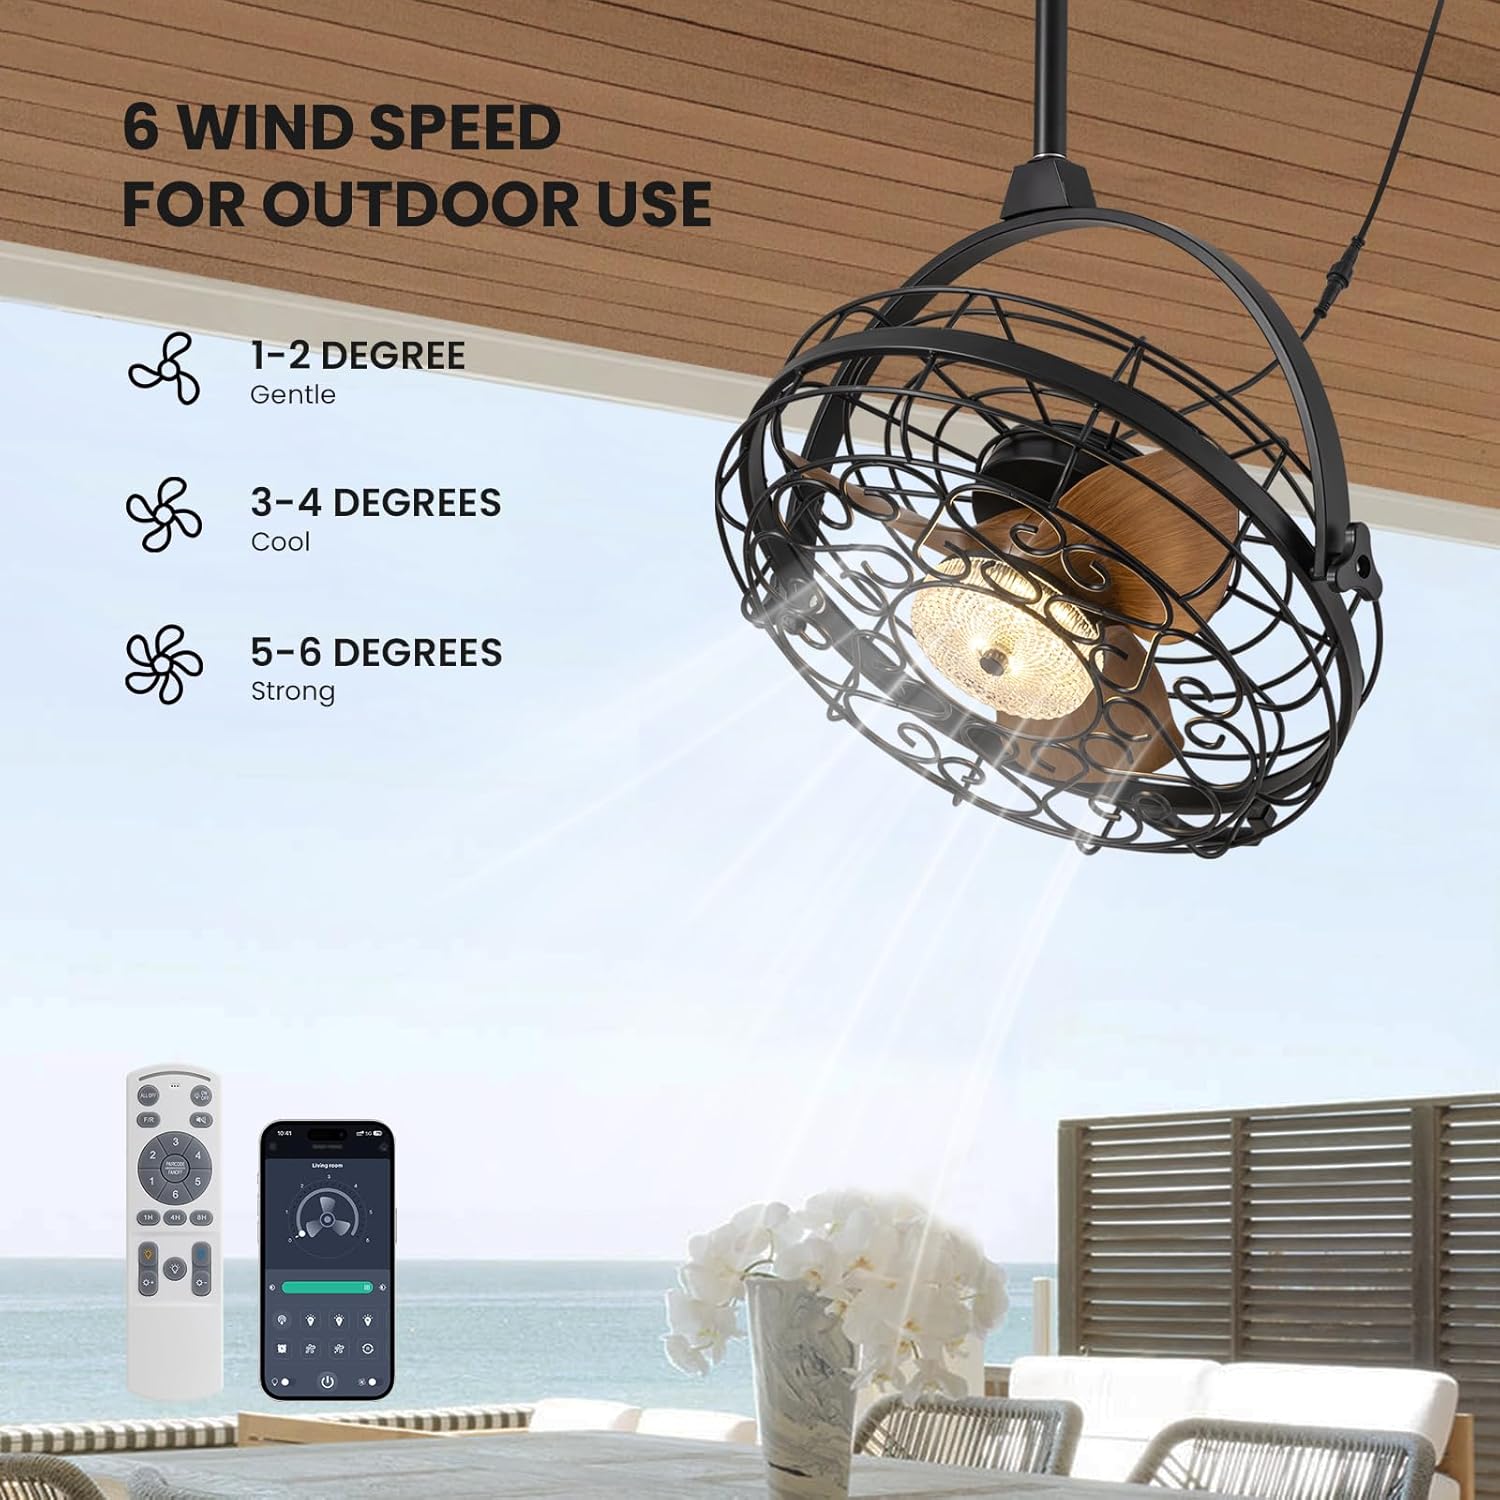
Image 6.2: The fan offers 6 distinct wind speed settings, from gentle to strong.
- Velocità 1-2: Gentle airflow, ideal for quiet environments or light breeze.
- Velocità 3-4: Cool airflow, suitable for moderate temperatures.
- Velocità 5-6: Strong airflow, effective for warmer conditions or larger areas.
Dimmable Light Operation:

Image 6.3: The integrated LED light can be adjusted to three color temperatures and dimmed from 10% to 100% brightness.
Use the color temperature button to cycle through 3000K (Warm), 4500K (Natural), and 6000K (Cool) settings. Use the brightness adjustment buttons to set the light intensity from 10% to 100%.
Funzione di rotazione di 360°:

Image 6.4: The fan head can be manually adjusted 360 degrees both horizontally and vertically to direct airflow precisely.
The fan head can be manually rotated 360 degrees horizontally and vertically. This allows you to direct the airflow to specific areas as needed, providing flexible cooling.
Funzione motore reversibile:
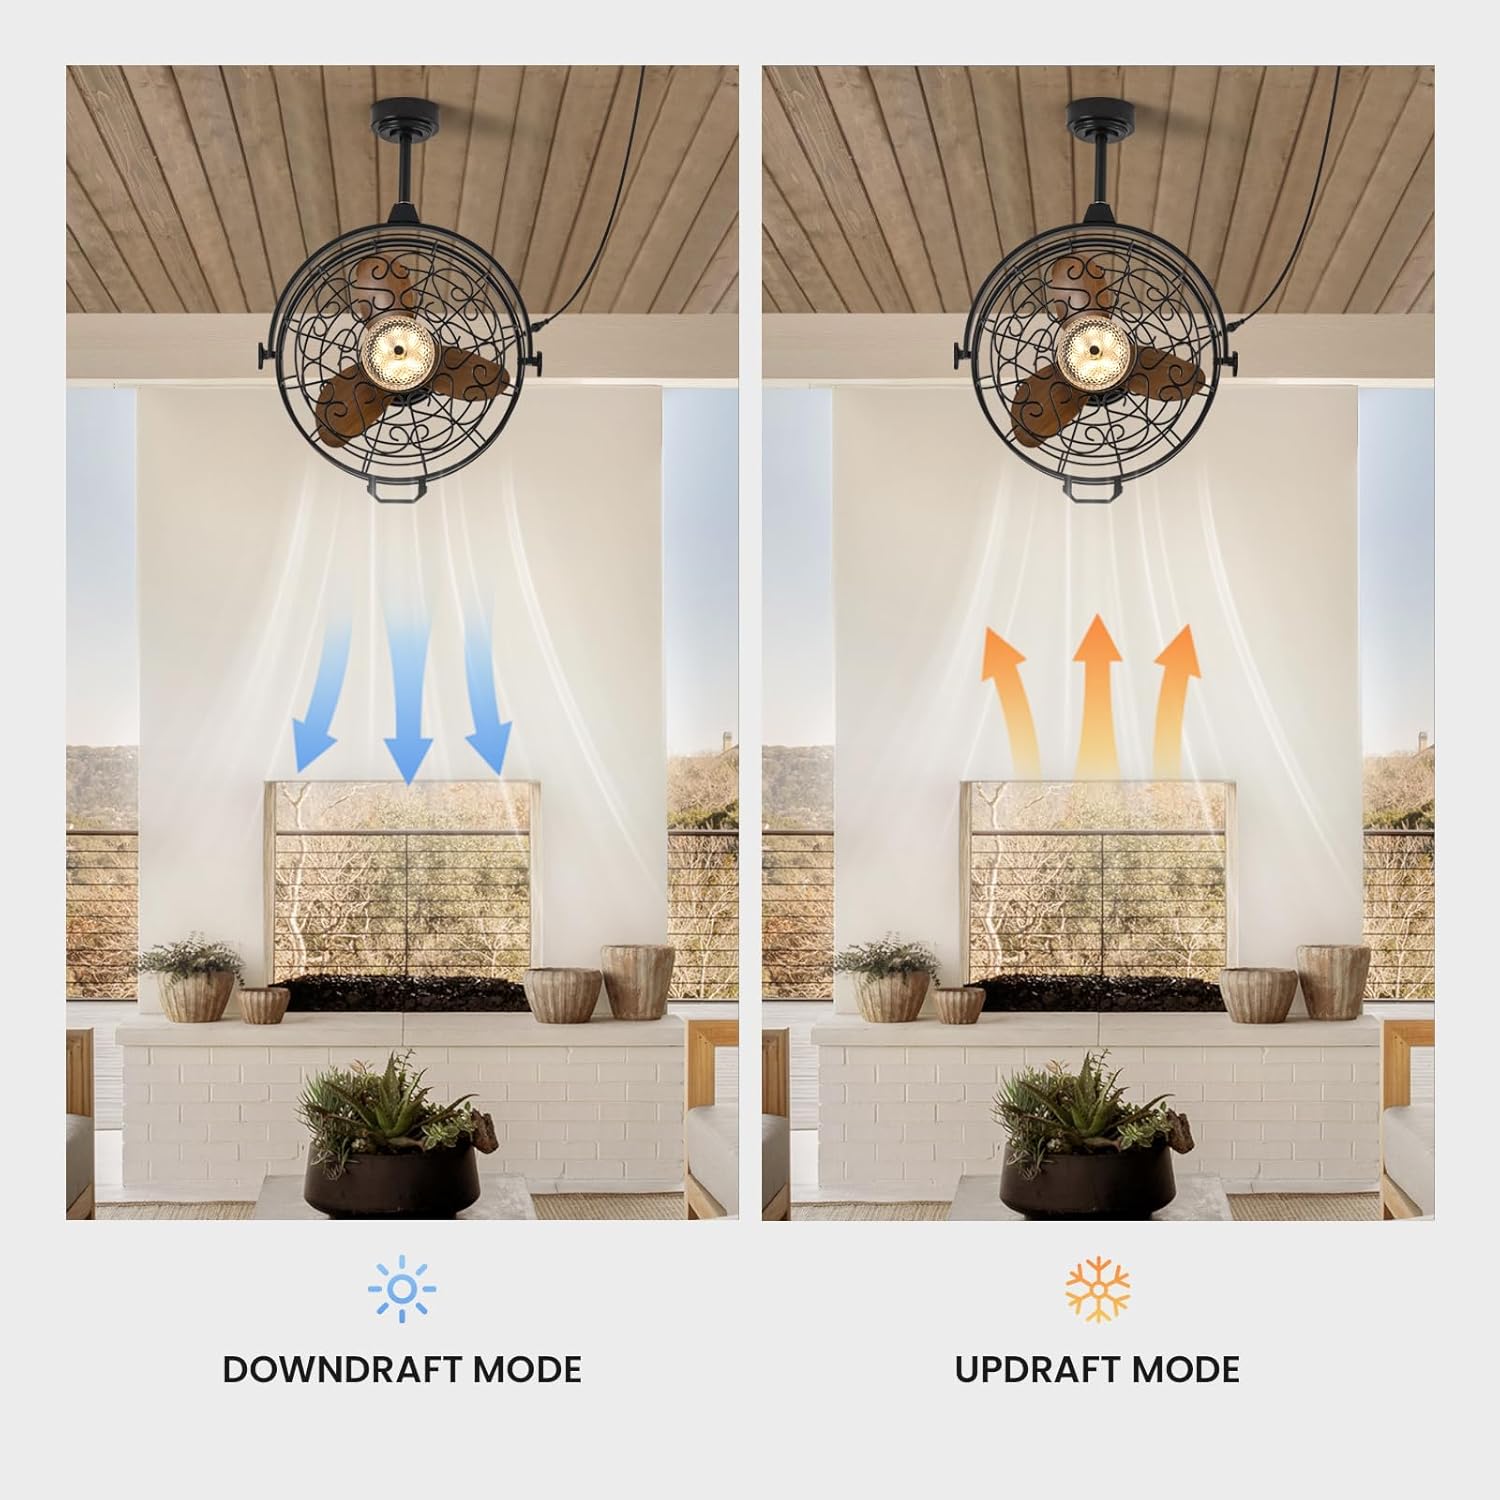
Image 6.5: The fan operates in downdraft mode for cooling in summer and updraft mode for circulating warm air in winter.
Use the F/R button on the remote or the corresponding setting in the app to switch the fan's rotation direction:
- Modalità Downdraft (estate): Blades rotate counter-clockwise, pushing air downwards to create a cooling effect.
- Modalità Updraft (Inverno): Le pale ruotano in senso orario, aspirando l'aria verso l'alto e facendo circolare l'aria calda intrappolata vicino al soffitto.
7. Manutenzione
Una manutenzione regolare garantisce prestazioni ottimali e prolunga la durata del ventilatore.
- Pulizia: Pulire l'alloggiamento della ventola e le pale con un panno morbido e asciutto.amp cloth. Do not use abrasive cleaners or solvents. Ensure the fan is completely dry before operating.
- Spolverare: Periodically dust the fan blades and light fixture to prevent buildup that can affect performance and light output.
- Ispezioni: Regularly check all connections and mounting hardware for tightness. Ensure the power cord is free from damage.
- Sorgente luminosa: La sorgente luminosa a LED è integrata e generalmente non sostituibile dall'utente. In caso di guasto della luce, contattare l'assistenza clienti.
Caution: Always disconnect power before cleaning or performing any maintenance.
8. Risoluzione Dei Problemi
Se riscontri problemi con la ventola, fai riferimento ai seguenti problemi comuni e alle relative soluzioni.
| Problema | Possibile causa | Soluzione |
|---|---|---|
| La ventola non si accende | Nessuna alimentazione Batteria del telecomando scarica/scarica Fan not properly plugged in | Controllare l'interruttore automatico e l'interruttore a parete Sostituire le batterie del telecomando Assicurarsi che la spina sia completamente inserita in una presa funzionante |
| La luce non si accende | Spegnimento della luce LED guasto | Press the light switch button on the remote/app Contatta l'assistenza clienti per assistenza |
| La ventola fa rumore eccessivo | Viti di montaggio allentate Ostruzione delle pale del ventilatore | Ensure all mounting screws are tightened Check for any objects interfering with the blades (with power off) |
| Il telecomando non funziona | Batterie scariche/morte Ostruzione tra telecomando e ventola Fan not paired | Sostituire le batterie Assicurare una linea di vista libera Refer to pairing instructions in the app or contact support |
| Flusso d'aria debole | Velocità della ventola troppo bassa Incorrect fan direction (winter mode in summer) | Aumentare l'impostazione della velocità della ventola Switch to downdraft mode (counter-clockwise rotation) |
Se il problema persiste dopo aver provato queste soluzioni, contattare l'assistenza clienti.
9. Garanzia e supporto
Informazioni sulla garanzia:
This CROSSIO product is covered by a manufacturer's warranty against defects in materials and workmanship. The specific terms and duration of the warranty may vary. Please retain your proof of purchase for warranty claims.
Assistenza clienti:
For any questions, technical assistance, or warranty claims, please contact CROSSIO customer support. You can typically find contact information on the product packaging, the official CROSSIO websito o tramite la tua piattaforma di acquisto.
When contacting support, please have your product model number (FS8912-01) and proof of purchase readily available.