

Informazioni importanti sulla sicurezza
Leggere attentamente tutte le istruzioni prima di utilizzare l'apparecchio. Conservare il manuale per riferimento futuro.
- Always disconnect the vacuum cleaner from the power supply before cleaning or performing maintenance.
- Non raccogliere materiali infiammabili o combustibili, ceneri calde o oggetti grandi e taglienti.
- Non immergere la testa del motore in acqua o altri liquidi.
- Prima dell'uso, assicurarsi che tutti i filtri siano installati correttamente.
- Questo apparecchio è destinato esclusivamente all'uso domestico.
Contenuto della confezione
Verificare che tutti gli articoli siano presenti nella confezione:
- 1x Hoover Wet & Dry vacuum cleaner
- 1x Flexi hose and tube attachment
- 1x 2-in-1 Crevice tool
- 1x spazzola per pavimenti
- 1x Manuale di istruzioni

All components included with the Hoover HWD21 Wet Dry Drum Vacuum.
Assemblaggio e configurazione
- Disimballaggio: Rimuovere con attenzione tutti i componenti dalla confezione.
- Fissaggio delle ruote piroettanti: Invert the tank and firmly push the castor wheels into their designated slots on the base. Ensure they click into place.

Ensure castor wheels are securely attached for mobility.
- Collegamento del tubo: Insert the flexible hose into the suction inlet on the front of the vacuum cleaner until it is secure. For the blower function, connect the hose to the exhaust outlet.
- Attaching Extension Tubes and Nozzles: Connect the desired extension tubes to the hose, then attach the appropriate nozzle (e.g., floor brush, crevice tool) for your cleaning task.
Istruzioni per l'uso
Accensione/spegnimento
Plug the power cord into a suitable electrical outlet. Press the green "ON" button to start the vacuum and the red "OFF" button to stop it.
Location of the power ON (green) and OFF (red) buttons.
Aspirazione a secco
For dry vacuuming, ensure the dry filter is correctly installed inside the tank. Attach the floor brush or crevice tool as needed. Move the nozzle over the dry debris to collect it.

The floor brush attachment effectively cleans dry debris from hard surfaces.
Aspirazione a umido
For wet vacuuming, remove the dry filter. Attach the appropriate wet nozzle (if different from dry, or use the floor brush without the brush insert). Carefully vacuum liquid spills. Do not overfill the tank; the float mechanism will stop suction when full.

The vacuum efficiently handles liquid spills on various surfaces.
Funzione ventilatore
To use the blower function, detach the hose from the suction inlet and connect it to the exhaust outlet located on the motor head. Turn on the vacuum to use it as a blower for clearing debris from pathways or hard-to-reach areas.

The blower function helps clear debris from surfaces.
Utilizzo degli allegati
- Bocchetta per pavimenti multisuperficie: Ideal for general cleaning on both hard floors and carpets.
- Bocchetta per fessure 2 in 1: Use the narrow end for tight spaces and corners. Slide the brush attachment forward for dusting delicate surfaces or upholstery.
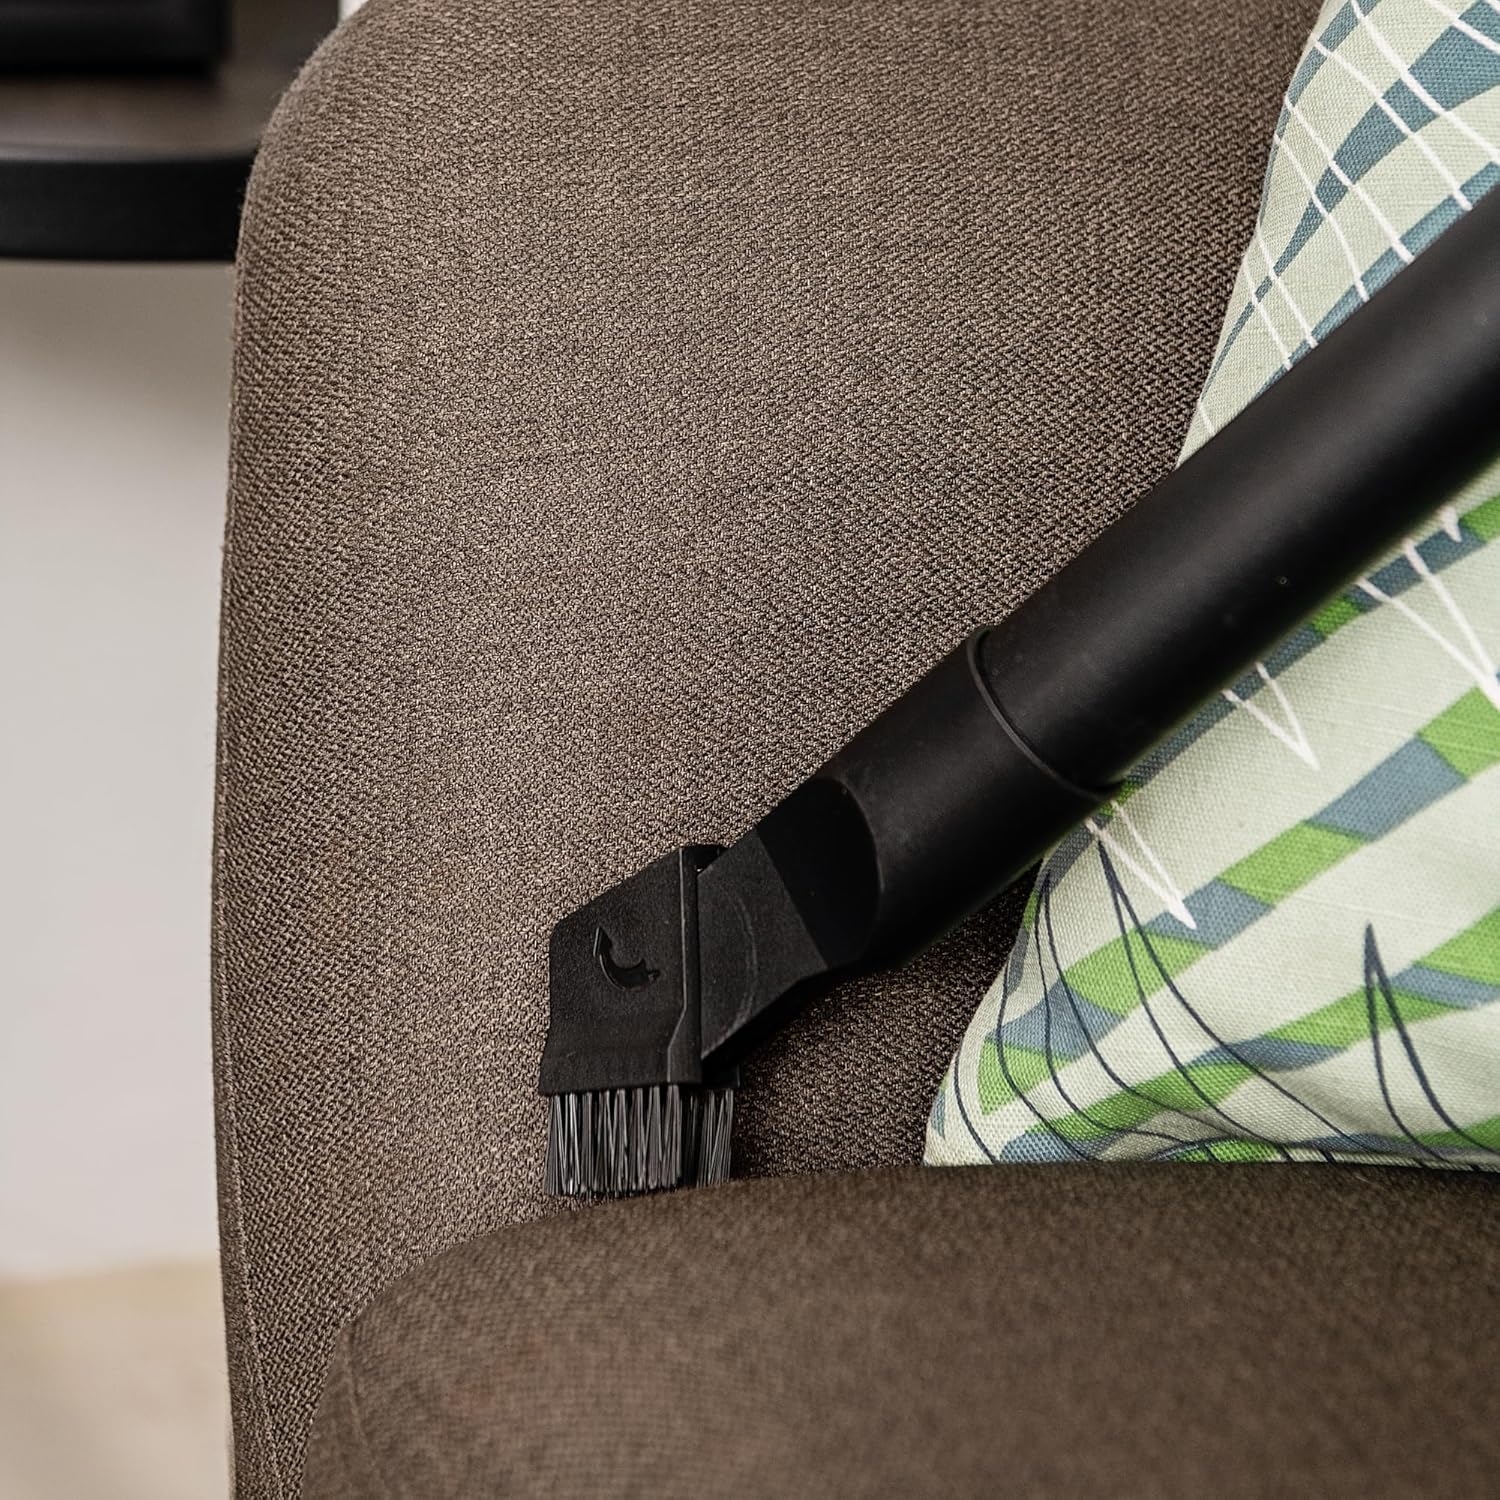
The crevice tool with brush is suitable for cleaning upholstery and tight areas.
Manutenzione
Svuotamento del serbatoio
After each use, especially after wet vacuuming, unplug the unit and unclip the motor head. Carefully lift the motor head and dispose of the collected debris or liquid. Clean the inside of the tank with water and mild detergent if necessary, then dry thoroughly.
Pulizia dei filtri
- Filtro a secco: For dry vacuuming, regularly check and clean the dry filter. Tap it gently to remove dust or rinse with water if heavily soiled. Ensure it is completely dry before re-installing.
- Filtro in schiuma (per uso umido): If a foam filter is used for wet vacuuming, rinse it with water and allow it to air dry completely before storage or next use.
Pulizia generale e stoccaggio
Pulisci l'esterno dell'aspirapolvere con l'adamp cloth. Do not use abrasive cleaners. Store the vacuum and its accessories in a dry place, away from direct sunlight and extreme temperatures. Utilize the onboard accessory storage for convenience.
Risoluzione dei problemi
| Problema | Possibile causa | Soluzione |
|---|---|---|
| L'aspirapolvere non si accende. | Nessuna alimentazione; cavo di alimentazione non collegato; pulsante di accensione non premuto. | Check power outlet; ensure cord is securely plugged in; press the green "ON" button. |
| Perdita di aspirazione. | Hose or nozzle blocked; tank full; filter clogged; hose not securely attached. | Check and clear blockages; empty the tank; clean or replace filter; ensure hose is firmly connected. |
| Perdita d'acqua durante l'aspirazione di liquidi. | Tank overfilled; seals not properly seated. | Empty the tank; check and re-seat the motor head and any seals. |
| Rumore insolito durante il funzionamento. | Blockage in hose or nozzle; motor issue. | Verificare la presenza di ostruzioni e rimuoverle. Se il rumore persiste, contattare l'assistenza clienti. |
Specifiche
| Caratteristica | Dettaglio |
|---|---|
| Marca | Aspirapolvere |
| Numero di modello | HWD21 |
| Fonte di alimentazione | Elettrico con cavo |
| Potenza del motore | 1200W |
| Capacità del serbatoio | 20 litri |
| Materiale del serbatoio | Acciaio inossidabile |
| Lunghezza del cavo | 5m |
| Raccomandazione di superficie | Tutti i piani |
| Colore | Nero e argento |
| Componenti inclusi | Vacuum cleaner, Flexi hose, Extension tube, 2-in-1 Crevice tool, Floor brush, Instruction manual |
Garanzia e supporto
This Hoover HWD21 Stainless Steel 20L Wet Dry Drum Vacuum comes with a standard manufacturer's warranty. Please refer to the warranty card included in your package for specific terms and conditions.
For technical support, spare parts, or warranty claims, please contact Hoover customer service through their official websito o le informazioni di contatto fornite nella documentazione di garanzia.
Si prega di conservare la prova d'acquisto ai fini della garanzia.