1. Introduzione
Thank you for choosing the Tibuta Android 13 Tablet. This manual provides essential information to help you set up, operate, and maintain your device. Please read this manual carefully before using your tablet to ensure optimal performance and longevity.
2. Cosa c'è nella scatola
Dopo aver disimballato, verificare che siano presenti tutti i seguenti articoli:
- Tibuta Android 13 Tablet
- Caricabatterie
- Cavo USB
- Manuale dell'utente (questo documento)
- Scheda di garanzia
3. Prodotto finitoview
Familiarize yourself with the physical components of your Tibuta tablet.

Figure 3.1: Tablet Components (Side View)
This image illustrates the location of the power button, Type-C port, volume controls, Micro SD card slot, camera, reset button, headphone jack, and speakers on the tablet's exterior.

Figure 3.2: Tablet Components (Front and Back View)
Questa immagine fornisce una descrizione dettagliata view of the tablet, highlighting the speaker, front camera, reset button, volume controls, power button, 3.5mm headphone jack, rear camera, SD card slot, and Type-C port. It also shows the included power adapter and Type-C cable.
4. Impostazione
4.1 Carica iniziale
Before first use, fully charge your tablet using the provided charger and USB cable. Connect the Type-C cable to the tablet's Type-C port and the charger to a power outlet. The battery indicator on the screen will show charging progress.
4.2 Accensione/spegnimento
- Per accendere: Press and hold the Power button (refer to Figure 3.1 or 3.2) until the screen lights up.
- Per spegnere: Tieni premuto il pulsante di accensione finché non appare un menu. Seleziona "Spegni" e conferma.
- Ricominciare: From the same menu, select 'Restart'.
4.3 Configurazione iniziale
Upon first power-on, follow the on-screen prompts to set up your tablet. This includes selecting your language, connecting to a Wi-Fi network, and signing in with your Google account. A Google account is required to download apps from the Google Play Store.
4.4 Inserimento di una scheda Micro SD
To expand storage, insert a Micro SD card (up to 1TB, not included) into the Micro SD card slot (refer to Figure 3.1 or 3.2). Ensure the tablet is powered off before inserting or removing the card.
5. Istruzioni per l'uso
5.1 Navigazione di base
The tablet features a sensitive touchscreen. Use standard Android gestures:
- Rubinetto: Seleziona un elemento o apri un'app.
- Scorri: Scorrere le pagine o gli elenchi.
- Pizzico: Ingrandisci o rimpicciolisci le immagini e web pagine.
- Premere a lungo: Accedi ai menu contestuali o sposta le icone.
5.2 Connessione al Wi-Fi
Vai a Impostazioni > Rete e Internet > Wi-Fi. Turn on Wi-Fi, select your desired network, and enter the password if prompted. The tablet supports 2.4G and 5G Wi-Fi (802.11ac, 802.11b, 802.11g, 802.11n).
5.3 Associazione Bluetooth
To connect Bluetooth devices (e.g., headphones, keyboard, mouse):
- Vai a Impostazioni > Dispositivi connessi > Preferenze di connessione > Bluetooth.
- Attiva il Bluetooth.
- Assicurati che il tuo dispositivo Bluetooth sia in modalità di associazione.
- Seleziona il tuo dispositivo dall'elenco e segui le istruzioni visualizzate sullo schermo per completare l'associazione.
5.4 Utilizzo della fotocamera
The tablet is equipped with a 5MP front camera and an 8MP rear camera. Open the Camera app to capture photos and videos. The rear camera features PDAF Phase Auto-focus and an LED flash.

Figure 5.1: Camera and Split-Screen Functionality
This image demonstrates the tablet's dual camera capabilities for capturing moments and its split-screen feature for multitasking, such as video calls while viewing documenti.
5.5 Funzione schermo diviso
The Android 13 operating system supports split-screen mode, allowing you to use two applications simultaneously. To activate, open an app, then swipe up from the bottom of the screen to access recent apps. Long-press the app icon at the top of the window and select 'Split screen'. Choose a second app to open alongside it.
5.6 Personalizzazione e personalizzazione
Android 13 offers extensive customization options. You can personalize your tablet by changing wallpapers, adding widgets to your home screen, and organizing app icons to suit your preferences.
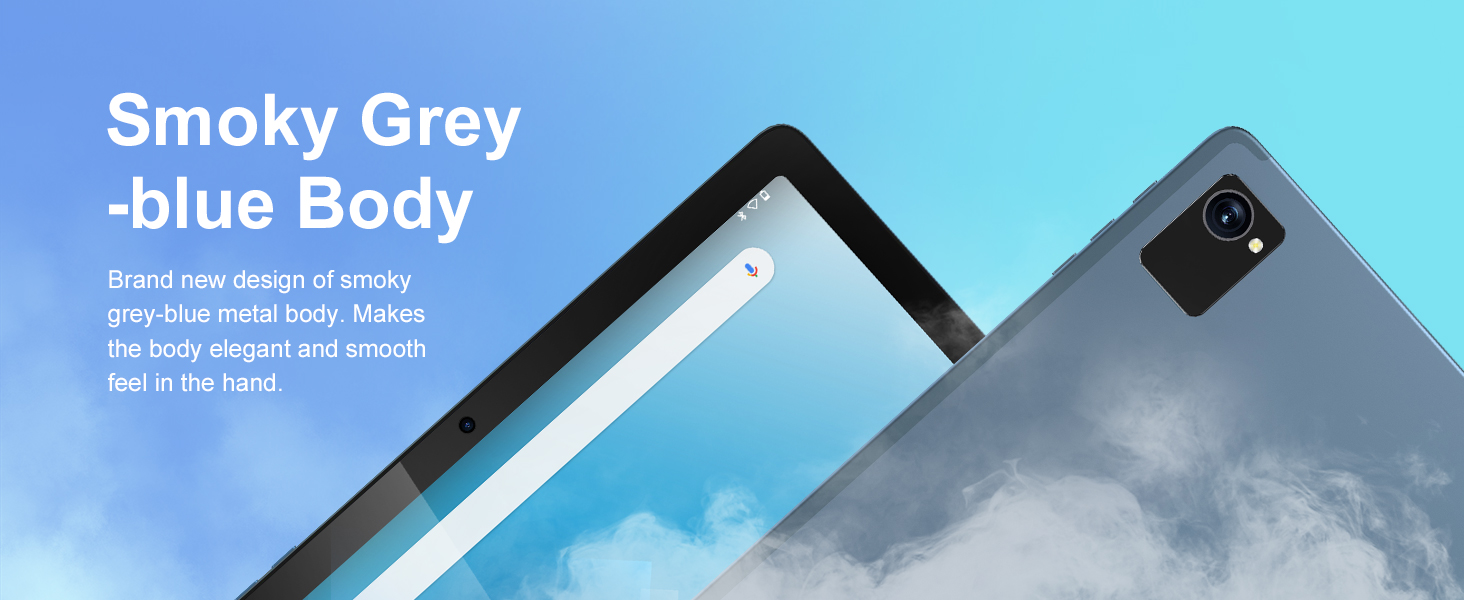
Figure 5.2: Customizable Interface
This image highlights the ability to customize widgets and change app icons, allowing users to personalize their tablet experience.
5.7 Modalità di protezione degli occhi
To reduce eye strain, especially during prolonged use, activate the eye protection mode. This feature reduces the amount of blue light emitted by the screen. You can usually find this option in the Quick Settings panel or under Impostazioni > Schermo.
Figura 5.3: Funzione di protezione degli occhi
This image demonstrates the tablet's eye protection mode, which reduces blue light to prevent discomfort during extended viewing.
5.8 Proiezione senza fili
The tablet supports wireless projection, allowing you to cast your screen to compatible larger display devices such as smart TVs or projectors. This is ideal for presentations or sharing media with others.
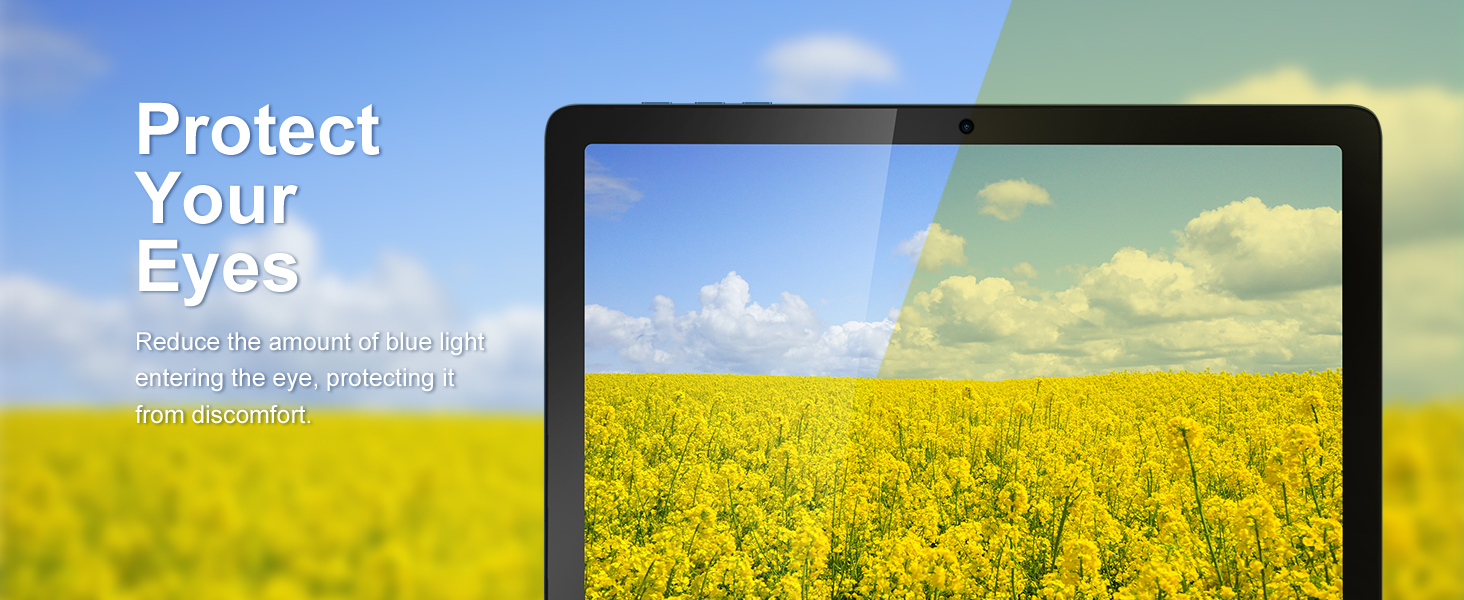
Figure 5.4: Wireless Projection in Use
This image depicts the tablet's wireless projection capability, enabling users to connect to larger screens for shared viewesperienze di acquisizione.
5.9 Funzionalità GPS
Il tablet include il GPS per la navigazione e i servizi basati sulla posizione. Assicurarsi che i servizi di localizzazione siano abilitati in Impostazioni > Posizione per prestazioni ottimali con le applicazioni di mappatura.

Figura 5.5: Navigazione GPS
This image shows the tablet utilizing GPS for navigation, displaying a map with a highlighted route.
5.10 Media Consumption and Gaming
The 10.1-inch IPS HD display (1280x800 pixels) and Octa-Core processor provide a smooth experience for watching videos and playing games. The tablet supports Widevine L1 for high-definition streaming content. The Mali-G52 MC2 GPU enhances gaming performance.

Figura 5.6: Esperienza di gioco migliorata
This image highlights the tablet's improved gaming performance, featuring gyroscope motion control and a Mali-G72 GPU for a responsive gaming experience.
6. Manutenzione
6.1 Pulizia del dispositivo
Utilizzare un panno morbido e privo di lanugine per pulire lo schermo e il corpo del tablet. Evitare l'uso di prodotti chimici aggressivi o materiali abrasivi che potrebbero danneggiare le superfici.
6.2 Cura della batteria
The tablet is equipped with a 7000mAh battery, providing approximately 8 hours of average use. To prolong battery life:
- Evitare temperature estreme.
- Non lasciare che la batteria si scarichi completamente frequentemente.
- Utilizzare il caricabatterie in dotazione.
- Regolare la luminosità dello schermo a un livello confortevole.
6.3 Aggiornamenti software
Your tablet runs on Android 13. Periodically check for system updates in Impostazioni > Sistema > Aggiornamento di sistema per assicurarti di disporre delle funzionalità e delle patch di sicurezza più recenti.
6.4 Gestione dell'archiviazione
The tablet comes with 64GB of internal storage (ROM) and 4GB of RAM. You can expand storage up to 1TB using a Micro SD card. Regularly manage your filee disinstallare le applicazioni non utilizzate per mantenere prestazioni ottimali.
7. Risoluzione Dei Problemi
Ecco le soluzioni ai problemi più comuni che potresti riscontrare:
- Il dispositivo non si accende: Assicurarsi che la batteria sia carica. In caso contrario, collegare il caricabatterie e attendere qualche minuto prima di riprovare ad accendere il dispositivo.
- Prestazioni lente: Chiudere le applicazioni non utilizzate, svuotare la cache o riavviare il tablet. Valutare la possibilità di liberare spazio di archiviazione.
- Problemi di connettività Wi-Fi: Controlla che il Wi-Fi sia abilitato. Riavvia il router e il tablet. Assicurati di essere nel raggio d'azione del segnale Wi-Fi.
- App che si bloccano: Ensure apps are updated to their latest versions. Clear the app's cache or data in Impostazioni > AppSe il problema persiste, disinstalla e reinstalla l'app.
- Schermo non reattivo: Eseguire un riavvio forzato tenendo premuto il pulsante di accensione per circa 10-15 secondi.
8. Specifiche
Detailed technical specifications for the Tibuta Android 13 Tablet (Model A20 8GB+64GB):
| Caratteristica | Specificazione |
|---|---|
| Marca | Tibuta |
| Nome del modello | A20 |
| Numero di modello | 8 GB + 64 GB |
| Sistema operativo | Androide 13 |
| Marca del processore | MediaTek Octa-Core |
| Velocità del processore | 1.3 GHz |
| Dimensioni dello schermo | 10.1 pollici |
| Risoluzione dello schermo | 1280 x 800 pixel (IPS HD) |
| Memoria RAM | 4 GB |
| Capacità di archiviazione | 64 GB (espandibile fino a 1 TB tramite Micro SD) |
| Marchio del chipset grafico | PowerVR |
| Scheda grafica | Mali-G52 MC2 |
| Connettività | Bluetooth, Wi-Fi (802.11ac, 802.11b, 802.11g, 802.11n) |
| Tecnologia senza fili | 2.4GHz + 5GHz Wi-Fi, Bluetooth 4.2 |
| Tipo di connettore | USB di tipo C |
| Durata della batteria (media) | 8 ore |
| Dimensioni articolo (L x P x A) | 24.8 x 16.7 x 1.2 centimetri |
| Peso dell'articolo | 538.8 grammi |
| Fotocamera frontale | 5 MP |
| Telecamera posteriore | 8 MP |
9. Garanzia e supporto
9.1 Garanzia del produttore
The Tibuta Android 13 Tablet comes with a 1-year manufacturer's warranty. Please refer to the included Warranty Card for detailed terms and conditions.
9.2 Assistenza clienti
If you encounter any issues not covered in this manual or require further assistance, please contact Tibuta customer support. Contact information can typically be found on the manufacturer's websito o sulla scheda di garanzia.