1. Introduzione
This manual provides essential information for the safe and efficient use of your CANDY Smart Inverter Washer Dryer, model CSWS496TWMRRE/FR. Please read these instructions carefully before installing, operating, or performing maintenance on the appliance. Keep this manual for future reference.
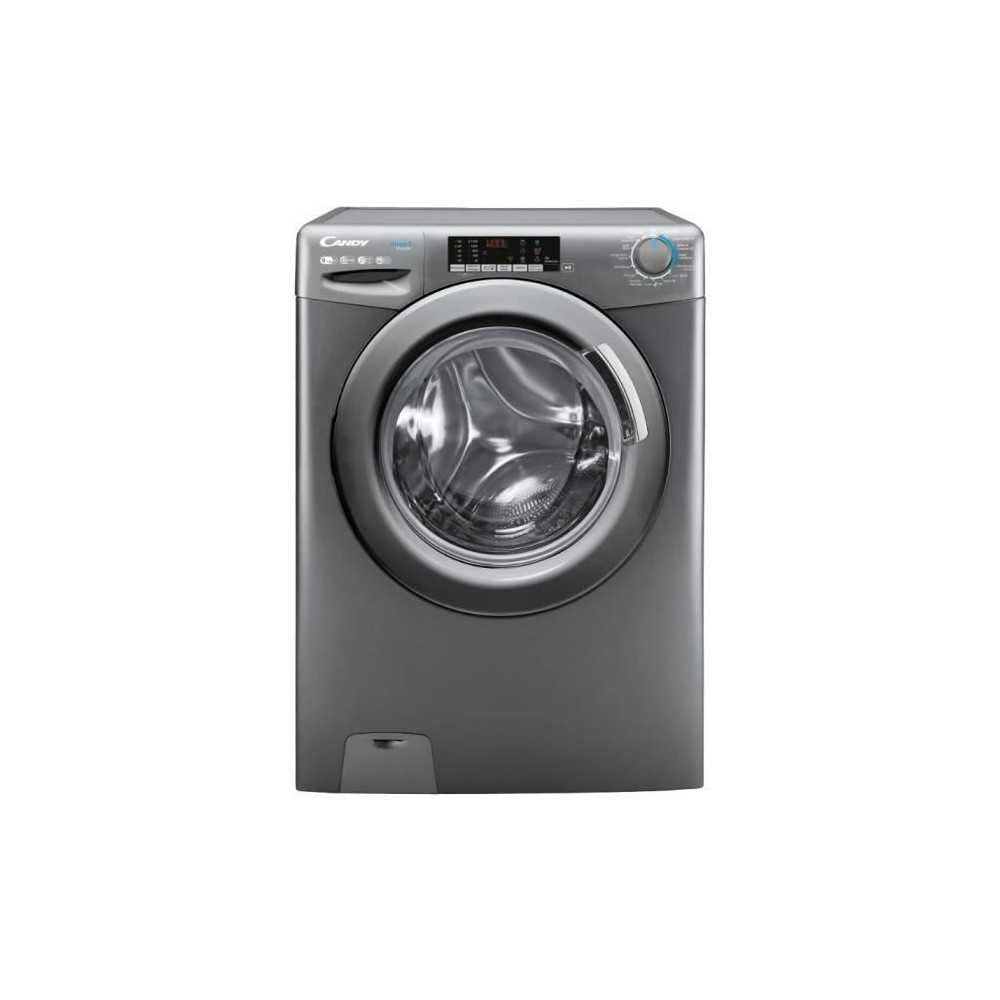
Immagine 1.1: anteriore view of the CANDY Smart Inverter Washer Dryer.
2. Informazioni sulla sicurezza
Seguire sempre le precauzioni di sicurezza di base quando si utilizzano apparecchi elettrici per ridurre il rischio di incendi, scosse elettriche e lesioni personali. Questo apparecchio è destinato esclusivamente all'uso domestico.
- Assicurarsi che l'apparecchio sia adeguatamente messo a terra.
- Non permettere ai bambini di giocare con l'apparecchio o di azionarlo.
- Non toccare l'apparecchio con le mani bagnate.
- Scollegare l'apparecchio prima di pulirlo o di effettuare qualsiasi intervento di manutenzione.
- Non lavare o asciugare articoli che sono stati puliti, lavati, immersi o macchiati con sostanze combustibili o esplosive.
- Keep the area around the exhaust opening free from the accumulation of lint, dust, and dirt.
3. Prodotto finitoview
3.1. componenti
- Pannello di controllo: Features a program selector dial, digital display, and touch buttons for various functions.
- Cassetto detersivo: Situato in alto a sinistra, serve per aggiungere detersivo e ammorbidente.
- Tamburo: Stainless steel interior for washing and drying clothes.
- Porta: Sportello di caricamento frontale con chiusura di sicurezza.
- Filtro: Located at the bottom front, for collecting lint and foreign objects.
3.2. Pannello di controllo

Immagine 3.1: Dettagliata view del pannello di controllo.
The control panel allows you to select wash and dry programs, adjust settings, and monitor the cycle status. Key elements include:
- Selettore di programma: Used to choose from 15 available wash and dry programs.
- Display digitale: Mostra il tempo rimanente, i codici di errore e le opzioni selezionate.
- Selezione della temperatura: Adjusts wash water temperature.
- Selezione della velocità di centrifuga: Modifies the spin cycle speed up to 1400 rpm.
- Partenza ritardata: Sets a delayed start time for the cycle (1-24 hours).
- Options Buttons: Activates special functions like Steam, Mix Power System, and quick cycles.
3.3. Cassetto detersivo
The detergent drawer has compartments for pre-wash detergent, main wash detergent, and fabric softener. Refer to the markings on the drawer for correct placement.
3.4. Drum Interior

Image 3.2: Interior of the washer dryer drum.
The stainless steel drum is designed for effective washing and drying. Ensure no foreign objects are left inside before starting a cycle.
4. Installazione
4.1. Disimballaggio
- Rimuovere tutti i materiali di imballaggio, compresa la base in polistirolo e tutti gli inserti nel tamburo.
- Remove the transport bolts from the rear of the appliance. Keep these bolts for future transport.
4.2. Posizionamento
- Posizionare l'apparecchio su un pavimento solido e piano.
- Adjust the feet to ensure the machine is stable and level.
- Assicurarsi che vi sia spazio sufficiente attorno all'apparecchio per la ventilazione.

Immagine 4.1: Es.ample of washer dryer placement in a domestic environment.
4.3. Collegamenti idrici ed elettrici
- Collegare il tubo di alimentazione dell'acqua a un rubinetto dell'acqua fredda.
- Posizionare il tubo di scarico in una colonna montante o in un lavandino, assicurandosi che sia fissato saldamente per evitare che si sposti durante il funzionamento.
- Collegare il cavo di alimentazione a una presa elettrica con messa a terra (230 Volt).
5. Istruzioni per l'uso
5.1. Prima del primo utilizzo
Run a short wash cycle without laundry and detergent to clean the drum and remove any manufacturing residues.
5.2. Caricamento della biancheria
- Open the door and load laundry into the drum, ensuring not to overload (max 9 kg for wash, 6 kg for dry).
- Chiudere bene la porta.
5.3. Aggiunta di detersivo e ammorbidente
Pull out the detergent drawer and add appropriate amounts of detergent and fabric softener to their respective compartments. Close the drawer.
5.4. Selezione del programma
- Turn the program selector dial to choose the desired wash or dry program. The appliance offers 15 programs, including 7 quick cycles.
- Il display digitale mostrerà le impostazioni predefinite per il programma selezionato.
5.5. Adjusting Settings and Special Functions
- Temperatura: Press the temperature button to adjust the wash temperature (e.g., 20°, 30°, 40°, 60°, 90°).
- Velocità di rotazione: Press the spin speed button to select the desired spin speed (e.g., 400, 800, 1000, 1400 rpm).
- Partenza ritardata: Press the delay start button repeatedly to set a delay from 1 to 24 hours.
- Funzione vapore: Activates the steam option to reduce wrinkles and refresh clothes.
- Sistema di alimentazione mista: Ensures thorough cleaning by pre-mixing water and detergent.
- Cicli rapidi: Select one of the 7 rapid cycles, including a full load program in 59 minutes.
5.6. Avvio del ciclo
Premere il pulsante Avvio/Pausa per avviare il programma selezionato. Il display mostrerà il tempo rimanente.
5.7. Fine del ciclo
At the end of the cycle, the appliance will signal with an audible alert and/or a message on the display. Open the door and remove the laundry.
6. Manutenzione
6.1. Pulizia del cassetto del detersivo
Regularly clean the detergent drawer to prevent residue buildup. Remove the drawer, rinse it under running water, and clean any stubborn deposits with a brush. Reinsert the drawer.
6.2. Pulizia del tamburo
Use the dedicated 'Drum Cleaning' program (if available) or run an empty hot wash cycle with a descaling agent or white vinegar to maintain drum hygiene.
6.3. Pulizia del filtro
Periodically clean the drain pump filter to ensure proper drainage. Place a shallow container under the filter cover, unscrew the filter, remove any lint or debris, and then securely replace it.
6.4. Pulizia esterna
Pulire le superfici esterne dell'apparecchio con un panno morbido eamp panno. Non usare detergenti abrasivi o solventi.
7. Risoluzione Dei Problemi
If you encounter issues with your appliance, consult the table below for common problems and solutions. If the problem persists, contact customer support.
| Problema | Possibile causa | Soluzione |
|---|---|---|
| L'apparecchio non si avvia | Cavo di alimentazione scollegato; sportello non chiuso; programma non selezionato; pulsante Avvio/Pausa non premuto. | Controllare il collegamento elettrico; assicurarsi che lo sportello sia chiuso; selezionare un programma; premere Avvio/Pausa. |
| Nessun apporto di acqua | Water tap closed; water inlet hose kinked; water filter blocked. | Open water tap; straighten hose; clean water inlet filter. |
| L'acqua non scarica | Tubo di scarico piegato o bloccato; filtro della pompa di scarico bloccato. | Raddrizzare o pulire il tubo di scarico; pulire il filtro della pompa di scarico. |
| Vibrazione eccessiva | Apparecchio non in piano; bulloni di trasporto non rimossi; carico non uniforme. | Regolare i piedini di livellamento; rimuovere i bulloni di trasporto; ridistribuire il bucato. |
| I vestiti non si asciugano correttamente | Overloaded; incorrect drying program; lint filter blocked. | Ridurre il carico; selezionare il programma di asciugatura appropriato; pulire il filtro anti-pelucchi. |
8. Specifiche
| Caratteristica | Specificazione |
|---|---|
| Nome del modello | C SWS496TWMRRE/FR |
| Marca | CARAMELLA |
| Dimensioni del prodotto (P x L x A) | 54P x 60l x 86H cm |
| Capacità di lavaggio | 9 chilogrammi |
| Capacità a secco | 6 chilogrammi |
| Velocità di rotazione massima | 1400 giri al minuto |
| Numero di programmi | 15 |
| Classe energetica (lavaggio) | A |
| Livello di rumore | 76 dB |
| Voltage | 230 Volt |
| Materiale (tamburo) | Acciaio inossidabile |
| Peso | 65 chilogrammi |
| Tipo di installazione | Libera installazione |
| Tipo di controllo | Tocco |
9. Garanzia e supporto
9.1. Informazioni sulla garanzia
This CANDY appliance comes with a Garanzia del produttore di 2 anni. Please retain your proof of purchase for warranty claims. The warranty covers defects in materials and workmanship under normal domestic use.
9.2. Assistenza clienti
For technical assistance, spare parts, or to schedule a service appointment, please contact CANDY customer support. Refer to the contact information provided in the separate warranty card or on the official CANDY websito.
The user manual is included with the product for detailed instructions and further support.