
1. Introduzione
Thank you for choosing the Sunster 8KW All-in-One Portable Diesel Heater. This manual provides essential information for the safe and efficient operation, installation, and maintenance of your heater. Designed for versatility, this unit offers reliable heating for various applications including vans, RVs, trucks, boats, campers, and garages. Please read this manual thoroughly before use and retain it for future reference.
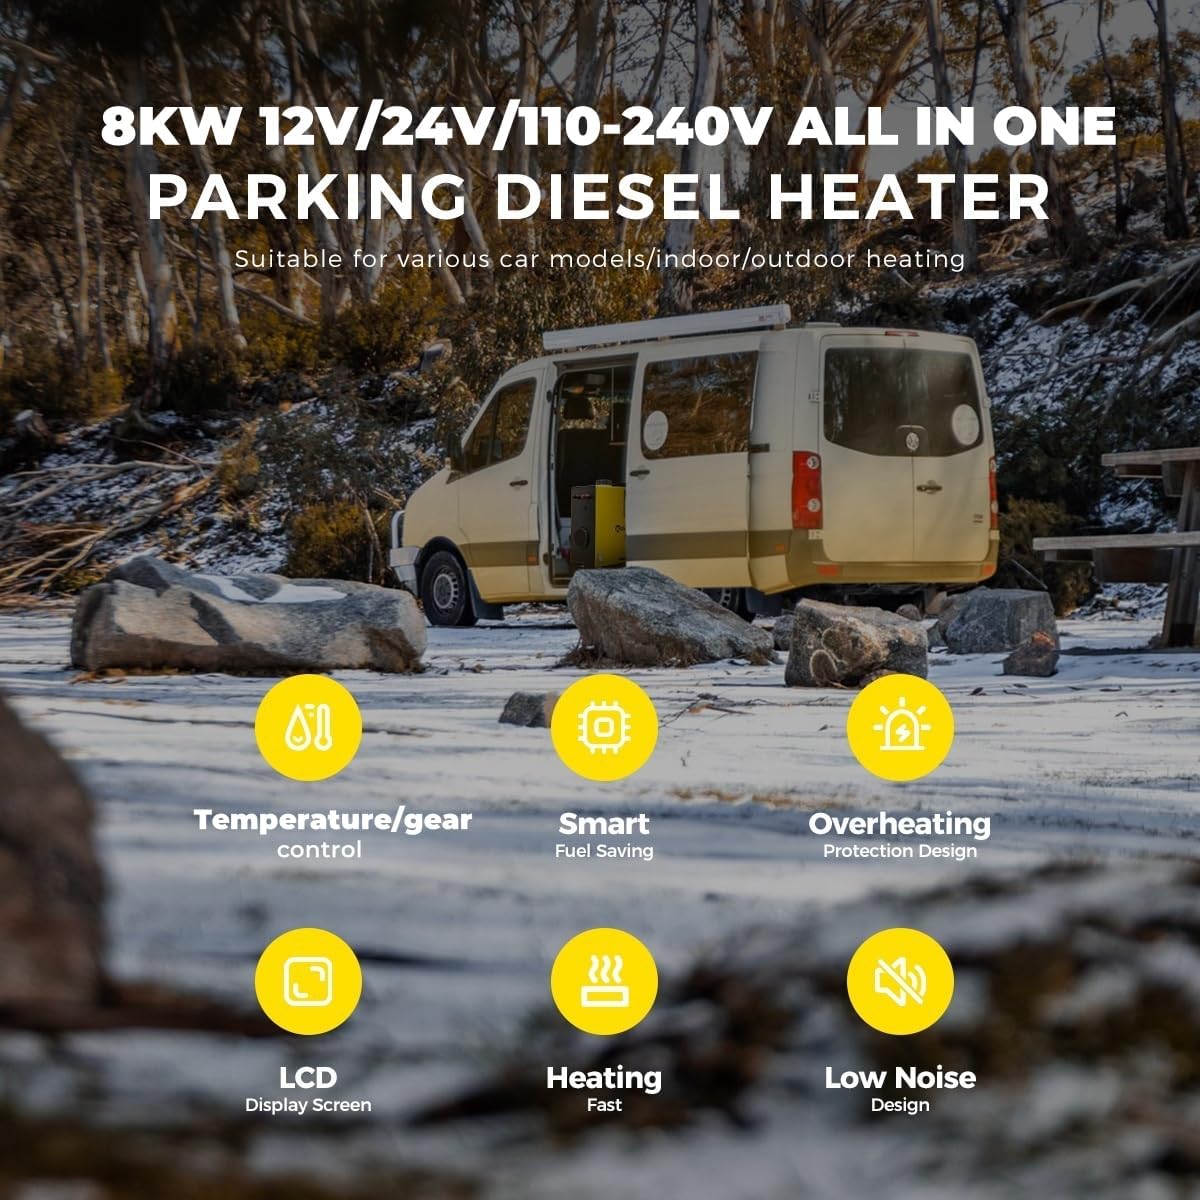
Image 1.1: Sunster 8KW Diesel Heater in an outdoor application.
2. Informazioni sulla sicurezza
WARNING: Failure to follow these safety instructions may result in fire, explosion, electric shock, or serious injury.
- Exhaust Gas: Always ensure exhaust gases are vented externally and away from occupied spaces. Carbon monoxide is a colorless, odorless gas that can be fatal.
- Installazione professionale: It is recommended to have the heater professionally installed, especially for permanent vehicle or marine applications, to ensure proper ventilation and safety.
- Ventilazione: Ensure adequate ventilation in the area where the heater is operating to prevent oxygen depletion.
- Gestione del carburante: Use only diesel fuel. Do not use gasoline or other volatile fuels. Refuel in a well-ventilated area away from ignition sources.
- Protezione contro il surriscaldamento: The heater is equipped with overheating protection (≥ 270 °C). Do not obstruct air inlets or outlets.
- Sicurezza elettrica: Verifica corretto voltage (12V/24V DC or 110-240V AC) before connecting. Protect against short circuits, overvoltage, e connessioni inverse.
- Posizionamento: Posizionare la stufa su una superficie stabile e non combustibile. Mantenere una distanza di sicurezza da materiali infiammabili.
- Bambini e animali domestici: Tenere bambini e animali domestici lontani dal riscaldatore in funzione.
- Normative locali: Always check and comply with local regulations and requirements regarding the use of oil-fueled appliances in your specific location.
3. Contenuto della confezione
Disimballare con cura la scatola e assicurarsi che tutti gli articoli elencati di seguito siano presenti e integri. Se qualche componente risulta mancante o danneggiato, contattare l'assistenza clienti.
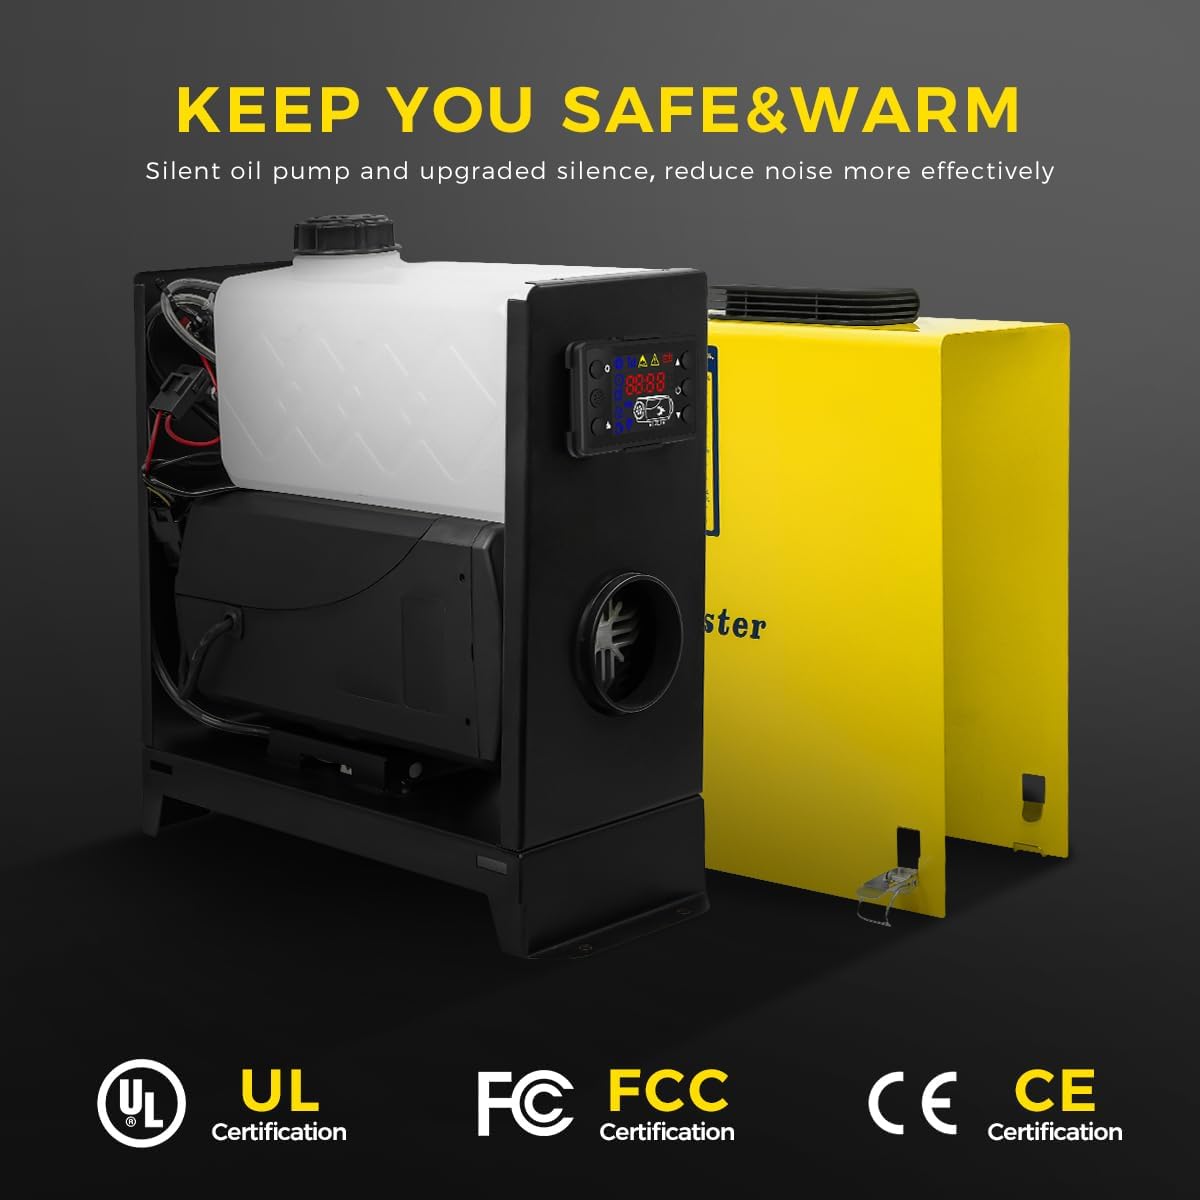
Image 3.1: Included components of the Sunster 8KW Diesel Heater.
- Sunster 8KW All-in-One Portable Diesel Heater Unit
- Telecomando
- LCD Monitor/Control Panel (integrated)
- Filtro dell'aria
- Fixed Plate (Mounting Bracket)
- Tubo di uscita dell'aria
- Tubo di aspirazione
- Tubo di scarico
- Manuale d'uso
- Battery Power Cable (for DC connection)
- Set di accessori per apparecchi (clamps, viti, ecc.)
- AC-DC Power Adapter (for 110-240V AC connection)
- Silenziatore
4. Prodotto finitoview
The Sunster 8KW Diesel Heater is an integrated heating solution featuring a compact design and robust construction. It includes a fuel tank, combustion chamber, and control system within a single unit, making it highly portable and easy to deploy.

Image 4.1: Main unit of the Sunster 8KW Diesel Heater.
Componenti chiave:
- Unità principale: Houses the combustion system, heat exchanger, fuel pump, and control board.
- Integrated Fuel Tank: Visible fuel level indicator for easy monitoring.
- Pannello di controllo LCD: Provides real-time status, temperature control, timing functions, and language settings.
- Telecomando: Consente un comodo utilizzo a distanza.
- Ingresso/Uscita dell'aria: For drawing in cold air and expelling heated air.
- Porta di scarico: Per l'espulsione sicura dei gas di combustione.

Image 4.2: Internal components diagram.
5. Impostazione
Proper setup is crucial for the safe and effective operation of your diesel heater.
5.1 Posizionamento
- Posizionare la stufa su una superficie piana, stabile e non combustibile.
- Ensure there is sufficient clearance around the heater for air circulation and to prevent fire hazards.
- Do not place the heater directly on carpet or other flammable materials.
5.2 Installazione del sistema di scarico
IMPORTANT: The exhaust pipe must always be routed outside and away from any occupied space to prevent carbon monoxide poisoning.
- Collegare il tubo di scarico alla porta di scarico del riscaldatore utilizzando il raccordo fornitoamps.
- Route the exhaust pipe securely to the exterior, ensuring it is not obstructed and is positioned where exhaust gases will disperse safely.
- Install the silencer (if desired) onto the exhaust pipe to reduce noise.
5.3 Air Intake and Outlet Pipes
- Connect the intake pipe to the heater's air intake port. This pipe draws in fresh air for combustion.
- Connect the air outlet pipe to the heater's hot air outlet. This pipe directs the heated air into the desired space.
- Ensure both pipes are securely fastened and free from kinks or obstructions.
5.4 Rifornimento
- Aprire il tappo del serbatoio del carburante.
- Fill the tank with clean diesel fuel. Do not overfill.
- Chiudere bene il tappo del serbatoio del carburante.
5.5 Collegamento di alimentazione
The heater supports dual power supply options: 12V/24V DC and 110-240V AC.

Image 5.1: Dual power supply options (AC and DC).
- For DC (12V/24V) Operation: Connect the provided battery power cable to the heater's DC input terminals (red to positive, black to negative) and then to your vehicle's battery. The heater automatically switches between 12V and 24V.
- For AC (110-240V) Operation: Connect the provided AC-DC power adapter to the heater's AC input port, then plug the adapter into a standard wall outlet.
6. Istruzioni per l'uso
Il riscaldatore può essere controllato tramite il pannello LCD integrato o il telecomando.

Image 6.1: LCD Control Panel and Remote Control.
6.1 Avviamento del riscaldatore
- Ensure all connections (power, fuel, exhaust) are secure.
- Press the power button on the LCD panel or remote control. The display will illuminate.
- The heater will initiate a startup sequence, including pre-heating the glow plug and starting the fuel pump. This may take a few minutes.
- Once combustion is stable, hot air will begin to flow from the air outlet.
6.2 Regolazione della temperatura e della potenza
- Use the 'Up' and 'Down' arrows on the control panel or remote to adjust the desired temperature or heating power (gear regulation).
- The heater will automatically adjust its output to maintain the set temperature.
6.3 Funzione di temporizzazione
The 24-hour timing function allows you to set a specific time for the heater to turn on or off.
- Access the timing settings via the menu on the LCD panel.
- Set the desired ON/OFF times according to the on-screen instructions.
6.4 Cambio lingua
The LCD control panel supports multiple languages (e.g., German, English, Russian).
- Navigate to the language settings in the LCD menu.
- Seleziona la lingua preferita.
6.5 Spegnimento del riscaldatore
- Press the power button on the LCD panel or remote control.
- The heater will enter a cool-down cycle to prevent carbon buildup and damage. Do not disconnect power during this cycle.
- Once the cool-down cycle is complete, the heater will power off.
7. Manutenzione
Una manutenzione regolare garantisce prestazioni ottimali e prolunga la durata della stufa.
- Pulizia generale: Mantenere pulito l'esterno del riscaldatore. Utilizzare un panno morbido eamp panno. Non usare detergenti abrasivi o solventi.
- Filtro dell'aria: Periodically inspect and clean the air filter. A clogged filter can reduce efficiency and lead to overheating. Replace if damaged.
- Sistema di alimentazione: Check fuel lines and connections for leaks or damage. Ensure the fuel tank is free of contaminants.
- Sistema di scarico: Inspect the exhaust pipe for blockages, corrosion, or damage. Ensure it remains securely fastened and properly vented.
- Collegamenti elettrici: Verificare che tutti i collegamenti elettrici siano ben saldi e privi di corrosione.
- Magazzinaggio: If storing the heater for an extended period, drain the fuel tank and clean the unit thoroughly. Store in a dry, protected area.
8. Risoluzione Dei Problemi
Questa sezione affronta i problemi più comuni che potresti riscontrare. Per problemi non elencati qui, contatta l'assistenza clienti.
| Problema | Possibile causa | Soluzione |
|---|---|---|
| Il riscaldamento non si avvia | No power, low fuel, clogged fuel line, faulty glow plug. | Check power connection, refuel, inspect fuel lines, consult professional for glow plug. |
| Bassa emissione di calore | Clogged air filter, insufficient fuel, exhaust blockage. | Clean/replace air filter, check fuel level, clear exhaust. |
| Fumo eccessivo | Poor combustion, incorrect fuel-air mixture, faulty fuel pump. | Ensure proper ventilation, check fuel quality, contact support. |
| Rumore insolito | Componenti allentati, ostruzione della ventola, problema alla pompa del carburante. | Inspect for loose parts, clear obstructions, contact support. |
| Codice di errore sul display LCD | Guasto specifico del sistema. | Refer to the heater's internal error code list (if available) or contact customer support with the code. |
9. Specifiche
| Caratteristica | Dettaglio |
|---|---|
| Modello | 8KW Diesel Heater (L01) |
| Potenza di riscaldamento | 8 kW |
| Voltage | 12V/24V DC, 110-240V AC (Auto-switching) |
| Tipo di carburante | Diesel |
| Consumo di carburante | 0.11-0.48 litri/ora |
| Intervallo di temperatura di esercizio | 8-36 °C (46.4-96.8 °F) |
| Livello di rumore | ≤ 75dB |
| Materiale | Corpo in lega di alluminio |
| Peso dell'articolo | 20.3 libbre (circa 9.2 kg) |
| Dimensioni del pacco | 20.72 x 18.52 x 8.23 pollici (circa 52.6 x 47.0 x 20.9 cm) |
| Certificazioni | CE, WEE, FCC, EAC, UKCA (as per brand information) |
10. Garanzia e supporto
Sunster products are manufactured with quality and reliability in mind. This product comes with a standard manufacturer's warranty against defects in materials and workmanship under normal use. Please refer to the warranty card included in your package for specific terms and conditions, including the warranty period and claim procedures.
Assistenza clienti:
For technical assistance, troubleshooting, or warranty claims, please contact Sunster customer support. Our dedicated team is available to help you with any questions or concerns regarding your diesel heater.
- Websito: Visit the official Sunster websito per FAQ e risorse di supporto.
- E-mail: Per l'e-mail del servizio clienti, fare riferimento alla confezione del prodotto o alla scheda di garanzia.
- Telefono: Per il numero di telefono del servizio clienti, fare riferimento alla confezione del prodotto o alla scheda di garanzia.
Please have your model number (L01) and purchase date ready when contacting support.