Nilox J1 PRO ORANGE
Nilox J1 PRO ORANGE Folding Electric Bike
Manuale di istruzioni
Model: J1 PRO ORANGE
1. Introduzione
The Nilox J1 PRO ORANGE is a folding electric pedal-assisted bicycle designed for urban use. It combines portability with electric assistance, making it suitable for city commutes and leisure rides. This manual provides essential information for the safe and efficient use, assembly, and maintenance of your electric bike.
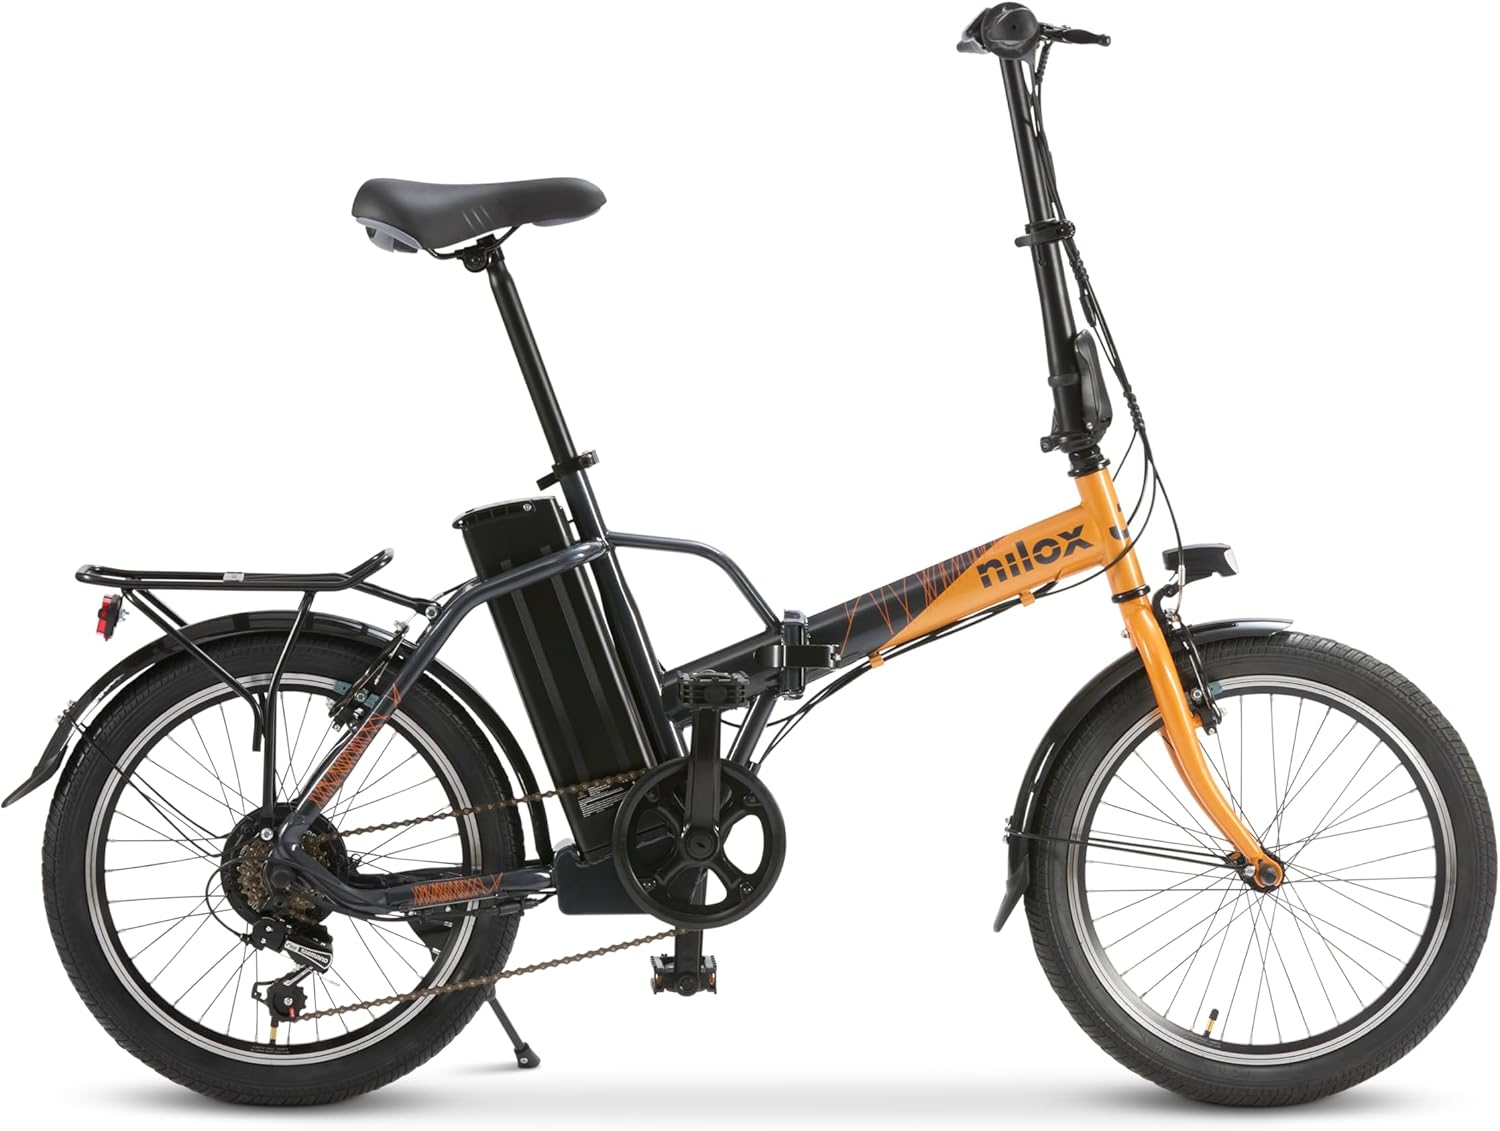
Immagine: Lato view of the Nilox J1 PRO ORANGE Folding Electric Bike.
2. Informazioni sulla sicurezza
Always prioritize safety when operating your electric bike. Failure to follow these guidelines may result in injury or damage to the product.
- Indossare sempre il casco e l'attrezzatura di sicurezza adeguata.
- Informatevi sulle leggi e le normative locali sul traffico relative alle biciclette elettriche.
- Prima di ogni utilizzo, effettuare un'ispezione preliminare, controllando i freni, gli pneumatici e il livello della batteria.
- Non utilizzare la bicicletta sotto l'effetto di alcol o droghe.
- Evitare di guidare in condizioni meteorologiche avverse o su terreni eccessivamente accidentati.
- Prima di partire, assicurarsi che il meccanismo di piegatura sia bloccato saldamente.
3. Contenuto della confezione
Dopo aver aperto la confezione, verificare che tutti i componenti siano presenti e integri:
- Nilox J1 PRO ORANGE Electric Bike (partially assembled)
- Caricabatterie
- Campana
- Cavalletto
- Manuale d'uso
- Assembly Tools (basic wrenches and hex keys)
4. Installazione e assemblaggio
Your Nilox J1 PRO ORANGE electric bike arrives partially assembled. Follow these steps to complete the assembly:
- Disimballaggio: Rimuovere con cautela tutti i componenti dall'imballaggio. Conservare l'imballaggio per un trasporto o uno stoccaggio futuri.
- Installazione del manubrio: Insert the handlebar stem into the fork tube and tighten the securing bolts. Ensure the handlebar is straight and aligned with the front wheel.
- Seat and Seat Post Installation: Insert the seat post into the frame's seat tube. Adjust the height to a comfortable riding position and secure it with the quick-release lever.
- Front Fender and Light Installation: Attach the front fender to the fork. Mount the front LED light to the designated bracket on the front fork or handlebar.
- Installazione della ruota anteriore: Carefully align the front wheel with the fork dropouts. Ensure the brake pads are disengaged or spread apart to allow the wheel to fit. Secure the wheel using the axle nuts, ensuring the anti-rotation washers are correctly seated in the fork slots.
- Installazione del pedale: Identify the left (L) and right (R) pedals. The right pedal (R) threads clockwise, and the left pedal (L) threads counter-clockwise. Screw them firmly into the crank arms.
- Regolazione del freno: Adjust the V-brakes to ensure proper clearance between the pads and the wheel rim. Test both front and rear brakes for effective stopping power.
- Grip and Display Adjustment: Secure the handlebar grips and position the LED display and shifter for easy access and visibility.

Immagine: Frontale view of the assembled electric bike.
5. Istruzioni per l'uso
5.1 Funzionamento e ricarica della batteria
The bike is equipped with a 36V – 8 Ah (288 Wh) removable lithium-ion battery. To charge, connect the charger to the battery charging port and then to a power outlet. The battery can be charged on or off the bike. A key is provided to lock the battery in place and for removal.

Image: Detail of the removable battery pack with key access.
5.2 Power On/Off and Pedal Assist Levels
The LED display on the handlebar controls the power and pedal assist levels.
- Accensione/spegnimento: Per accendere o spegnere la bici, tieni premuto il pulsante di accensione sul display.
- Livelli di assistenza alla pedalata: The display offers 5 levels of pedal assistance. Use the '+' and '-' buttons to cycle through the levels (Low, Medium, High). The motor provides assistance only when pedaling, up to a maximum speed of 25 km/h.

Image: Handlebar display and brake lever.
5.3 Cambio marcia
The Nilox J1 PRO ORANGE features a SHIMANO 6-speed gear system. Use the shifter on the handlebar to change gears according to terrain and desired pedaling effort.

Image: Handlebar with gear shifter.

Image: Rear wheel with Shimano derailleur.
5.4 Sistema di illuminazione
The bike is equipped with LED lights for visibility. The front light is controlled via the handlebar display. The rear light has its own power source (battery) and is activated by a small button on the light unit itself.
5.5 Meccanismo di piegatura
The J1 PRO ORANGE features a foldable frame for easy storage and transport. To fold the bike, locate the folding lever near the pedal crank. Release the safety latch, open the lever, and fold the frame in half. The handlebar does not fold but can be loosened and lowered for compactness. The seat post can also be lowered using its quick-release lever.
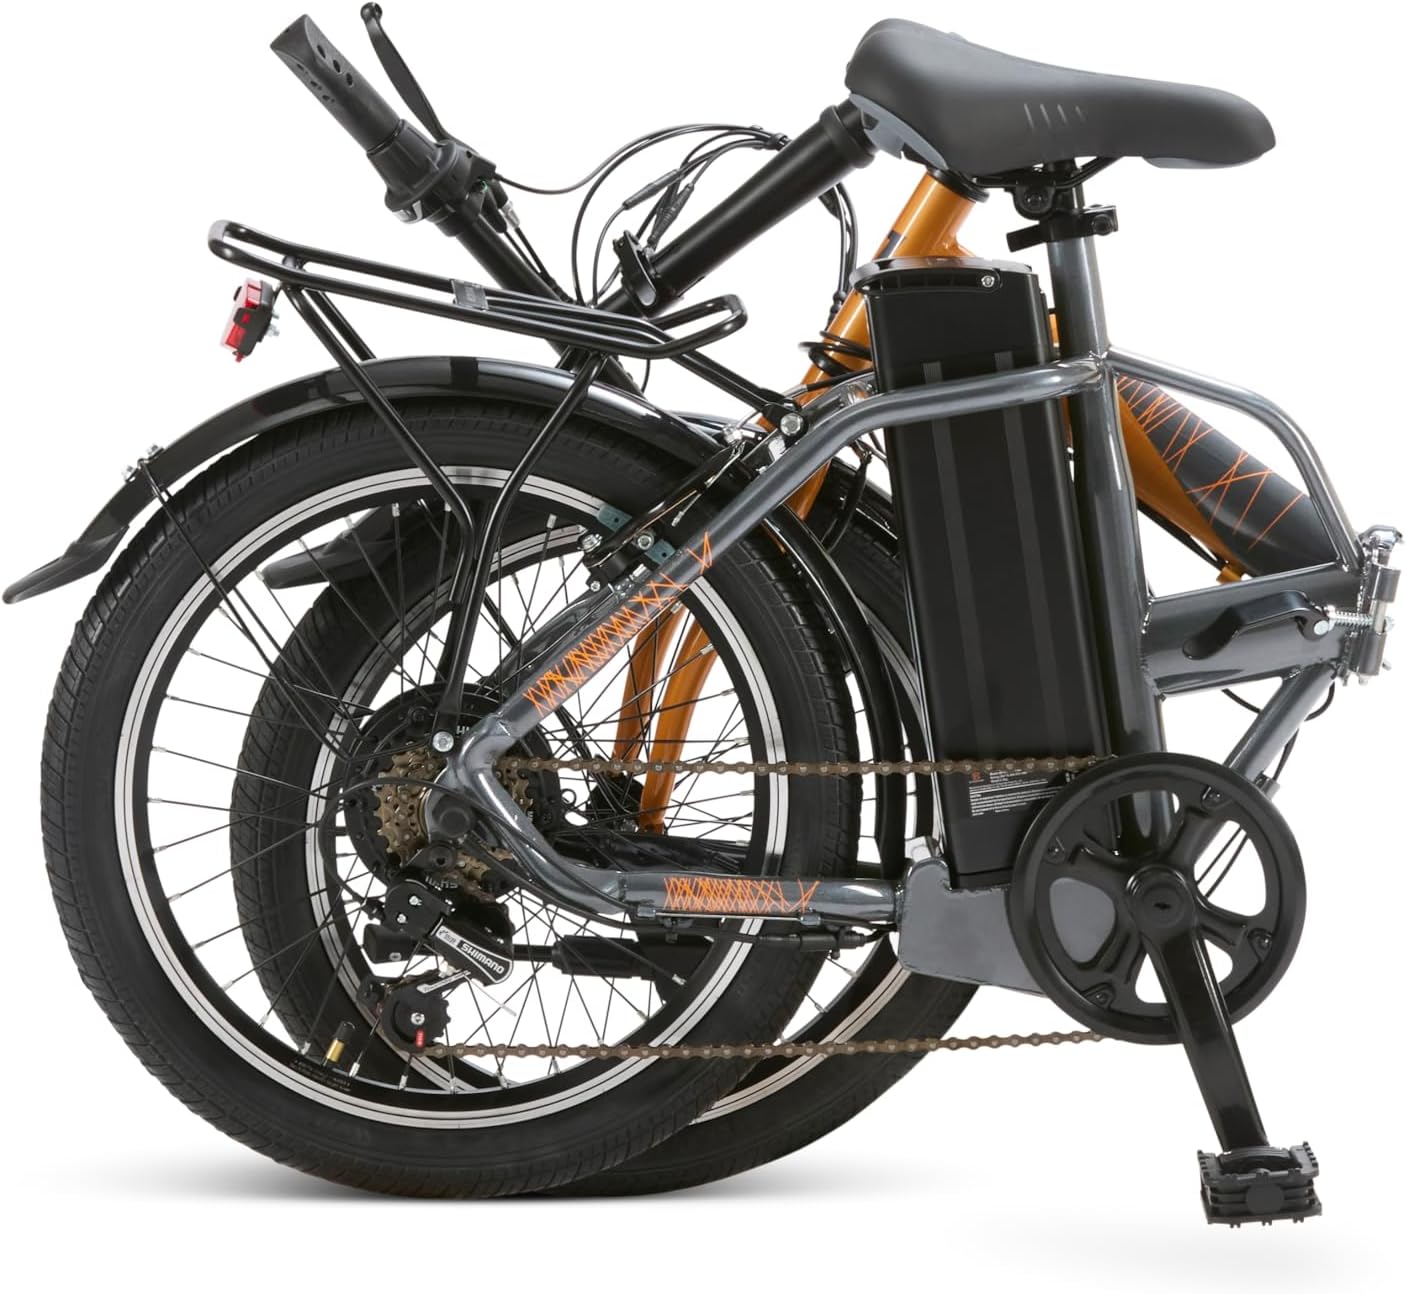
Image: The electric bike in its folded configuration.
6. Manutenzione
Una manutenzione regolare garantisce la longevità e il funzionamento sicuro della tua bici elettrica.
- Cura della batteria: Charge the battery regularly, even if the bike is not in use, to maintain its health. Store the battery in a cool, dry place.
- Pneumatici: Controllare la pressione degli pneumatici prima di ogni uscita. La pressione consigliata è solitamente indicata sul fianco dello pneumatico.
- Freni: Periodically inspect brake pads for wear and ensure brake levers provide firm and responsive stopping power. Adjust as needed.
- Catena: Mantenere la catena pulita e lubrificata per garantire cambi di marcia fluidi e prevenire la ruggine.
- Pulizia generale: Pulisci la bici con un damp panno. Evitare di utilizzare getti d'acqua ad alta pressione direttamente sui componenti elettrici.
- Elementi di fissaggio: Controllare regolarmente che tutti i bulloni e gli elementi di fissaggio siano ben serrati.
7. Risoluzione Dei Problemi
This section addresses common issues you might encounter with your Nilox J1 PRO ORANGE electric bike.
| Problema | Possibile causa | Soluzione |
|---|---|---|
| Il motore non assiste | Low battery; Pedal assist level too low; Brake levers engaged; Loose connection. | Charge battery; Increase pedal assist level; Release brake levers fully; Check all cable connections. |
| Breve autonomia della batteria | Under-inflated tires; Riding uphill frequently; High pedal assist level; Heavy load; Cold weather. | Inflate tires to recommended pressure; Use lower assist levels; Reduce load; Battery performance may decrease in cold. |
| I freni sembrano deboli o rumorosi | Worn brake pads; Misaligned pads; Loose brake cable; Dirty rims. | Inspect and replace brake pads; Adjust pad alignment; Tighten brake cable; Clean wheel rims. |
| Creaking noise | Loose components (e.g., seat post, handlebar, folding mechanism, pedals). | Identify the source and tighten relevant bolts or lubricate moving parts. |
8. Specifiche
| Marca | Nilox |
| Modello | J1 PRO ORANGE |
| Tipo di bici | Bici da città, bici elettrica |
| Materiale del telaio | Lega di acciaio |
| Dimensioni della ruota | 20 pollici |
| Motore Wattage | 250 Watt |
| Batteria | 36V – 8 Ah (288 Wh) Lithium-ion |
| Portata massima (assistita) | Fino a 40 km |
| Velocità massima (assistita) | Fino a 25 km / h |
| Numero di velocità | 6 (SHIMANO) |
| Tipo di freno | V-Brake (Front and Rear) |
| Tipo di sospensione | Nessuna sospensione |
| Peso del prodotto | 25 chilogrammi |
| Colore | Grey / Orange |
| Età consigliata | Adulti |
9. Garanzia e supporto
Nilox products are covered by a standard warranty. For specific warranty terms and conditions, please refer to the documentation included with your purchase or visit the official Nilox website. In case of technical issues, missing parts, or warranty claims, please contact Nilox customer support.
Per ulteriore assistenza, puoi visitare il Negozio Nilox su Amazon.
Ask a question about this manual
Ask about setup, troubleshooting, compatibility, parts, safety, or missing instructions. Manuals+ will review the question and use this page’s manual context to help answer it.